
Reading a Toyota Tacoma oil dipstick can be harder than it looks, especially when clean oil smears along the blade or the two sides show different levels. You can get a dependable reading by parking on level ground, following the wait time in your model-year owner’s manual, wiping the dipstick fully, reinserting it completely, and checking the clear boundary against the low and full marks.
Quick Answer
Park your Tacoma on level ground, turn off the engine, and wait the amount of time listed in your owner’s manual. Pull the dipstick out, wipe it clean, reinsert it fully, and remove it again. Read the lowest clear oil boundary that appears consistently on both sides.
Key Takeaways
- Use level ground and follow the exact engine-temperature and wait-time instructions for your Tacoma’s model year.
- Wipe, fully reinsert, and recheck the dipstick until you get two similar readings.
- Treat oil dragged above the main wet line as tube smear, not the true oil level.
- Never sand, file, bend, shorten, or remark a calibrated dipstick.
- Add only the specified oil in small amounts and stop before the full mark.
At a Glance
| Time Required | About 5–15 minutes, depending on the manual’s settling instructions |
| Difficulty | Easy |
| Tools Needed | Lint-free cloth or paper towel, gloves, and a flashlight |
| Cost | No cost unless the engine needs the correct replacement oil |
Understanding Why Accurate Oil Levels Matter
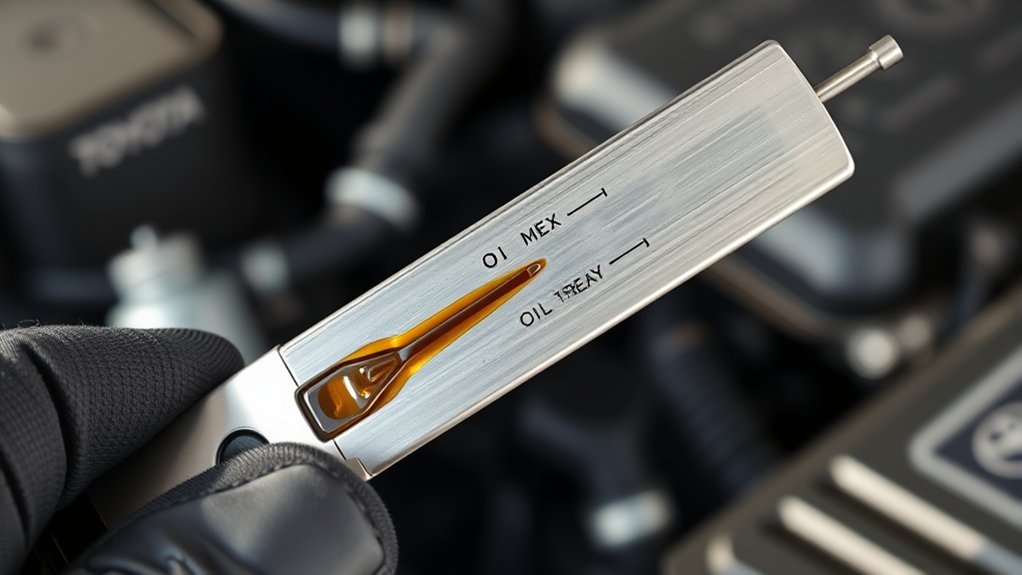
Your Tacoma needs enough oil to lubricate, cool, clean, and protect moving engine parts. A level below the low mark can reduce the oil supply available during operation, while a substantial overfill can cause aeration, increased crankcase pressure, leaks, or other engine problems.
The correct target is the acceptable range shown on the dipstick, not an arbitrary amount based on another Tacoma. Engine designs, oil capacities, dipstick shapes, and checking procedures vary by model year and engine.
A repeatable reading on level ground is more useful than a single reading taken immediately after shutdown or on a slope.
Regular checks can also reveal a developing leak or unusual oil consumption. They do not replace the maintenance schedule, and the dipstick level alone cannot confirm oil quality.
Common Challenges With the Tacoma Dipstick
Tacoma owners often struggle with oil dragged up the blade by the dipstick tube. Fresh, light-colored oil can be especially difficult to see, and one side may look wetter than the other because the blade touches the tube during removal.
Another common problem is checking under inconsistent conditions. A reading taken on a slope, immediately after the engine stops, or after the dipstick has not been fully seated may differ from a reading taken correctly.
The dipstick design also varies across Tacoma generations and engines. Some use holes, dots, crosshatching, or bent sections to identify the acceptable range. Always compare your blade with the illustration and instructions in the owner’s manual for your exact truck.
Note: Oil viscosity alone does not explain every smeared reading. Tube contact, engine temperature, waiting time, lighting, and insertion angle can all affect what you see.
How to Check Your Oil Levels Accurately
Use the same conditions each time so your results are comparable. The following method works as a general process, but your Tacoma’s owner’s manual takes priority when it gives a specific engine-temperature or waiting-time instruction.
- Park on level ground. Set the parking brake and turn off the engine.
- Follow the manual’s waiting instruction. Allow enough time for oil to return to the pan. Do not assume every Tacoma requires a completely cold engine.
- Locate the engine-oil dipstick. Confirm that you are not pulling a transmission or other fluid dipstick on an older vehicle.
- Remove and wipe it. Use a clean, lint-free cloth or paper towel.
- Reinsert it fully. Push it all the way into the tube, then pull it straight out.
- Read both sides. Identify the lowest clear wet boundary that appears in a similar position on both sides.
- Repeat once. A second matching result confirms that the first reading was not caused by smear.
Warning: Keep hands, clothing, and the cloth away from hot exhaust parts, fans, belts, and pulleys. A red low-engine-oil-pressure warning requires immediate attention; it is not simply a reminder to check the dipstick later.
Proper Dipstick Removal Technique
Grip the handle and pull the dipstick out in a smooth, straight motion. Bending or twisting it against the tube can spread oil farther up the blade and make the level look higher than it is.
After wiping the blade, reinsert it until the handle is fully seated. A dipstick left partly out of the tube will not reach its calibrated position and can produce a false low reading.
Allow Oil to Settle
Oil needs time to drain from upper engine passages back into the oil pan. The original article alternated between a cool-engine check, five minutes, and ten minutes; that inconsistency can confuse readers. Use the exact procedure in your model-year manual and keep the waiting time consistent from one check to the next.
When no manual is immediately available, avoid checking the instant the engine stops. Park level, shut the engine off, and allow several minutes before taking a reading, then confirm the model-specific procedure before adding oil.
Utilize Light for Clarity
Hold the blade under a bright light and tilt it slowly. The true level usually appears as a continuous wet band, while tube smear often looks like thin streaks or isolated patches above that boundary.
A white paper towel can help: lightly touch the marked end to the towel without wiping it sideways. The oil transfer may reveal the boundary more clearly, but the dipstick marks remain the final reference.
| Step | Action | Purpose |
|---|---|---|
| 1 | Use bright, angled light | Makes the wet boundary easier to see |
| 2 | Wipe and fully reinsert the dipstick | Removes the first-pass smear and restores the calibrated position |
| 3 | Check both sides and repeat | Confirms a consistent oil level |
Troubleshooting Your Dipstick Readings
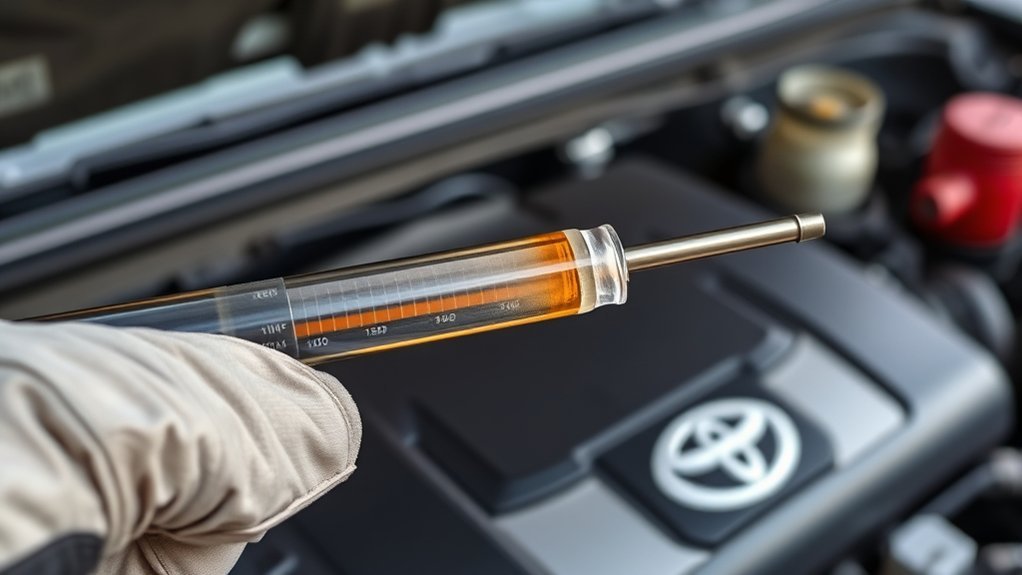
If the dipstick still looks unclear, identify the pattern rather than guessing. A solid wet line across most of the blade is more reliable than a narrow streak that runs well above the marked area.
Both Sides Show Different Levels
Wipe the blade and repeat the check. Use the lower, clearly defined boundary only when it is repeatable and the opposite side shows obvious drag or streaking. If the difference remains large after several careful checks, have the dipstick, tube, and oil quantity inspected.
The Entire Marked Area Looks Wet
Confirm that the truck is level and that you waited as directed. Wipe the blade completely, reinsert it once, and pull it straight out. If the oil remains above the full mark on repeated checks, do not add more. Arrange for excess oil to be removed if the overfill is confirmed.
No Oil Appears on the Dipstick
Reinsert the dipstick fully and check again. If the blade is still dry, do not continue driving until you verify the level and add the exact oil specified for your engine as directed by the manual. A dry dipstick, visible leak, unusual engine noise, or oil-pressure warning deserves prompt professional attention.
The Reading Changed After an Oil Change
Confirm that the correct dipstick is installed, the oil filter and drain plug are not leaking, and the engine received the correct quantity. Recheck after the engine has run only when the manual or service procedure directs you to do so. A shop should correct any unexplained overfill or underfill.
Simple Ways to Get Better Dipstick Readings
Small changes in technique usually solve visibility problems without altering the dipstick. Use the same parking spot, the same wait time, and the same wiping method for each check.
Enhance Dipstick Visibility Techniques
- Use a flashlight: Aim the light across the blade instead of directly at it.
- Tilt the blade: Reflected light can expose the transition from dry metal to wet oil.
- Use a white background: Hold white paper behind the blade or make a gentle oil transfer on a paper towel.
- Repeat under identical conditions: Two similar readings are more trustworthy than one.
Proper Wiping Methods
Use a clean, lint-free cloth or sturdy paper towel. Pinch the blade lightly and wipe from the handle toward the tip so old oil does not remain around the marked area.
Inspect the blade before reinsertion. Fabric fibers, dirt, or torn paper should not enter the dipstick tube. Replace a dirty cloth rather than making repeated passes with debris on it.
Wait for Oil Settling
Keep the waiting period consistent and model-specific. Checking too soon can show a low level because oil is still distributed through the engine, while checking on a slope can make the pan level appear either high or low.
If you are comparing oil consumption over time, record the odometer and check the truck under the same conditions. This gives you a more useful trend than isolated readings taken at random temperatures and locations.
Pro Tip: Photograph the clean dipstick beside the manual’s illustration before your next check. The reference image can help you identify the correct low and full marks without permanently changing the blade.
Community Tips for Checking Your Tacoma’s Oil Dipstick
Owner forums can be useful for learning visibility tricks, but advice should not override Toyota’s model-specific instructions. Techniques such as using side lighting, checking both sides, and repeating the reading are low-risk because they do not alter the calibrated parts.
Be cautious with forum advice that recommends changing oil capacity, using a different dipstick, or modifying the blade. A method that appears to work on one engine may be wrong for another Tacoma generation or engine option.
Recommended Modifications for Your Dipstick
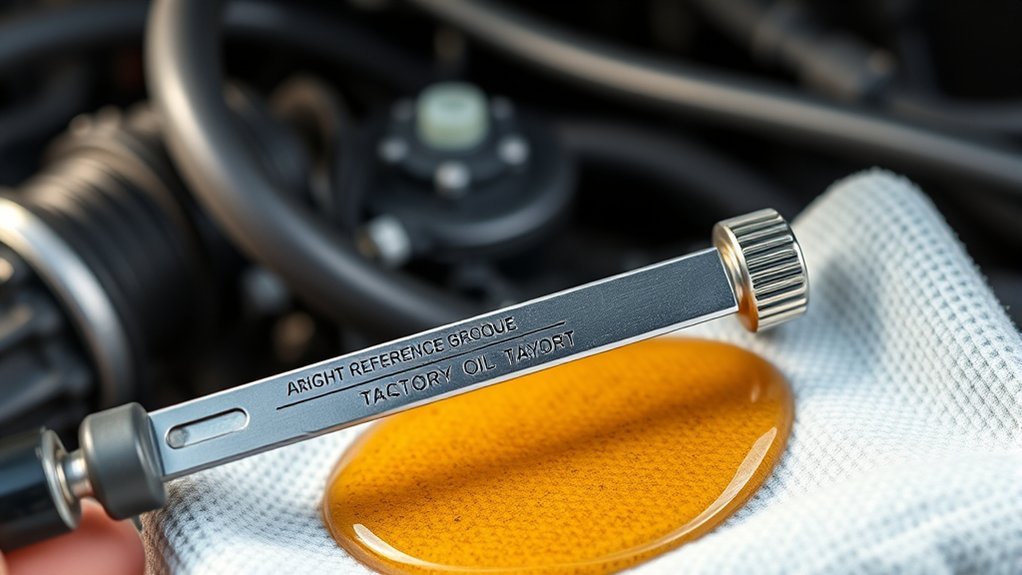
Do not roughen the blade with a file, sand it, add scribed marks, bend it, shorten it, or replace it with an adjustable universal dipstick. Those changes can alter the reference surface, introduce metal debris, damage the tube, or create a false calibration.
Use reversible visibility aids instead:
- Improve lighting: Use a bright flashlight at a shallow angle.
- Use a clean white background: Place white paper behind the blade.
- Make a gentle oil transfer: Touch the marked area to a white paper towel without dragging it.
- Replace damaged parts correctly: If the dipstick is bent, corroded, or unreadable, install the correct Toyota replacement for the VIN or have a Toyota service department verify the part.
Essential Tips for Maintaining Oil Levels
Check the level regularly and before a long trip, especially if the engine has a known leak or consumes oil. Use the viscosity, specification, and capacity listed for your exact model year and engine. The American Petroleum Institute also advises vehicle owners to consult the owner’s manual before selecting an oil service category.
If the level is low, add a small amount through the oil filler opening, wait for it to reach the pan, and recheck. Do not pour in the full estimated shortage at once. The distance between low and full marks is not identical on every engine.
Oil color alone does not prove that oil is worn out. Seek service when you find metallic particles, a strong fuel smell, a milky or foamy appearance, repeated level loss, visible leakage, smoke, unusual noise, or an oil-pressure warning.
| Step | Action | Purpose |
|---|---|---|
| Park Level | Use a flat, stable surface | Prevents a tilted oil-pan reading |
| Follow the Manual | Use the specified temperature and wait time | Matches the engine’s intended checking procedure |
| Clean and Recheck | Wipe, reinsert fully, and repeat | Confirms a reliable level |
| Add Slowly | Use the specified oil in small amounts | Reduces the risk of overfilling |
| Inspect for Warning Signs | Look for leaks, milkiness, metal, smoke, or warning lights | Identifies conditions that need diagnosis |
When to Seek Professional Help With Oil Checks?
Arrange a professional inspection when you cannot obtain a repeatable reading or when the oil level suggests a possible mechanical problem. Service is especially important in these situations:
- Repeatedly inconsistent readings: The level varies widely even on level ground with the same procedure.
- A confirmed overfill or dry dipstick: Either condition can require correction before normal driving.
- Rapid oil loss or visible leakage: A falling level needs diagnosis rather than repeated topping up.
- Oil-pressure warning: A red oil-pressure light can signal inadequate pressure even when some oil appears on the dipstick.
- Abnormal oil appearance or engine behavior: Milky oil, metal particles, smoke, knocking, or a strong fuel smell should be investigated.
- Unclear reading after service: Ask the shop to verify the installed oil quantity, correct dipstick, filter, drain plug, and leaks.
Frequently Asked Questions
How do you get an accurate Toyota Tacoma dipstick reading?
Park on level ground, follow the model-year manual’s engine-temperature and waiting instructions, wipe the blade clean, reinsert it fully, and check both sides. Repeat the process and trust the clear, repeatable wet boundary rather than isolated streaks above it.
Should you check Tacoma oil when the engine is hot or cold?
Use the procedure in the owner’s manual for your exact model year and engine. Toyota procedures can specify operating the engine and then waiting, while other checks may be performed after a longer cool-down. Consistency and level ground are essential.
What do the dots, holes, or marks on a Toyota dipstick mean?
They identify the acceptable oil-level range, usually with a lower and upper boundary. The exact design varies, so use the diagram in your Tacoma’s manual. Oil should remain within the specified range and should not be added above the full mark.
Why is oil showing higher on one side of the dipstick?
The blade may contact oil on the side of the tube during removal. Wipe it, reinsert it fully, pull it straight out, and repeat. A continuous boundary that appears consistently is more reliable than a thin streak on only one side.
Can you sand or file a Tacoma dipstick to make it easier to read?
No. Filing, sanding, bending, or adding marks can damage or miscalibrate the dipstick and may introduce debris. Use better lighting, a white background, or the correct replacement dipstick if the original is damaged.
Conclusion
An accurate Tacoma oil reading comes from a repeatable process, not from modifying the dipstick or relying on a single smeared mark. Park level, follow the model-year manual, wipe and fully reinsert the blade, inspect both sides under good light, and confirm the result. Add the correct oil slowly only after you verify a low level, and seek service for a dry dipstick, confirmed overfill, rapid oil loss, warning light, leak, or abnormal engine behavior.
Sources
- Toyota Manuals and Warranties — model-year owner’s manuals and vehicle-specific operating instructions.
- Toyota Technical Information System — factory service information and Toyota owner’s manuals.
- Toyota Warning Lights — guidance on red warning indicators, including low engine oil pressure.
- American Petroleum Institute Oil Categories — current oil categories and the instruction to follow the vehicle owner’s manual.
