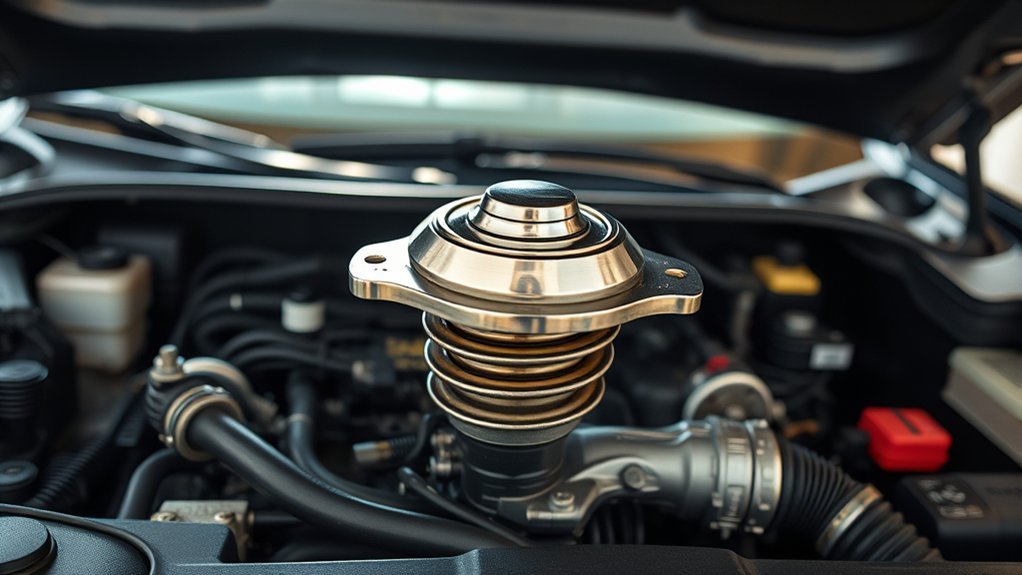
A Toyota RAV4 thermostat replacement can correct slow warm-up, unstable engine temperature, or overheating caused by a failed thermostat. However, those symptoms do not prove the thermostat is at fault. You should first check the coolant level, leaks, diagnostic codes, temperature-sensor readings, cooling fans, and water-pump operation. The exact replacement procedure also depends on your RAV4’s year, engine, and powertrain.
Quick Answer
Replace a RAV4 thermostat only after confirming it is the likely fault. Work on a cold engine, identify the exact engine, drain enough coolant, install a VIN-matched thermostat and new seal in the specified orientation, torque the housing correctly, refill with approved coolant, follow the model-specific bleeding procedure, and check carefully for leaks.
Key Takeaways
- Overheating, slow warm-up, poor heater output, and code P0128 can point toward a thermostat problem, but they can have other causes.
- Thermostat location, fastener torque, coolant capacity, seal type, and bleeding steps vary by RAV4 year and engine.
- Never open a hot cooling system or work underneath a vehicle supported only by a jack.
- Use the coolant specified in your owner’s manual. Do not add water to a product labeled premixed or ready to use.
- After the repair, verify stable temperature, cabin heat, coolant level, leak-free connections, and the absence of warning lights.
At a Glance
| Time Required | Plan several hours. Access time varies widely by generation and engine. |
| Difficulty | Intermediate. Stop if access requires work you cannot complete safely. |
| Tools Needed | Metric sockets, torque wrench, pliers, drain pan, hose-clamp tool, funnel, gloves, eye protection, and model-specific service information. Some versions also require a floor jack and jack stands. |
| Cost | Varies by engine, thermostat design, coolant quantity, and labor. Buy only a VIN-matched thermostat, new seal, and approved coolant. |
Warning: Let the engine become completely cold before loosening any coolant cap, hose, drain, or housing. Hot coolant can spray under pressure and cause severe burns. Keep coolant away from children and pets, clean spills immediately, and never work under a vehicle supported only by a jack. On a hybrid or plug-in hybrid, make sure the READY indicator is off, keep the key away from the vehicle, and do not touch orange high-voltage components.
Recognizing Signs of a Failing Thermostat
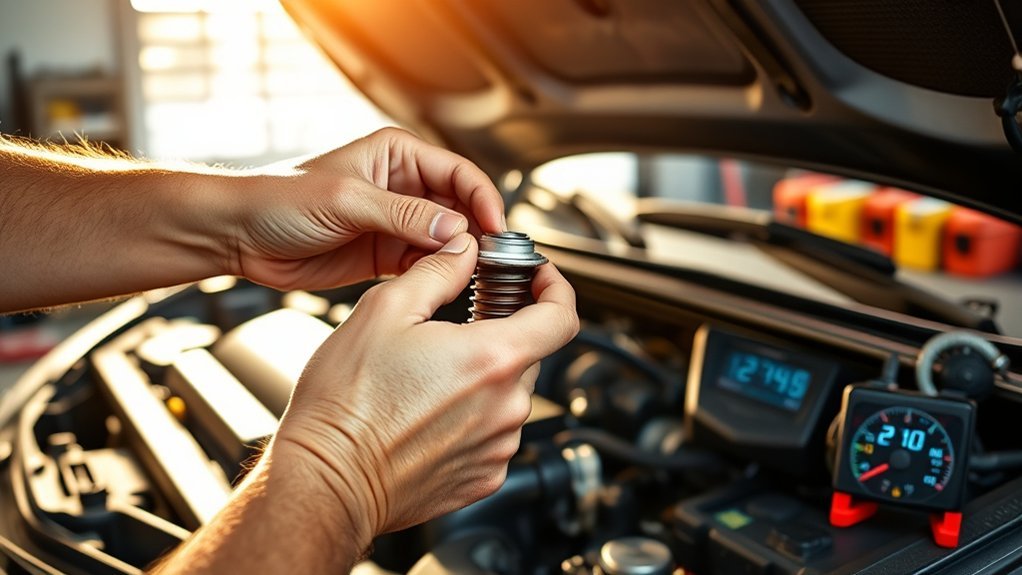
The thermostat regulates coolant circulation between the engine and radiator. A thermostat that remains closed can restrict radiator flow and contribute to overheating. One that remains open can make the engine warm up slowly or run cooler than intended.
| Symptom | Possible Thermostat Condition | Other Causes to Check |
|---|---|---|
| Temperature rises above normal | Stuck closed or opening late | Low coolant, leak, trapped air, failed fan, water pump, radiator restriction, or head-gasket trouble |
| Engine warms very slowly | Stuck open or leaking internally | Coolant-temperature sensor, fan running continuously, very cold weather, or short-trip driving |
| Cabin heater stays cool or lukewarm | Engine may not be reaching normal temperature | Low coolant, trapped air, heater-core restriction, heater valve, or blend-door problem |
| Temperature gauge moves unpredictably | Thermostat may be sticking | Air pocket, loose electrical connection, sensor fault, coolant loss, or intermittent fan operation |
| Coolant leak near the housing | The thermostat itself may still operate | Pinched seal, loose fastener, damaged hose, cracked housing, corrosion, or distorted sealing surface |
A check-engine light with code P0128 can indicate that the engine is not reaching its expected operating temperature quickly enough. It does not prove the thermostat is faulty. Low coolant, inaccurate sensor data, a constantly running fan, or other faults can produce similar behavior.
Diagnose the Problem Before Replacing the Thermostat
Replacing the thermostat without testing the system can waste time and leave the real overheating problem unresolved. Complete these checks while the engine is cold:
- Check the coolant level: Inspect the appropriate translucent reservoir and look for signs of leakage. Do not open a hot cap.
- Inspect the cooling system: Look for wet areas, dried coolant residue, damaged hoses, loose clamps, radiator damage, or leakage around the water pump and thermostat housing.
- Scan for diagnostic codes: Record every stored and pending code before clearing anything.
- Review live temperature data: Compare the engine-coolant-temperature reading with the ambient temperature before a cold start. A large difference can point to a sensor or wiring problem.
- Watch the warm-up pattern: The temperature should rise steadily and stabilize. An engine that warms unusually slowly may have a thermostat stuck open.
- Check fan operation: A cooling fan that fails to run can cause overheating. A fan that runs continuously from a cold start can delay warm-up.
- Check for combustion-system warning signs: Repeated coolant loss, white exhaust after warm-up, bubbles in the reservoir, contaminated oil, or immediate hose pressure requires professional diagnosis.
A thermostat symptom narrows the investigation. It does not replace a cooling-system diagnosis.
Essential Tools and Materials Needed for the Job
Gather the required parts and tools before draining the cooling system. Exact socket sizes and access tools depend on the engine.
| Tool or Material | Purpose |
|---|---|
| Metric socket set and extensions | Remove covers, brackets, and housing fasteners |
| Calibrated torque wrench | Tighten fasteners to the specification for the exact engine |
| Pliers or hose-clamp pliers | Release spring-style hose clamps |
| Plastic trim tools | Remove splash shields or clips without unnecessary damage |
| Large coolant drain pan | Capture coolant without spilling it |
| Funnel or approved filling tool | Refill the system cleanly; a vacuum-filling tool may help on some engines |
| Safety glasses and chemical-resistant gloves | Protect against coolant spray and contact |
| VIN-matched thermostat and new seal | Restore temperature control and create a leak-free joint |
| Specified engine coolant | Replace the drained coolant with a compatible product |
| Lint-free cloth and approved surface cleaner | Clean the sealing surface without scratching or contaminating it |
| Floor jack and rated jack stands, if required | Provide safe underbody access at the specified lift points |
Note: Do not assume that one online parts listing fits every RAV4. Confirm the thermostat, seal, coolant specification, engine code, and housing design with the VIN before buying parts.
Identify Your RAV4 Before Starting
RAV4 thermostat access differs among older four-cylinder engines, V6 models, newer Dynamic Force engines, hybrids, and plug-in hybrids. Before starting, use Toyota’s manuals and warranties portal to select the correct year and model.
Record the VIN and confirm:
- Model year and engine
- Gasoline, hybrid, or plug-in hybrid powertrain
- Thermostat location and required access components
- Correct thermostat and seal
- Thermostat or jiggle-valve orientation
- Housing-fastener torque
- Coolant specification and capacity
- Correct filling and air-bleeding procedure
Hybrid models can have separate engine and inverter cooling circuits. A thermostat repair concerns the engine cooling system. Do not drain, open, or refill the inverter circuit unless the applicable procedure specifically requires it.
How to Safely Drain Your Coolant
You usually need to drain enough coolant to lower the level below the thermostat housing. A full flush is not automatically required.
- Park on a level, firm surface, apply the parking brake, select Park, and switch the vehicle fully off.
- Let the engine and cooling system become completely cold. Waiting overnight is the safest approach after a long or hot drive.
- Put on safety glasses and gloves. Keep children and pets away from the work area.
- Remove the necessary lower cover or splash shield using the correct fasteners and support points.
- Place a clean drain pan beneath the radiator drain or other specified drain point.
- Open the cold-system cap only when the applicable procedure directs you to do so.
- Open the drain carefully. Do not force a plastic radiator drain valve that is seized or brittle.
- Drain enough coolant to prevent it from flooding the thermostat opening.
- Close the drain securely without overtightening it.
- Transfer used coolant to a sealed, labeled container immediately.
Never pour used coolant onto the ground, into a storm drain, toilet, sink, or septic system. Contact your local household hazardous-waste program, recycling center, or automotive service facility for an approved disposal option. The U.S. Environmental Protection Agency recommends checking local collection requirements.
Step-by-Step Guide to Replacing the Thermostat
This is a model-agnostic workflow. Follow the component-removal sequence and specifications for your exact RAV4.
- Prepare the vehicle: Confirm the engine is cold, the ignition is off, and the key is away from the vehicle. Disconnect the 12-volt battery only when the applicable repair procedure requires it.
- Create access: Remove the engine cover, splash shield, air-intake parts, brackets, belt-driven components, or other items specified for your engine. Photograph hose and connector routing before disassembly.
- Drain the coolant: Lower the coolant level below the thermostat housing using the safe process above.
- Release the hose: Move the clamp back from the outlet, twist the hose gently to break its seal, and remove it without damaging the fitting.
- Remove the housing: Loosen the fasteners evenly. Expect a small amount of remaining coolant when the housing separates.
- Record the old thermostat position: Note which side faces the engine and the exact location of any jiggle valve, air bleed, locating tab, or offset seal.
- Inspect the parts: Check the housing for cracks, corrosion, distortion, damaged threads, and pitting across the sealing surface.
- Clean the joint: Remove old seal material with a plastic scraper and lint-free cloth. Do not gouge aluminum, allow debris into the coolant passage, or soak a rubber seal in solvent.
- Install the new thermostat: Fit the new seal and thermostat in the position specified for the engine.
- Reassemble: Install the housing squarely, start all fasteners by hand, and tighten them evenly to the model-specific torque.
- Reconnect everything: Refit the hose, clamp, removed brackets, connectors, intake components, covers, and shields.
- Refill and bleed: Use the approved coolant and the correct air-purging procedure described below.
Install the New Thermostat Correctly
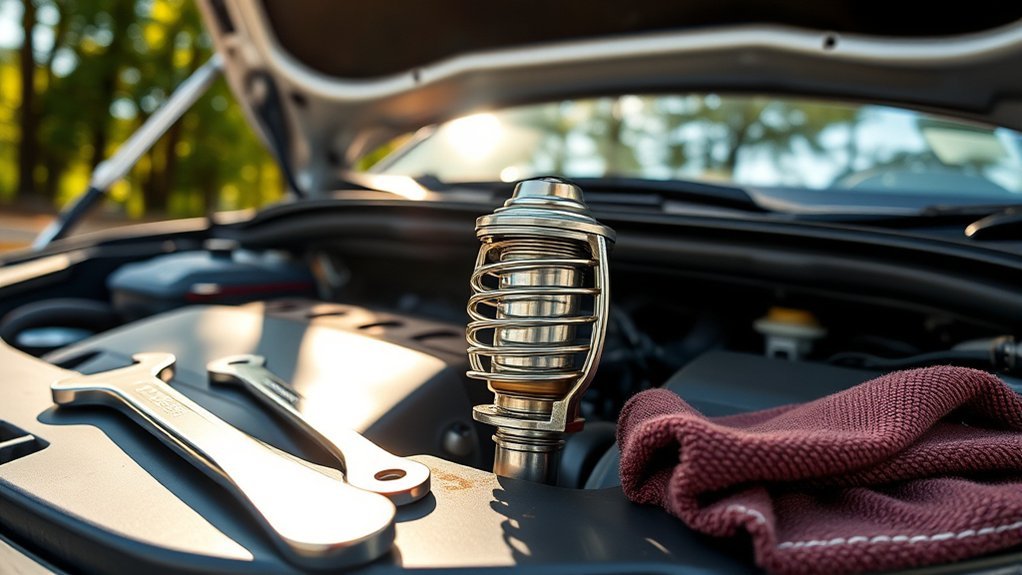
Do not assume that every thermostat’s jiggle valve points straight upward. Toyota procedures can specify a particular position or allowable angle. Match the service information for the engine and compare the new thermostat with the removed part before installation.
Install a new seal even when the old seal appears usable. Make sure the seal is seated in its groove and is not twisted, stretched, cut, or trapped between the housing surfaces. Do not apply RTV, gasket maker, oil, or adhesive unless the specified procedure requires it.
Place the housing against the engine without using the fasteners to pull a misaligned housing into position. Start every fastener by hand, then tighten them gradually and evenly with a torque wrench. Overtightening can strip threads, distort the housing, crush the seal, or crack a plastic outlet.
Pro Tip: Photograph the original thermostat, seal, jiggle valve, hose clamp, and housing before removal. Those photos provide a useful comparison during reassembly, but the Toyota specification remains the final authority.
Refilling and Bleeding the Coolant
Air trapped after a thermostat replacement can cause poor heater output, erratic temperature readings, gurgling, coolant loss from the reservoir, or overheating. Use the filling process specified for your engine instead of assuming every RAV4 uses the same method.
Use the Correct Coolant
Check the owner’s manual and coolant-container label before filling. Toyota commonly specifies Toyota Super Long Life Coolant or a compatible coolant meeting the listed chemistry requirements. Toyota’s Super Long Life Coolant information also directs owners to verify the coolant required by their vehicle.
- Do not choose coolant by color alone.
- Do not mix incompatible coolant formulas.
- Do not add plain water as the final fill.
- Do not add distilled water to coolant labeled premixed, pre-diluted, or ready to use.
- If using an approved concentrate, mix it only in the ratio specified by the owner’s manual and product label.
- Use a clean funnel that has not held oil, brake fluid, washer fluid, or another coolant type.
Air-Purging Procedure
- Confirm that the radiator drain, engine drain if used, thermostat housing, and hoses are secure.
- Fill the designated engine-coolant opening slowly with the specified coolant.
- Pause several times so trapped air can rise instead of overflowing the opening.
- Fill the engine-coolant reservoir to the cold mark specified in the manual.
- Install any bleed plugs or caps according to the applicable procedure.
- Start the engine only when the repair procedure instructs you to do so. On a hybrid, follow the required inspection or maintenance mode rather than assuming the gasoline engine will continue running.
- Monitor the temperature reading, coolant level, heater output, housing, hose connections, and drain points continuously.
- Add coolant only through the specified opening and only while it is safe to do so.
- Shut the engine off immediately if the temperature rises abnormally, coolant erupts from the opening, the heater suddenly turns cold, or a significant leak appears.
- After the engine has cooled completely, recheck the coolant level and adjust it to the cold mark.
Some RAV4 engines may require a vacuum-filling tool, a bleed valve, a scan tool, a specific heater-control setting, or a prescribed warm-up sequence. Do not substitute an improvised high-RPM procedure for the correct instructions.
Testing Your RAV4 After Thermostat Replacement
Complete a stationary check before driving:
- Inspect the thermostat housing, hose, clamp, radiator drain, and removed components for leakage.
- Confirm that tools and rags are out of the engine compartment.
- Verify that the engine temperature rises steadily without entering the warning range.
- Confirm that the cabin heater produces consistent heat after the engine warms.
- Verify normal cooling-fan operation when operating conditions call for it.
- Check that no hose is kinked, collapsed, rubbing, or contacting a moving component.
- Scan for returning coolant-temperature codes if a code triggered the repair.
Take a short drive close to home while monitoring the temperature display. Avoid heavy acceleration, towing, steep climbs, and extended idling during the first test. Park, let the engine cool completely, and inspect the coolant level and repair area again.
A successful repair should produce a stable operating temperature, consistent heater output, no coolant smell, no visible leaks, and no returning warning light. A warm radiator hose by itself is not enough to confirm the entire system is working correctly.
Troubleshooting After Thermostat Replacement
| Problem After Repair | What to Check |
|---|---|
| Engine overheats quickly | Low coolant, major air pocket, wrong thermostat orientation, blocked passage, failed water pump, inoperative fan, closed drain error, or another original fault |
| Leak at the thermostat housing | Pinched seal, dirty or pitted surface, cracked housing, loose or unevenly tightened fasteners, wrong seal, or damaged hose connection |
| Heater blows cold after repair | Low coolant, trapped air, incorrect bleeding, heater-core restriction, or HVAC control problem |
| Temperature remains too low or P0128 returns | Wrong thermostat, thermostat not seated, defective new part, coolant-temperature sensor, wiring, fan running continuously, or another diagnostic fault |
| Reservoir level drops after the first drive | A small change can occur as remaining air leaves, but repeated loss requires leak and pressure testing |
| Gurgling or unstable gauge reading | Air still trapped in the engine circuit, low coolant, combustion gas entering the system, or incorrect cap operation |
Stop testing and arrange professional diagnosis if the engine overheats, coolant continues disappearing, the housing is damaged, the system will not bleed, or combustion leakage is suspected.
Essential Tips for Maintaining Your RAV4’s Cooling System
A thermostat normally does not have a scheduled replacement interval. Replace it when testing confirms a fault, when it is damaged, or when the applicable repair procedure calls for replacement during related work.
Follow the maintenance guide for your exact year and market instead of using a universal 30,000-mile flush interval. For example, the U.S. 2025 RAV4 Warranty and Maintenance Guide specifies initial engine-coolant replacement at 100,000 miles or 120 months, followed by replacement every 50,000 miles or 60 months. Other years and markets can differ.
Hybrid models may also have a separate inverter-coolant schedule. Do not assume the engine and inverter circuits share one reservoir, one drain procedure, or one service interval.
- Check the cold coolant level regularly and investigate repeated loss.
- Inspect hoses, clamps, reservoirs, the radiator, housing, and water-pump area for leaks or deterioration.
- Keep the radiator and condenser free from heavy debris without bending the fins.
- Use only compatible coolant and clean filling equipment.
- Do not mix coolant solely because the colors look similar.
- Address overheating immediately instead of repeatedly topping off the system.
- Keep maintenance and repair records, including the coolant product used.
Frequently Asked Questions
How often should I replace the thermostat in my RAV4?
A RAV4 thermostat does not have a universal scheduled replacement interval. Replace it when diagnosis confirms that it is stuck, leaking internally, physically damaged, or otherwise unable to regulate engine temperature correctly.
What causes a RAV4 thermostat to fail?
Age, internal wear, corrosion, deposits, contaminated or incompatible coolant, overheating, and manufacturing defects can interfere with thermostat movement. A damaged seal or housing can leak even when the thermostat itself still opens normally.
Can I drive with a faulty thermostat?
Do not continue driving if the temperature warning appears, the gauge enters the hot range, steam is visible, coolant is leaking, or heater output suddenly turns cold while the engine temperature rises. A confirmed stuck-open thermostat may not cause immediate overheating, but it should still be repaired promptly.
How do I know whether the new thermostat is working?
The engine should warm steadily and maintain a stable normal temperature. The heater should provide consistent heat, the cooling fans should operate normally, no coolant should leak, and a thermostat-related code should not return after the required drive cycle.
Do I need to replace the thermostat housing?
Replace the housing if it is cracked, distorted, badly corroded, deeply pitted across the sealing surface, damaged at the hose outlet, or unable to hold the seal correctly. A sound housing can normally be cleaned and reused.
Do I have to drain all the coolant to replace the thermostat?
Not always. You normally need to lower the coolant below the thermostat housing. A complete drain may make sense when the coolant is due for replacement, contaminated, mixed with an incompatible product, or being removed under the applicable service procedure.
What coolant should I use after replacing the thermostat?
Use the coolant specified in the owner’s manual for your exact RAV4 year, engine, market, and powertrain. Do not select coolant by color alone, and do not dilute a product marked premixed, pre-diluted, or ready to use.
Conclusion
A safe Toyota RAV4 thermostat replacement starts with diagnosis, not parts swapping. Confirm the exact engine, obtain a matching thermostat and seal, work only on a cold system, preserve the specified orientation, and use the correct torque and coolant. After refilling, complete the model-specific bleeding procedure and stop immediately if the temperature rises abnormally.
Monitor the coolant level and repair area after the engine cools from the first few drives. Continued overheating, coolant loss, trapped air, a returning code, or a damaged housing means the cooling system needs further diagnosis rather than another thermostat.
Sources
- Toyota Manuals and Warranties — model-specific owner’s manuals and maintenance guides
- 2025 Toyota RAV4 Warranty and Maintenance Guide — engine-coolant maintenance intervals
- 2025 Toyota RAV4 Hybrid Warranty and Maintenance Guide — separate engine and inverter coolant guidance
- Toyota Engine Coolant Guidance — coolant purpose, overheating response, and coolant selection
- U.S. EPA Household Hazardous Waste — safe storage and local disposal guidance
- Poison Control: Antifreeze Safety — toxicity, spill prevention, and exposure precautions
