
To replace a Type B fuse in a Toyota RAV4, first confirm that “Type B” refers to the fuse itself—not simply a Type B fuse box—then switch the vehicle off and match the exact fuse position, physical design, and amperage shown in the owner’s manual and on the fuse-box lid. Toyota’s owner guidance says the supplied pullout tool is for Type A fuses only, so do not force a Type B fuse out with that tool or pry apart the fuse box.
Last updated: September 19, 2026
Verification scope: This update cross-checks Toyota owner guidance for 2021 and 2025 RAV4 models and accounts for the all-new sixth-generation 2026 RAV4. Because fuse layouts can change by model year and powertrain, use the manual and fuse-box diagram for your exact vehicle.
Quick Answer
Turn the RAV4 completely off, use the fuse-box diagram and owner’s manual to confirm the circuit, fuse shape, and amperage, and replace a blown fuse only with a genuine Toyota fuse or equivalent of the same rating. Toyota shows Type B fuses as replaceable, but says the supplied pullout tool is for Type A fuses only. If the Type B fuse does not have a clear owner-removal method, do not force it; use model-specific Toyota repair information or professional service.
Key Takeaways
- “Type B fuse” and “Type B fuse box” are not interchangeable terms. Confirm which label your manual uses.
- Fuse locations and ratings vary by RAV4 model year and powertrain. The 2026 RAV4 begins a redesigned sixth generation, so do not assume a 2019–2025 fuse diagram applies.
- Replace a blown fuse only with the same physical type and amperage rating shown on the fuse-box cover or in the owner’s manual.
- Do not use needle-nose pliers, pry tools, or a 10 mm socket as a universal Type B fuse-removal method.
- If the replacement blows again, stop replacing fuses and have the circuit diagnosed.
At a Glance
| Time Required | About 10 to 20 minutes to locate and inspect an owner-serviceable fuse; longer if diagnosis or professional removal is needed |
| Difficulty | Easy for an owner-accessible fuse with a documented removal method; stop and use service information or professional help if a Type B or Type C fuse will not remove normally |
| Tools Needed | Owner’s manual, flashlight, matching replacement fuse, and the factory fuse puller only when the fuse is Type A; multimeter optional |
| Cost | The cost of a matching fuse when owner-serviceable; diagnostic labor and additional parts may apply when the fuse blows again or requires service access |
Warning: Switch the engine or hybrid system completely off before opening a fuse box. Never install a higher-amperage fuse, bridge a fuse with wire or foil, or touch orange high-voltage cables and connectors on a hybrid or plug-in hybrid RAV4.
What Is a Type B Fuse in a Toyota RAV4?

A fuse protects wiring by opening the circuit when current rises beyond the fuse’s designed limit. That basic job is the same across automotive fuse styles, but the shape, rating, location, and removal method can differ.
In the 2021 Toyota RAV4 Owner’s Manual, Toyota shows three fuse shapes labeled Type A, Type B, and Type C. The same manual also labels one under-hood enclosure as the “Engine compartment: Type B fuse box.” The box label describes the enclosure; it does not mean every fuse inside it is a Type B fuse.
A Type B fuse does not automatically mean 15 or 20 amps, and it is not defined by a universal 5-to-30-amp range. Read the number printed on the original fuse and verify it against the fuse-box cover and the manual for your exact vehicle.
Note: Toyota says only a Type A fuse can be removed with the supplied pullout tool. Toyota also shows Type B fuses as replaceable with the specified amperage. The owner’s manual does not give one universal Type B removal technique, so use the method documented for your exact fuse and model year.
Locating the Correct Fuse Box
RAV4 fuse-box locations change across generations and powertrains. A 2021 gasoline RAV4 manual shows fuse boxes in the engine compartment and a fuse panel on the left side of the instrument panel. The 2025 RAV4 Hybrid Owner’s Manual also shows a fuse location in the right-side luggage area.
Toyota introduced an all-new sixth-generation RAV4 for 2026. Do not reuse a 2019–2025 fuse-location diagram for a 2026 model unless the 2026 manual confirms the same layout.
Use Toyota’s official manuals and warranties portal to select your exact year and model. If you are looking for a spare fuse rather than replacing a blown one, see how to find an extra fuse in a Toyota RAV4. Do not rely on a diagram for a different year, because fuse positions, circuit names, and ratings may not match.
- Engine compartment: Release the cover claws fully before lifting the cover. Do not force or pry the lid.
- Driver-side instrument panel: Look below the dashboard for the removable fuse-panel lid shown in your manual.
- Rear luggage area on some models: Follow the exact trim-panel instructions in the manual before opening a rear fuse location.
Pro Tip: Photograph the fuse-box cover before setting it aside. The photo preserves the circuit labels and fuse orientation while you work.
Identify the Specific Fuse Before Removing It
Start with the electrical feature that stopped working. Find that circuit name in the fuse-box diagram, then confirm the corresponding position and amperage in the owner’s manual.
- Confirm the symptom: Check whether one feature failed or several related features stopped together.
- Find the circuit label: Common abbreviations may refer to power outlets, audio, lights, windows, wipers, locks, or control modules.
- Match the location: Make sure you are viewing the correct fuse box, not another panel with a similar label.
- Read the rating: Note the amperage printed on the fuse and shown in the diagram.
- Confirm the shape: Compare the fuse with the Type A, Type B, or Type C illustration in your manual.
Do not assume a fuse is bad only because the associated component stopped working. A failed bulb, damaged socket, disconnected connector, faulty relay, wiring problem, or failed component can create a similar symptom.
Tools and Replacement Parts You Need
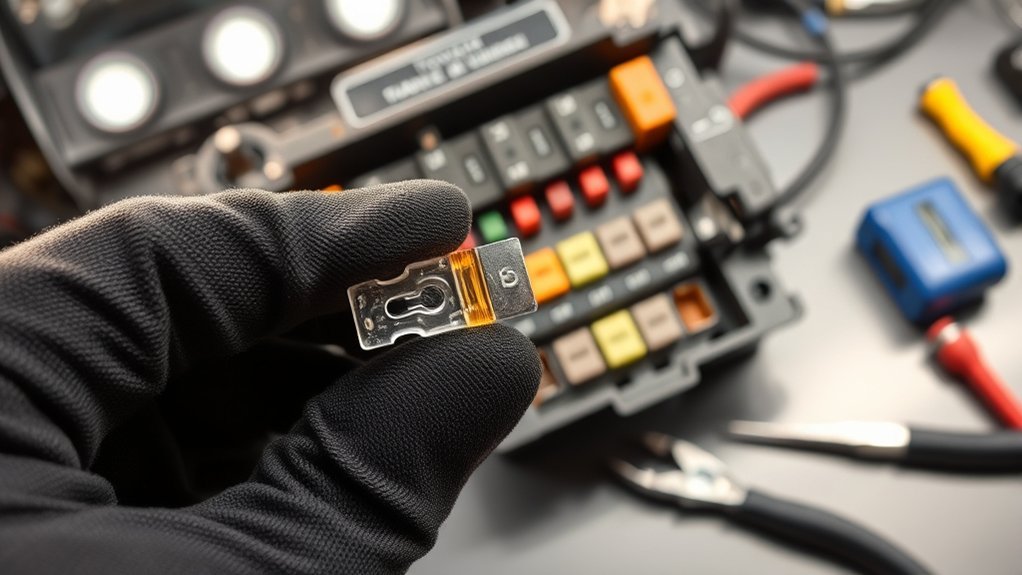
Gather only the tools needed for the owner-level procedure:
- Your exact RAV4 owner’s manual or official digital manual
- A flashlight
- A genuine Toyota fuse or equivalent with the same physical design and amperage rating
- The factory fuse puller, but only for a Type A fuse
- A digital multimeter with a continuity setting, if you know how to use it safely
A small screwdriver, needle-nose pliers, and 10 mm socket are not universal Type B fuse-removal tools. A model-specific Toyota repair procedure may call for different tools, but using them without verified instructions can damage the fuse, contacts, cover clips, wiring, or fuse-box assembly.
Do not remove the engine control module, intake box, fuse-box bolts, or lower fuse-box housing just to follow a generic online procedure. That level of disassembly requires the correct Toyota repair information for the vehicle.
Step-by-Step Guide to Inspecting and Replacing the Fuse
1. Turn the Vehicle Completely Off
Park on a level surface, set the parking brake, switch off all accessories, and turn the engine switch or power switch to OFF. On a hybrid or plug-in hybrid, confirm that the READY indicator is off.
2. Open the Correct Fuse Box
Release the cover locks exactly as shown in the owner’s manual. Toyota warns that lifting an under-hood cover before fully releasing its claws can damage the cover.
3. Confirm the Fuse Position and Rating
Compare the circuit label on the cover with the manual. Record the fuse’s amperage and physical style before removing anything.
4. Use the Approved Removal Method
Use the supplied pullout tool only for a Type A fuse. Toyota lists Type B fuses as replaceable, but the owner’s manual does not provide one universal puller method for them. If a Type B or Type C fuse does not have a clearly documented owner-removal method, do not grip it with pliers, pry underneath it, or separate the fuse box. Use model-specific Toyota repair information or have a qualified technician remove it.
5. Inspect the Fuse
Look through the fuse’s inspection window or transparent body. A broken or melted element usually indicates a blown fuse. Heat discoloration, melted plastic, corrosion, or a loose holder points to a larger problem that needs professional inspection.
If the fuse is safely removable, you can confirm it with a multimeter in continuity mode while the fuse is out of the circuit. Do not probe live fuse-box terminals unless you are trained to perform electrical diagnosis.
6. Install the Matching Replacement
Install a fuse with the same amperage and the same physical type as the original. Press it into its correct position using the method specified for that fuse design. Do not force it, bend its terminals, or substitute a fuse that merely looks close.
7. Close the Cover and Test the Circuit
Reinstall the fuse-box cover and confirm every tab or claw is secure. Turn the vehicle on, then test only the component protected by that circuit. Watch for unusual heat, smoke, burning odor, warning messages, or another immediate failure.
Do You Need to Disconnect the 12-Volt Battery Before Replacing a RAV4 Fuse?
For the owner-level fuse procedure, Toyota tells you to turn the engine switch or power switch OFF before opening the fuse box. The owner’s manual does not require routine 12-volt battery disconnection for every accessible fuse check or replacement.
That does not mean battery disconnection is never required. Stop and follow model-specific repair information if the job involves a bolted main fuse, fusible link, damaged wiring, a fuse-box assembly that must be disassembled, or a circuit that remains energized with the vehicle switched off. On a hybrid or plug-in hybrid, never treat 12-volt battery disconnection as permission to work on orange high-voltage cables or components.
Testing the Replacement and Confirming the Repair
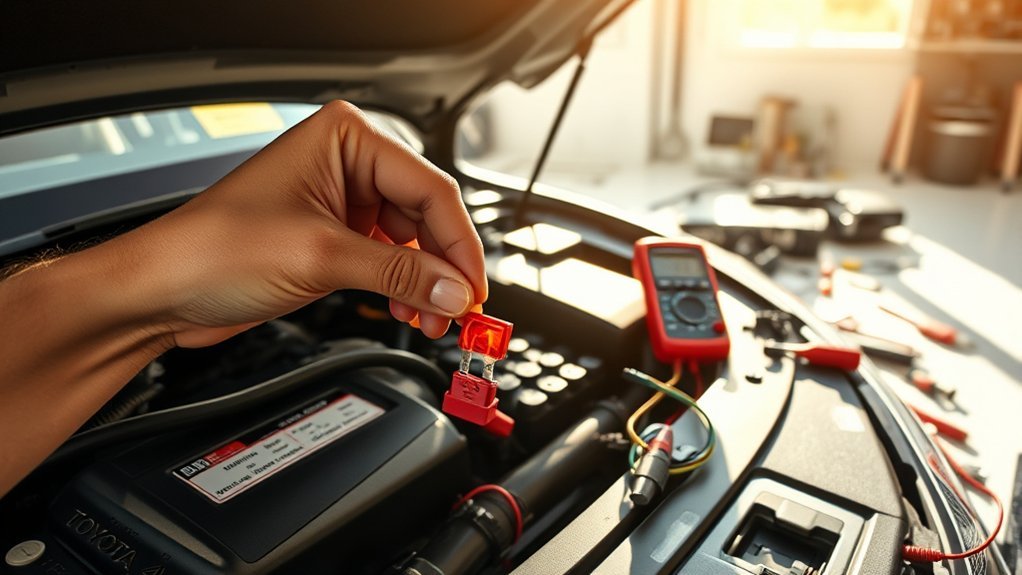
A working component after replacement is a good sign, but it does not prove the circuit is healthy. Run the component through its normal functions and check it again after a short drive or operating cycle.
- Confirm normal operation: Test the exact light, outlet, radio, window, or accessory controlled by the fuse.
- Check for repeat failure: Reinspect the fuse if the component stops again.
- Watch for related symptoms: Flickering, intermittent power, hot wiring, warning lights, or a burning smell can point to a loose connection or short circuit.
- Stop after a second failure: Do not keep feeding replacement fuses into a faulty circuit.
A fuse that blows again is a warning from the circuit, not a problem solved by installing another fuse.
Troubleshooting Fuse Replacement Issues
| Problem | Likely Explanation | Next Step |
|---|---|---|
| The replacement blows immediately | Short circuit, failed component, damaged accessory wiring, or wrong fuse rating | Switch the vehicle off and have the circuit diagnosed |
| The fuse looks good, but the component is dead | Wrong fuse checked, failed relay, bad ground, damaged connector, failed component, or no power supply | Verify the diagram and perform circuit testing |
| The Type B fuse will not come out | The fuse may use a different retention method or may not be intended for simple owner removal | Stop pulling and use Toyota repair information or professional service |
| The holder is loose, burned, or corroded | Poor contact, moisture entry, overheating, or previous damage | Do not install another fuse until the holder is inspected and repaired |
| Several systems failed together | Main power-supply problem, shared fuse, fusible link, battery issue, or control-module fault | Check warning messages and arrange electrical diagnosis |
Tips for Preventing Future Fuse Problems
You do not need to replace or inspect every fuse on a fixed schedule. Check a fuse when a protected circuit stops working, during electrical diagnosis, or when you see heat, corrosion, or damage around a fuse box.
Check Added Accessories and Wiring
Dash cams, amplifiers, lighting kits, chargers, trailer wiring, and other accessories can overload a circuit or create a short when installed incorrectly. Use properly fused accessory wiring and avoid tapping an unrelated factory circuit without verified load capacity.
Avoid Overloading Power Outlets
Do not connect devices whose combined demand exceeds the outlet or circuit rating listed in the owner’s manual. A multi-port adapter does not increase the circuit’s available current.
Use the Correct Replacement Fuse
Toyota instructs owners to use a genuine Toyota fuse or an equivalent. Match the amperage, body style, terminal arrangement, and any other rating shown on the original part. Never install a larger fuse to stop repeat failures.
When to Call a Mechanic for Help

Professional help is the safer choice when the repair goes beyond a simple, documented fuse replacement. Arrange service when:
- The replacement fuse blows again
- The fuse box, holder, or wiring is melted, loose, wet, or corroded
- The suspected Type B fuse requires fuse-box disassembly
- You would need to remove an engine control module, intake component, battery cable, or bolted power connection
- Several electrical systems fail at the same time
- You see smoke, sparks, a burning smell, or heat around the fuse box
- A hybrid-system warning appears or the work area is near orange high-voltage wiring
- You cannot confirm the correct fuse, amperage, or removal method
A technician can test circuit current, voltage drop, grounds, relays, wiring, and the protected component instead of guessing from the fuse alone.
Frequently Asked Questions
Can I use a different fuse type in my Toyota RAV4?
No. Use the same physical fuse design and amperage rating specified for that circuit. A fuse that fits loosely, has different terminals, or carries a higher rating can cause poor contact, wiring damage, or fire.
How often should I check my RAV4 fuses?
Toyota does not specify a routine six-month fuse inspection in the owner-level replacement procedure. Check a fuse when its circuit stops working or when electrical diagnosis points to that fuse.
What causes a fuse to blow repeatedly?
Common causes include a shorted wire, failed motor or accessory, damaged socket, incorrect aftermarket wiring, water intrusion, or an overloaded circuit. A second blown fuse calls for diagnosis rather than another replacement.
Are replacement fuses covered by the Toyota warranty?
Coverage depends on the cause of failure and the applicable warranty. Toyota’s Genuine Parts warranty covers qualifying Toyota parts that are defective in material or workmanship, while damage or failures caused by misuse, modification, or improper installation are excluded. Ask a Toyota dealer to confirm coverage for your specific vehicle and repair.
Can I replace a fuse while the RAV4 is running?
No. Turn the engine switch or power switch OFF before opening the fuse box or removing a fuse. On a hybrid, confirm the READY indicator is off.
Can I remove a Type B fuse with needle-nose pliers?
Do not treat pliers as the standard removal tool. Toyota states that the supplied pullout tool is for Type A fuses. Use the method documented for the exact Type B fuse, or have a technician remove it if service access is required.
Is a Type B fuse box the same thing as a Type B fuse?
No. Toyota can use “Type B fuse box” as the name of an enclosure while also using “Type B” for a fuse shape. Identify the individual fuse by the diagram and the Type A/B/C illustration for your exact manual.
Do I need to disconnect the 12-volt battery before replacing a RAV4 fuse?
Not for every owner-accessible fuse. Toyota’s normal owner procedure starts by turning the engine switch or power switch OFF. Use model-specific repair instructions if the job involves a bolted main fuse, fusible link, damaged wiring, or fuse-box disassembly.
Conclusion
Replacing a Toyota RAV4 fuse is straightforward only after you identify the correct circuit, fuse style, rating, and removal method for that model year. Follow the exact owner’s manual, use the factory puller only for Type A fuses, and do not force a Type B fuse or dismantle the fuse box without the correct service procedure. This matters even more on the redesigned 2026 RAV4, where older fuse-location assumptions may not apply. If the new fuse blows again, stop and diagnose the circuit instead of installing another fuse.
Sources
- Toyota 2021 RAV4 Owner’s Manual — fuse-box locations, Type A/B/C illustrations, removal guidance, replacement rating, and warnings
- Toyota Manuals and Warranties — official model-year manual lookup
- Toyota 2025 RAV4 Hybrid Owner’s Manual — current fuse locations and replacement procedure
- Toyota 2026 RAV4 Warranty & Maintenance Guide — hybrid high-voltage safety precautions
- Eaton Bussmann Automotive Fuse Catalog — automotive blade, cartridge, and high-amperage fuse styles
- Toyota Genuine Fuse Warranty Information — Toyota Genuine Parts warranty terms and exclusions
- Toyota: Three…Two…One: Toyota Debuts Amazing All-New RAV4 — official confirmation that the 2026 RAV4 begins the sixth generation
