Setting the clock on a Toyota Tundra is usually a quick job, but the correct method depends on the truck’s model year and audio system. Newer Tundras use touchscreen menus, older touchscreen systems use different labels, and some trucks have separate hour and minute buttons. Park first, identify your controls, and follow the matching steps below.
Quick Answer
On many 2022-and-newer Toyota Tundras, tap the Settings gear, open General, and choose Date & Time. Set automatic time or adjust it manually, then confirm the time zone and daylight saving option. Older Tundras may use Menu or Apps > Setup > General > Clock, or physical H and M buttons.
Key Takeaways
- The menu path varies by model year, trim, and installed multimedia system.
- A clock that is exactly one hour wrong usually needs a daylight saving setting or time-zone correction.
- Automatic time can override manual changes on systems that receive time from navigation or connected services.
- Your model-specific Toyota owner’s or multimedia manual is the final authority when the labels differ.
At a Glance
| Time Required | About 2–5 minutes |
| Difficulty | Easy |
| Tools Needed | None |
| Cost | $0 |
Warning: Adjust the clock only while the Tundra is safely parked. Looking through touchscreen menus while driving can distract you from the road.
Identify Your Toyota Tundra’s Clock Controls
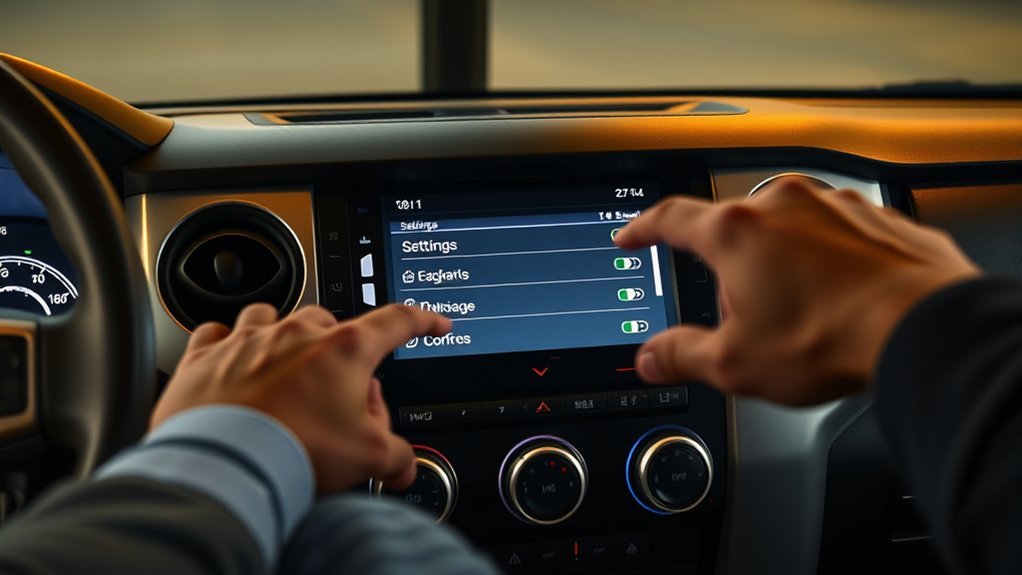
Before changing the time, look at the center display and the area around the clock. Toyota used several audio and clock layouts across Tundra generations, so one set of instructions cannot accurately cover every truck.
Toyota Audio Multimedia Touchscreen
Many 2022-and-newer Tundras use Toyota Audio Multimedia. These systems normally place time controls inside the Settings menu. Look for a gear icon, then open the General section and find Date & Time or a similarly named option.
Older Touchscreen or Entune-Style System
Many older touchscreen-equipped Tundras use a path such as Menu or Apps > Setup > General > Clock. The exact button names can vary by head unit, navigation package, and model year. If your screen does not match these labels, use Toyota’s manuals and warranties portal to select your truck.
Physical Hour and Minute Buttons
If your Tundra has separate H and M buttons near the clock, use them instead of the touchscreen. Press or hold H to change the hour and M to change the minutes. Some versions also include a reset control that rounds the time to the nearest hour, so check the label before pressing it.
Note: Model year alone may not identify the correct method because optional navigation and replacement head units can change the menu layout.
The correct clock-setting method is determined by the controls installed in your truck, not by the Tundra name alone.
How to Set the Clock on a 2022 or Newer Toyota Tundra
Use these steps when your Tundra has the newer Toyota Audio Multimedia interface:
- Park the truck and turn on the multimedia display.
- Tap the Settings gear icon.
- Open General.
- Select Date & Time, Time, or the closest matching option.
- If an automatic time setting is available, choose whether you want the system to set the time automatically. Turn automatic time off before trying to change the hour or minutes manually.
- Select the correct time zone for your location.
- Turn the daylight saving setting on or off as required where you live.
- Choose a 12-hour or 24-hour display, then return to the home screen and confirm the time.
Pro Tip: If the manual hour and minute controls are unavailable or gray, disable automatic time first. Re-enable it after checking the time zone if you prefer automatic synchronization.
How to Set the Clock on an Older Touchscreen Tundra
On many older Toyota display-audio or Entune-style systems, the clock setting is located under Setup rather than a gear-shaped Settings menu:
- Press Menu or Apps on or beside the display.
- Select Setup.
- Open General.
- Choose Clock or Date & Time.
- Adjust the hour and minute, then confirm the time zone and daylight saving option if the system provides them.
- Save or exit the menu and check the clock on the main screen.
If your system uses different wording, search the multimedia manual for “clock,” “time,” or “date and time.” Toyota’s model-specific manual is more reliable than instructions written for another trim or head unit.
[Amazon Products Picked for You]
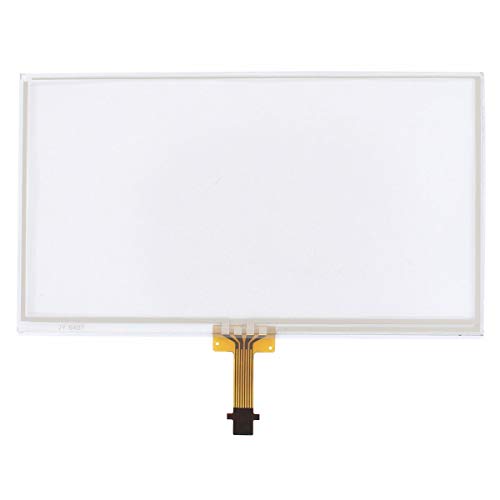
Thickness: 1.5mm, Interface: 12-Pin

【Item Type】: 7" LCD Touch Screen Digitizer (Without LCD), Cable Interface: 4-Pins, Working voltage: 5V. Special feature: Support Can-Bus

FUNCTIONALITY RESTORATION AND DESIGN ADVANTAGE: If your 6.1-inch touch screen compatible with Toyota Camry Corolla Prius C RAV4 is unresponsive, experiencing jumbled touches, phantom images, ghost touches, ghosting, ghosting, unresponsiveness, or poor appearance, this digitizer screen easily restores touch functionality. Its OEM data is designed to ensure an exact match with the for Toyota oem navigation system
How to Set the Clock With Physical H and M Controls
For a Tundra with physical clock buttons, switch the ignition to the accessory or on position so the clock is visible. Press H until the correct hour appears, then press M until the correct minute appears. Watch the AM or PM indicator if your display uses a 12-hour format.
If the clock includes a reset button, consult the owner’s manual before using it. A reset control may round the displayed time rather than opening a settings menu.
Why Accurate Time Settings Matter for Your Toyota Tundra
An accurate clock makes it easier to judge arrival times, follow appointments, and compare the vehicle display with your phone or navigation system. It also prevents confusion after crossing a time-zone boundary or changing between standard time and daylight saving time.
The clock does not normally affect basic engine operation. However, incorrect time settings can make trip records, navigation estimates, reminders, and connected features appear inconsistent, depending on the equipment installed in your truck.
Navigating to the General Section for Date and Time
On a newer touchscreen, the General menu usually contains clock-related preferences such as automatic time, time zone, daylight saving time, and display format. On an older touchscreen, similar options may appear under Setup and Clock.
Change one setting at a time, return to the clock display, and verify the result. This makes it easier to identify whether the error comes from the hour, the time zone, or the daylight saving toggle.
Selecting the Correct Time Zone for Your Location

Select the time zone that matches your current location. A system using automatic time can still show the wrong hour when the selected zone is incorrect. This problem often appears after traveling, buying a used truck from another region, resetting the system, or disconnecting the battery.
Identifying Your Time Zone
Use a reliable phone, computer, or official time service to confirm your local time and zone. In North America, common choices include Pacific, Mountain, Central, Eastern, Atlantic, and Newfoundland, but the available list depends on the market and system.
After selecting a zone, leave the menu and compare the Tundra’s clock with another accurate device. If the minutes match but the hour does not, check the zone and daylight saving setting again.
Checking the Daylight Saving Setting
Turn the daylight saving option on only when it applies in your location and during the applicable period. Some regions do not observe daylight saving time. The NIST daylight saving time guidance explains current U.S. rules and regional exceptions.
Adjusting Daylight Saving Time Settings
If the clock is exactly one hour fast or slow, do not immediately change the hour. First check the daylight saving option and the selected time zone. On many touchscreen systems, these settings control the displayed hour while automatic time remains enabled.
When your area changes between standard time and daylight saving time, an automatic system may update itself. If it does not, confirm that automatic time, the correct zone, and the daylight saving option are configured correctly. In a region that does not observe daylight saving time, keep the option off.
Choose Your Date Format
If your Tundra offers date-format controls, open the same General or Date & Time menu and select the format you prefer. Common options include:
- MM/DD/YYYY for month, day, and year
- DD/MM/YYYY for day, month, and year
- YYYY/MM/DD on systems or markets that provide it
Not every Tundra displays a date or allows the format to be changed. If the option is absent, that is usually a feature limitation rather than a fault.
Switch Between 12-Hour and 24-Hour Clock Display
Open the clock or Date & Time settings and look for a 24-hour time toggle. Turn it off for a 12-hour display with AM and PM, or turn it on for a 24-hour display. The change should appear as soon as you leave the menu.
If no format option appears, the installed head unit may use a fixed display. A replacement aftermarket radio may also control the clock independently from the instrument panel.
How to Fix Common Clock-Setting Problems in Your Tundra
Use the symptom to narrow down the cause:
| Problem | What to Check |
| Clock is exactly one hour wrong | Check the daylight saving toggle and time zone before changing the hour manually. |
| Manual time will not save | Turn off automatic time, make the change, and verify whether the system restores automatic synchronization. |
| Clock changed after battery service | Reset the time, zone, daylight saving option, and display format. Lost settings after power interruption can be normal. |
| Touchscreen clock menu is missing | Look under Menu, Apps, Setup, General, or Clock. Confirm the method in the model-specific multimedia manual. |
| Center screen and dash clock disagree | Check whether the two displays have separate settings or whether an aftermarket radio controls only one clock. |
| Screen is frozen or blank | Park, cycle the vehicle off and on once, and check Toyota support for multimedia guidance. Contact a dealer if the problem returns. |
Do not disconnect the battery only to fix a clock setting. That can reset other preferences and may not correct a software or display problem.
Keep Your Time Consistent Across All Your Devices
Compare the truck’s clock with a phone that has automatic date and time enabled. If you travel across time zones, update the Tundra’s zone or confirm that automatic time has changed it. Also check the daylight saving setting after a seasonal clock change.
Your phone, dashboard clock, instrument cluster, and aftermarket radio may not all use the same time source. When one display remains wrong, adjust that device separately rather than repeatedly changing the correct clock.
Get Help From Toyota
If the menus do not match this guide, use the model-year-specific manual or contact Toyota. The correct procedure can depend on the factory head unit, navigation package, software version, and whether the radio has been replaced.
Professional Assistance Available
A Toyota dealer can identify the installed multimedia system, demonstrate the correct menu path, and check for applicable software updates or service information. Use Toyota’s official dealer locator to find a nearby dealership.
Contact Information and Resources
For self-service help, start with the Toyota manuals portal and the official Toyota Audio Multimedia and Connected Services support portal. You can also use Toyota Customer Support for additional assistance.
Frequently Asked Questions
How do I change the clock on a Toyota Tundra?
On many 2022-and-newer models, tap Settings, open General, and select Date & Time. On many older touchscreen systems, try Menu or Apps > Setup > General > Clock. Trucks with physical H and M buttons use those controls instead.
Why is my Tundra clock one hour off?
An exact one-hour error usually points to the daylight saving option or an incorrect time zone. Check both settings before changing the hour manually.
Why can’t I adjust the hour or minutes manually?
Automatic time may be enabled. Turn it off temporarily, adjust the clock, and then decide whether to leave automatic synchronization off or correct its time-zone settings.
How do I change the clock display to 24-hour time?
Open General, Clock, or Date & Time settings and turn on the 24-hour format option. If no option appears, the installed system may use a fixed format.
Will disconnecting the battery reset the Tundra clock?
It can. After battery service or a loss of power, you may need to reset the time, time zone, daylight saving option, and display format.
What should I do if the clock menu is not where this guide says?
Check the owner’s or multimedia manual for your exact model year and head unit. Menu labels differ among Toyota Audio Multimedia, older display-audio systems, navigation systems, and aftermarket radios.
Conclusion
To set your Toyota Tundra’s clock correctly, match the instructions to the controls in your truck. Newer systems generally use Settings > General > Date & Time, older touchscreens often use Setup > General > Clock, and simpler systems use physical H and M buttons. After setting the time, verify the time zone, daylight saving option, and 12-hour or 24-hour format.
If the clock remains wrong, compare it with another accurate device and use the symptom table above. A model-specific Toyota manual or dealer can resolve menu differences without guesswork.
Sources
- Toyota Manuals and Warranties — model-specific owner’s and multimedia manuals.
- Toyota Audio Multimedia and Connected Services Support — official multimedia support resources.
- Toyota Customer Support — official troubleshooting and customer-assistance portal.
- Toyota Dealer Locator — official dealership search for hands-on assistance.
- NIST Daylight Saving Time Rules — current U.S. daylight saving rules and exceptions.