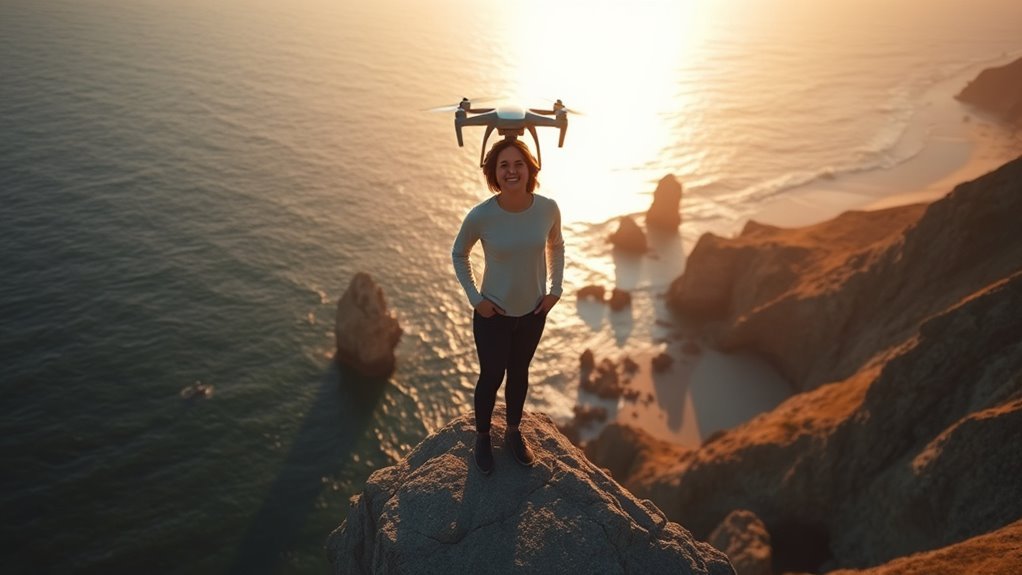
Taking a drone selfie that feels natural starts with simple setup choices. A good background helps, but the real difference often comes from height and angle. Around 10 to 15 feet can flatter the subject without making the shot feel stiff. Small movements, a relaxed expression, and a few timer shots can change the result quickly. The next step is deciding how to keep the image polished without losing its ease.
Set Up Your Drone Selfie
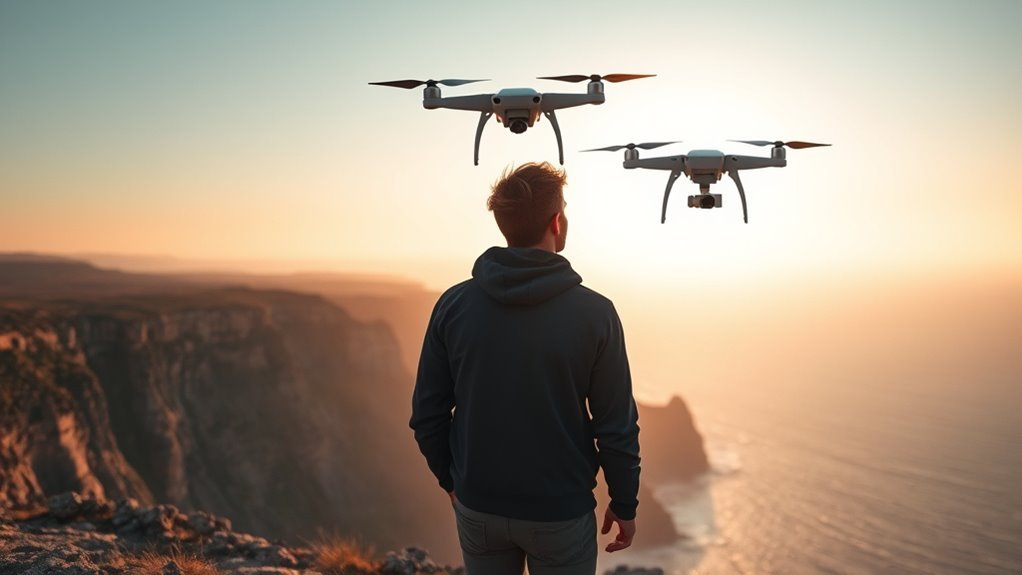
To set up a drone selfie, begin by choosing a background that adds visual interest, such as a landscape or distinctive building. Then adjust the drone’s height and angle to find the most flattering view, starting with a top-down shot if needed.
A drone with a compact design is easier to position and keeps the selfie process simple. The background should support the subject without competing for attention, helping the frame feel open and intentional.
Before capturing the perfect shot, use the controller to preview the shot and confirm that distractions are outside the frame. Set the photo timer to take images at short intervals so there is more freedom to move without rushing.
During the session, change poses every few shots to keep the results natural and varied. This approach supports high-quality selfies while keeping the process controlled, efficient, and expressive.
Choose the Best Drone Angle and Height
Choosing the right drone angle and height can greatly improve a selfie’s composition and overall impact. For drone selfies, a top-down angle offers a unique perspective, revealing both the subject and the surrounding scene in a balanced frame.
A flight height of 10 to 15 feet often delivers flattering angles, reducing distortion while keeping facial features clear. Varying the angle and exploring different altitudes can add visual interest, especially when the scene includes movement or open space.
Lower positions may emphasize depth, while higher ones can create a broader sense of place. The drone’s camera should be used to check how each setting affects the composition before capture. A preview shot helps confirm that the framing feels open, natural, and free from awkward cropping.
Pose Naturally for Better Dronies
Natural-looking poses usually make drone selfies feel more engaging and less staged. When working with drones, the subject should avoid locking into a rigid pose and instead move with ease. A small jump, a relaxed step, or a light dance can add energy to aerial selfies without forcing the moment.
Genuine expressions matter as well; a real smile or laugh reads as more relatable than a practiced grin. Props such as hats, scarves, or balloons can give the scene context and help the pose feel natural.
It also helps to test different angles by tilting the head, shifting weight, or leaning slightly, since these changes often create a more flattering shape from above.
Backgrounds should not be ignored. Landscapes, paths, or open spaces can frame the body and make the image feel freer, calmer, and more complete.
Use Timer Shots for More Variety
Using the timer feature on the drone can add variety to drone selfies by capturing a series of shots with different poses and expressions. A short interval, such as every 2 seconds, helps increase the chance of catching the perfect moment without constant adjusting controls.
Continuous shots give the subject room to try subtle shifts in stance, face, and gaze, which leads to more natural-looking selfies. Hands-free shooting also frees attention for posture and expression instead of piloting.
Between timer bursts, the drone can be moved to different angles and heights to create a variety of compositions. This simple rotation keeps the image set from feeling repetitive and gives each frame a fresh feel.
Before landing, review photos from the timer sequence and retake any that miss the mark. With this method, drone selfies become more flexible, expressive, and visually varied, giving the subject greater freedom to explore different looks.
Review and Edit Your Best Dronies
Once the dronies have been captured, they should be reviewed directly on the device before the drone lands to quickly check image quality and composition. This immediate review helps identify usable photos while the camera and subject are still fresh in view.
Any weak shots can be set aside, leaving room to edit only the strongest dronies. Editing software or mobile apps can then enhance color, contrast, and sharpness, giving the images a polished look without losing authenticity.
Weak shots can be set aside, letting you refine only the strongest dronies with subtle edits that preserve authenticity.
Cropping is useful for removing distractions and tightening composition around the subject. Filters or presets may be applied sparingly to create a consistent aesthetic, especially for social sharing. The goal is not to overprocess, but to refine the photos so they feel vivid, balanced, and intentional.
Saving multiple versions allows comparison before final selection, supporting a freer, more confident creative process. In this way, each aerial selfie is shaped into its best expression.
Frequently Asked Questions
How to Take a Selfie and Not Look Awkward?
A selfie looks less awkward when the subject uses simple posing techniques, soft facial angles, and natural expressions.
Careful background selection and good lighting conditions help the image feel calm and intentional.
Relaxed body language, a comfortable camera distance, and smart outfit choices add balance.
Short practice sessions can build a confidence boost, making the pose feel freer and more authentic.
Small adjustments create a more liberated, natural result.
What Is the 1:1 Rule for Drones?
The 1:1 rule for drones is a balancing act, like a kite held steady in wind: the subject takes one-third of the frame, while two-thirds remain open for environment.
Effective drone angles, flight height, framing techniques, lighting conditions, background selection, subject positioning, camera settings, remote control use, post processing tips, and safety precautions help maintain clarity.
This approach frees the image from stiffness and gives the subject room to breathe.
How to Take Good Drone Pictures?
Good drone pictures come from careful drone angles, lighting techniques, and composition tips that place the subject with intention.
Strong background selection and subject framing prevent clutter and improve impact. Small altitude adjustments can reveal cleaner lines and better depth.
Good battery management and safety precautions keep the flight steady and free.
After capture, post processing tricks in editing software can refine color, contrast, and clarity while preserving a liberated, natural look.
How to Take a Picture With No Lens Distortion?
No lens distortion is achieved by combining precise drone settings with careful angle adjustments and altitude choices.
Higher shooting points, moderate focal length, and camera stabilization reduce warping. Clear lighting tips, thoughtful background selection, and strong composition rules keep lines natural.
Subject focus and framing techniques should remain centered and balanced. If distortion persists, editing software with lens correction can restore realism, helping the image feel open, accurate, and free.
Conclusion
In the end, better dronies often seem to happen by chance, when the right background, angle, and expression align at once. Yet that “coincidence” usually comes from simple preparation: setting the drone between 10 and 15 feet, posing naturally, and using timer shots to capture variety. By reviewing images right away and editing the best ones, the final selfie feels polished rather than awkward. Small adjustments create the best results.

