
Clean drone sensors and lenses with a gentle, dry-first method so you protect image quality and avoid damage. Start with loose dust removal, then use a lens pen, microfiber cloth, or single-use sensor swab only when needed. Never spray liquid directly on a lens, sensor, vent, motor, or camera module.
Quick Answer
Use a bulb-style air blower first, then clean the lens with a lens pen or microfiber cloth. For sensors, use only a proper sensor swab and sensor-safe fluid when dry dust removal fails. Power off the drone, avoid canned air near sensors, and let every cleaned area dry before flying.
Key Takeaways
- Clean lenses and sensors only when needed, but inspect them after dusty, sandy, wet, or buggy flights.
- Use a bulb blower, lens pen, clean microfiber cloth, and correct-size sensor swabs instead of rough cloths or household cleaners.
- Never apply cleaning fluid directly to a lens, camera sensor, motor, or drone body opening.
- Avoid canned air around sensors because propellant or strong pressure can leave residue or push debris deeper.
- Take a test photo after cleaning to check for remaining dust, streaks, or smudges before an important flight.
At a Glance
| Time Required | 5–15 minutes for routine lens and body cleaning; 20–30 minutes for careful sensor cleaning. |
| Difficulty | Easy for lenses and housing; moderate for exposed or removable camera sensors. |
| Tools Needed | Bulb blower, lens cleaning pen, microfiber cloth, sensor swabs, sensor-safe cleaning fluid, soft brush, and lens caps. |
| Cost | Usually low. Most basic lens tools are inexpensive, while sensor kits cost more depending on camera size and brand. |
Importance of Regular Cleaning

When you fly your drone, the clarity of your images depends on clean sensors, lenses, and camera glass. Even a small amount of dust, pollen, salt spray, or oily residue can soften photos, add hazy glare, or leave visible spots in video footage.
After each dusty flight, or at least every few flights in normal conditions, inspect the lens and camera area before you pack the drone away. A short lens cleaning habit helps protect sharpness in your photos and videos.
Accumulated grime on sensors, vents, motors, and housing can also affect airflow, cooling, and long-term reliability. Cleaning is not only about how the drone looks. It also helps keep the camera system and moving parts working as intended.
Build a consistent maintenance routine around safe tools, light pressure, and dry-first cleaning. Microfiber cloths, bulb blowers, lens pens, and proper sensor kits can remove most debris without scratching coatings or forcing dirt deeper into small openings.
Warning: Power off the drone and remove the battery when possible before cleaning. Never clean the camera, motors, gimbal, or sensor area while the drone is powered on.
Essential Tools for Cleaning

To clean your drone’s lenses and sensors effectively, you need the right tools and the right order. Start with the least aggressive method, then move to wet cleaning only when dry cleaning does not remove the mark.
Use a lens cleaning pen for coarse dirt, a bulb-style air blower for loose dust, and a clean microfiber cloth for final lens wipes. Keep a separate cloth for camera glass so grit from the drone body does not scratch the lens coating.
For sensor maintenance, use a sensor cleaning kit that matches your camera sensor size. Avoid random cotton swabs, paper towels, tissues, and household cleaners because they can shed fibers, scratch coatings, or leave residue.
Recommended Cleaning Tools
Cleaning drone sensors and lenses requires gentle tools that reduce scratching, static, and contamination. A specialized lens cleaning pen works well for removing coarse dirt before you wipe the lens surface.
A high-quality microfiber cloth is essential for lens maintenance because it helps prevent scratches and protects image quality. Use a clean section of the cloth every time you wipe.
For sensor cleaning, use a proper sensor cleaning kit with the correct swab size and sensor-safe fluid. A bulb-style air blower, such as a rocket-style blower, gives controlled dust removal without the propellant risk that comes with aerosol cans.
An anti-static sensor brush can help lift loose dust when used carefully. Keep brushes capped, dry, and clean so they do not move oil or grit onto the sensor.
Cleaning Solutions and Fluids
Using the right cleaning solutions and fluids helps protect your drone’s sensors and lenses. For lens cleaning, use a lens-safe cleaning fluid made for coated optics when a dry cloth does not remove fingerprints or smudges.
For sensor cleaning, use only sensor-safe cleaning fluid with the correct swab. Some camera sensors and protective filters have delicate coatings, so avoid strong solvents, household glass cleaner, ammonia-based cleaners, and unknown alcohol blends.
Avoid canned air around camera sensors. Instead, use a bulb-style air blower for precise dust removal without liquid propellant.
For wet sensor cleaning, apply a small amount of sensor fluid to the swab, not directly to the sensor. Make one smooth pass across the sensor, then use the clean side only if the kit instructions allow a second pass.
Always use a clean microfiber cloth for lens cleaning. A cloth that has touched the ground, propellers, landing gear, or a dirty drone case can carry grit that scratches glass.
Proper Application Techniques
When it comes to maintaining the clarity of your drone’s sensors and lenses, proper application technique matters as much as the cleaning product. Start with a bulb-style blower to remove loose dust before any contact cleaning.
For wet lens cleaning, apply cleaning fluid to a microfiber cloth instead of directly onto the lens. This helps prevent streaks and reduces the chance of fluid entering the camera module or gimbal housing.
Use a specialized lens cleaning pen to remove coarse dirt gently before wiping. Always wipe the lens radially from the center outward instead of scrubbing in tight circles.
| Tool | Purpose | Technique |
|---|---|---|
| Bulb-style blower | Remove dust from sensor | Use before any wet cleaning |
| Microfiber cloth | Wipe lens without streaks | Apply fluid to cloth only |
| Sensor swabs | Wet cleaning of sensor | Use fresh swab for each clean |
Pro Tip: Clean from the safest area to the dirtiest area. Start with the camera lens and sensor tools, then clean the housing, landing gear, and propeller area with separate cloths.
Techniques for Cleaning Lenses

A clean lens is essential for capturing high-quality images with your drone. Dust, fingerprints, water spots, and dried pollen can reduce contrast and create glare, especially when you shoot toward the sun.
Start the cleaning process by using the brush side of a lens cleaning pen to gently remove coarse dirt or debris from the lens surface. Do not press hard because grit can scratch the coating.
Next, use a microfiber cloth for the final wipe. If the lens has oily smudges, lightly dampen the cloth with lens-safe cleaning fluid, then wipe the lens radially from the center outward.
Avoid circular scrubbing, paper towels, shirt fabric, and napkins. These can leave fibers, create streaks, or drag dust across the glass.
Clean the lens after each dirty flight or whenever you notice haze, spots, fingerprints, or glare in your footage. By following these steps, you keep your drone’s lens ready for sharp aerial photos and smooth video.
Best Practices for Sensor Cleaning
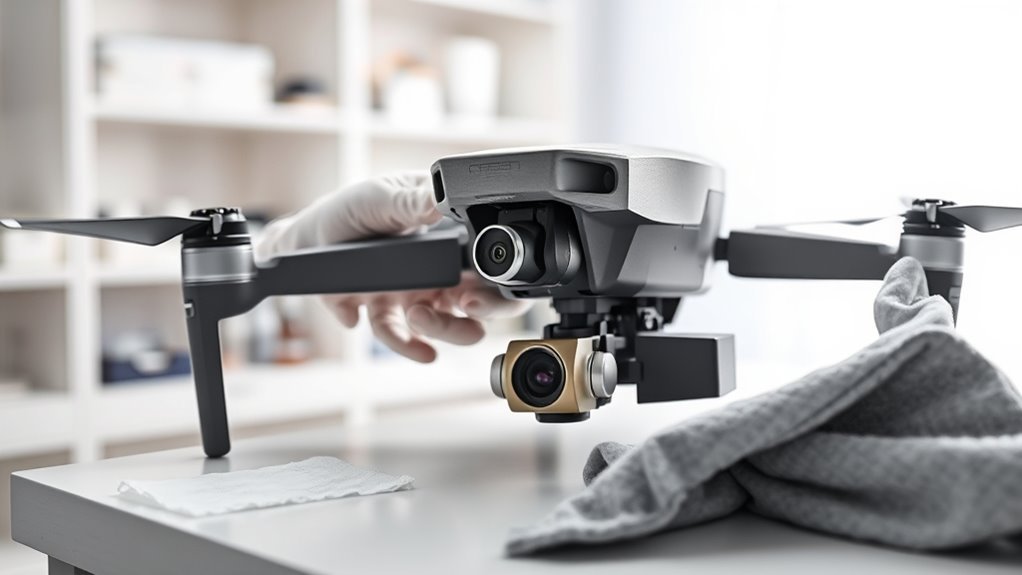
When cleaning your drone’s sensor, always start with the right tools and a calm workspace. Sensor cleaning takes more care than lens cleaning because the sensor area is delicate and easy to contaminate.
Use proper cleaning techniques to avoid common mistakes that can lead to damage, streaks, or more dust. If your drone has a sealed camera module or fixed lens with no user-accessible sensor, do not try to open it unless the manufacturer allows it.
Recommended Tools and Supplies
To maintain ideal performance and image quality of your drone’s sensors and lenses, use the right tools and supplies for cleaning. Keep lens tools and sensor tools separate so grit from the exterior never touches the sensor.
Start with a specialized cleaning kit made for camera optics. A lens care kit can help clean drone lenses safely without scratching or dulling the coating.
For sensor maintenance, use a sensor cleaning kit that includes proper swabs and sensor-safe fluid. Choose the swab size that matches the sensor or filter surface you are cleaning.
Before applying liquids, use a bulb-style blower to remove loose dust. Avoid aerosol dusters near sensors because they can release propellant, moisture, or too much force.
Quality tools, such as an anti-static sensor brush, can help prevent dust accumulation and support better image quality when used with care.
Cleaning Techniques to Use
Having the right tools sets the stage for effective sensor cleaning, but knowing the proper technique is just as important. Work in a clean, still, well-lit area with the drone stable on a flat surface.
Start by using a large bulb blower to remove dust before any wet cleaning. Keep the camera opening facing downward when possible so loosened dust falls away instead of settling back onto the sensor.
Next, apply a small amount of cleaning solution to each side of a sensor swab according to the kit instructions. Use a clean swab for each cleaning attempt to avoid cross-contamination.
Wipe the sensor in one smooth motion, using the width of the swab. If necessary, turn the swab to the clean side for a second pass. Do not scrub back and forth with a dirty swab.
Avoid aerosol dusters, as they can spray propellant onto the sensor and leave residue that is harder to remove.
Common Mistakes to Avoid
While cleaning your drone’s sensor, avoid common mistakes that can lead to damage or poor results.
First, do not use compressed air cans on the sensor. They can spray propellant onto the surface, and strong pressure can move dust into corners or under edges.
Always clean in a dust-free environment on a firm, flat surface. Avoid cleaning outside, near fans, near open windows, or after blowing dust around the workspace.
Instead of canned air, use a bulb blower for dust removal. It gives better control and reduces the risk of moisture exposure.
Confirm the camera is powered off during cleaning to prevent electrical issues and protect the sensor. If your drone uses a removable battery, remove it before you begin.
Finally, dispose of sensor swabs after a single use. Reusing a swab can drag grit across the sensor or move old fluid residue back onto the surface.
Note: Many consumer drones have sealed camera modules. If you cannot safely access the sensor, limit cleaning to the lens, filters, housing, vents, motors, and gimbal area.
How to Clean Drone Housing
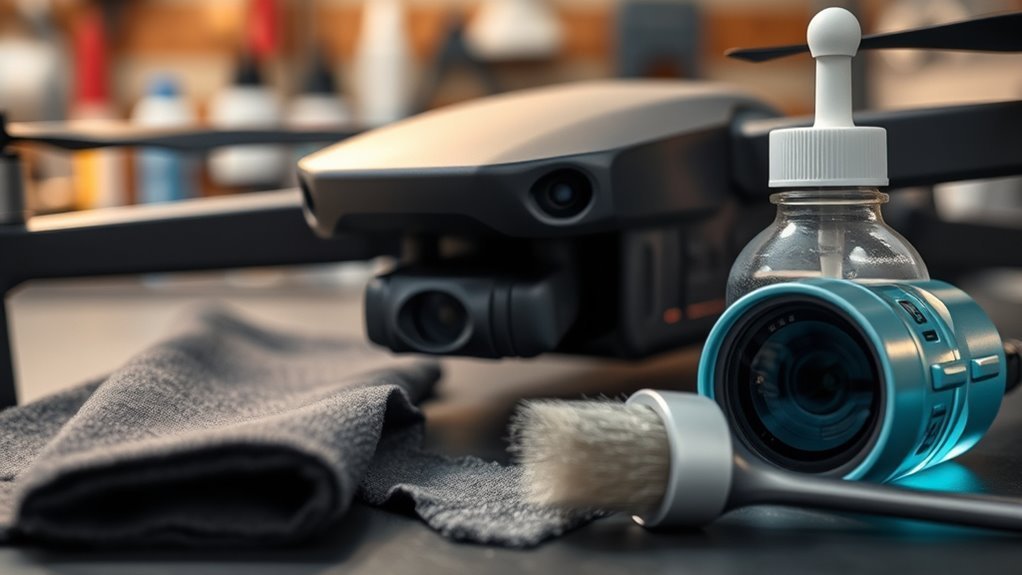
Cleaning your drone housing helps maintain performance, cooling, and long-term reliability. Dirt, grass stains, sand, pollen, salt spray, and insect residue can collect around vents, seams, landing gear, and camera mounts.
Start your routine cleaning by using a soft brush or gentle air blower to remove loose debris. Use care around vents and ports so you do not push dirt deeper into the drone.
Next, dampen a microfiber cloth with a small amount of water or gentle electronics-safe cleaner. Avoid aggressive chemical cleaners that could damage plastic, labels, sensors, rubber seals, or painted surfaces.
Wipe the surfaces carefully, covering the arms, body shell, underside, landing gear, and camera area. Do not let liquid drip into seams, motor openings, battery contacts, vents, memory card slots, or USB ports.
For a more thorough clean, remove any removable parts, such as propellers, before you begin. This protects the propellers and helps you reach areas where dirt can build up.
Always check the cleanliness of the drone housing before takeoff and landing. Schedule routine cleaning after flights in dusty, sandy, wet, or bug-heavy environments to keep your drone looking good and performing at its best.
Cleaning Motors Safely

To clean your drone motors safely, start by powering off the drone and removing the battery when possible. Motors can collect sand, grass fragments, dust, and tiny stones after low takeoffs or rough landings.
Carefully remove the propellers to access the motor area without risking blade damage. Keep each propeller organized so you reinstall it in the correct position and orientation.
Use controlled air from a blower or careful compressed air technique to remove loose dirt and debris from motor openings. Direct air in short bursts and avoid forcing debris deeper into the motor.
Always perform motor cleaning in a well-ventilated area and keep your face away from the motor openings. If a motor feels rough, sounds unusual, overheats, or resists spinning by hand, stop flying until you inspect it further.
Recommended Cleaning Tools
When maintaining drone motors, using the right tools is essential for effective cleaning and safety. A controlled air source can help remove dust and debris from motor openings.
Before starting, dismantle the rotors or remove the propellers according to your drone manual. This gives safer access and prevents the blades from spreading dirt while you clean.
Position the drone so loose debris can fall away from the motor. Direct air carefully, use short bursts, and avoid spinning the motors at high speed with air pressure.
Avoid abrasive materials, metal picks, and aggressive chemical cleaners because they can damage sensitive motor components. Do not pour liquid into the motor.
Regularly check and clean your motors because even small particles like sand and stones can create friction, noise, or operational issues if left unaddressed.
Safe Dismantling Process
Before you start the dismantling process, make certain the drone is completely powered off to prevent accidental activation. Remove the battery if your model allows it.
Remove the rotors or propellers to avoid damage during cleaning. Place them on a clean cloth and inspect them for cracks, chips, bent tips, or embedded grit.
Confirm you’re in a clean, dust-free area to keep contaminants away from sensitive components. Avoid working over loose sand, grass, or a dusty table.
Use controlled air to blow out dirt and debris from the motor openings. Direct the air carefully and avoid moisture, propellant residue, or excessive pressure.
After cleaning, allow the motors to sit so any residual moisture or condensation can evaporate completely before reassembling your drone.
Always handle sensitive components with care. Avoid excessive force or aggressive tools that could damage the motor’s internal parts.
Following these steps will help maintain your drone’s performance and reduce the chance of motor trouble during flight.
Compressed Air Usage
Using compressed air can help with cleaning drone motors when you use it carefully. Motors are less delicate than camera sensors, but they still need controlled pressure and dry air.
Follow these guidelines for safe and efficient cleaning:
- Always power off the drone before cleaning to prevent accidental activation.
- Remove the propellers for better access and to avoid debris contamination of the blades.
- Direct the compressed air nozzle into the motor openings from a safe distance, using short bursts.
- Avoid aerosol office dusters around sensors, lenses, and camera openings because propellant can leave residue.
- Do not overspin the motors with air pressure because this can stress bearings or generate unwanted electrical backfeed.
- Clean in a well-ventilated area to minimize dust buildup and support proper airflow.
Warning: If sand, water, or salt enters a motor, do not keep flying just because the drone still powers on. Continued use can make the damage worse.
Tips for Maintaining Your Drone

To keep your drone performing at its best, regular maintenance is vital. A simple inspection before and after flights can catch dirt, cracks, loose propellers, and lens smudges before they cause problems.
Start by cleaning your drone’s camera lens with a specialized lens cleaning pen or microfiber cloth. This helps maintain clear footage and prevents dirt from building up on the lens surface.
Use a soft brush, bulb blower, or careful air cleaning to remove contaminants like dirt and insect residue from the drone housing. Keep moisture away from ports, seams, vents, and battery contacts.
Check the motors weekly for debris if you fly often. Blowing out sand and small stones is especially important after flights in dusty fields, beaches, gravel areas, or dry trails.
Monitor important areas, including sensors and ventilation, for dirt accumulation. Clean them promptly to enhance your drone’s performance and lifespan.
Familiarize yourself with your specific drone model’s cleaning needs. Camera design, weather sealing, propeller layout, gimbal style, and environmental conditions can all affect maintenance frequency and technique.
Following these tips will help you maintain your drone effectively and keep it operating smoothly throughout its use.
Recognizing Sensor Dust
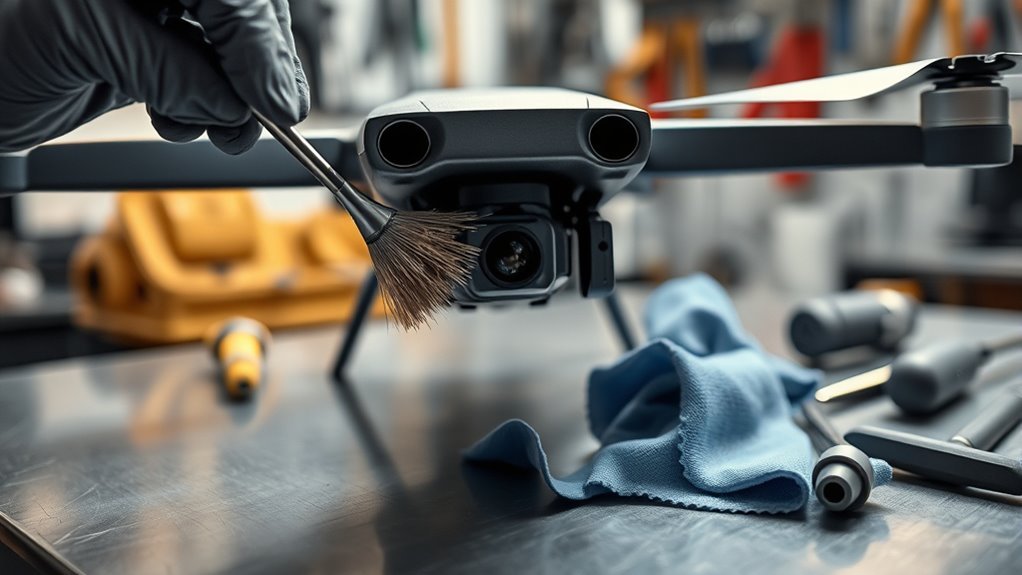
Recognizing sensor dust helps you maintain image quality in drone photography. Sensor dust often appears as small dark spots, soft blotches, or grainy marks in photos and video frames.
Dust is usually easiest to see against a bright, plain background, such as a clear sky, white wall, or evenly lit surface. It often becomes more visible at small apertures.
To identify it more confidently, follow these tips:
- Inspect images taken at small apertures, such as f/16 or f/22, when your drone camera allows aperture control.
- Look for consistent spots in the same location across multiple images.
- Check against bright backgrounds to make dust particles easier to see.
- Be careful when changing filters or lenses, as this can introduce contaminants near the camera.
- Avoid launching, landing, or swapping accessories in windy or sandy areas when possible.
If you notice sensor dust affecting your images, it may be time for careful cleaning. Start with dry dust removal and move to wet sensor cleaning only if your drone allows safe sensor access.
Keeping an eye on your drone’s sensor helps preserve peak image clarity and protects the quality of your photography.
Preventing Dust Accumulation

While flying your drone may expose it to dust and debris, taking proactive steps can reduce the risk of dust accumulation on sensors and lenses.
Start by regularly cleaning the drone housing and checking for cleanliness before each flight, especially in dusty, sandy, grassy, or coastal environments.
After each outing, use a clean microfiber cloth to wipe down the lens and housing. This prevents dirt buildup and supports peak image quality.
Use a bulb-style air blower to remove dust from sensitive areas without introducing moisture. This method gives better control than canned air around the camera and sensor area.
When changing lenses or filters, always do so in still air with the camera pointed downward when possible. This helps keep dust from entering the sensor or lens area.
Store your drone in a clean, dust-free environment. Use lens caps, gimbal covers, body covers, and a clean case to protect sensors and lenses when the drone is not in use.
Consistent maintenance is key to ensuring your drone captures clean, sharp images.
Post-Cleaning Care and Considerations

After cleaning your drone’s sensors and lenses, conduct a thorough inspection for residual dust, lint, streaks, or smudges. Good post-cleaning care helps you confirm the drone is ready before your next flight.
You can capture a test photo against an illuminated white surface or bright sky at a small aperture, such as f/16 or f/22, when your camera supports aperture control. This helps reveal remaining dust spots and confirms ideal clarity.
After cleaning your drone’s lenses, capture a test photo on a bright surface to check for any lingering imperfections.
For effective post-cleaning care, remember to:
- Inspect for dust, lint, streaks, or smudges before the next flight.
- Allow the drone to dry completely, especially around moisture-prone areas.
- Maintain cleaning tools like swabs and microfiber cloths to avoid contaminants.
- Recalibrate the camera, gimbal, or sensors if your drone app recommends it after cleaning or handling.
- Store the drone in a clean case to reduce dust accumulation.
Before flying, confirm that the propellers are reinstalled correctly, the gimbal moves freely, the lens is clear, and no cloth fibers remain near vents or camera seams.
Related Guides
Frequently Asked Questions
What should you not clean a camera lens with?
Do not clean a camera lens with household glass cleaners, ammonia-based products, rough fabric, paper towels, dirty cloths, your fingers, saliva, or your breath. These can leave residue, damage coatings, or drag abrasive particles across the lens.
How do you clean your camera lens and sensor?
For the lens, remove loose dust with a blower or lens pen, then wipe gently with a clean microfiber cloth. For an accessible sensor, use a bulb blower first. If dust remains, use a correct-size sensor swab with sensor-safe fluid and make one smooth pass.
Is it okay to clean a camera sensor with alcohol?
Only use a cleaning fluid that is made for camera sensors and compatible with your sensor type. Do not use random rubbing alcohol, scented alcohol, household alcohol, or blends with additives because they can leave residue or harm coatings.
What can damage a camera sensor?
A camera sensor can be damaged by abrasive tools, reused swabs, too much pressure, harsh chemicals, liquid applied directly to the surface, canned air propellant, and cleaning in a dusty environment. Always use sensor-safe tools and gentle technique.
How often should you clean drone sensors and lenses?
Inspect the lens after every flight and clean it when you see dust, fingerprints, water spots, or haze. Clean sensors only when test photos show repeat dust spots or image quality problems. Overcleaning a sensor can create more risk than benefit.
Can you use canned air on a drone?
Use caution. Canned air is not recommended around sensors, lenses, or camera openings because propellant can leave residue. For motors and housing, short controlled bursts may help, but a bulb blower and soft brush are safer for sensitive areas.
Conclusion
Keeping your sensor and lens cleanliness under control is one of the simplest ways to protect drone performance and image quality. Use a dry-first approach, clean gently, and avoid risky shortcuts such as household cleaners, dirty cloths, and canned air near camera sensors.
Inspect the lens after flights, remove dust before wiping, and use proper sensor tools only when you truly need them. Keep the housing, motors, vents, and gimbal area free from dirt so your drone stays ready for safe, smooth flights.
With the right tools and careful habits, your drone can deliver clean, sharp aerial visuals without avoidable streaks, smudges, or dust spots. A clean drone is a capable drone, ready to capture clear footage every time you fly.

