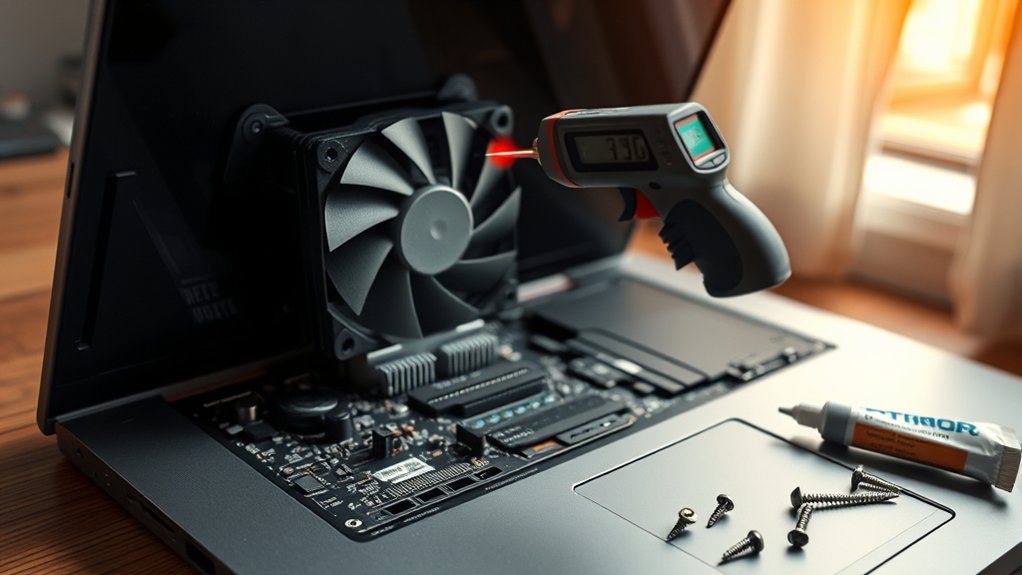
A faulty laptop temperature sensor is usually indicated by impossible readings such as 135°C or -100°C at idle, erratic fan speed changes, constant fan noise, unexpected throttling, or random shutdowns despite a cool chassis. Actual CPU temperatures should normally stay around 30°C to 90°C depending on load. It helps to verify values with tools like HWMonitor or AIDA64, then clean vents, reinstall thermal or chipset drivers, and check BIOS updates. The next steps clarify what confirms it.
How to Tell If the Sensor Is Wrong
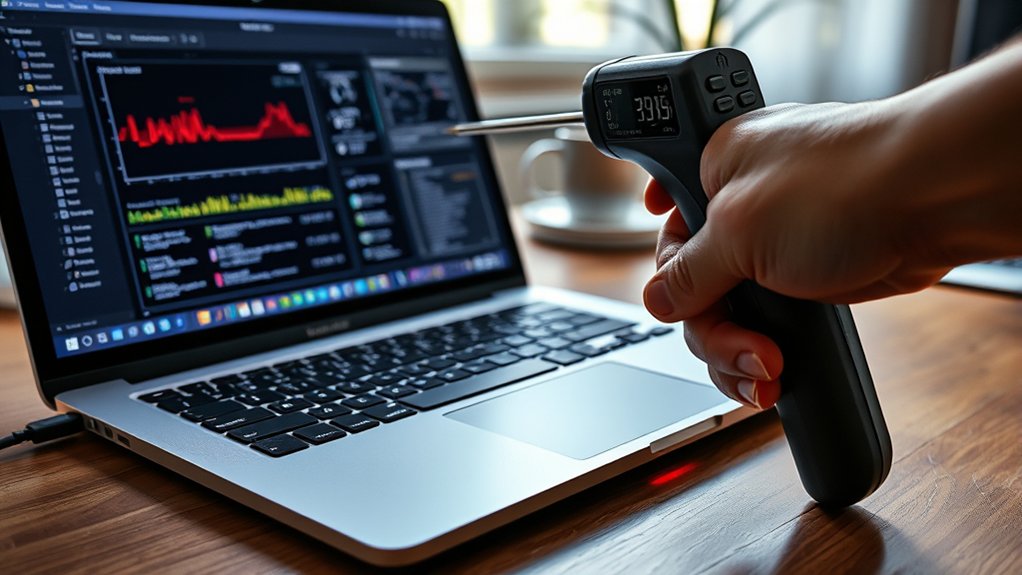
How can a faulty laptop temperature sensor be identified with confidence? Verification begins by testing reported values against physical plausibility. A CPU or GPU reading of 135°C at idle, or a negative value such as -100°C, indicates a faulty temp sensor rather than a survivable operating state.
Confidence starts with plausibility: impossible idle temperatures almost always expose a faulty laptop sensor, not a real thermal condition.
Liberation from guesswork requires correlation, not assumption. Multiple utilities, including HWMonitor and AIDA64, should be run to compare telemetry streams and confirm whether the anomaly persists across software layers.
Further confirmation comes from behavior under controlled conditions. If fan speed remains aggressive while the chassis stays cool, sensor data is suspect. Random shutdowns or abrupt throttling during light workloads can also reflect firmware protection triggered by incorrect thermal input.
A physical inspection should follow: examine the sensor connection on the motherboard, then compare reported temperatures with an external probe. Agreement supports sensor validity; major divergence isolates the defective sensing path and narrows repair decisions precisely.
Spot the Signs of False Temp Readings
False temperature readings usually reveal themselves through mismatch rather than heat alone. A faulty sensor often reports impossible values, such as minus 100°C or well above 100°C, while the chassis, exhaust, and performance remain ordinary. That disconnect is the first diagnostic clue.
Further signs appear in system behavior. Fans may run constantly even when the laptop feels cool, or fan speed may surge and drop without meaningful workload changes. Random shutdowns and sudden throttling can also follow inaccurate temp data, because thermal control logic acts on bad inputs instead of real conditions.
Software comparison helps expose inconsistency. Tools such as HWMonitor and AIDA64 can be used to compare CPU temp readings with clock behavior, fan activity, and overall responsiveness.
When numbers look extreme yet performance does not align, suspicion increases. If doubt remains, a temperature probe can independently challenge the sensor reading before any deeper repair decision is made.
Check Your Real Laptop Temps
Before any repair decision is made, the laptop’s actual temperature should be verified with reliable diagnostic tools such as HWMonitor, CPU-Z, or AIDA64. These utilities report cpu thermals more credibly than a suspicious BIOS screen. If readings show impossible values, such as -100°C, the likely cause is a defective sensor rather than genuine cooling failure. Under ordinary conditions, most systems should sit roughly between 30°C and 90°C depending on workload.
Verify temperatures with HWMonitor, CPU-Z, or AIDA64 before repairing; impossible readings usually indicate a faulty sensor, not overheating.
- Compare software readings at idle and under load, such as gaming or benchmarking.
- Watch whether performance throttling matches the reported temperature rise.
- Use an external probe when software values remain erratic or internally contradictory.
This process helps separate hardware truth from firmware fiction. If temperatures rise logically during stress and stabilize afterward, the sensor is probably functional. If the fan ramps aggressively while numbers remain absurd, diagnostic suspicion strengthens.
Accurate verification frees troubleshooting from guesswork and prevents unnecessary part replacement or invasive disassembly.
Clean the Fans and Vents First
Fan and vent cleaning should be treated as the first corrective step, since dust accumulation restricts airflow and raises internal temperatures.
The laptop should be powered off and unplugged before compressed air is used to clear debris from intake and exhaust paths.
Restoring unobstructed airflow can reduce thermal throttling and improve cooling stability.
Safe Dust Removal
A quick inspection of the cooling path often identifies dust buildup as a primary cause of elevated temperatures and excessive fan noise. For safe dust removal, the device should be powered off and unplugged before any maintenance begins. Blocked vents force higher fan speed and reduce thermal efficiency, trapping the system in unnecessary heat stress.
- Use compressed air on vents and fan intakes, keeping the can upright to prevent moisture discharge.
- Clear dust in short bursts rather than continuous spray to minimize strain on delicate fan assemblies.
- Repeat cleaning every 6–12 months, with shorter intervals for dusty rooms or sustained gaming workloads.
This simple intervention restores cooling performance, reduces acoustic strain, and helps users reclaim stable operation without invasive disassembly or premature concern about sensor failure.
Improve Airflow Paths
Improve airflow by clearing the cooling path and eliminating external obstructions. Before intervention, the laptop should be powered off and unplugged to prevent electrical damage.
Dust accumulation inside fans and vents restricts intake and exhaust, causing elevated temperatures and unstable performance under load. Compressed air applied every six to twelve months can restore circulation and help improve airflow paths without invasive disassembly.
Placement also affects thermal behavior. A hard, flat surface keeps intake vents unblocked, while fabric or bedding traps heat and suppresses cooling efficiency.
After cleaning, temperature-monitoring software should be used to verify lower operating values during demanding tasks. If temperatures remain abnormal, the fault may extend beyond blocked vents to degraded thermal paste, misreported sensor data, or fan wear requiring deeper service. That restores thermal freedom and stable operation.
Fix BIOS, Drivers, and Fan Control Bugs
BIOS updates can correct known temperature monitoring faults, and restoring default firmware settings can remove fan control misconfigurations.
Reinstalling chipset, thermal, and sensor-related drivers helps prevent reporting errors caused by OS-to-hardware communication faults.
Fan behavior should also be checked against the correct motherboard header assignment, then verified with tools such as HWMonitor or Ryzen Master.
Update BIOS Safely
Many laptop temperature-sensor faults trace back to outdated firmware or driver logic rather than failing hardware. To update BIOS safely, a disciplined process is required because BIOS revisions often correct false thermal readings, erratic fan curves, and broader stability defects. Such updates can free the system from firmware-level constraints that distort thermal management.
- Verify the exact laptop model, current BIOS version, and vendor release notes for fixes involving sensors, CPU behavior, or fan control.
- Connect reliable AC power, charge the battery, and back up critical data before flashing to reduce interruption risk and avoid preventable loss.
- Use only the manufacturer’s approved update method and follow every instruction exactly to prevent corruption or bricking.
Periodic BIOS checks also preserve compatibility with newer CPUs and GPUs over time.
Reinstall Sensor Drivers
Reinstalling temperature-sensor and chipset management drivers often corrects software-layer faults that disrupt thermal reporting, fan behavior, or BIOS-exposed readings. This step can eliminate corrupted interfaces between embedded controllers, ACPI tables, and monitoring utilities, restoring accurate CPU and GPU temperature data inside firmware and the operating system.
To reinstall sensor drivers effectively, one should remove existing chipset, thermal, and vendor utility packages, then install current versions from the laptop manufacturer. A BIOS update may also be required to resolve reporting anomalies such as negative values or implausible spikes.
Afterward, temperatures should be verified with reliable tools such as HWMonitor or AIDA64 to confirm proper fan response under load. If errors persist after reinstalling sensor drivers, deeper diagnostics are warranted, including the possibility of a defective sensor requiring hardware-level evaluation.
Correct Fan Header
If driver reinstallation and firmware updates do not restore normal thermal behavior, the next check is fan control integrity at the hardware and firmware level. A misplaced CPU fan lead can defeat adaptive cooling, so the system should be inspected for connection to the correct fan header.
- Confirm the CPU fan is attached to the correct fan header; a wrong header may force constant RPM and distort thermal response.
- Update the BIOS and review fan control settings, ensuring temperature curves track actual CPU readings rather than stale or generic values.
- Stress the CPU under load and observe whether fan speed rises proportionally, which helps expose monitoring bugs or misreported temperatures.
This sequence isolates control-path faults and supports freer, more reliable thermal regulation without replacing functioning hardware prematurely or wasting repair effort.
Update BIOS If Laptop Temps Look Wrong
Check the BIOS version before assuming the temperature sensor is failing. An outdated firmware layer can misreport thermal data, producing implausible values such as negative temperatures or sudden spikes. These errors often distort fan behavior, causing unnecessary ramping or delayed cooling responses.
To reclaim accurate diagnostics, the user should update BIOS only after confirming the exact laptop model and current revision against the manufacturer’s support page. A current BIOS may contain bug fixes for embedded controller communication, better sensor compatibility, and refined thermal management tables.
Those changes can stabilize CPU and system temperature readings while improving fan control consistency. Because faulty reporting can mimic hardware failure, firmware correction is a necessary step in a disciplined troubleshooting sequence.
The process, however, is not casual. The user should apply stable power, follow vendor instructions exactly, and avoid interruption. A careful BIOS update frequently resolves false temperature readings without replacing components or surrendering control to misleading telemetry.
When the Temperature Sensor Needs Repair
After BIOS updates and basic maintenance have ruled out reporting errors, persistent thermal anomalies point more directly to sensor repair. A defective sensor can distort thermal data, forcing the fan to run constantly or preventing the fan curve from responding to real heat. That failure undermines stable, self-directed performance.
- Random shutdowns under light load often indicate false thermal triggers rather than genuine overheating.
- Sudden fan speed swings, despite cool chassis surfaces and low CPU use, suggest erratic sensor output.
- Continued overheating after vent cleaning and firmware updates supports deeper diagnostic inspection.
At that stage, professional testing is usually justified. A technician can verify sensor continuity, board-level connections, and communication between thermal probes and fan control circuits.
Loose connectors or failing sensors can degrade overall system behavior and quietly accelerate hardware wear. Repair restores accurate thermal governance, prevents unnecessary fan stress, and extends component lifespan.
For users seeking freedom from unstable performance, sensor correction is a practical, protective intervention.
Frequently Asked Questions
How to Tell if a Temperature Sensor Is Faulty?
A faulty temperature sensor is indicated by impossible readings, mismatch with system behavior, persistent fan anomalies, or random shutdowns. Sensor Calibration checks, comparison with diagnostic tools, and motherboard inspection help verify failure and support independent troubleshooting.
How to Fix a Faulty Temperature Sensor?
Fixing a faulty temperature sensor requires diagnostic verification, Sensor Calibration, BIOS updates, and connector inspection. If readings remain erratic, cleaning, thermal paste renewal, or professional sensor replacement restores autonomous thermal control and prevents cooling mismanagement.
How Do I Reset My Temperature Sensor?
Like resetting a compass, one resets the temperature sensor by powering down, unplugging, disconnecting the battery, and discharging residual power. Then BIOS verification follows; if readings persist, Sensor Calibration, BIOS defaults, updates, or professional diagnostics restore autonomy.
What Are the Common Causes of a Temperature Sensor Failure?
Common causes include manufacturing defects, overheating damage, dust-induced thermal stress, poor airflow, degraded thermal paste, software bugs, outdated BIOS interpretation, and Sensor Calibration drift. Diagnosis should verify actual thermals independently, freeing assessment from misleading reported values.
Conclusion
A faulty laptop temperature sensor is best identified through contradiction: implausible readings, normal chassis heat, stable performance, and verified external measurements. Basic thermal maintenance should be completed first, followed by BIOS, driver, and fan-control checks. If reported temperatures still behave erratically, sensor circuitry or motherboard-level monitoring logic may be defective. At that stage, repair or board replacement becomes the practical remedy, however telegram-like the diagnosis may seem beside modern embedded control systems.
