Flying a drone in the mountains is possible, but it is harder than flying over flat, low-elevation ground. Thin air, steep terrain, fast-changing weather, blocked radio signals, colder batteries, wildlife, and airspace rules can all affect your flight. Before you launch, you need to plan your route, check the forecast, confirm legal limits, and set a safe return-to-home altitude.
Quick Answer
Mountain drone flying is safe only when you plan for altitude, wind, signal blockage, battery drain, and local flight rules. Keep the drone within visual line of sight, stay under legal altitude limits, avoid strong wind or precipitation, and launch with enough battery to return against mountain gusts.
Key Takeaways
- Higher elevation reduces air density, so your drone may need more power to stay stable.
- Mountains can block radio signals because drone control links work best with clear line of sight.
- Wind, turbulence, updrafts, downdrafts, and cold temperatures can shorten flight time fast.
- In the U.S., many drone flights must stay at or below 400 feet above ground level unless specific rules or authorization allow otherwise.
- A safe mountain flight plan should include weather checks, battery margins, return-to-home settings, airspace checks, and a clear emergency plan.
At a Glance
| Best For | Experienced pilots, landscape filming, mapping, hiking documentation, and mountain scouting |
| Difficulty | Moderate to advanced, depending on terrain, wind, elevation, and airspace |
| Main Risks | Signal loss, wind shear, cold batteries, low lift, altitude-limit mistakes, wildlife, and poor landing zones |
| Pre-Flight Essentials | Charged batteries, updated maps, airspace check, weather check, RTH altitude, landing backup, and visual line-of-sight plan |
Understanding Altitude Effects on Drone Performance
As you ascend into mountainous regions, altitude changes how your drone flies. Air pressure decreases with elevation, which means the propellers have less dense air to push against. Your drone may still fly well, but it often has to work harder to create lift and hold position.
As altitude increases, drone performance can decline because thinner air reduces lift and forces the motors to work harder.
You’ll also notice that higher altitudes can increase battery demand. The motors may spin faster to maintain stable flight, especially during climbs, hover shots, or flights into wind. That extra load can reduce flight time and leave less margin for a safe return.
Many popular camera drones list a maximum service ceiling in the range of several thousand meters above sea level. That number is not a promise that every mountain flight will be safe. It only tells you the upper operating range under specific conditions, so you should always check your own drone’s manual before flying at elevation.
Cold temperatures add another challenge. Lithium-based drone batteries do not perform as well when they are cold, and mountain air can cool a battery quickly. A battery that looks comfortable at launch can drain faster once the drone climbs into colder wind.
Warning: Do not treat the advertised maximum altitude as a target. Wind, payload weight, propeller condition, temperature, and battery health can all reduce safe performance before you reach that limit.
Understanding these factors helps you make better launch decisions. If your drone struggles to hover, climbs slowly, drifts, or shows rapid battery loss, land early instead of trying to complete the shot.
Navigating Radio Signal Challenges in Mountainous Areas
Flying in mountainous areas presents unique signal challenges. Drone control links work best when the controller and aircraft have a clear path between them. When your drone flies behind a ridge, rock wall, cliff, or dense tree line, the signal can weaken or drop.
Radio waves often behave like line-of-sight signals in real-world drone flying. That means the terrain between you and the aircraft matters as much as the distance. A drone can lose connection close to you if a mountain blocks the path, while a farther drone may stay connected over open ground.
Dense vegetation, wet trees, deep valleys, and rugged rock formations can also reduce signal quality. You may see lagging video, weak control warnings, compass alerts, or a sudden return-to-home trigger. These signs deserve quick action because mountains leave less room for error.
It’s essential to maintain visual contact with your drone at all times. Visual line of sight helps you confirm the aircraft’s position, direction, and distance, even when the live video feed becomes unreliable.
Wildlife can create another challenge. Birds of prey, including eagles and hawks, may show interest in a drone or defend territory. If birds approach, climb only if it improves separation safely, move away calmly, and land as soon as practical.
Pro Tip: Keep yourself on high, open ground when possible. A launch point with a clear view of the flight area usually gives you better signal strength and better visual awareness.
To reduce signal risks, set a return-to-home altitude that clears nearby terrain, avoid flying behind ridgelines, and plan a route that keeps the drone in front of you. Do not depend only on the map view or camera feed when terrain blocks your direct view.
[Amazon Products Picked for You]
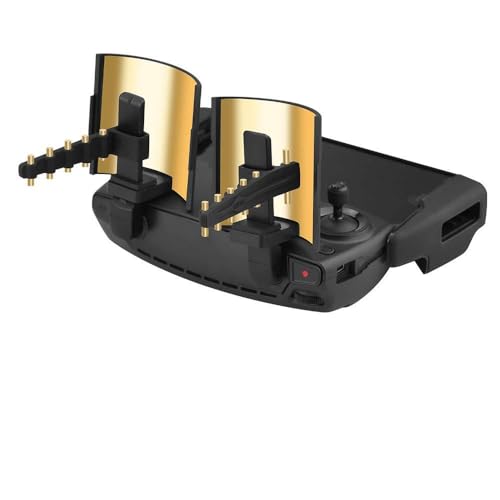
『Range Extender for Drone』Yagi Antenna + Parabolic Range Extender for Mavic Mini/Mavic 2/Mavic PRO/Mavic AIR ,2 Pairs Drone Accessories Set .

-Extended Signal Range & Improve for DJI Mini 5 Pro/Air 3S/Mini 4 Pro/Flip/Mavic 4 Pro signal and extend the remote control distance.
The Impact of Weather on Drone Flight Stability
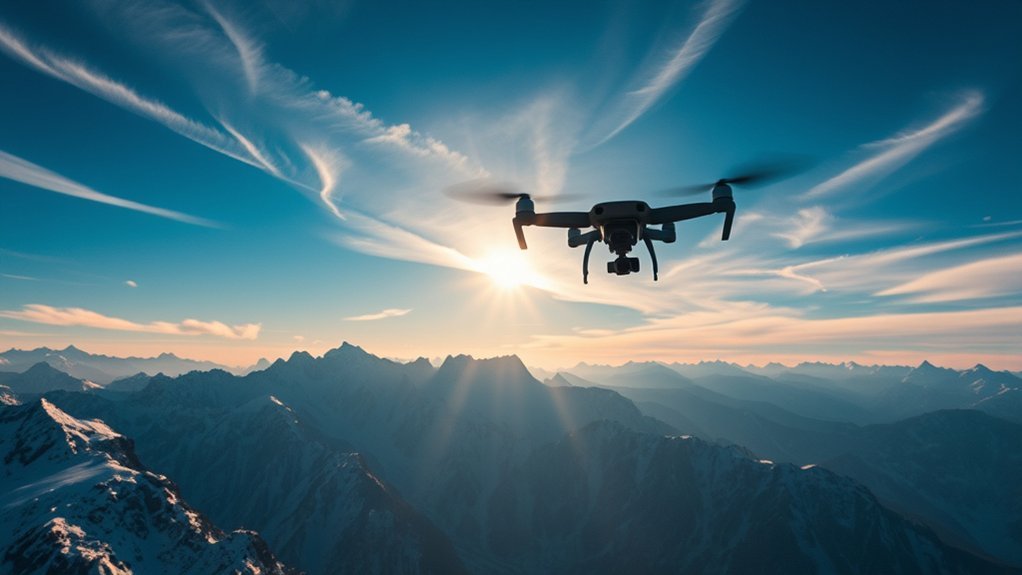
Mountain weather can change quickly, and those changes can affect drone flight stability. Calm air at the trailhead does not always mean calm air above a ridge, pass, summit, or canyon wall.
Wind can accelerate as it moves over peaks and through narrow valleys. The same route that feels safe during the outbound leg can become difficult during the return if the drone has to fly into a headwind.
Accurate weather planning is essential because even slight changes can affect battery use, altitude control, and return distance. Always check wind speed, gusts, precipitation, temperature, cloud cover, and visibility before launch.
[Amazon Products Picked for You]

【Multifunction Pro Anemometer】Wind Speed, Wind Temperature, Wind Chill, Low battery indicator on bright backlit LCD screen. BT-100 is a portable wind speed guages can accurately measure air speed in 5 units: m/s, km/h, ft/min, knots, mph. Wind Temp in ℃/℉(Degree Celsius/Fahrenheit)
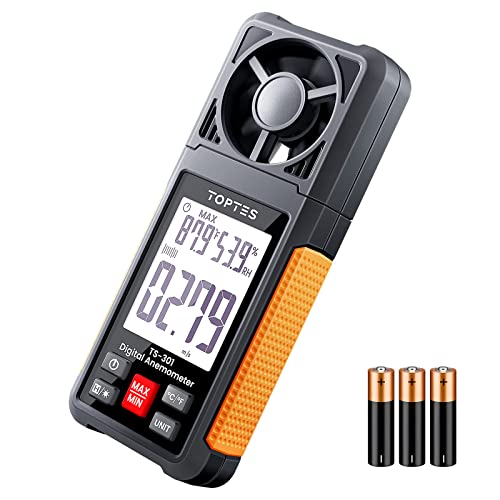
Easy to Read with 2.26-inch LCD Backlit Screen: The TopTes Anemometer features a large 2.26" LCD screen for easy readings. This handheld wind meter is ideal for outdoor activities like sailing, windsurfing, drone flying, kite flying, boating, frisbee, golf, shooting, and more. Use it to determine local weather conditions and assess wind speed's potential impact on your activities

Highly Accurate Digital Wind Meter: Portable Wind measure device with a sensitive temperature sensor & 7 smooth fan shaft blades. Accurately measuring wind speed 0.3~30m/s or 59~5905 ft/min(±5% of reading) Temperature -14℉~113℉ and Wind chill in real time measurement
Turbulence and Air Currents
Turbulence and unpredictable air currents in mountainous regions can make a drone drift, bounce, or fight to maintain a steady hover. Stronger winds, updrafts, downdrafts, rotor turbulence, and wind shear can all appear near slopes and ridge edges.
Updrafts can push the drone higher than expected, while downdrafts can force it lower. Both situations can surprise you if you are filming close to cliffs, trees, or uneven ground.
At elevated altitudes, thinner air can make these effects feel worse because the drone has less lift available. The aircraft may use more battery as the propellers work harder to hold altitude and position.
Be extra careful near saddles, ridge gaps, cliff faces, and valley mouths. These areas can funnel air and create sudden gusts. If the drone begins tilting heavily, drifting, or warning about high wind, bring it back while you still have enough battery.
Weather Forecasting Accuracy
Weather forecasts are helpful, but mountain microclimates can vary dramatically over short distances. A forecast for the nearest town may not match wind, temperature, or cloud conditions at a high overlook.
Use multiple weather inputs when possible. Check a general forecast, a mountain-specific forecast, wind maps, precipitation radar, and real-time observations from nearby stations. Pay special attention to gusts, not just steady wind.
Some drone planning tools use color-coded flight risk levels based on wind, precipitation, temperature, visibility, and satellite conditions. These tools can help, but they should not replace your own judgment at the launch site.
Understanding air currents is especially important for mountain pilots. If you see fast-moving clouds, blowing dust, shifting tree tops, sudden temperature drops, or birds struggling to hold position, conditions may be too unstable for a safe flight.
Note: If the drone uses more battery than expected on the outbound leg, turn back early. Mountain wind can make the return flight slower and more power-hungry.
Legal Flight Restrictions for Mountain Drone Operations
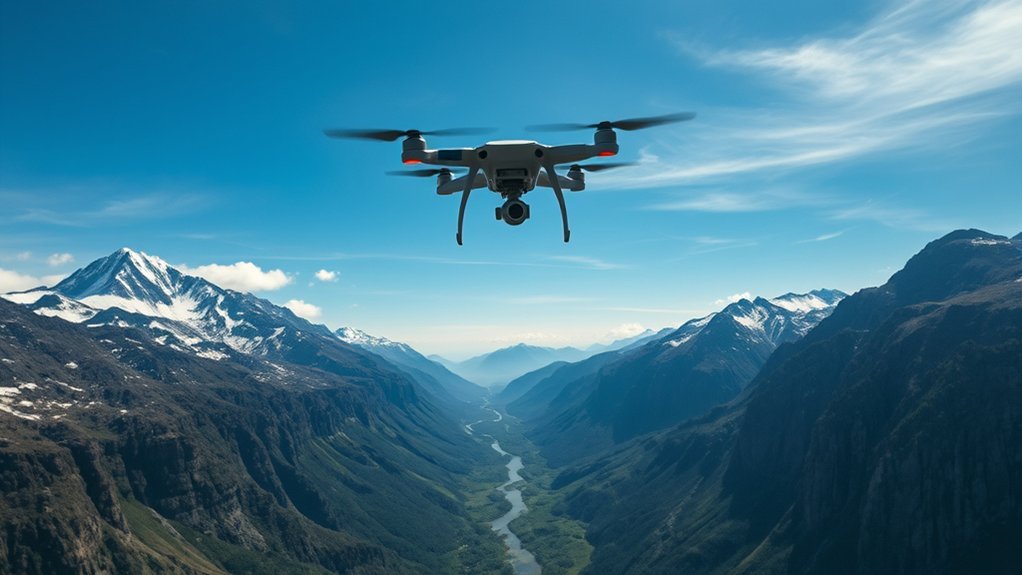
When operating drones in mountainous areas, you must follow the drone rules for the country, airspace, park, and land manager that control your launch area. Mountain terrain does not remove altitude limits, visual line-of-sight duties, registration rules, or airspace restrictions.
In the U.S., many small drone operations follow a 400-foot above-ground-level limit unless the pilot is operating under a rule or authorization that allows something different. In Australia, standard drone safety rules also commonly refer to a 120-meter limit, which is about 400 feet.
Mountains make altitude compliance harder because the ground below the drone changes constantly. A flight path that starts within the limit can become questionable if the drone moves away from the slope and out over a valley.
Altitude Limitations and Regulations
Maneuvering altitude limitations and regulations is essential for anyone flying drones in mountainous regions. Recreational and small drone flights often need to remain below a set height above ground level, not simply below a set height above the launch point.
This difference matters on steep slopes. If you launch from a ridge and fly out over a valley, your drone may be much higher above the ground below it than the number shown relative to your takeoff point.
| Altitude Category | Regulation | Special Permissions Needed |
|---|---|---|
| Below 400 feet above ground level | Common small-drone operating limit in several rule sets | Usually no, if all other rules are followed |
| Above 400 feet above ground level | May require authorization or a specific allowed operation | Yes, in many cases |
| Below takeoff point over a valley | Requires caution because height above ground can change fast | Depends on local rules and actual height above ground |
Awareness of these legal restrictions helps you avoid unsafe flights and costly enforcement problems. Always check your location in an approved airspace app before you launch.
Visual Line-of-Sight Requirements
Flying drones in mountainous regions requires strict attention to visual line-of-sight requirements. You must be able to see the drone well enough to know where it is, where it is heading, and whether it may hit terrain, aircraft, people, or wildlife.
Mountains make this harder because terrain can hide the aircraft quickly. A drone that is visible for one moment can disappear behind a ridge, tree line, or rock feature during a simple sideways move.
Flying below the takeoff point in valleys can also create confusion. Your controller may show a negative altitude reading relative to the launch point, but the drone may still be high above the valley floor. Watch both the screen and the actual terrain around the aircraft.
If you cannot maintain visual line of sight, do not continue the flight. Move your launch position, shorten your route, use a visual observer where allowed, or choose a safer location.
Airspace Restrictions and Permissions
Steering through mountainous regions with drones involves more than maintaining visual line of sight. You also need to understand airspace restrictions, land-use rules, and permission requirements.
Here are key considerations for legal flight operations:
- Altitude regulations: Keep your drone within the legal height limit for your location unless you have the correct authorization.
- Controlled airspace: Check whether you are near airports, heliports, military areas, emergency routes, or controlled airspace.
- Park and wilderness rules: Some national parks, wilderness areas, reserves, and local parks restrict or prohibit launching, landing, or operating drones.
- Temporary restrictions: Wildfires, rescue operations, public events, and emergency response zones may create temporary no-fly areas.
- Privacy and people: Avoid flying over people, campsites, homes, private property, and sensitive cultural or wildlife areas without proper permission.
Adhering to these guidelines supports compliant and safe operations in mountainous environments. When rules conflict or seem unclear, choose the more cautious option and do not launch until you can confirm permission.
Best Practices for Safe Mountain Drone Flying
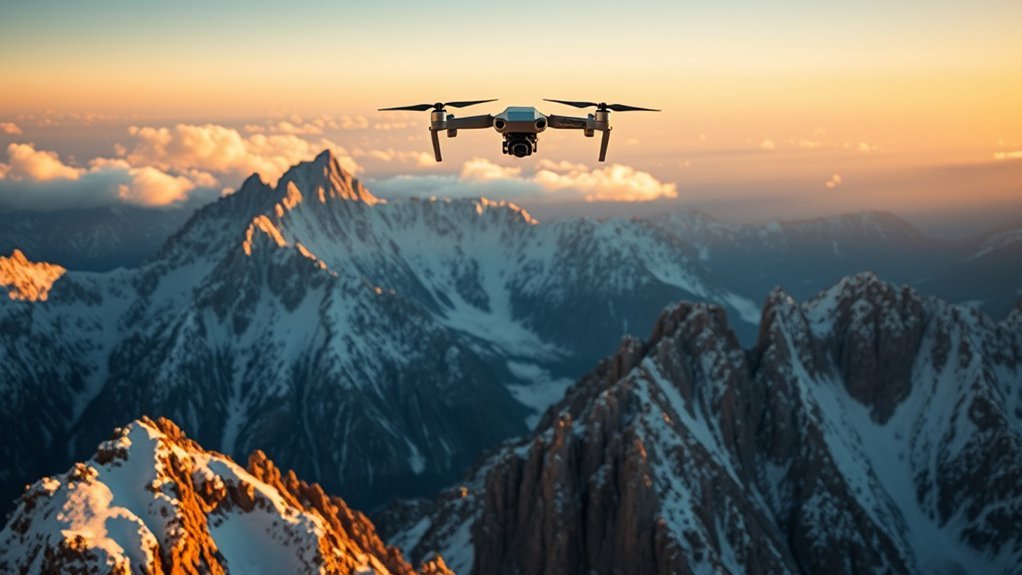
When operating a drone in mountainous terrain, strong habits matter. A good mountain flight starts before you unfold the propellers.
First, verify that your drone can handle the elevation and temperature. Check the manufacturer’s manual for altitude limits, battery temperature guidance, propeller recommendations, payload limits, and return-to-home behavior.
Next, inspect your aircraft. Look for cracked propellers, loose arms, dirty sensors, damaged batteries, and outdated firmware. Small problems can become serious when the drone is fighting wind, cold, or thin air.
Maintain visual line of sight with your drone at all times. Avoid flying behind ridges, into narrow canyons, or around rock faces where you cannot see the aircraft or predict signal strength.
Set your return-to-home altitude before takeoff. In mountains, the default setting may be too low to clear nearby terrain. Choose a height that clears obstacles while still respecting legal altitude rules.
Regularly check weather forecasts and observe real conditions at the launch point. If gusts are stronger than expected, clouds are dropping, or precipitation is moving in, wait for safer conditions.
Use conservative battery limits. Many pilots return when the battery reaches 40% to 50% in difficult mountain conditions, especially when the route includes wind, distance, or altitude gain.
Finally, be cautious of wildlife, hikers, climbers, and other aircraft. If your flight could disturb animals or people, choose another time or location.
Mountain Drone Pre-Flight Checklist
Use this checklist before every mountain launch:
- Airspace: Confirm the area is legal for drone operations.
- Land rules: Check park, trail, wilderness, and private-property restrictions.
- Weather: Review wind, gusts, precipitation, visibility, and temperature.
- Battery: Start with fully charged, warm, healthy batteries.
- Propellers: Inspect for chips, cracks, warping, or loose mounting.
- Compass and GPS: Wait for a stable home point before takeoff.
- RTH altitude: Set a return height that accounts for nearby terrain.
- Flight path: Keep the route in front of you and within visual line of sight.
- Landing zone: Pick a flat, clear launch area and a backup landing spot.
- Emergency plan: Decide what you will do if wind, birds, people, or signal loss become a problem.
Battery Management at High Elevation
Battery management becomes more important in the mountains because cold air, wind, and higher motor load can shorten flight time. Start with batteries that are fully charged and within the safe operating temperature range listed by your drone maker.
Keep spare batteries warm in a bag or inner pocket until you need them. Do not launch with a cold battery, swollen battery, damaged battery, or battery that shows abnormal voltage warnings.
Plan your flight so the drone returns with a comfortable reserve. Avoid draining the battery while chasing one final shot. The safest mountain pilots treat low-battery warnings as a reason to land, not as a suggestion to keep filming.
Safe Launch and Landing in Rough Terrain
Mountain launch sites are often uneven, dusty, rocky, snowy, or covered with grass. These surfaces can damage propellers, confuse downward sensors, or make landing unstable.
Use a landing pad when possible. If you do not have one, choose the flattest clean area available and clear loose stones, sticks, and debris. Keep people and pets away from the takeoff zone.
Hand launching or hand catching can be risky in wind or uneven terrain. Only use those techniques if your drone model supports them, you have practiced safely, and local rules allow it.
Utilizing Weather Forecasting Tools for Drone Planning
Effective drone planning in mountainous regions depends on good weather information. You should not rely on one simple forecast when terrain can create different conditions within a short distance.
These resources can improve your planning:
- Drone weather apps: Some tools rate flight conditions using wind, gusts, rain, cloud cover, temperature, and satellite data.
- High-resolution wind forecasts: Wind maps can help you see whether gusts may increase near ridges, passes, and exposed summits.
- Radar and precipitation forecasts: These help you avoid rain, snow, and fast-moving storm cells that can damage electronics or reduce visibility.
- Mountain weather forecasts: Regional mountain forecasts often explain ridge winds, freezing levels, clouds, and visibility better than city forecasts.
- On-site observations: Watch trees, dust, clouds, birds, and temperature changes before you launch.
- Kp index monitoring: Geomagnetic activity can affect satellite navigation, so some pilots check it before flights that depend heavily on GPS stability.
Regularly checking precipitation probabilities and gust forecasts helps you avoid severe weather hazards. If a tool says conditions are marginal, treat that as a reason to shorten the route, delay the flight, or stay grounded.
[Amazon Products Picked for You]
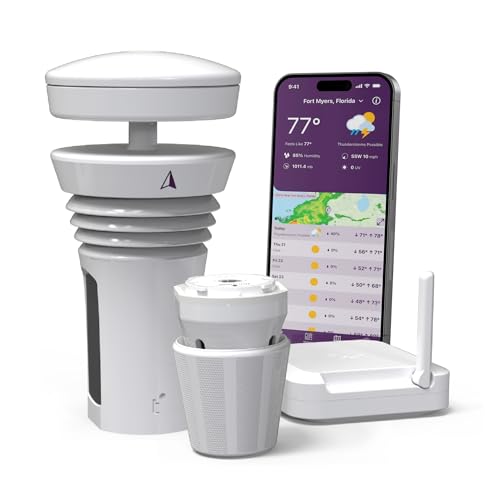
Featured in Better Homes & Gardens, Popular Mechanics, The Spruce and Wired, the 2026 Tempest Weather Station is trusted by leading experts and loved by more than 90,000 users who rely on it for accurate, hyper-local weather every day.
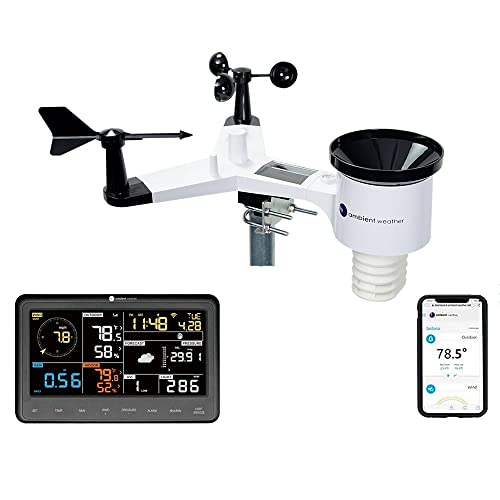
COMPLETE WEATHER STATION: (1) Osprey Sensor Array with Rain Cup, and (1) Brilliant, Easy-to-Read LCD Color Display

WiFi-Connected AI Forecasts & Instant Phone Alerts: Hook up the weather station to your 2.4G WiFi and unlock the full power of the Weatherseed app. It delivers AI-driven 24/7 weather tracking and predictions, and instantly pushes notifications to your smartphone the moment critical shifts in temperature, humidity, or barometric pressure are detected. Perfect for making informed calls on home comfort, crop planning, garden care, and any outdoor adventure.
Common Mountain Drone Mistakes to Avoid
Many mountain drone problems start with simple planning errors. Avoiding these mistakes can protect your drone and help you stay within the rules.
- Using flatland battery habits: Mountain flights often need larger battery reserves because wind and altitude increase power demand.
- Flying behind terrain: A ridge can block your signal even when the drone is not far away.
- Setting return-to-home too low: A low RTH altitude can send the drone toward trees, cliffs, or rising ground.
- Ignoring gusts: Average wind speed can look safe while gusts still exceed what your drone can handle.
- Trusting the camera view too much: The camera does not show every obstacle, aircraft, bird, or person around the drone.
- Launching near people or wildlife: Mountain trails, overlooks, nesting areas, and campsites need extra caution.
- Forgetting local restrictions: Parks, wilderness areas, and protected lands may limit drone launch and landing even when the airspace looks open.
The best approach is conservative. If you are unsure about wind, rules, signal strength, or battery performance, do not launch.
Related Guides
Frequently Asked Questions
What is the 400-foot rule for drones?
The 400-foot rule means many small drone flights must stay at or below 400 feet above ground level. The goal is to reduce conflict with crewed aircraft. In mountains, this can be tricky because the ground rises and drops quickly, so you need to think about height above the terrain below the drone, not only height above your launch point.
Can I fly a drone in the mountains?
Yes, you can fly a drone in many mountain areas, but only when local rules allow it and conditions are safe. You must consider altitude limits, battery drain, signal blockage, wind, visibility, wildlife, and land-use restrictions before takeoff.
What is the 1-to-1 rule for drones?
The 1-to-1 rule is an informal safety guideline some pilots use in mountain areas. It suggests keeping more conservative distance as elevation increases so you can maintain control, signal strength, and visual line of sight. It is not a replacement for official drone regulations or your drone manufacturer’s limits.
How are drones used in weather forecasting?
Specialized weather drones can collect atmospheric data such as temperature, humidity, wind, and pressure at different heights. This information can help improve short-term forecasts, especially in areas where ground stations do not capture enough detail.
Do drones lose battery faster in the mountains?
They can. Thin air, colder temperatures, stronger winds, and longer climbs may force the motors to work harder. That extra load can reduce flight time, so you should return earlier than you would in calm, low-elevation conditions.
What should I do if my drone loses signal behind a mountain?
Stay calm and wait for the drone’s failsafe action if return-to-home is set correctly. Move to regain a clear line of sight if you can do so safely. Before every mountain flight, set a return-to-home altitude that clears nearby obstacles and avoid routes that take the drone behind terrain.
Conclusion
Mountain drone flying can produce beautiful footage, but it demands more planning than a normal flight. Altitude can reduce lift, cold can weaken battery performance, terrain can block control signals, and wind can change without warning.
The safest approach is to fly conservatively. Check the weather, confirm airspace rules, keep the drone within visual line of sight, set a safe return-to-home altitude, and leave extra battery for the return. If the conditions feel unstable, land early or wait for a better day.
With careful preparation, you can handle the unique challenges of mountain flying while protecting your drone, other people, wildlife, and the airspace around you.
Sources
- Federal Aviation Administration — Recreational Flyers & Community-Based Organizations — supports U.S. small-drone safety rules, visual line-of-sight expectations, and altitude guidance.
- Federal Aviation Administration — B4UFLY — supports checking airspace and location-based flight restrictions before launch.
- Civil Aviation Safety Authority — Drone Rules — supports Australia’s standard drone safety rules and altitude guidance.
- National Park Service — Unmanned Aircraft in the National Parks — supports caution around drone operations in protected park areas.
