Many anglers underestimate how much a well-tied knot affects every cast, hookset, and fight. A strong knot keeps your line, hook, lure, swivel, or leader connected when pressure builds. A weak knot can slip, burn, or break at the worst moment. By learning a few reliable fishing knots and practicing them often, you can rig faster, fish with more confidence, and reduce lost fish caused by simple tying mistakes.
Quick Answer
To practice tying fishing knots, start with thick rope or heavy line, learn one knot at a time, repeat each knot slowly, moisten it before tightening, and test it with steady pressure. Focus first on the Improved Clinch Knot, Palomar Knot, Uni Knot, Blood Knot, and Double Surgeon’s Knot.
Key Takeaways
- Strong fishing knots help prevent line failure when a fish pulls hard or changes direction.
- The Improved Clinch Knot, Palomar Knot, Uni Knot, Blood Knot, and Double Surgeon’s Knot cover most beginner and intermediate fishing needs.
- Always moisten knots before tightening to reduce friction and protect the line.
- Practice with larger rope first, then move to the fishing line you actually use on the water.
- Retie any knot that looks crossed, burned, curled, loose, or damaged.
At a Glance
| Time Required | 10 to 15 minutes per knot for basic practice; longer for speed and confidence |
| Difficulty | Beginner to moderate, depending on the knot and line type |
| Tools Needed | Practice rope, monofilament, fluorocarbon, braided line, hooks, swivels, clippers, and good lighting |
| Cost | Low; you can practice with spare line, old hooks, and basic clippers |
Importance of Knot Tying in Fishing
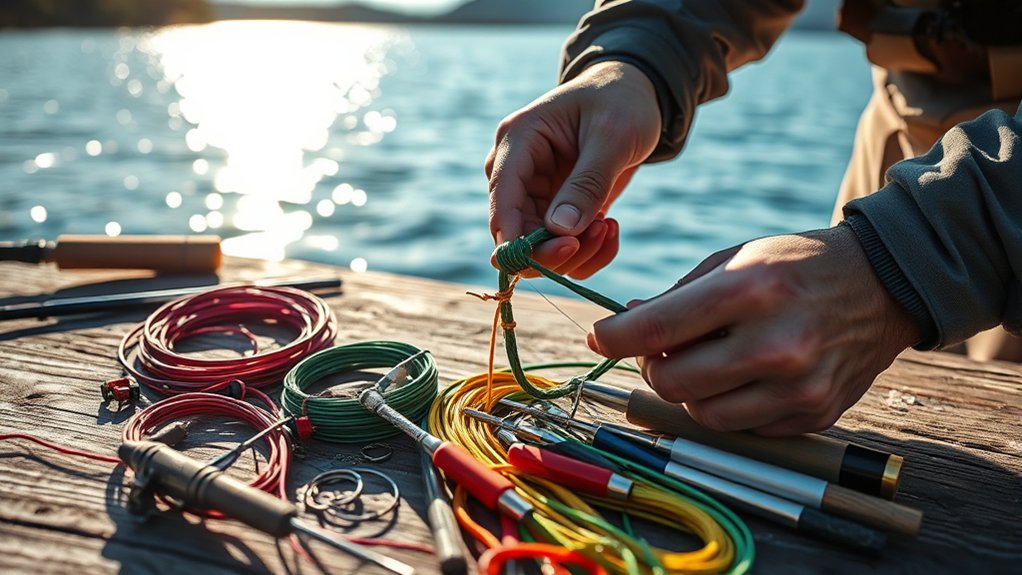
Knot tying is fundamental in fishing because it directly affects your success on the water. A secure knot creates an effective connection between your main line, leader, hook, swivel, lure, or fly. That connection helps prevent line breakage when a fish runs, jumps, shakes its head, or digs into cover.
When you’re hooked into a fish, the last thing you want is a slipping knot. Even strong fishing line can fail if the knot is rushed, crossed, or tightened without moisture. A clean knot should tighten smoothly, sit neatly, and hold firm under steady pressure.
Mastering several knots also makes you more adaptable. You can quickly switch from a lure to a hook, add a leader, repair a broken rig, or join two lines without wasting valuable fishing time.
Key knots like the Improved Clinch Knot and Palomar Knot help maintain line integrity under stress. With strong, reliable knots, you can focus on fishing instead of worrying about equipment failure.
Ultimately, better knot-tying skills can improve your confidence, reduce lost tackle, and make your time on the water more enjoyable.
Warning: Never pull a dry knot tight with full force. Friction can heat and weaken monofilament or fluorocarbon. Wet the knot first, tighten it slowly, then test it before casting.
Essential Knots for Anglers
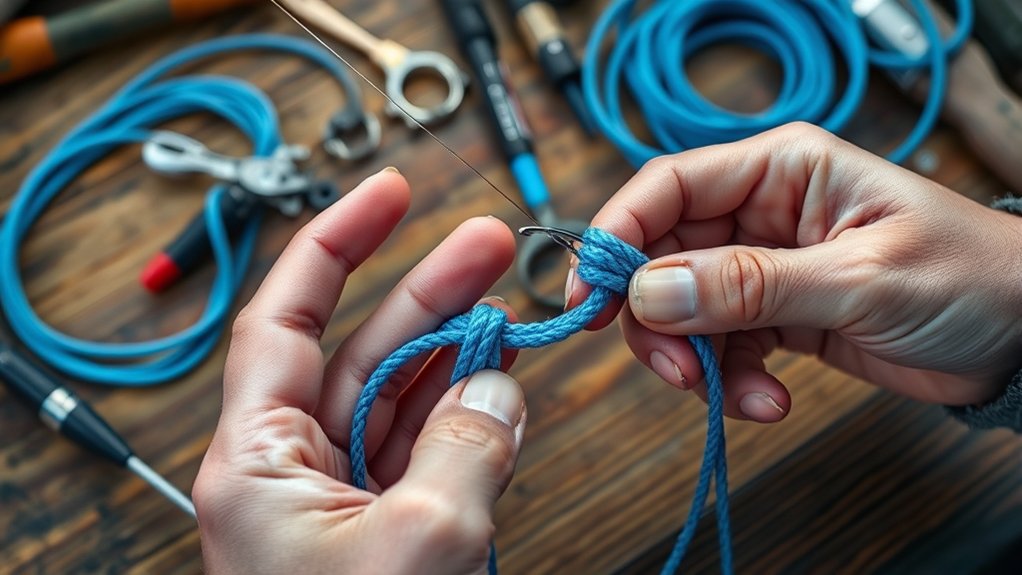
As an angler, mastering essential knots gives you a strong base for many fishing situations. You do not need to memorize every knot. Instead, focus on a small set that solves the most common rigging problems.
You’ll want knots for three main jobs: tying line to a hook or lure, joining two lines, and creating a loop. Once you understand those jobs, choosing the right knot becomes much easier.
Understanding knot performance, line type, and tying technique will improve your fishing experience and help you land more fish.
Key Fishing Knot Types
Mastering essential fishing knots is crucial for any angler who wants to improve reliability on the water.
The Improved Clinch Knot is a common choice for attaching hooks, lures, or flies to monofilament or fluorocarbon. It usually uses 5 to 7 wraps, depending on line diameter.
The Palomar Knot is simple, strong, and useful for many hooks, swivels, and lures. It creates a double line through the eye, which helps it hold well when tied correctly.
The Blood Knot helps join two lines of similar diameter. Many anglers use it when building leaders or connecting sections of monofilament or fluorocarbon.
The Double Surgeon’s Knot works well when you need a quick line-to-line connection, especially with lines of different diameters.
The Uni Knot is a favorite because it can tie hooks, attach lures, and connect lines. It combines strength with easy adjustment.
A loop knot can also help when you want a lure or fly to move more freely. For many beginners, however, the five knots above are the best place to start.
Knot Performance Considerations
When selecting the right knot, think about the line, hook eye, lure action, and pressure you expect from the fish.
The Improved Clinch Knot is compact, making it useful when you want a neat connection. It works best when the wraps lie cleanly and do not cross over each other.
If you’re targeting larger fish, the Palomar Knot stands out for its simplicity and strength. Take care to pass the full loop over the hook, lure, or swivel without twisting the line.
The Blood Knot is useful for joining two lines of similar diameter while keeping the connection slim enough to pass through guides more smoothly.
For quick adjustments, the Double Surgeon’s Knot offers extra security and speed. It is especially helpful when connecting a leader to a main line.
The Uni Knot is versatile because you can use it for hooks, lures, swivels, and some line-to-line connections. It is a practical knot to practice after you learn the Improved Clinch Knot and Palomar Knot.
Best Knot by Line Type
Line type matters because monofilament, fluorocarbon, and braid behave differently.
- Monofilament: Works well with the Improved Clinch Knot, Palomar Knot, Uni Knot, and Double Surgeon’s Knot.
- Fluorocarbon: Benefits from clean wraps, moisture, and slow tightening because it can be stiff and more sensitive to friction.
- Braided line: Can slip more easily, so many anglers use knots with doubled line, extra wraps, or leader connections.
- Heavy line: Needs fewer, cleaner wraps than thin line because bulky knots can stack unevenly.
- Light line: Needs gentle tightening and close inspection because small burns, kinks, or curls can weaken it.
For more visual examples, knot libraries from Animated Knots and Take Me Fishing can help you compare tying steps and knot uses.
Practical Tying Techniques
Understanding practical tying techniques is essential for any angler who wants cleaner, stronger knots. Good technique matters as much as the knot choice.
The Improved Clinch Knot securely attaches a fly, hook, or lure to the line with 5 to 7 wraps for added holding power.
For versatility, the Palomar Knot forms a doubled line through the hook eye, uses an overhand knot, and finishes by passing the loop over the hook or lure.
To join two lines, the Blood Knot uses wraps from each line around the other. The wraps must be balanced, neat, and tightened evenly.
The Double Surgeon’s Knot offers strength for different line diameters. It is tied by overlapping the two lines and passing both ends through the loop twice.
The Uni Knot is useful for tying hooks or connecting lines. You create a loop, wrap the tag end around the standing line, moisten the knot, and slide it down carefully.
Pro Tip: After tying any knot, pull the standing line and tag end with steady pressure. A good knot should cinch smoothly, look even, and hold without slipping.
Step-by-Step Instructions for Key Knots
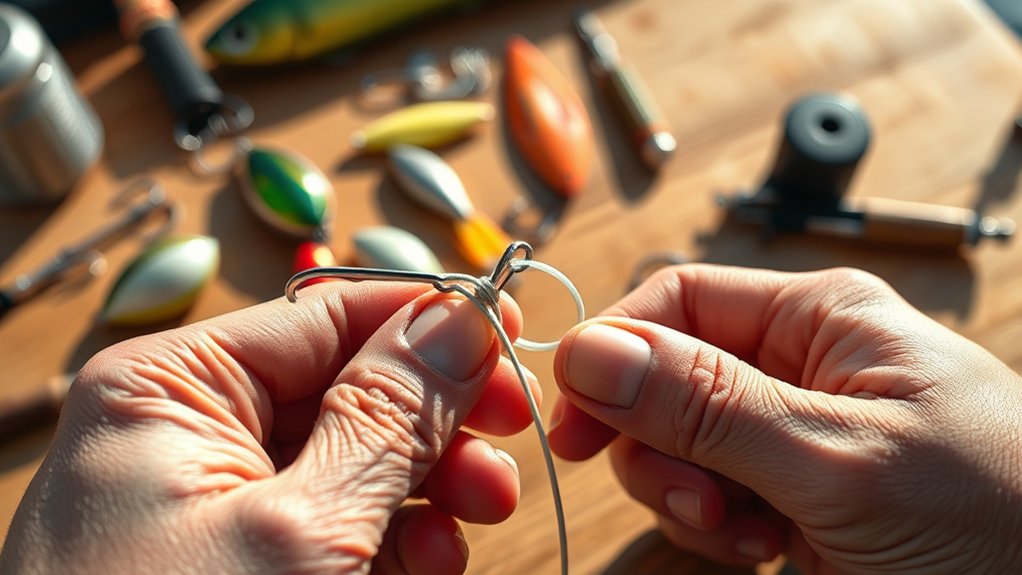
When tying knots for fishing, mastering essential techniques is vital for success. Start slowly, watch how each wrap forms, and focus on clean movement rather than speed.
You’ll want to avoid common mistakes that can compromise your connection. Practice each knot until your hands know the pattern without hesitation.
Let’s break down step-by-step instructions for the most useful knots every angler should know.
Essential Knot Techniques
Mastering essential knot techniques is crucial for successful fishing because the right knots can improve your tackle’s performance.
Start with the Improved Clinch Knot. Thread the line through the hook’s eye. Wrap the tag end 5 to 7 times around the standing line. Pass the tag end back through the small loop near the hook eye, then through the larger loop you created. Moisten the knot, pull it tight, and trim the tag end.
For the Palomar Knot, double the line and pass the loop through the hook’s eye. Tie a loose overhand knot with the doubled line. Pass the hook or lure through the loop. Moisten the knot, pull both strands evenly, and trim the tag end.
The Blood Knot starts by overlapping two lines. Wrap one tag end around the other line at least five times, then bring it back through the center gap. Repeat with the other line in the opposite direction. Moisten the knot and pull both standing lines slowly until the wraps seat together.
To execute a Double Surgeon’s Loop, fold the line to create a doubled section. Tie an overhand knot with the doubled line, then pass the loop through the opening a second time. Moisten and tighten the knot evenly.
For Snelling a Hook, pass the line through the hook eye, form a loop along the shank, wrap the tag end around the hook shank and line several times, then pull the standing line to tighten. A snell can be useful when you want the pull to align with the hook shank.
How to Tie an Improved Clinch Knot
- Pass the tag end through the hook eye.
- Wrap the tag end around the standing line 5 to 7 times.
- Pass the tag end through the small loop near the hook eye.
- Pass the tag end through the larger loop you just formed.
- Moisten the knot with water or saliva.
- Pull the standing line slowly until the wraps seat neatly.
- Trim the tag end close, but leave a tiny amount for security.
How to Tie a Palomar Knot
- Double about 6 inches of line.
- Pass the doubled loop through the hook eye.
- Tie a loose overhand knot with the doubled line.
- Pass the hook, swivel, or lure through the loop.
- Moisten the knot.
- Pull both the standing line and tag end evenly.
- Trim the tag end after the knot seats cleanly.
How to Tie a Uni Knot
- Run the line through the hook eye and bring the tag end back alongside the standing line.
- Create a loop with the tag end.
- Wrap the tag end around both lines inside the loop 5 to 7 times.
- Moisten the knot.
- Pull the tag end to snug the wraps.
- Slide the knot down to the hook eye by pulling the standing line.
- Trim the tag end.
How to Tie a Double Surgeon’s Knot
- Overlap the two lines you want to join.
- Create a simple overhand loop with both lines together.
- Pass both tag ends and both standing lines through the loop twice.
- Moisten the knot.
- Pull all four strands evenly until the knot seats.
- Trim both tag ends.
How to Tie a Blood Knot
- Overlap two lines of similar diameter.
- Wrap the first tag end around the second line five or more times.
- Bring that tag end back through the center gap.
- Wrap the second tag end around the first line in the opposite direction.
- Bring the second tag end back through the same center gap from the opposite side.
- Moisten the knot.
- Pull both standing lines slowly until the wraps come together.
- Trim both tag ends.
Common Knot Mistakes
Even experienced anglers can fall into common knot mistakes that jeopardize fishing success. Here are key pitfalls to avoid:
- Improved Clinch Knot: Don’t skimp on wraps. Aim for 5 to 7 wraps for a secure connection.
- Palomar Knot: Make sure the loop passes fully over the hook, lure, or swivel before tightening.
- Blood Knot: Overlap lines adequately before wrapping to prevent slippage or breakage.
- Double Surgeon’s Loop: Always moisten the knot before tightening to reduce friction and protect the line.
- Uni Knot: Pull both the standing line and tag end in the right sequence so the wraps form a clean, secure knot.
- All knots: Avoid crossed wraps, loose coils, sharp kinks, and tiny tag ends.
Tips for Efficient Practice
Improper knot techniques can hinder your fishing experience, so effective practice should be part of your regular routine.
Start by using thicker rope, such as 1/4-inch to 1/2-inch cord, to improve visibility while you learn the knot path. Tie your knots on a smooth surface to avoid tangling and allow easier adjustments. Use visual aids like diagrams or slow-motion videos to reinforce each step.
Set aside dedicated practice time to build muscle memory. Regular repetition improves speed and accuracy. Once you can tie a knot cleanly at home, challenge yourself by tying it in low light, wind, cold weather, or while wearing thin gloves.
This focused approach will make you a more confident and prepared angler in real fishing situations.
Tips for Practicing Knot Tying
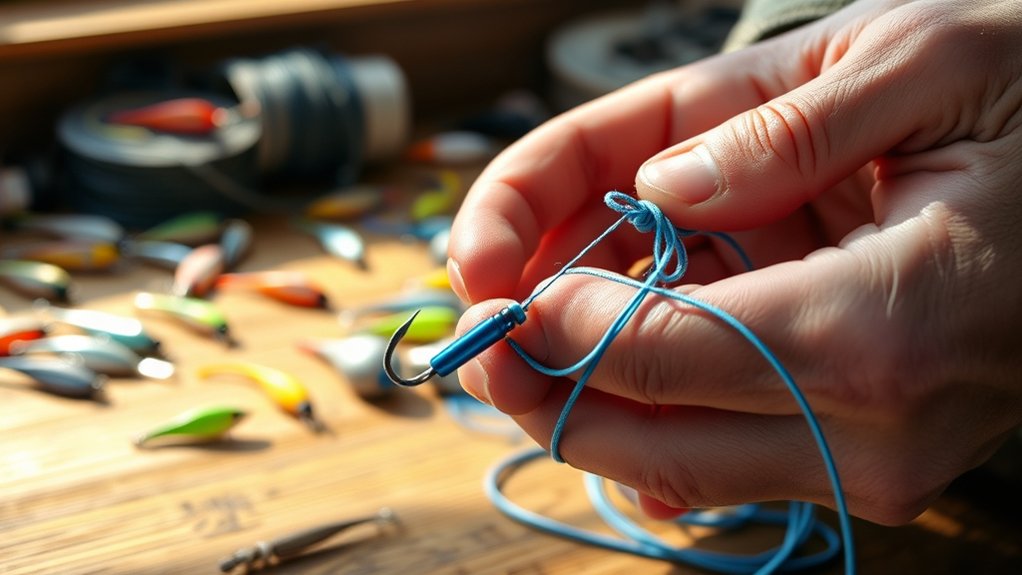
As you practice knot tying, build a routine that develops muscle memory. The goal is not just to tie the knot once. You want to tie it cleanly, quickly, and consistently when conditions are not perfect.
Here are practical tips to help you improve your skills:
- Practice regularly so knot tying becomes natural.
- Use thicker line or larger rope first so you can see the knot structure clearly.
- Start with basic knots like the Improved Clinch Knot and Palomar Knot before learning more advanced knots.
- Practice in relaxed settings, such as while watching TV, to reduce pressure and improve retention.
- Test different line types, such as monofilament, fluorocarbon, and braid, so you can adapt to different fishing scenarios.
- Use old hooks with the points clipped or covered during indoor practice for safer handling.
- Keep clippers nearby so trimming tag ends becomes part of your normal process.
- After each knot, pull firmly and inspect the wraps before calling it finished.
Note: Practice with the same line you fish most often. A knot that feels easy with rope may feel very different with thin fluorocarbon, slick braid, or light tippet.
Common Challenges in Knot Tying

When you’re learning to tie fishing knots, you may run into several common challenges. These problems can slow your progress, but most of them improve with focused practice.
One major issue is finger dexterity. Small hooks, thin line, cold hands, wind, and poor lighting can make knot tying harder. Regular practice helps your fingers learn the movement over time.
Another challenge is choosing the right loop size. Some knots need a small loop near the hook eye, while others need enough space to pass a lure or hook through. If the loop is too small, the knot becomes hard to finish. If it is too large, you may waste line or form loose wraps.
You also need to pay attention to the tag length. A tag end that is too short can slip before the knot seats. A tag end that is too long wastes line and may catch weeds or debris. For most practice knots, leave more tag than you think you need, then trim after testing.
Many beginners struggle to tie knots under pressure. A fish may be biting, the boat may be drifting, or light may be fading. That is why practicing in a low-stress environment matters. By honing your skills at home, you reduce anxiety and improve your ability to tie knots effectively when fishing.
How to Test a Fishing Knot
Testing a fishing knot should become part of your routine. A knot can look finished but still fail if the wraps crossed, the line burned, or the tag end slipped.
- Inspect the wraps: Look for clean, even coils with no crossed sections.
- Moisten before final tightening: This helps the knot seat without damaging the line.
- Pull slowly: Apply steady pressure to the standing line and hook, lure, or swivel.
- Check for slipping: If the tag end moves, retie the knot.
- Look for line damage: Retie if the line looks curled, cloudy, flattened, or frayed.
- Trim carefully: Leave a small tag end so the knot has a little safety margin.
A quick pull test can save a fish later. You do not need to yank violently. Use firm, steady pressure that matches the kind of force the knot may face while fishing.
When to Retie Your Fishing Knot
Even a good knot does not last forever. Retie when your line, hook, or lure has taken abuse.
- Retie after landing a hard-fighting fish.
- Retie after snagging rocks, docks, grass, brush, or timber.
- Retie if the line near the knot feels rough or looks cloudy.
- Retie after changing lures several times.
- Retie if the knot looks uneven, twisted, or loose.
- Retie before making an important cast in heavy cover or around larger fish.
Make it a habit to run your fingers along the first few inches of line above the knot. If you feel nicks or rough spots, cut that section away and tie again.
Troubleshooting Weak or Slipping Knots
If your knots keep failing, do not blame the line right away. Most failures come from small tying errors.
- Knot slips: Add more wraps, use a better knot for slick line, or leave a slightly longer tag end.
- Line breaks at the knot: Moisten before tightening and avoid pulling too fast.
- Wraps bunch up: Slow down and guide each wrap with your fingers.
- Knot looks bulky: Use fewer wraps with heavy line or choose a slimmer knot.
- Hook eye cuts the line: Inspect the hook eye for sharp edges or damage.
- Braid slips on hardware: Try a doubled-line knot or connect braid to a leader with a suitable line-to-line knot.
Small changes make a big difference. Clean wraps, moisture, slow tightening, and a firm test will solve many knot problems.
Additional Resources for Learning Knots
Mastering fishing knots requires more than practice alone. Good learning resources can help you see each step more clearly and understand when to use each knot.
Here are some valuable tools to improve your knot-tying skills:
- YouTube Channels: Watch slow, close-up knot demonstrations so you can follow hand placement and wrap direction.
- Fishing Websites: Use step-by-step guides from trusted fishing education sites to compare knot uses and tying methods.
- Mobile Apps: Try fishing knot apps that include diagrams, animations, or saved favorites for offline use.
- Fishing Communities: Ask experienced anglers which knots they trust for local species, line types, and water conditions.
- Books and eBooks: Use knot guides that explain each knot’s purpose, strengths, and common mistakes.
- Practice Cards: Keep a small knot card in your tackle box for quick reminders on the water.
For general knot references, Animated Knots offers visual knot instructions, and Take Me Fishing explains common fishing knots for beginners.
Frequently Asked Questions
How do you practice tying fishing knots?
Start with thicker rope or heavy line so you can see each wrap clearly. Practice one knot at a time in a quiet space. Repeat the same knot until the steps feel natural, then move to the fishing line you use most often. Always moisten, tighten, inspect, and test the knot.
How do you teach a kid to tie a fishing knot?
Start with a simple knot, such as the Improved Clinch Knot, and use thick, colorful rope. Demonstrate each step slowly, then let the child copy you. Keep practice short, praise progress, and turn it into a game by testing which knots hold best under gentle pulling.
What are common fishing knot mistakes?
Common fishing knot mistakes include using too few wraps, failing to moisten the knot, tightening too quickly, crossing the wraps, trimming the tag end too short, and not testing the knot before casting. These small errors can cause slipping or line breakage.
How do you tie a hook on a fishing line step by step?
To tie a hook on a fishing line, pass the line through the hook eye, create the knot pattern, wrap the tag end neatly, moisten the knot, pull it tight, inspect the wraps, test it with steady pressure, and trim the excess tag end. The Improved Clinch Knot and Palomar Knot are common choices.
What is the easiest fishing knot for beginners?
The Improved Clinch Knot is one of the easiest knots for beginners because the steps are simple and the knot works for many hooks, lures, and swivels. The Palomar Knot is also beginner-friendly, especially when the hook eye is large enough for doubled line.
Should you wet fishing knots before tightening?
Yes. You should moisten most fishing knots before pulling them tight. Moisture reduces friction as the wraps slide into place. This helps protect monofilament and fluorocarbon from heat damage and makes the knot seat more smoothly.
Sources
- Animated Knots: Fishing Knots — visual step-by-step knot tying reference.
- Take Me Fishing: Fishing Knots — beginner-friendly knot uses and basic tying guidance.
- International Game Fish Association: International Angling Rules — general angling rules and tackle context for responsible fishing.
Conclusion
Mastering knot tying is essential for every angler. A poorly tied knot can cost you a prized catch, while a clean, tested knot gives you confidence when the fish finally bites. Start with the Improved Clinch Knot and Palomar Knot, then add the Uni Knot, Blood Knot, and Double Surgeon’s Knot as your skills grow.
Practice in a low-stress setting, use good lighting, moisten every knot before tightening, and test your work before casting. With consistent practice, knot tying becomes faster, cleaner, and more reliable. That simple skill can improve your fishing experience every time you get on the water.