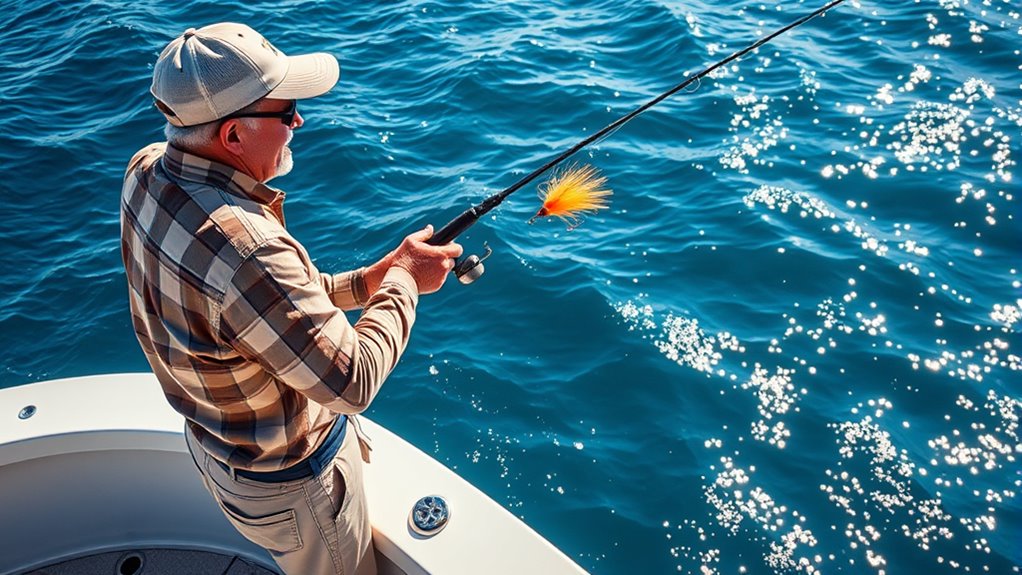
Jigging is a hands-on fishing technique that uses a weighted lure, called a jig, to imitate injured baitfish, crawfish, insects, squid, or other prey. You work the lure with short lifts, drops, pauses, and retrieves so it rises and falls through the water instead of swimming straight back like many other lures. That falling action is what often triggers predatory species to strike.
Quick Answer
Jigging means fishing with a weighted lure that you lift, drop, twitch, hop, or swim to make it look like wounded prey. Beginners can start with a medium-power rod, braided line, a fluorocarbon leader, and a few jig styles matched to depth, cover, current, and target fish.
Key Takeaways
- Jigging works because the lure falls, flutters, hops, or darts like easy prey.
- Choose jig weight based on depth, current, wind, and how well you can feel the bottom.
- Most bites happen on the fall, so watch your line for jumps, slack, or sudden movement.
- Freshwater anglers often use lighter jigs for bass, trout, walleye, and panfish, while saltwater anglers may use heavier metal jigs for snapper, grouper, amberjack, tuna, and kingfish.
- Start simple, keep contact with the lure, and change retrieve speed before changing locations.
At a Glance
| Time Required | You can learn the basic motion in one short trip, but reading bites and choosing the right jig takes practice. |
| Difficulty | Beginner-friendly for simple bottom hopping; moderate for vertical jigging in deep water or strong current. |
| Tools Needed | Rod, reel, braided or monofilament line, leader, jig heads or metal jigs, soft plastics or skirts, pliers, and a safe landing tool. |
| Cost | Low to moderate. Beginners can start with a few jig heads and soft plastics before buying specialized deep-water jigging gear. |
Understanding Jig Fishing
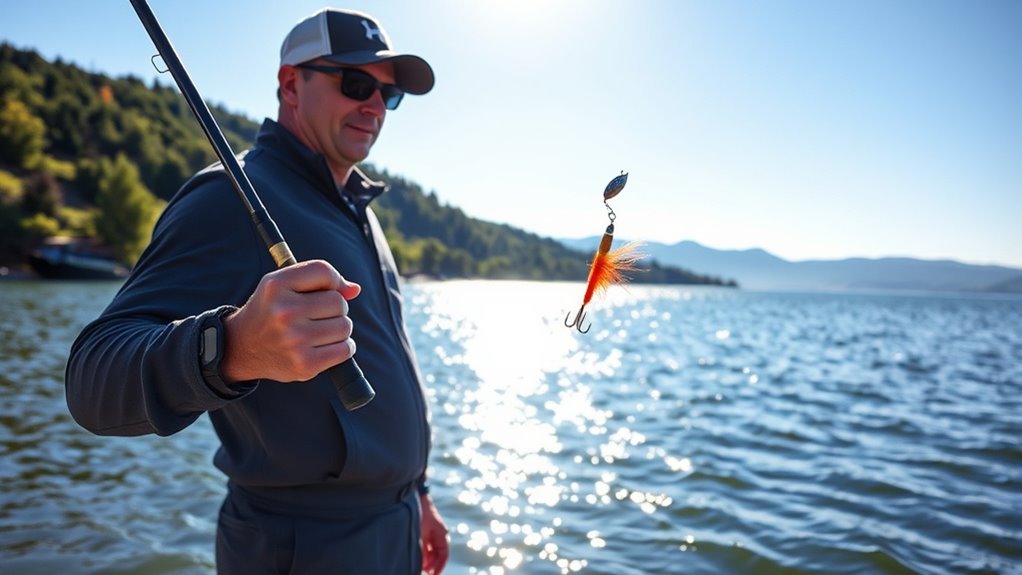
When you enter the world of jig fishing, you quickly learn that the lure’s up-and-down movement matters more than a simple straight retrieve. A jig can look like an injured baitfish, a fleeing crawfish, a dying squid, or a small creature kicking along the bottom.
The basic jig usually combines a hook and weight in one compact lure. Many jigs also use a soft plastic body, bucktail, rubber skirt, feather, metal profile, or assist hook to create extra flash and movement.
To fish a jig well, you usually let it sink to the depth you want, then work it with controlled lifts, hops, snaps, shakes, or slow pulls. After each lift, you let the lure fall again because that drop often looks like weak prey.
Understanding the types of jigs helps you choose the right one for the place you fish. Some jigs work best around weeds, docks, rocks, and timber. Others work better in open water, deep reefs, current lines, or offshore structure.
For example, freshwater anglers often use jigs for bass, crappie, trout, walleye, and pike. Saltwater anglers may use heavier metal jigs for snapper, grouper, amberjack, tuna, kingfish, and other aggressive fish.
This versatility makes jig fishing beginner-friendly. You can start with one rod, a few jig heads, several soft plastics, and a small tackle box. As you improve, you can add specialized jigs for depth, current, bottom type, and target species.
Note: The best jig is not always the heaviest one. Use enough weight to reach the strike zone and feel the lure, but avoid going so heavy that the action looks stiff or unnatural.
Essential Gear for Jigging
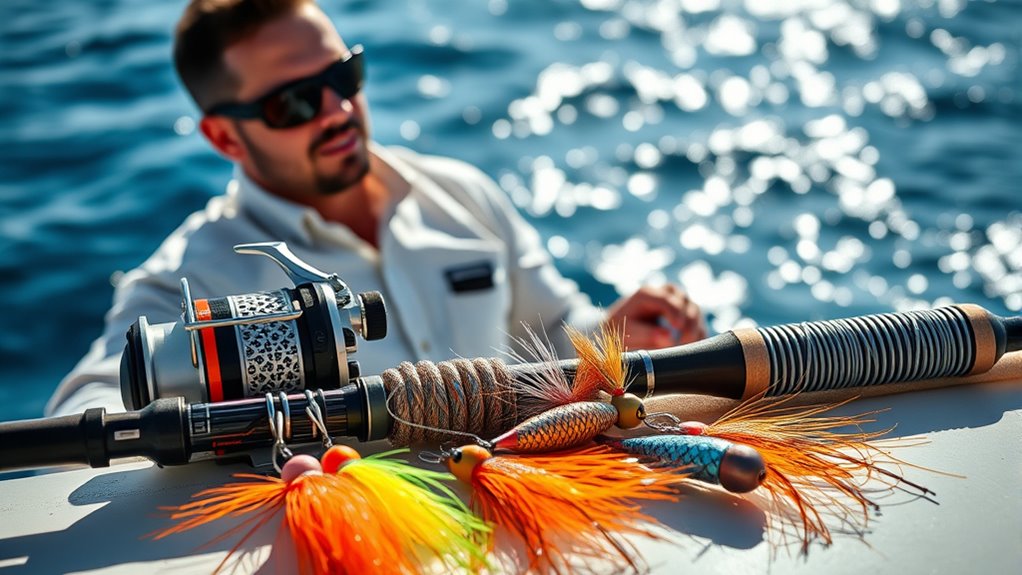
To jig with confidence, match your rod, reel, line, leader, and jig to your fishing style and target species. A light setup can make small jigs feel alive in shallow water. A heavier setup gives you control when fishing deep structure, strong current, or powerful saltwater fish.
Start by thinking about where you fish most. Shallow freshwater ponds, rocky rivers, deep lakes, kelp edges, reefs, and offshore marks all require different jig weights and gear strength.
Let’s break down the essential gear components so you can build a setup that feels balanced and easy to use.
Rod and Reel Selection
Selecting the right rod and reel is essential for successful jigging because your setup affects feel, hooksets, lure action, and comfort. For general freshwater jigging, many beginners do well with a medium-light to medium-heavy rod, depending on lure size and target fish.
For vertical saltwater jigging, shorter rods are common because they reduce fatigue and give you better leverage. A rod around 1.5-1.7m, or roughly 5 to 5 feet 6 inches, with a light, parabolic action can improve sensitivity while still giving you power during the fight.
Spinning reels are easy to use and work well for many anglers. They cast light jigs well and handle vertical presentations with less learning curve. Overhead or conventional reels can offer strong control on the drop and are popular for some deeper jigging styles.
Pay attention to rod specifications, including lure or gram rating, line rating, and power. A jig that exceeds the rod’s rating can feel awkward, reduce sensitivity, and increase the risk of breakage.
Comfort matters too. Jigging can involve repeated lifts for long periods, so a lighter, balanced setup helps you fish longer without tiring your wrist, shoulder, or back.
Jig Types Overview
Understanding the main jig styles helps you pick a lure that fits the depth, cover, current, and fish behavior. Each jig type has a different shape, fall rate, hook position, and best use.
| Jig Type | Purpose |
|---|---|
| Casting Jigs | Designed to be cast out and retrieved around cover, points, rocks, and weed edges |
| Flipping Jigs | Built to target fish in heavy cover such as weeds, brush, laydowns, and docks |
| Slow Pitch Jigs | Flutter like dying prey and often work well when fish strike on the fall |
Heavy jigs can help beginners maintain control in deep water or strong current, especially when vertical jigging. In shallow water, lighter jigs often look more natural and stay in front of fish longer.
Soft plastic jigs are also popular because they can mimic worms, minnows, shad, crawfish, shrimp, grubs, and insects. Changing the plastic body can quickly change the lure’s profile without changing the jig head.
Line and Leaders
When you’re jigging, the right line and leader help you feel the bottom, detect strikes, and keep fish pinned. Braided line is common because it has low stretch, strong sensitivity, and a thin diameter. That makes it useful for vertical presentations and deeper water.
A PE-rated braided line, often between PE 1.5 and PE 3.0 for many light to medium jigging applications, helps maintain a direct connection to the lure. Heavier offshore work may require stronger braid, especially around reefs or large fish.
Pair braid with a fluorocarbon leader for abrasion resistance and lower visibility near the jig. For light freshwater jigging, leaders may be much lighter. For saltwater jigging, 30 to 80 lb fluorocarbon leaders are common, depending on structure and target fish.
Leader length depends on water clarity, cover, and technique. A short leader is easy to cast and manage. A longer leader can help when fish are cautious or when the bottom has sharp rocks, shells, coral, or teethy species.
Jig Head Weight and Hook Size
Jig weight controls depth, fall speed, bottom contact, and lure action. In shallow freshwater, a small jig head may be enough to reach the bottom without looking unnatural. In deeper water, wind, current, and boat drift may force you to use more weight.
Hook size should match the soft plastic or lure body. A hook that is too small can miss bites. A hook that is too large can reduce lure movement and make the bait look unnatural.
Use this simple rule: choose the lightest jig you can still cast, control, and feel. If you cannot tell when your jig hits bottom, go heavier. If the jig falls too fast and snags often, go lighter or change the head shape.
Pro Tip: Carry the same jig style in at least three weights. That lets you adjust to wind, depth, and current without changing the lure profile fish are already following.
Basic Jigging Techniques
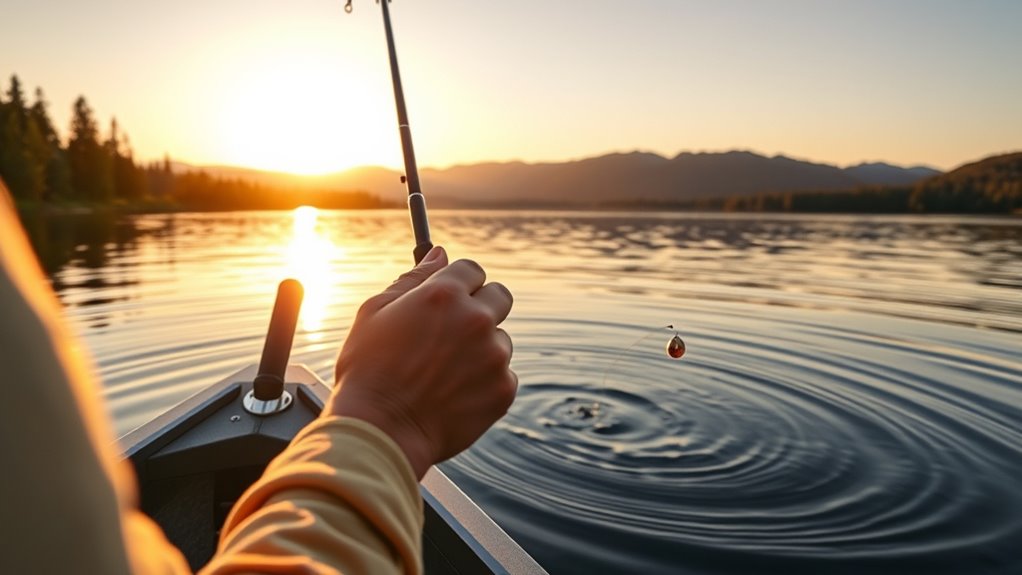
Mastering basic jigging techniques helps you catch more fish because you learn how to make the lure look alive. The goal is simple: keep the jig in the strike zone and make it look like prey that is easy to catch.
For bottom jigging, cast or drop the jig until it reaches bottom. You can often feel a tap through the rod, or you may see the line go slack. Then lift the rod tip, reel in the slack, and let the jig fall again.
For vertical jigging, position the rod comfortably, drop the jig to the target depth, and lift the rod with a smooth or sharp motion. Many anglers raise the rod toward a 45-degree angle, then reel down as the jig falls.
This motion simulates an injured baitfish or fleeing prey. During the up-stroke, combine rod movement with steady reel turns. Then pause or lower the rod so the jig can flutter, glide, or dart down.
Most strikes happen when the jig falls, so stay alert. Watch for your line to jump, stop too soon, move sideways, or suddenly go slack. When something feels different, reel down and set the hook with control.
Choosing the right jig weight is significant. Some deep or offshore locations may require 200g to 450g jigs, while shallow freshwater areas may use much lighter jig heads. Match the weight to the depth, current, fish size, and rod rating.
How to Jig Step by Step
- Pick a jig that matches the water. Use lighter jigs in shallow or calm water and heavier jigs in deep water, current, or wind.
- Cast or drop to the target zone. Let the jig sink until it reaches bottom or the depth where fish are holding.
- Keep slight contact with the line. Too much slack makes bites hard to feel, but a little slack helps the jig fall naturally.
- Lift the rod tip. Try short hops, slow pulls, sharp snaps, or steady pumps until you find the action fish prefer.
- Reel down as the jig falls. Recover slack without pulling the jig away too quickly.
- Watch your line closely. Many bites look like a twitch, sudden stop, or sideways movement before you feel anything.
- Set the hook and keep pressure. Reel tight first, then sweep or lift the rod firmly based on hook size and line strength.
Common Jigging Retrieves
| Retrieve Style | How It Works | Best Use |
|---|---|---|
| Bottom Hop | Lift the jig a few inches or feet, then let it fall back down | Bass, walleye, snapper, and fish feeding near bottom |
| Lift and Drop | Raise the rod smoothly, reel slack, and let the jig flutter down | Freshwater and saltwater predators holding at mid-depth or near structure |
| Snap Jigging | Use sharp rod snaps to make the jig dart erratically | Aggressive fish, clear water, and reaction strikes |
| Slow Pitch | Use controlled rod loads and pauses so the jig falls sideways | Deep water, pressured fish, and species that strike on the fall |
| Swimming Retrieve | Reel steadily while the jig tracks through the water | Fish chasing baitfish over grass, flats, reefs, and open water |
Popular Types of Jigs
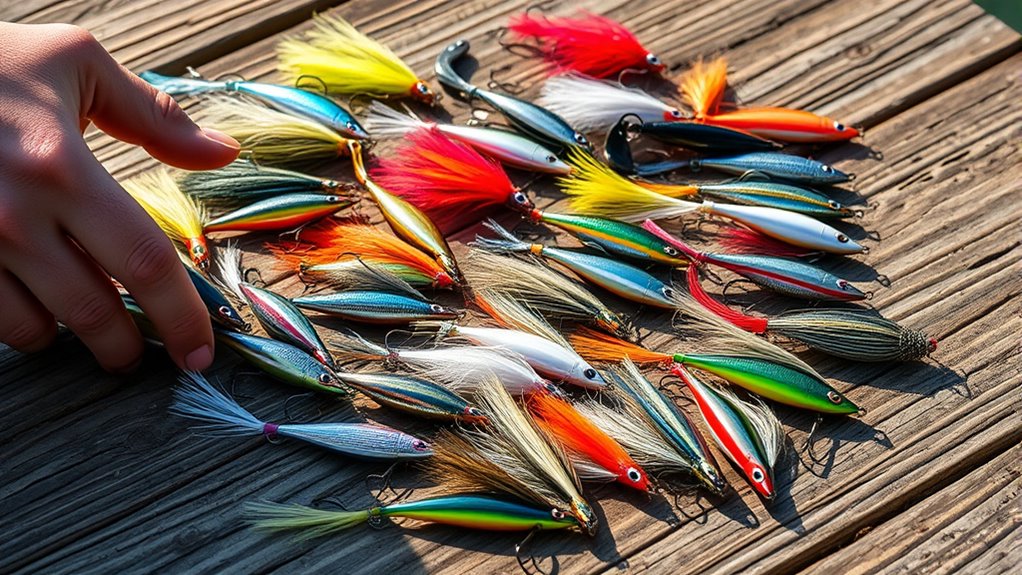
Jigs come in many designs, each tailored for specific fishing scenarios. Knowing the main options helps you choose a lure that matches the depth, cover, current, and fish mood.
| Type of Jig | Purpose |
|---|---|
| Casting Jigs | Mimics baitfish or crawfish while covering larger areas |
| Flipping Jigs | Targets heavy cover like weeds, brush, wood, and docks |
| Slow Pitch Jigs | Enhances fluttering action and works well with slow, controlled retrieves |
| Speed Jigs | Designed for fast retrieves that trigger aggressive fish |
| Butterfly Jigs | Sinks quickly and mimics dying bait with flash and flutter |
Each jig type offers unique advantages, so the right choice depends on where fish are feeding. A flipping jig can slip through heavy cover. A swim jig can move over grass. A metal jig can reach deep fish fast.
By selecting the appropriate jig, you can adapt your techniques and improve your success rate on the water. Whether you’re casting, flipping, slow-pitching, or speed jigging, knowing your jigs will elevate your fishing experience.
Freshwater Jigs vs. Saltwater Jigs
Freshwater jigs are often smaller and may use lead heads, skirts, weed guards, or soft plastics. They work well around docks, rocks, grass, brush piles, creek channels, and drop-offs.
Saltwater jigs are often heavier because they must reach fish in deeper water, stronger current, and offshore structure. Many use metal bodies, assist hooks, glow finishes, and durable hardware.
The same idea connects both styles: make the lure rise and fall like vulnerable prey. The difference is usually size, weight, hook strength, and how deep you fish.
Choosing Jig Color
Jig color should match water clarity, light level, and local forage. In clear water, natural colors like green pumpkin, brown, silver, pearl, and baitfish patterns often look realistic.
In stained or muddy water, darker colors such as black, blue, and junebug can create a stronger silhouette. Bright colors like chartreuse, orange, pink, and glow can help in deep water, low light, or saltwater conditions.
When you are unsure, start with a natural color and one high-contrast color. Let the fish tell you which one works better that day.
Target Fish Species for Jigging
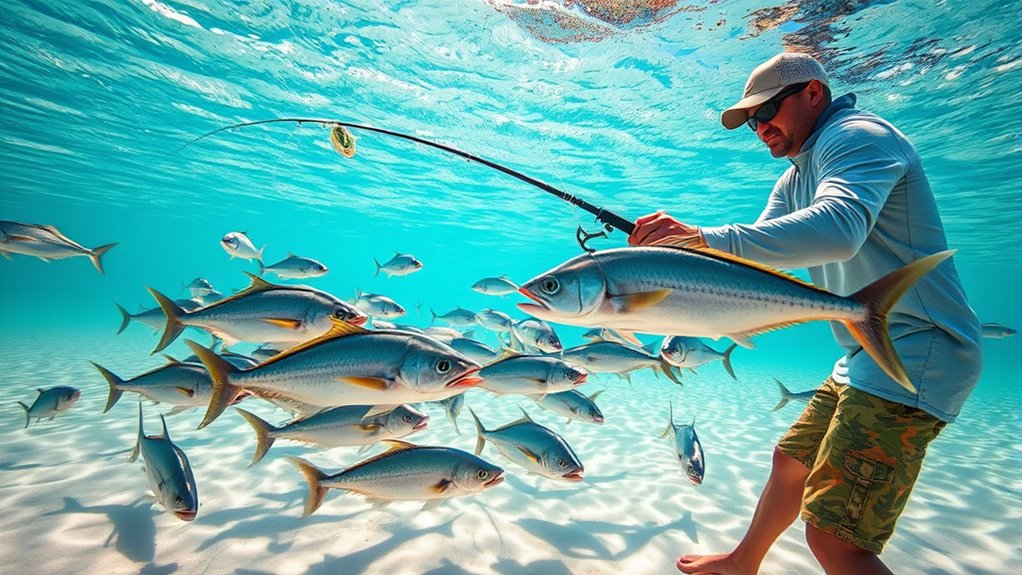
Targeting specific fish species with jigs helps you plan better because each species has unique feeding habits, preferred cover, and strike behavior.
In freshwater bodies of water, you can target bass, trout, walleye, crappie, panfish, and pike. For bass, use jigs that mimic crawfish, bluegill, shad, or minnows. Around heavy cover, a skirted jig with a weed guard can help reduce snags.
For trout, small jig heads with tiny soft plastics, marabou, or hair can imitate insects, minnows, and small baitfish. For walleye, many anglers use jig heads tipped with soft plastics or natural bait and work them near bottom.
In saltwater, anglers often pursue snapper, grouper, amberjack, kingfish, tuna, cod, pollock, and other predators with jigs designed to imitate baitfish, squid, or dying prey.
Understanding the preferred prey of your target species helps you choose the right jig type, color, size, and presentation. If fish are feeding on small bait, downsizing can help. If they are chasing larger prey, a bigger profile may draw more attention.
Experimenting with jig weights and actions also helps you adapt to water conditions. Some fish want a fast reaction bait. Others prefer a slow flutter that stays in the strike zone longer.
| Target Species | Useful Jig Style | Presentation Tip |
|---|---|---|
| Bass | Casting jig, swim jig, flipping jig | Hop near cover or swim over grass and points |
| Walleye | Round-head jig, minnow-style jig | Keep contact near bottom and use controlled lifts |
| Trout | Small marabou or soft plastic jig | Use light line and subtle twitches |
| Snapper | Metal jig, slow pitch jig | Work reefs, ledges, and bait schools with pauses on the fall |
| Grouper | Heavy vertical jig | Fish close to structure and keep pressure after the bite |
| Amberjack | Speed jig, long metal jig | Use fast lifts and strong tackle near wrecks and reefs |
Tips for Successful Jigging
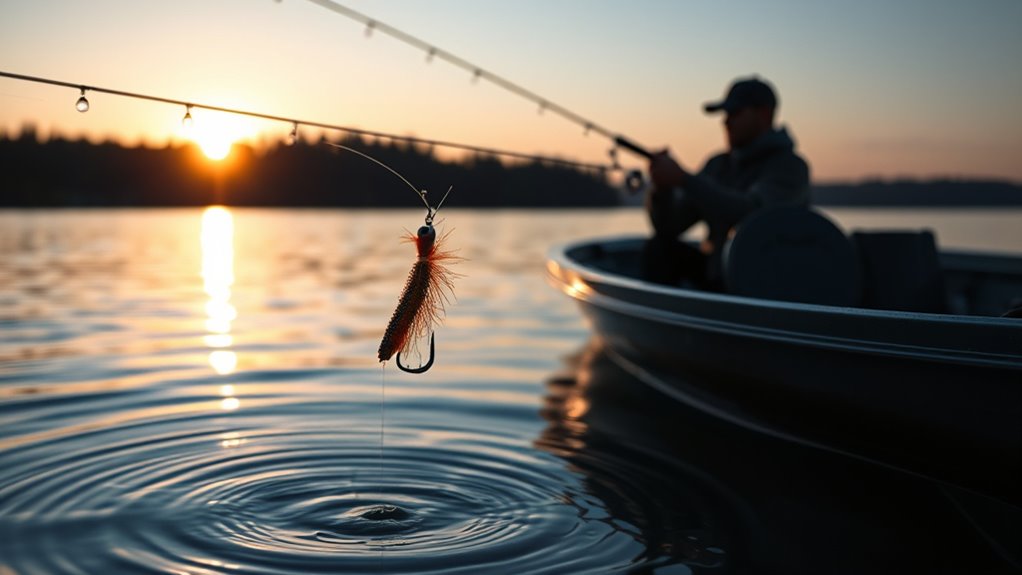
While you might be eager to cast your line, using effective jigging techniques can improve your success on the water. Start by letting your jig sink to the target depth, then use small up-and-down movements to mimic injured baitfish or other prey.
Experiment with different jig weights based on your fishing location. Heavier jigs, such as 350g-450g models, can work well in deeper water or stronger current. Lighter jigs, such as 200g-350g models, may work better in shallower water or when fish want a slower fall.
| Jig Weight Range | Best Locations | Key Techniques |
|---|---|---|
| 200g – 350g | Hauraki Gulf | Maintain low rod position and stay in contact with the jig |
| 350g – 450g | White Island | Combine rod and reel movements for a strong vertical action |
| Varies | Other Locations | Let your jig flutter and watch the line during the fall |
| Light/Heavy | Depth Dependent | Use quality equipment that matches the lure rating and fish size |
Maintain a low rod position when needed to keep your jig in the strike zone. If the drift is fast or the line angles too far from the boat, use a heavier jig or reposition before you lose control.
How to Detect Jig Bites
Jig bites can feel obvious, but many are subtle. Sometimes you feel a sharp tap. Other times the jig simply stops falling before it should, or the line moves to the side.
Keep your finger near the line when possible and watch the line closely. If something feels different, reel until the line is tight, then set the hook with a firm lift.
Avoid swinging hard on completely slack line. You may miss the fish or pull the jig away. Reel down first so the hook can drive cleanly.
Common Jigging Mistakes to Avoid
- Using too much weight: An overly heavy jig can fall too fast, snag more often, and look unnatural.
- Using too little weight: A jig that never reaches the strike zone will not fish effectively.
- Ignoring the fall: Many strikes happen while the jig drops, so do not stop watching your line.
- Moving too fast all day: If fish follow but do not bite, slow down and add longer pauses.
- Fishing one depth only: Predators may hold near bottom, mid-water bait, weed tops, ledges, or current seams.
- Using weak knots or damaged leaders: Retie after snags, sharp rocks, tooth marks, or rough structure.
Warning: Always check local fishing regulations before jigging. Size limits, bag limits, closed seasons, restricted areas, and lure rules can change by species and location.
Recommended Locations for Jig Fishing
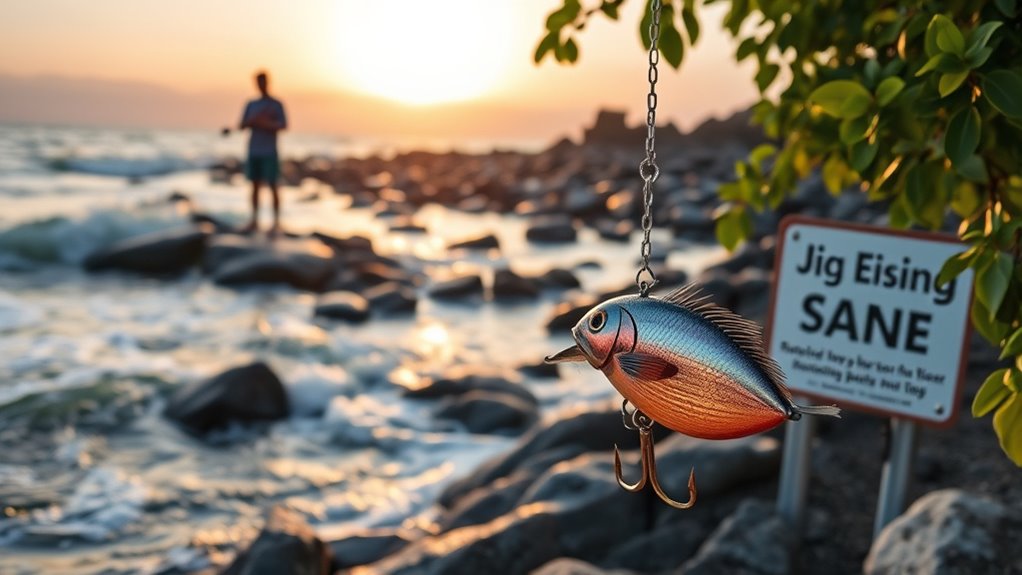
When planning your jig fishing adventure, selecting the right location is key to maximizing your catch. Productive jigging spots usually have bait, structure, current, depth changes, or cover.
New Zealand offers several recommended locations that cater to different jig weights and fishing styles. At the Three Kings Islands, anglers often use 400g-plus lures with PE6-PE10 braid when targeting larger species in deep or demanding conditions.
New Zealand’s Three Kings Islands are known for demanding jigging conditions where heavy lures and strong braid help anglers stay in control around powerful fish.
If you’re looking for variety, the Bay of Islands can suit jig weights between 250g and 350g with PE4-PE6 braid, depending on depth, drift, and target species.
The Hauraki Gulf is another excellent spot where anglers may use 200g-300g lures with PE3-PE6 braid. This area can reward anglers who adjust jig weight to bait depth and current speed.
For a productive experience, the Coromandel area supports 250g-350g lures and PE4-PE6 braid in many jigging situations. Watch the sounder, find bait, and change your drift if bites slow down.
Finally, White Island in Whakatane is a prime location where anglers may use 350g-450g lures paired with PE6-PE8 braid for heavier jigging and significant catches.
Don’t forget that using a lighter jig can often yield surprising results, especially in shallower water or when fish are feeding cautiously.
How to Find Good Jigging Spots
You do not need a famous destination to catch fish on jigs. Look for places where predators can ambush prey.
- Freshwater: Focus on weed edges, docks, riprap, rocky points, creek channels, submerged timber, drop-offs, bridge pilings, and current seams.
- Saltwater: Target reefs, wrecks, ledges, bait schools, kelp edges, channel markers, rock piles, harbor entrances, and depth breaks.
- From shore: Cast along structure and let the jig sink before starting a lift-and-drop retrieve.
- From a boat: Use electronics, drift lines, or visible bait activity to stay over fish longer.
Jigging Safety and Fish Care
Jigging often uses sharp hooks, heavy lures, and repeated casting or lifting, so safety matters. Wear eye protection when casting around other people, and check behind you before every cast.
Use pliers when removing hooks from toothy fish or deeply hooked fish. If you plan to release your catch, handle it gently, keep it wet, and return it to the water quickly.
When fishing from a boat, secure heavy jigs before moving. A swinging metal jig can injure someone, damage gear, or chip the boat.
Frequently Asked Questions
What does jigging mean in fishing?
Jigging means fishing with a weighted lure that you move up and down, hop along the bottom, swim through the water, or let flutter on the fall. The goal is to imitate injured prey and trigger predatory fish to strike.
How do you jig fish for beginners?
Start with a balanced rod and reel, tie on a jig that matches the depth, and let it sink to the strike zone. Lift the rod tip, reel in slack, and let the jig fall again. Watch your line closely because many bites happen during the drop.
Is jigging good for beginners?
Yes, jigging is good for beginners because the basic motion is easy to learn and the gear can be simple. Start with lighter freshwater jigs or easy-to-control saltwater jigs, then experiment with speed, pauses, and depth.
What is jig and drop?
Jig and drop is a technique where you lift the jig, then let it fall back down. The lift gets attention, while the drop often triggers the bite because the lure looks like wounded or dying prey.
What weight jig should I use?
Use the lightest jig that still reaches the target depth and lets you feel the lure. Go heavier in deep water, strong current, wind, or fast drift. Go lighter in shallow water or when fish want a slower, more natural fall.
Do fish bite jigs on the way up or on the fall?
Fish can bite at any point, but many strikes happen on the fall. That is when the jig looks most vulnerable. Watch for the line to jump, stop early, move sideways, or suddenly go slack.
Conclusion
In jigging, you are not just casting and reeling. You are controlling a lure so it rises, falls, pauses, and flashes like real prey. That simple action can catch fish in lakes, rivers, bays, reefs, and offshore water.
Start with a balanced setup, choose a jig weight you can control, and focus on feeling the lure. Watch your line on the fall, change your retrieve when bites slow down, and match your jig to the fish and structure in front of you.
With patience and practice, jigging becomes one of the most useful techniques in your fishing toolkit. Grab your gear, choose a safe spot, and let each lift and drop teach you what the fish want next.