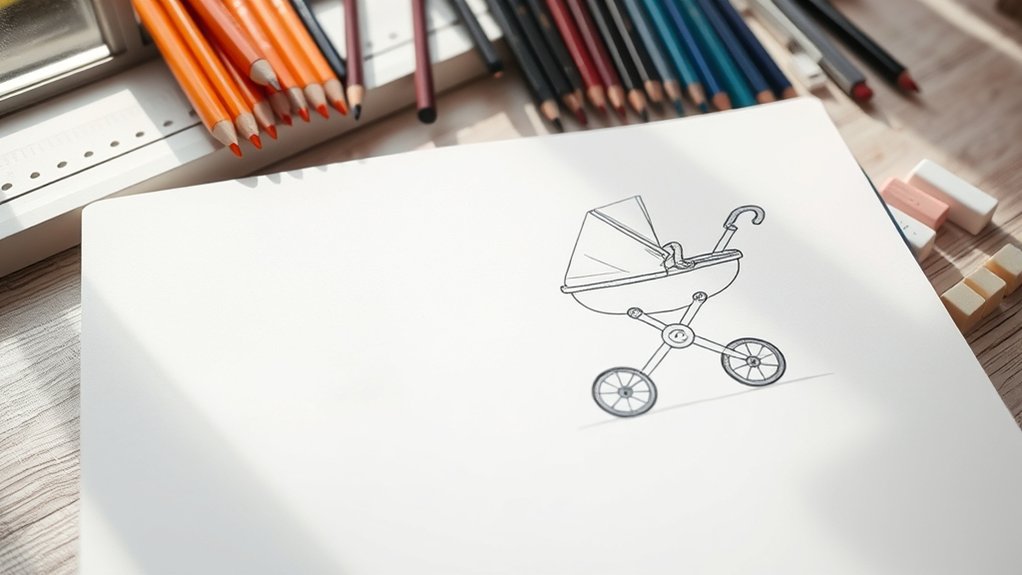
Drawing a stroller is easier when you break it into simple parts first. Instead of trying to copy every detail at once, start with wheels, a seat shape, a frame, and handlebars. Once those pieces look balanced, you can refine the lines, add fabric details, shade the form, and customize the design with patterns, accessories, and color.
Quick Answer
To draw a stroller, sketch two round wheels first, then add a simple seat shape, a sturdy frame, and curved handlebars. Refine the outline, erase extra guide lines, add the canopy and seat details, then finish with shading, texture, color, and small personal touches.
Key Takeaways
- Start with basic shapes before adding detailed stroller parts.
- Keep the wheels aligned so the stroller looks stable and realistic.
- Use light pencil lines first, then darken the final outline after the proportions look right.
- Add a canopy, seat, basket, fabric folds, and accessories to make the drawing feel complete.
- Shading and texture help the stroller look three-dimensional instead of flat.
At a Glance
| Time Required | 20 to 45 minutes, depending on detail level |
| Difficulty | Beginner to intermediate |
| Tools Needed | Pencil, eraser, ruler, paper, optional colored pencils or markers |
| Cost | Free if you already have basic drawing supplies |
Breaking Down the Stroller: Understanding Its Basic Shapes
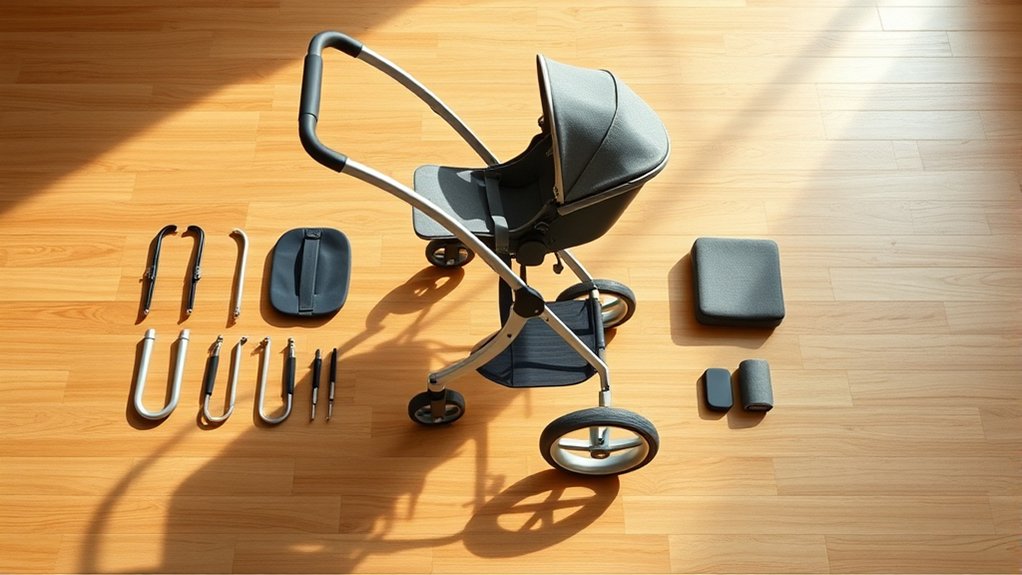
When you start sketching a stroller, think of it as a collection of basic shapes. This helps you avoid feeling overwhelmed by the frame, fabric, wheels, and small details. Begin with the wheels, drawing clean circles to create balance. Most stroller drawings look stronger when the wheels sit on the same ground line, so lightly draw that guide before adding the circles.
For the body, sketch a large rectangle, oval, or rounded trapezoid. This shape forms the main baby seat. Next, depict the handlebars using slender rectangles or long curved lines, making sure they feel comfortable to grip. Connect everything with straight and angled lines to create the frame, emphasizing structural integrity. As you work, practice proportions analysis by comparing the sizes of your shapes. The wheels should not look too tiny, the handlebar should not overpower the seat, and the stroller frame should feel sturdy enough to support the design.
Once the large shapes are in place, look at the stroller as one complete object. Ask yourself whether the seat tilts naturally, whether the wheels are evenly spaced, and whether the handlebar connects to the frame in a believable way. This early check saves time before you add detailed lines.
Note: A stroller does not need to be perfectly realistic to look good. Even a cartoon stroller should still have balanced wheels, a clear seat shape, and a frame that visually connects all the parts.
Step-by-Step Drawing Process: From Sketch to Details
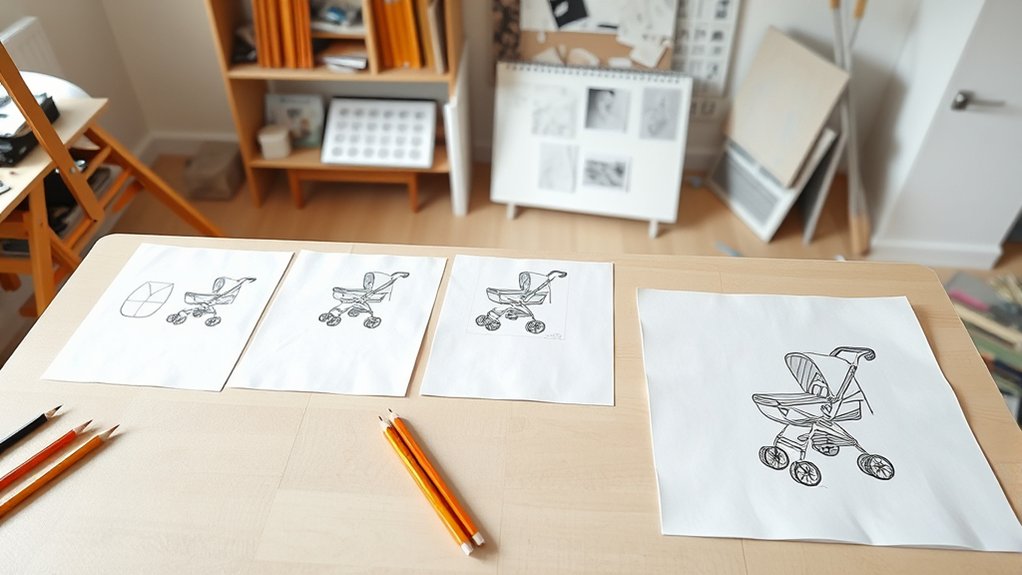
Start your drawing by lightly sketching the wheels as clean circles and the stroller’s body as a large rectangle or oval, laying the groundwork for proportions. Once you’ve got the basic shapes down, refine the main outlines with a sharper pencil to give your stroller structure and definition. Clean up any stray lines, then add the details that will bring your drawing to life.
Initial Light Sketch
To create a solid foundation for your stroller drawing, begin with an initial light sketch that captures the essential shapes and proportions. Start by drawing two circles for the wheels, guaranteeing proper wheel alignment for balance. You can also add a smaller inner circle inside each wheel to show the rim or hubcap.
Outline the body of the stroller with a large rectangle, oval, or curved basket shape, keeping initial proportions realistic. Connect the wheels to the body using straight or angled lines to form a sturdy frame. For the handlebars, sketch slender rectangles or long curved lines, positioning them comfortably relative to the body. Lightly refine your main lines to enhance clarity while leaving extra sketch lines for adjustments later.
| Step | Action | Purpose |
|---|---|---|
| 1 | Draw wheels | Establish wheel alignment |
| 2 | Outline body | Define initial proportions |
| 3 | Connect wheels to body | Structure the frame |
| 4 | Sketch handlebars | Guarantee comfort |
| 5 | Refine main lines | Prepare for detailing |
Refining Main Lines
With your initial light sketch in place, it’s time to sharpen your pencil and refine those main lines. Focus on line clarity as you trace over the basic shapes, ensuring each line is well-defined. Pay attention to proportional adjustments, especially where the wheels connect to the stroller’s frame.
Use a ruler for straight lines, particularly on the handlebars and frame, to create a sleek, balanced appearance. As you refine, gently erase any stray sketch lines to maintain cleanliness without smudging the overall structure. Finally, add details like the seat, canopy, footrest, storage basket, and wheel hubs, ensuring they harmonize with the refined lines and proportions. This step brings your stroller closer to life, enhancing its visual impact and appeal.
Adding the Canopy, Seat, and Frame Details
After the main outline looks balanced, add the stroller details in layers. Draw the canopy as a curved half-dome above the seat. Add two or three curved lines inside the canopy to suggest folded fabric. For the seat, draw a soft inner shape that follows the body outline, then add a simple safety harness, cushion edge, or blanket line.
Next, build up the frame. Add diagonal support bars from the handle area down toward the wheels. Keep these bars thin and clean so they do not compete with the seat shape. You can add a small footrest near the lower front and a storage basket between the wheels if you want the stroller to look more complete.
Pro Tip: Turn your paper upside down for a few seconds after the sketch stage. This makes uneven wheels, tilted handles, and awkward proportions easier to notice before you commit to darker lines.
Common Drawing Mistakes and How to Avoid Them

Drawing a stroller can be a rewarding experience, but it’s easy to fall into common pitfalls that can affect your final piece. To enhance your drawing techniques and sidestep these common errors, keep these tips in mind:
- Wheels: Make sure the wheels are round and aligned properly; uneven wheels disrupt balance.
- Proportions: Consistently compare the body, wheels, and handlebars to avoid skewed shapes and an unrealistic look.
- Perspective: Use reference points to maintain depth; neglecting this can result in a flat appearance.
- Frame connections: Make sure the handlebar, seat, and wheel supports connect instead of floating separately.
- Line weight: Keep guide lines light and final lines darker so the drawing looks clean.
Remember to start with light lines to make erasing easier and step back regularly to assess your composition. By being mindful of these factors, you’ll create a more compelling and balanced stroller drawing.
Warning: Do not press too hard during the first sketch. Heavy pencil marks are harder to erase and can leave grooves in the paper, especially when you adjust wheel placement or frame angles.
Adding Personality: Creative Twists to Customize Your Stroller Drawing
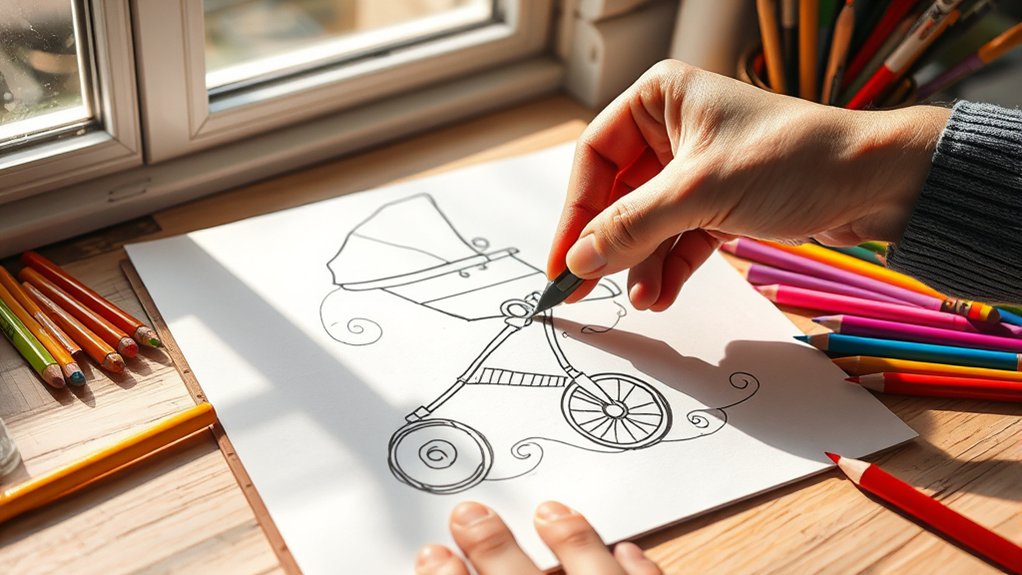
While adding personality to your stroller drawing, think about how small details can transform a simple design into something truly special. Start with fun pattern ideas. Consider stripes, polka dots, stars, floral designs, clouds, or tiny animal prints on the fabric sections. Choose vibrant colors or soft pastels to create color themes that reflect your desired mood.
Enhance the stroller’s character by adding accessories like a cute plush toy, a colorful blanket, a hanging rattle, a small diaper bag, or a personalized name tag. Don’t forget to incorporate the environment; a park background, sidewalk, nursery corner, or playful elements around the stroller can bring your artwork to life. These creative twists will not only make your drawing unique but also infuse it with warmth and charm, capturing the essence of joyful journeys.
Simple Style Ideas for Beginners
If you are new to drawing, keep the stroller design simple. Try a side-view stroller with two large wheels, a rounded seat, and one curved handlebar. This angle is easier because you do not have to manage complex perspective. For a cute cartoon style, make the wheels larger, soften the frame lines, and exaggerate the canopy shape.
If you want a more realistic look, study the way real stroller frames angle downward toward the wheels. Add thinner support bars, smaller wheel hubs, and fabric folds on the seat. A few carefully placed details can make the drawing feel believable without making it too complicated.
Expert Tips for Shading and Texturing Your Artwork
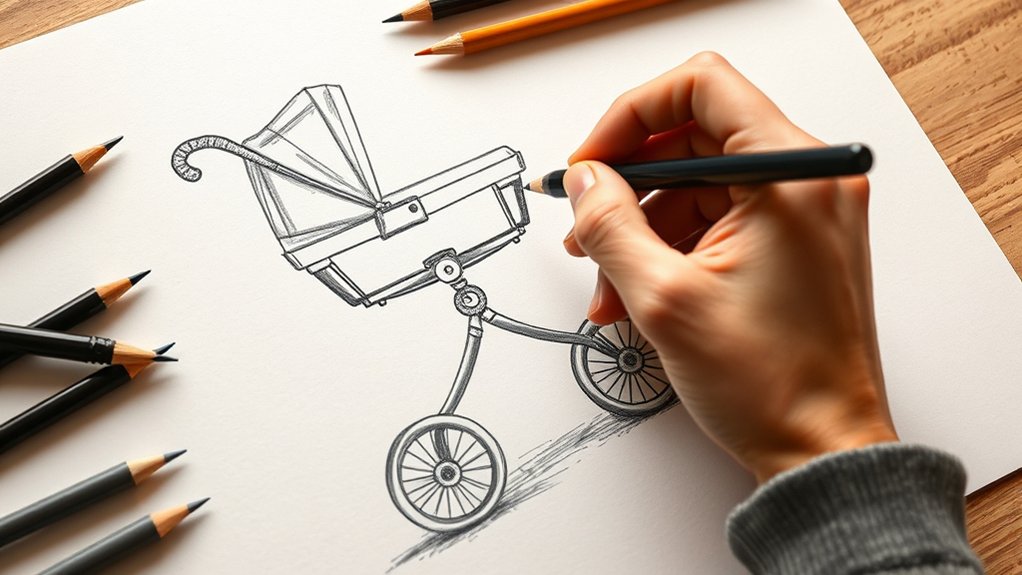
Shading and texturing are essential techniques that can elevate your stroller drawing from flat to dynamic. Start by establishing a consistent light source, focusing on shadow areas like under the seat, inside the canopy, behind the wheels, and beneath the storage basket.
Here are some tips to enhance your artwork:
- Use a softer pencil, such as 2B or 4B, for smooth gradients; layer shadows gradually for depth.
- Experiment with shading techniques, such as hatching or cross-hatching, to create texture on fabric parts like the canopy.
- Incorporate patterns, like stripes or polka dots, during texture application to add personality.
- Add darker shadows where parts overlap, such as where the canopy meets the seat.
- Leave small highlights on the wheel rims and handlebar to create a polished look.
Don’t forget to use a kneaded eraser to lift graphite from highlights, boosting contrast between light and shadow for a vibrant, three-dimensional effect in your drawing.
Strong stroller drawings usually come from simple foundations: balanced wheels, clean frame lines, and clear light direction.
Showcasing Your Work: How to Display and Share Your Stroller Drawings
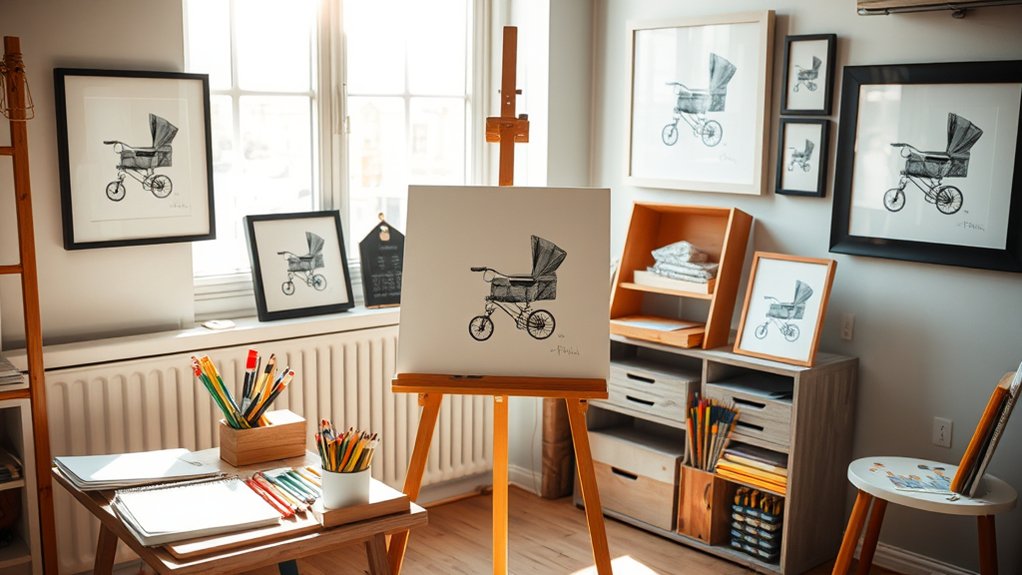
To showcase your stroller drawings effectively, start by framing your best pieces to give them a polished look that catches the eye. Next, share your artwork on social media platforms, using bright, clear images and relevant hashtags to reach a larger audience. Engaging with fellow artists online can also boost your visibility and create valuable connections in the art community.
Framing Your Artwork
When it comes to framing your artwork, you’ve got a fantastic opportunity to enhance your stroller drawings and make them truly stand out. Here are some effective framing techniques to contemplate:
- Choose a simple, elegant frame that complements your drawing, ensuring it enhances rather than distracts from the artwork.
- Incorporate a mat board to add a professional touch, providing a border that elevates the presentation and keeps your artwork safe from touching the glass.
- Consider a shadow box frame for any three-dimensional elements, allowing you to showcase added accessories or textures in your drawing.
If the drawing uses soft pencil shading, use a protective sleeve or fixative before framing so the graphite does not smear. For a colorful stroller illustration, choose a frame color that supports the palette rather than fighting with it.
Social Media Sharing
As you plunge into sharing your stroller drawings on social media, you’ll want to capture the essence of your artwork through quality presentation. Use natural lighting to showcase vibrant colors and intricate details. Platforms like Instagram and Pinterest are perfect for this; leverage hashtags like #StrollerDrawing and #ArtCommunity to enhance audience engagement.
Consider creating a dedicated art account, making it easier for followers to explore your creations. Engage with fellow artists by participating in drawing challenges or groups to gain feedback and encouragement. Additionally, think about producing time-lapse videos of your drawing process on TikTok or YouTube. This not only attracts more viewers but also highlights your unique skills. Embrace this liberation in sharing your art!
Frequently Asked Questions
What materials are best for drawing a stroller?
For drawing a stroller, use a range of pencil types, such as HB for outlines and softer grades for shading. Choose smooth paper for clean lines or textured paper for a more artistic feel. An eraser, ruler, and colored pencils or markers can also help you finish the drawing neatly.
How can I improve my drawing skills quickly?
Practice daily with short sketching exercises. Draw basic shapes, copy stroller references, study wheel alignment, and redraw the same stroller from different angles. Challenge yourself, explore styles, and embrace mistakes because they are useful steps toward stronger drawing habits.
Are there specific styles of strollers to draw?
Yes. You can explore lightweight strollers, jogging strollers, double strollers, prams, travel strollers, and modern compact designs. Each style has different wheel sizes, frame shapes, canopies, and seat positions, so studying the silhouette first will help your drawing look more accurate.
What are some tips for drawing moving strollers?
To capture motion, angle the stroller slightly forward, add light motion lines near the wheels, and tilt fabric details as if a breeze is moving them. Use perspective to enhance the stroller design, and add playful details like a blanket edge or canopy flap shifting with movement.
How do I choose colors for my stroller drawing?
Choose colors by thinking about mood and contrast. Soft pastels can make the stroller feel sweet and gentle, while bright colors can make it look playful. Try using one main fabric color, one accent color, and one neutral color for the frame and wheels.
What is the easiest stroller angle for beginners?
A side-view stroller is usually the easiest angle for beginners. You only need to focus on the wheels, seat, handlebar, and frame from one clear direction. Once you feel confident, try a three-quarter view for more depth.
Conclusion
Now that you know how to draw a stroller, you can build your illustration from simple shapes instead of guessing where every detail should go. Start with balanced wheels, add the seat and frame, refine the handlebar and canopy, then use shading, texture, and color to create a finished piece. Don’t shy away from experimenting with colors, patterns, and accessories to make your stroller illustration truly yours. Share your creations with friends and online, and inspire others to pick up a pencil and join in the fun.

