Changing the oil and filter on a 2019–2025 Toyota RAV4 is manageable at home when you use the correct parts and support the vehicle safely. This guide focuses on fifth-generation U.S.-market RAV4 models with a 2.5-liter engine, but access panels, filter fitment, oil capacity, and display menus can vary. Confirm your model year, engine, and VIN before buying supplies.
Quick Answer
Safely raise and support the RAV4, drain the old oil, replace the drain-plug gasket and VIN-matched filter, then refill with the oil grade listed in your manual. Install the fill cap before starting, check for leaks, wait at least five minutes, verify the dipstick level, and reset the maintenance reminder through the instrument display.
Key Takeaways
- Toyota’s 2019 RAV4 manual lists 4.8 quarts with a filter for the applicable 2.5-liter engine, but that number is a reference capacity. Use the dipstick for the final level.
- Use the oil viscosity, filter, and drain-plug gasket specified for your exact model year and VIN.
- Never work beneath a RAV4 supported only by a jack. Use approved ramps or jack stands on solid, level ground.
- Make sure the old filter gasket comes off with the filter. Two stacked gaskets can cause a rapid oil leak.
- Install the oil-fill cap before starting the engine, then inspect for leaks and recheck the level after the engine has been off for at least five minutes.
At a Glance
| Time Required | About 45–75 minutes, including draining, inspection, and the final level check |
| Difficulty | Beginner to intermediate; safe vehicle lifting is required |
| Tools Needed | Ratchet, commonly a 14 mm drain-plug socket, correct under-cover tools, filter wrench, torque wrench, funnel, 7-quart or larger drain pan, gloves, wheel chocks, and ramps or jack stands |
| Cost | Varies by brand and location; budget for five quarts of oil, one filter, and one drain-plug gasket. Tools are extra. |
Note: This procedure is written for 2019–2025 fifth-generation RAV4 models. The 2026 RAV4 has separate documentation. Hybrid and Prime models may also have different underbody access or display wording, so your exact owner’s manual and VIN-based parts catalog take priority.
Verify Your RAV4 Before Starting
Check the model year, engine, and VIN before opening the oil container. A procedure that fits one RAV4 can still use a different filter, under-cover fastener, drain-plug gasket, or maintenance-reset menu on another version.
The 2019 Toyota RAV4 Owner’s Manual lists a reference capacity of 4.8 U.S. quarts with a filter and 4.4 quarts without a filter for the applicable 2.5-liter engine. It specifies SAE 0W-16 and allows SAE 0W-20 temporarily when 0W-16 is unavailable, with a return to 0W-16 at the next oil change.
| Item | What to Confirm |
| Oil viscosity | The SAE grade printed in the owner’s manual for your year and engine |
| Reference capacity | Capacity with a new filter; use the dipstick for the final level |
| Oil filter | Exact VIN-based fitment, thread, gasket diameter, and filter height |
| Drain-plug gasket | Correct replacement gasket for the installed drain plug and oil pan |
| Drain-plug torque | The Toyota repair specification for the exact year and engine; do not copy an unverified forum value |
Essential Tools for Changing Oil in a Toyota RAV4
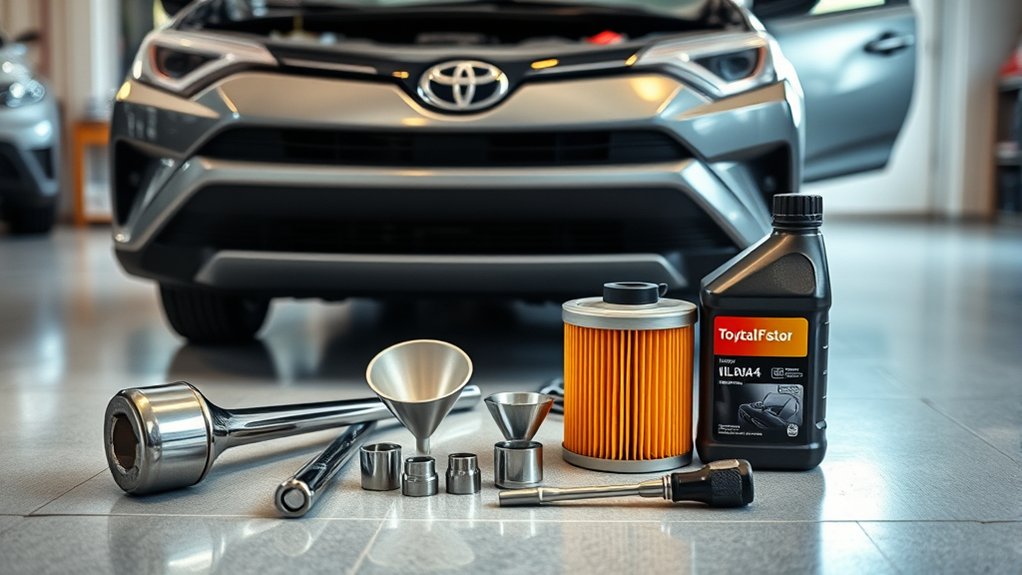
Gather every tool and replacement part before raising the vehicle. A 14 mm socket commonly fits the drain plug on this generation, but you should verify the installed plug. Under-cover screws and clips can also vary by model and previous repairs.
- Engine oil: The viscosity and current API certification required for your model
- Oil filter: A reputable, VIN-matched replacement
- Drain-plug gasket: A new gasket matched to the plug and oil pan
- Drain pan: At least 7 quarts to leave room for the oil stream and splashing
- Hand tools: Ratchet, correct sockets, trim-clip tool, and extensions as needed
- Filter tool: A cup-style or strap wrench sized for the installed filter
- Torque wrench: For tightening the drain plug to the verified repair specification
- Funnel and measuring container: Clean and free from coolant, solvent, or dirt
- Safety equipment: Nitrile gloves, eye protection, wheel chocks, and approved ramps or jack stands
- Cleanup supplies: Shop towels and an oil-absorbent material
Toyota has used complete part numbers such as 90915-YZZN1 for some spin-on filters, but a part number should not be treated as universal. Check fitment through a Toyota parts catalog or supplier using your VIN.
Warning: Never crawl beneath a vehicle supported only by a hydraulic jack or the emergency body jack. Work on firm, level ground and support the RAV4 at approved lift points with correctly rated ramps or jack stands.
Preparing Your Vehicle for an Oil Change
- Park on level ground. Shift into Park, apply the parking brake, and place wheel chocks at wheels that will remain on the ground.
- Warm the oil briefly. Slightly warm oil drains more readily, but shut the engine off and wait until the exhaust and oil are safe to work around.
- Disable an unexpected restart. Remove the key or keep the smart key away from the vehicle. On a Hybrid or Prime, confirm that the READY indicator is off.
- Open the hood. Pull the hood-release lever in the lower driver-side area, release the secondary latch, and secure the hood.
- Remove the oil-fill cap. This allows air to enter while the oil drains. Set the cap in a clean place where dirt cannot reach it.
- Raise and support the vehicle if necessary. Use the approved lifting points in your exact owner’s manual. Keep the vehicle as level as practical for draining and the final dipstick check.
- Place your tools within reach. Keep the new filter, gasket, drain pan, towels, and correct sockets nearby before going underneath.
Pro Tip: Clean the dipstick and the area around the fill cap before opening the engine. Loose grit can otherwise fall into the fill opening or affect your level reading.
Step-by-Step Guide to Removing the Skid Plate
Many 2019–2025 RAV4 models have a small service panel or under-cover section below the engine. The number and type of screws or clips can differ, so inspect each fastener before selecting a tool.
- Locate the access panel beneath the engine and identify every screw, bolt, or plastic clip holding it.
- Use the correctly sized socket or trim tool. Do not force a 10 mm socket onto a damaged or different-size fastener.
- Support the panel with one hand while removing the last fastener so it does not fall or bend.
- Arrange the fasteners in their original positions. Different lengths may be used in different holes.
- Inspect the under-cover for cracks, loose retainers, fresh oil, coolant residue, or impact damage.
An electric ratchet can speed up removal, but use hand pressure when reinstalling small bolts into clips or plastic-supported hardware. Power tools can strip the clip or crack the panel.
Properly Drain Oil From Your Toyota RAV4
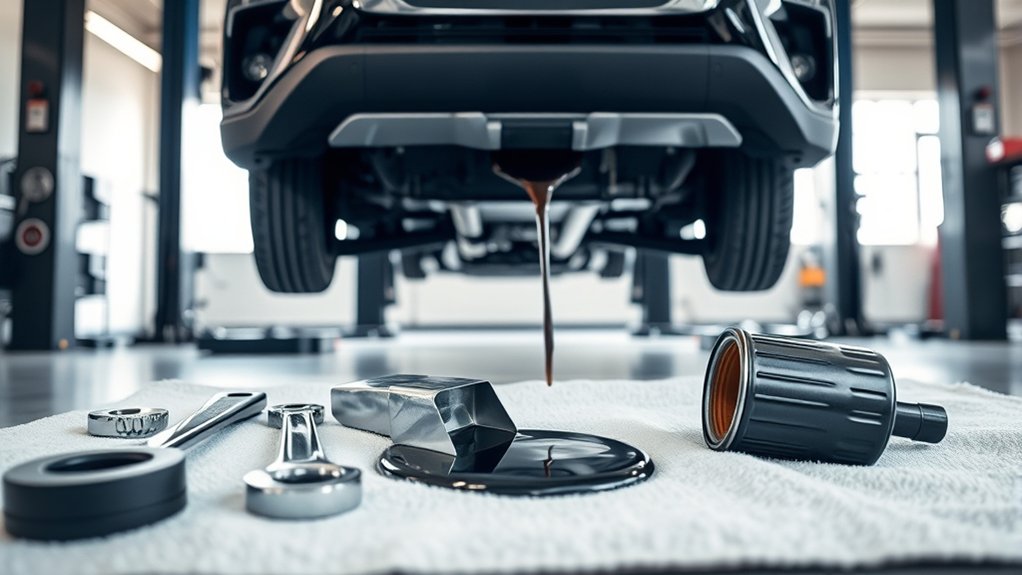
Confirm that you have identified the engine-oil drain plug rather than a transmission or differential plug. The engine oil pan sits below the engine, and the plug should align with the oil-fill and dipstick system you are servicing.
Prepare the Drain Pan
Place a clean drain pan beneath and slightly beyond the drain plug. The oil stream can travel outward when the plug first comes free and move closer to the pan as flow slows.
- Use a pan with a capacity of at least 7 quarts.
- Keep absorbent material nearby for a spill.
- Make sure the pan is stable and cannot be kicked or tipped.
- Keep coolant, brake cleaner, gasoline, and other fluids out of the used oil.
Remove the Drain Plug Carefully
- Wear gloves and eye protection.
- Loosen the plug with the correct socket while pressing the tool squarely against the bolt head.
- Finish removing the plug by hand while keeping light inward pressure on it.
- Pull the plug away quickly and allow the oil to drain into the pan.
- Let the oil drain until the flow has slowed to an occasional drip.
- Remove the old drain-plug gasket and clean the plug.
- Inspect the plug threads and sealing surface. Stop if the threads are stretched, crossed, or damaged.
- Install the new gasket in the correct orientation for its design.
- Thread the plug in by hand for several turns. It should turn smoothly without force.
- Tighten it with a torque wrench to the Toyota repair specification for your exact model.
The owner’s manual does not provide every workshop torque value. Use the applicable procedure from Toyota Technical Information or another licensed repair-information source rather than guessing.
Inspect the Drained Oil
Oil commonly becomes darker during normal service, so color alone does not prove that the oil has failed. Instead, watch for conditions that may justify further diagnosis:
- Metal flakes or glitter: May indicate abnormal internal wear
- Milky tan appearance: May indicate water or coolant contamination
- Heavy sludge: May indicate neglected service or an operating problem
- Strong gasoline odor: May indicate fuel dilution
- Unexpectedly low quantity: May indicate consumption or leakage
Warning: Do not continue with a routine refill if you find coolant-like contamination, substantial metal debris, damaged drain-plug threads, or an unexplained lack of oil. Those conditions need diagnosis before the engine is run again.
Remove the Old Oil Filter
Move the drain pan beneath the filter because oil will escape when its seal breaks. Wipe the filter housing and nearby area first so loose grit cannot reach the sealing surface.
- Fit the correct cup or strap wrench squarely on the old filter.
- Turn the filter counterclockwise only far enough to loosen it.
- Finish unscrewing it by hand while holding it upright when space allows.
- Empty the filter into the drain pan and place it in a leak-resistant bag or container.
- Inspect the filter mounting surface on the engine.
- Confirm that the old rubber gasket came off with the filter.
Warning: Never install a new filter over an old gasket stuck to the engine. A double gasket can release under pressure and empty the engine oil within minutes.
Install the New Oil Filter
- Compare the new and old filters. Check the thread opening, gasket diameter, body size, and listed vehicle fitment.
- Make sure the engine’s filter-mounting surface is clean, smooth, and free from the old gasket.
- Apply a thin film of fresh engine oil to the new filter’s rubber gasket.
- Thread the filter onto the mount by hand. Stop immediately if it does not turn freely.
- When the gasket contacts the mounting surface, tighten the filter according to the instruction printed on the filter or its packaging.
- Do not use a generic turn count when the manufacturer provides a different instruction.
- Wipe the filter and surrounding area clean so fresh leakage will be easy to see.
Many spin-on filters call for approximately three-quarters of a turn after gasket contact, but the instruction supplied with the installed filter controls. Do not overtighten the filter with a wrench unless its manufacturer specifically requires a torque value.
Fill Your RAV4 With Fresh Oil

Before filling, confirm that the drain plug and filter are installed. Lower the vehicle onto level ground when this can be done safely, because the final dipstick reading depends on vehicle angle.
Choose the Correct Oil
For the applicable 2019 2.5-liter engine, Toyota specifies SAE 0W-16. Use the viscosity shown in the owner’s manual for your exact year and engine rather than relying only on the oil cap or a general parts listing.
Choose an oil displaying the appropriate API certification. Current SAE 0W-16 products may carry API SQ and ILSAC GF-7B certification. API states that its newer gasoline-engine categories are backward compatible with earlier categories, but the correct viscosity remains essential. You can review current markings in the API Motor Oil Guide.
Use the Correct Filling Technique
- Insert a clean funnel into the oil-fill opening.
- Pour in less than the listed reference capacity at first. For a 4.8-quart reference fill, begin about 0.3–0.5 quart below that amount.
- Pause and allow the oil to reach the pan.
- Check the dipstick, wipe it clean, insert it fully, and read it again.
- Add oil in small amounts until the level is within the acceptable range.
- Remove the funnel and install the oil-fill cap securely.
- Confirm that the dipstick is fully seated.
- Start the engine and let it idle briefly while watching the oil-pressure warning.
- Shut the engine off immediately if the oil-pressure warning does not turn off promptly.
- Otherwise, shut the engine off after the brief circulation period and wait at least five minutes.
- Check for leaks, then read the dipstick again on level ground.
- Top up in small amounts without exceeding the upper mark.
The published capacity is a planning reference. The dipstick reading on level ground determines the correct final fill.
Check for Oil Leaks After the Oil Change
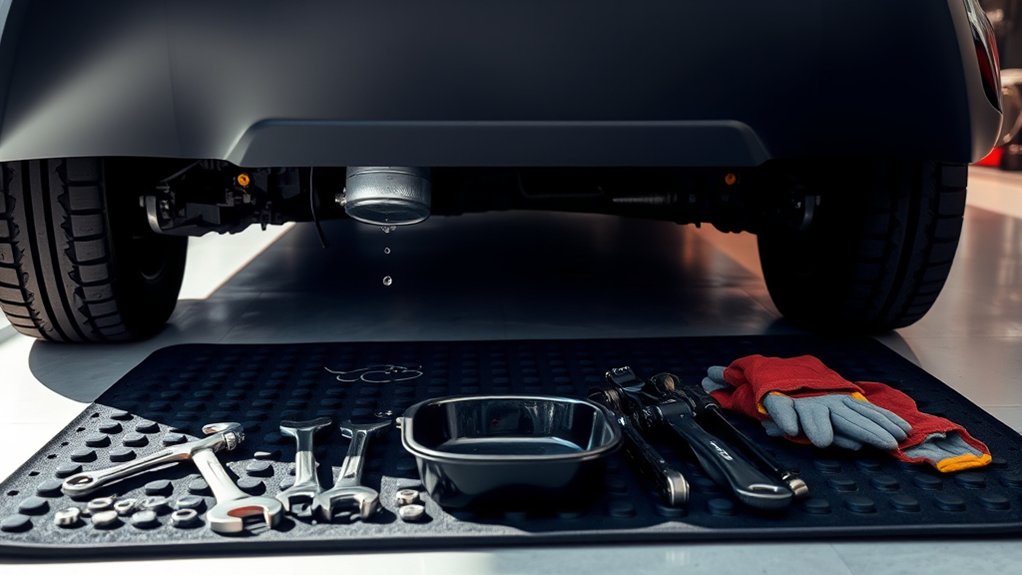
Inspect the drain plug and filter once before starting and again after the engine has circulated the new oil. Keep your hands, hair, clothing, and tools away from belts, fans, hot exhaust parts, and other moving components.
- Look for a wet ring forming around the oil-filter gasket.
- Check the drain-plug sealing area for a fresh drop or slow seep.
- Inspect the ground and under-cover for new oil.
- Recheck the dipstick after the engine has been off for at least five minutes.
- Inspect the same areas again after the first short drive.
| Problem | What to Do |
| Oil-pressure warning stays on | Shut the engine off immediately. Verify the oil level, filter installation, and drain plug before restarting. Seek professional diagnosis if the cause is not obvious. |
| Leak at the filter | Shut the engine off. Check for a stuck old gasket, wrong filter, cross-threading, or insufficient installation tightening. |
| Leak at the drain plug | Check the gasket, verified torque, sealing surface, and threads. Do not keep tightening a damaged plug or oil pan. |
| Oil above the upper dipstick mark | Remove the excess before normal driving. Overfilling can aerate the oil and cause operating problems. |
| Oil below the acceptable range | Add the correct oil in small amounts, allowing time for each addition to reach the pan. |
How to Reset the RAV4 Maintenance Reminder
The maintenance reminder is a mileage-based service notice. It does not measure oil quality, and resetting it does not correct a low oil level or an oil-pressure warning. Reset it only after completing the service.
Access the Vehicle Settings
On the 2019 RAV4, the documented procedure uses the steering-wheel controls and multi-information display:
- Park the vehicle and switch the ignition or power mode on so the instrument display operates.
- Use the steering-wheel controls to select the settings or gear icon.
- Select Vehicle Settings.
- Press and hold the OK control if the display requires it to open the menu.
- Select Scheduled Maintenance.
Complete the Reset
- Select Yes when the confirmation message appears.
- Wait for the display to confirm that the maintenance data has been reset.
- Switch the ignition off and then on again to verify that the reminder no longer appears.
Later fifth-generation models may use wording such as “Oil Maintenance” or arrange the menus differently. Use the maintenance-reset section in your exact owner’s manual if the labels above do not appear. Do not use the three-pedal-press procedure described in the original version of this article.
Best Practices for RAV4 Oil Changes
- Follow the exact maintenance guide. Toyota’s 2020 RAV4 Warranty and Maintenance Guide generally schedules engine oil and filter replacement at 10,000 miles or 12 months under qualifying normal use with the specified oil.
- Use the shorter interval when required. Toyota lists 5,000 miles or six months for certain special operating conditions, including dusty use, extensive idling or low-speed operation, repeated short cold-weather trips, and towing or heavy loading.
- Replace the filter with the oil. A new filter prevents retained contaminants from immediately mixing with the fresh oil.
- Use a new drain-plug gasket. A previously compressed gasket may not seal consistently.
- Check the oil between services. Park on level ground, shut the engine off, wait at least five minutes, and use the dipstick.
- Keep a service record. Record the date, mileage, oil viscosity, oil brand, filter number, and any leaks or unusual findings.
- Reinspect after driving. Check the level and look beneath the vehicle after the first short trip.
Dispose of the Used Oil and Filter Properly
Pour the used oil into a clean plastic container with a tight lid. Do not mix it with coolant, brake fluid, gasoline, paint, solvent, or water. Transport the sealed container and drained filter to an approved used-oil collection center, automotive retailer, or recycling facility.
The U.S. Environmental Protection Agency recommends keeping used oil free from other substances so it remains suitable for recycling. Never pour it onto the ground, into household plumbing, or into a storm drain.
Related Guides
Frequently Asked Questions
How often should I change the oil filter in my RAV4?
Replace the filter whenever you replace the engine oil. Follow the maintenance guide for your exact model year. Many fifth-generation RAV4 schedules use 10,000 miles or 12 months under qualifying normal use and 5,000 miles or six months under listed special operating conditions.
Can I use a non-Toyota oil filter?
Yes, provided the filter is made for your exact engine and meets the required fit and performance specifications. Verify fitment by VIN and compare the thread, gasket diameter, bypass design, and physical clearance. Avoid choosing a filter only because its outside dimensions look similar.
What type of oil should I use in a Toyota RAV4?
Use the SAE viscosity and API certification listed in the owner’s manual for your model year and engine. The applicable 2019 2.5-liter specification calls for SAE 0W-16. Do not assume that every newer or older RAV4 uses the same oil.
Do I need to warm the engine before draining the oil?
Slightly warm oil drains more readily, but you should not work around dangerously hot oil or exhaust parts. Warm the engine briefly if needed, shut it off, and wait until you can work without a burn risk.
Is it necessary to replace the filter at every oil change?
Yes. Toyota maintenance schedules normally list engine oil and filter replacement together. Reusing the filter leaves contaminated oil and trapped debris in the lubrication system and reduces the new filter’s available service capacity.
Should I pour in the full 4.8 quarts at once?
No. The 4.8-quart figure is a reference capacity for the applicable 2019 engine with a filter. Begin below the listed capacity, install the cap, circulate the oil briefly, wait at least five minutes, and approach the upper dipstick mark in small additions.
What should I do if the oil-pressure warning stays on?
Shut the engine off immediately. Check the dipstick, drain plug, filter, and ground beneath the vehicle. Do not keep the engine running to see whether the warning clears. Obtain professional diagnosis if the oil level and installation appear correct.
Conclusion
A successful Toyota RAV4 oil and filter change depends on accurate fitment, safe vehicle support, careful sealing, and a final dipstick check. Verify your model before buying parts, replace the filter and drain-plug gasket, install the fill cap before startup, and stop immediately if the oil-pressure warning remains on or a leak appears. Record the service and inspect the level again after your first short drive.
Sources
- 2019 Toyota RAV4 Owner’s Manual — Oil viscosity, reference capacity, oil-level procedure, lifting information, and maintenance-reset instructions
- 2020 Toyota RAV4 Warranty and Maintenance Guide — Normal and special-operating-condition service intervals
- 2026 Toyota RAV4 Warranty and Maintenance Guide — Current model-year maintenance guidance and the need to follow exact owner-manual specifications
- Toyota Genuine Parts Oil Filter Information — Complete Toyota filter numbering and part supersession information
- API Motor Oil Guide — Current engine-oil certification marks and service categories
- U.S. EPA Used Oil Management Guidance — Safe storage, contamination prevention, and recycling of used oil