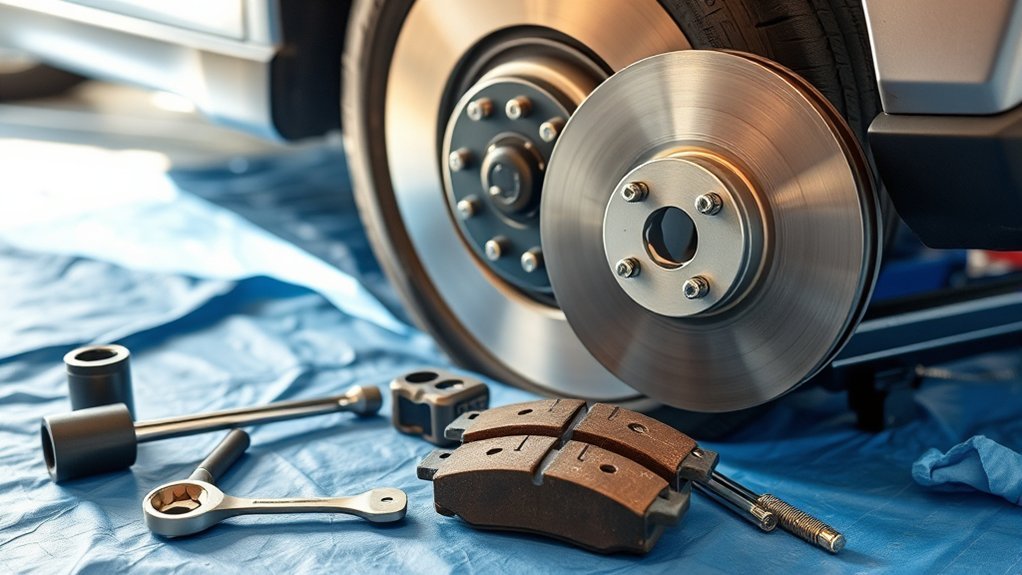
Changing the brakes on a Toyota RAV4 can be a practical DIY job, but the exact procedure changes by model year, axle, drivetrain, and parking-brake design. Before loosening a brake fastener, verify the correct parts, lifting points, piston procedure, and torque specifications for your vehicle.
Quick Answer
Changing Toyota RAV4 brakes means replacing the pads on both sides of one axle, inspecting or replacing the rotors, servicing the caliper hardware, and tightening every fastener to the correct model-specific specification. Rear brakes may require electronic parking-brake maintenance mode. Bleeding is needed only when the hydraulic system has been opened or contains air.
Key Takeaways
- Confirm your RAV4’s model year, axle, brake design, replacement parts, and torque specifications before starting.
- Support the vehicle with correctly positioned jack stands and never work beneath a vehicle held only by a floor jack.
- Replace brake pads on both sides of the same axle, but replace rotors only when inspection or measurement shows they need replacement.
- Use a proper piston compressor or wind-back tool instead of prying the piston with a screwdriver.
- Put an electronic parking brake into the correct maintenance mode before retracting an EPB-equipped rear caliper.
- Pump the pedal until firm, check for leaks and warning lights, test at very low speed, and follow the pad manufacturer’s bedding procedure.
At a Glance
| Time Required | About 2–4 hours per axle for a careful first-time DIY job; seized hardware can add considerable time. |
| Difficulty | Intermediate to advanced. Brake work is safety-critical and requires accurate inspection and torque control. |
| Tools Needed | Floor jack, jack stands, wheel chocks, sockets, breaker bar, torque wrench, caliper hanger, piston tool, brake cleaner, measuring tools, and brake lubricant. |
| Cost | Parts cost varies by model year, axle, pad material, rotor condition, hardware needs, and whether OEM or aftermarket components are used. |
Warning: Never work under a RAV4 supported only by a jack. Use factory-approved lifting points, correctly rated jack stands, wheel chocks, eye protection, and gloves. If you cannot verify the lifting points, torque specifications, rear parking-brake procedure, or final pedal condition, have a qualified technician complete the repair.
Before You Begin: Verify Your RAV4 Brake System
Toyota RAV4 brake hardware and procedures differ across generations. Front and rear brakes may use different fasteners, piston designs, rotor dimensions, and parking-brake systems.
Use your VIN and model year to confirm the correct pads, rotors, clips, shims, and wear indicators. Consult the applicable Toyota owner documentation and model-specific factory repair information before beginning.
- Identify the axle: Decide whether you are servicing the front or rear brakes.
- Identify the parking brake: Older versions may use a mechanical system, while newer versions may use an electronic parking brake.
- Confirm the parts: Compare rotor diameter, pad shape, hardware, and electrical connectors before removing the original components.
- Record the specifications: Obtain the correct guide-pin, bracket, wheel-lug, and other torque values for your exact RAV4.
- Inspect the brake-fluid reservoir: Note the starting level, but do not assume a lower level means fluid must immediately be added. Normal pad wear can lower the reservoir level.
Note: A generic torque chart cannot safely cover every Toyota RAV4. The guide-pin bolt, caliper bracket, wheel-lug, and bleeder specifications may differ, even between the front and rear axle of the same vehicle.
Essential Tools for Brake Replacement on Your Toyota RAV4

Gather every tool and replacement part before raising the vehicle. Stopping midway because a socket, piston tool, or torque wrench is missing can leave the RAV4 unsafe to move.
- A floor jack with enough capacity and lift range for your RAV4
- Correctly rated jack stands
- Wheel chocks
- A breaker bar and the correct wheel-lug socket
- A ratchet and metric socket set
- One or more torque wrenches covering the required torque ranges
- A brake-caliper hanger, sturdy hook, or suitable support
- A disc-brake piston compressor or model-appropriate wind-back tool
- Brake cleaner, a catch pan, clean lint-free cloths, and a HEPA-filtered vacuum when available
- A micrometer or brake-rotor measuring tool
- A dial indicator if rotor runout must be measured
- Brake-specific, rubber-compatible lubricant
- New pads for both sides of the axle
- New hardware, shims, clips, and wear indicators when included or required
- Replacement rotors if the existing rotors fail inspection
- M8-1.25 extraction bolts only when the rotor has compatible threaded removal holes
Brake fastener torque is specific to the vehicle, axle, and bolt location. Correct technique cannot compensate for an incorrect specification.
Pro Tip: Work on one side of the axle at a time. The assembled brake on the opposite side gives you a useful visual reference for clip, shim, spring, and pad orientation.
Step-by-Step Brake Replacement Process for Your Toyota RAV4
The following overview applies to a typical disc-brake pad and rotor service. Follow the model-specific repair procedure whenever it differs from these general steps.
- Park on a solid, level surface and keep the ignition off. Keep the smart key away from the vehicle while the brakes are disassembled.
- Chock the wheels that will remain on the ground. For rear service, release the parking brake only when the applicable procedure requires it and secure the front wheels carefully.
- Loosen the wheel lugs slightly before raising the vehicle.
- Lift the RAV4 at the approved lifting point and place jack stands at the specified support points.
- Remove the wheel and inspect the hose, caliper, pads, rotor, slide pins, and surrounding components.
- Put an EPB-equipped rear brake into the correct maintenance or pad-replacement mode before retracting its piston.
- Remove and support the caliper without allowing it to hang by the flexible brake hose.
- Remove the pads, hardware, and bracket as required.
- Measure and inspect the rotor before deciding whether to reuse or replace it.
- Clean the hub, install the rotor if required, service the hardware, and retract the piston with the correct tool.
- Install the pads, bracket, and caliper, then torque each fastener to its model-specific specification.
- Refit the wheel, restore pedal pressure, reactivate the parking brake system, inspect for leaks, and perform a controlled low-speed test.
How to Safely Remove Old Brake Components
Prepare and Lift the RAV4
Keep the vehicle on level pavement or another hard surface. Avoid lifting on gravel, soil, sloped driveways, or soft asphalt that may allow the jack or stands to move.
Loosen the wheel lugs only enough to break them free. Raise the RAV4 at the correct lifting point, place the stands, and lower the vehicle gently until its weight rests securely on them.
Give the vehicle a careful stability check before removing the wheel. Never place any part of your body beneath the vehicle until you have confirmed that the stands are stable.
Control Brake Dust
Treat used brake dust as potentially hazardous. The OSHA brake-repair guidance recommends dust-control practices and warns against dry brushing.
- Do not blow the assembly clean with uncontrolled compressed air.
- Do not dry-sweep or aggressively dry-brush accumulated brake dust.
- Use suitable wet-cleaning methods, brake cleaner with a catch pan, or a HEPA-filtered vacuum.
- Keep contaminated cloths and debris contained until they can be disposed of under local rules.
Remove the Caliper and Pads
Inspect the flexible hose for cracking, chafing, wetness, twisting, or swelling before moving the caliper. Stop the repair if you find leakage or significant hose damage.
Remove the guide-pin or caliper bolts with the correct socket. Lift the caliper away and suspend it from a solid suspension or body point with a hanger.
Warning: Never let the caliper hang from the brake hose. Do not press the brake pedal or operate the parking brake while the caliper is removed because the piston may extend or leave its bore.
Remove the old pads and note their inner and outer positions. Uneven wear can reveal a seized slide pin, sticking piston, damaged hardware, or alignment problem.
Remove the caliper bracket if rotor replacement or deeper cleaning requires it. Keep track of each fastener because guide-pin and bracket bolts can look similar while requiring very different torque.
Inspect the Rotor Before Replacing It
Brake rotors do not automatically require replacement every time you install pads. Measure the rotor at several points and compare the result with the minimum thickness marked on the rotor or listed in the applicable repair information.
Replace or professionally machine a rotor when applicable if you find:
- Thickness below the specified minimum
- Cracks, deep grooves, heavy scoring, or severe rust scaling
- Blue or dark heat spots linked to overheating
- Excessive lateral runout or thickness variation
- Contamination that cannot be removed safely
- Damage that would remain after machining
If one rotor requires replacement, replacing both rotors on that axle helps maintain consistent braking surfaces. Always install new pads on both sides of the axle.
Remove a Stuck Rotor
Confirm that every retaining screw or clip has been removed. On rear brakes, make sure the parking brake is released and that internal parking-brake shoes are not holding the rotor.
If the rotor has threaded extraction holes, install matching M8-1.25 bolts and tighten them gradually in an alternating pattern. Stop if the rotor begins to bend or if the parking-brake mechanism still holds it.
A rear rotor that refuses to move may require the parking-brake shoe adjuster to be backed off through an access opening. Follow the repair procedure for your specific model instead of forcing the rotor over the shoes.
Installing New Brake Pads and Rotors: A Complete Guide
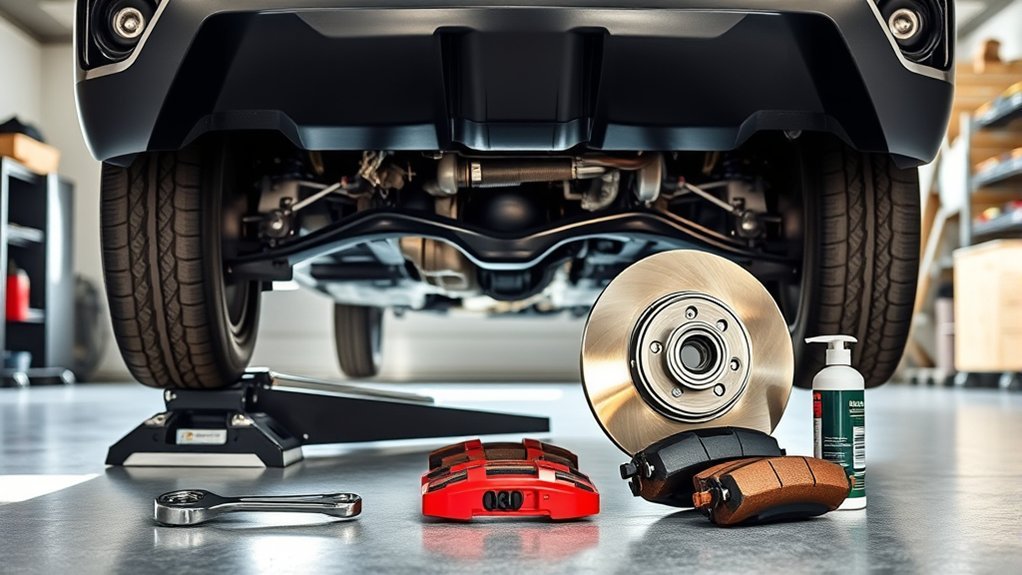
Clean contact surfaces, inspect every moving component, and keep all friction surfaces free from grease. The new parts should move correctly before the wheel is reinstalled.
Prepare the New Parts and Contact Surfaces
Compare the new rotor and pads with the removed components. Confirm the rotor diameter, thickness, offset, pad shape, wear-indicator position, and hardware design.
Clean the new rotor’s friction surfaces with residue-free brake cleaner. Many new rotors have a protective coating or oil that must be removed unless the rotor manufacturer specifically says otherwise.
Clean rust and debris from the wheel-hub mating face without creating an uncontrolled dust cloud. The rotor must sit flat against the hub because trapped corrosion can cause runout and pedal pulsation.
Install the rotor and hold it in position with a hand-tightened lug nut if needed. Do not apply lubricant to the rotor friction surface, wheel studs, lug-nut seats, or wheel mating surfaces unless Toyota specifically directs otherwise.
Step-by-Step Installation Guide
- Inspect the slide pins and boots. Each pin should move smoothly. Replace corroded pins, torn boots, or damaged rubber parts.
- Install new hardware. Fit the clips, shims, springs, and wear indicators in the correct positions. Pads should move freely in their abutment points without excessive looseness.
- Retract the piston correctly. Use a suitable compressor or wind-back tool and monitor the reservoir level as the fluid rises.
- Handle rear EPB calipers correctly. Enter the model-specific maintenance mode before retraction. Never force an electric parking-brake piston backward with a clamp.
- Apply brake lubricant sparingly. Use only rubber-compatible brake lubricant on specified slide-pin and metal contact points.
- Install the pads. Keep the friction material facing the rotor and position directional pads, shims, and wear indicators as designed.
- Install the bracket and caliper. Make sure the hose is not twisted, stretched, pinched, or rubbing another component.
- Torque every fastener. Use the exact specification for the model year, axle, and bolt location.
- Repeat on the opposite side. Install the matching pads on the other wheel of the same axle.
- Reinstall the wheels. Start every lug nut by hand to prevent cross-threading.
Warning: Brake lubricant must not touch the pad friction material or rotor braking surface. Do not grease wheel studs or lug-nut seating surfaces because lubrication can change clamping force at the specified torque.
Retracting Front and Rear Pistons
A typical front floating caliper uses a piston that presses straight into its bore. Place an old pad against the piston and compress it slowly with a proper piston tool.
Some rear mechanical parking-brake calipers require the piston to rotate while moving inward. Use the correct wind-back adapter and turn it in the specified direction.
An electronic parking-brake caliper must be placed into its approved maintenance mode. Depending on the model, this may require a specified switch sequence or a compatible scan tool.
Stop if a piston binds, moves unevenly, leaks, damages its boot, or requires excessive force. A seized or damaged caliper needs repair or replacement rather than stronger tools.
Tighten the Wheel Correctly
Fit the wheel and start each lug nut by hand. Snug the nuts in a crisscross pattern, then lower the vehicle until the tire touches the ground and cannot rotate.
Torque the lug nuts in a crisscross pattern using the specification in your RAV4 owner documentation. Do not use an impact wrench as the final torque tool.
Wrapping Up: Final Steps for Your Brake Installation
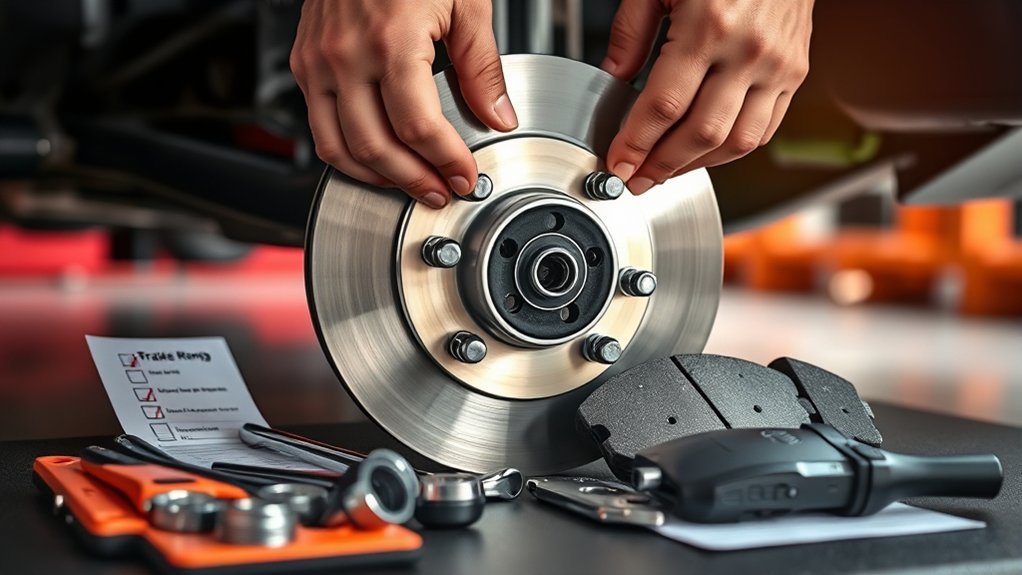
Do not move the RAV4 immediately after lowering it. The caliper pistons may still be retracted, leaving excessive space between the pads and rotors.
- Pump the brake pedal: Press and release it slowly until the pedal becomes firm and its travel remains consistent.
- Check the fluid level: Confirm that the reservoir remains between its MIN and MAX marks. Use only the brake-fluid specification listed for your vehicle.
- Inspect for leaks: Examine the calipers, hoses, bleeders, reservoir, and nearby connections.
- Restore the parking-brake system: Exit maintenance mode if used, then apply and release the parking brake according to the model-specific procedure.
- Check the dashboard: Confirm that brake, ABS, parking-brake, and stability-system warning lights operate normally.
- Test the pedal again: Hold steady pressure. The pedal should not continue sinking toward the floor.
- Perform a low-speed test: Move at walking speed in a traffic-free area and confirm that the vehicle stops straight without grinding, pulling, or abnormal pedal travel.
Note: A routine pad-and-rotor replacement does not normally require bleeding when the brake hose, bleeder, and hydraulic circuit remain closed. Bleed the system if a line or caliper was disconnected, a bleeder was opened, air entered the system, hydraulic fluid was replaced, or the pedal remains soft after the installation has been checked.
Bed In the New Brakes
Follow the bedding instructions supplied by the pad or rotor manufacturer. Procedures differ among friction materials, so a product-specific process takes priority over a generic routine.
The Brembo brake-pad guidance recommends gentle, sparing braking during initial use when no vehicle-specific procedure is available. Avoid repeated hard stops, extended pedal pressure against hot rotors, and unnecessary ABS activation during the initial bedding period.
Do Not Drive If
- The pedal remains soft, spongy, or continues sinking
- Brake fluid is leaking
- A brake, ABS, or parking-brake warning remains illuminated
- The vehicle pulls sharply during braking
- You hear grinding or metal-to-metal contact
- A wheel does not rotate freely after the brakes are released
- The EPB fails to apply or release correctly
- Any fastener or torque specification remains uncertain
Maintenance Tips and Resources for Toyota RAV4 Owners
Toyota does not provide one universal mileage at which every RAV4 needs brake pads. Driving style, traffic, terrain, towing, corrosion, brake design, and regenerative braking can all affect service life.
The Toyota RAV4 maintenance guide calls for inspecting brake pads, discs, lines, and hoses for wear, runout, leakage, cracking, and other damage. Replace components according to measured wear and condition rather than relying only on mileage.
During regular inspections, check:
- Remaining pad material and evenness of wear
- Rotor thickness, scoring, rust, cracks, and heat damage
- Slide-pin movement and lubricant condition
- Caliper-piston and guide-pin dust boots
- Brake hoses for cracking, rubbing, swelling, or leakage
- Brake-fluid level and signs of contamination or leakage
- Parking-brake operation
- Noise, vibration, pulling, or changes in pedal feel
Buy parts that match the VIN, model year, drivetrain, axle, and brake package. A pad or rotor listed only as “fits RAV4” may not fit every version.
Keep used brake fluid in a sealed, labeled container and take it to a suitable household hazardous-waste or automotive-fluid collection site. The EPA advises against pouring household hazardous waste onto the ground, into drains, or into storm sewers.
Related Guides
Frequently Asked Questions
How often should I change my RAV4 brake pads?
Replace the pads according to measured wear, damage, or the applicable wear indicator rather than a fixed mileage. Inspect them regularly and compare the remaining material with Toyota’s or the pad manufacturer’s minimum specification.
Can I replace the brake pads without changing the rotors?
Yes, when the rotors remain above minimum thickness and have acceptable runout and surface condition. Replace or machine them when they are too thin, cracked, deeply scored, badly rusted, heat-damaged, or outside the permitted runout specification.
What are the signs of worn-out brake components?
Common signs include reduced pad thickness, squealing, grinding, pedal pulsation, pulling, increased stopping distance, visible rotor damage, uneven pad wear, fluid leakage, or brake-system warning lights.
Is it safe to drive with squeaky brakes?
A brief squeak does not always mean immediate brake failure, but persistent noise deserves prompt inspection. Park the vehicle if the noise becomes grinding or is accompanied by poor braking, a soft pedal, leakage, pulling, smoke, overheating, or warning lights.
Do I need to bleed the brakes after changing pads or rotors?
Not normally. Bleeding is unnecessary when the hydraulic system stays closed and the pedal becomes firm after pumping. Bleed the brakes when a hose, caliper, line, or bleeder has been opened, air has entered, fluid has been replaced, or the pedal remains soft after a complete inspection.
What are the correct RAV4 brake torque specifications?
The specifications depend on model year, axle, brake package, and fastener location. Use the applicable Toyota repair information for the guide pins, caliper bracket, wheel lugs, bleeders, and any rotor or parking-brake fasteners.
How do I retract a rear electronic parking-brake piston?
Place the EPB system into the maintenance or pad-replacement mode specified for your model year. The procedure may require a switch sequence or scan tool. Do not force the piston inward before the actuator has been retracted correctly.
Can I replace the brakes on only one side?
Replace brake pads on both sides of the same axle. Mixing new pads on one side with worn pads on the other can produce uneven braking. If only one side has severe wear, diagnose the caliper, slide pins, hose, and hardware before installing the new parts.
Conclusion
Changing Toyota RAV4 brake pads and rotors requires more than removing a few bolts. Safe results depend on stable lifting, correct part identification, measured rotor condition, proper piston retraction, clean friction surfaces, and exact model-specific torque.
Before moving the vehicle, confirm that the pedal is firm, the fluid level is correct, the parking brake operates normally, warning lights have cleared, and no component leaks or binds. Stop and seek qualified help whenever the brake system does not pass those checks.
Sources
- Toyota Manuals and Warranties — model-year owner documentation and vehicle-specific operating information.
- Toyota 2024 RAV4 Hybrid Warranty and Maintenance Guide — brake pad, disc, hose, leakage, wear, and runout inspection guidance.
- Toyota 2024 RAV4 Quick Reference Guide — electronic parking-brake operation and owner-manual guidance.
- Brembo Brake-Pad Installation Instructions — axle-pair replacement, piston tools, lubrication, testing, and bedding guidance.
- OSHA Automotive Brake and Clutch Repair Work — brake-dust control and cleaning precautions.
- U.S. EPA Household Hazardous Waste Guidance — safe handling and disposal of hazardous household automotive fluids.
