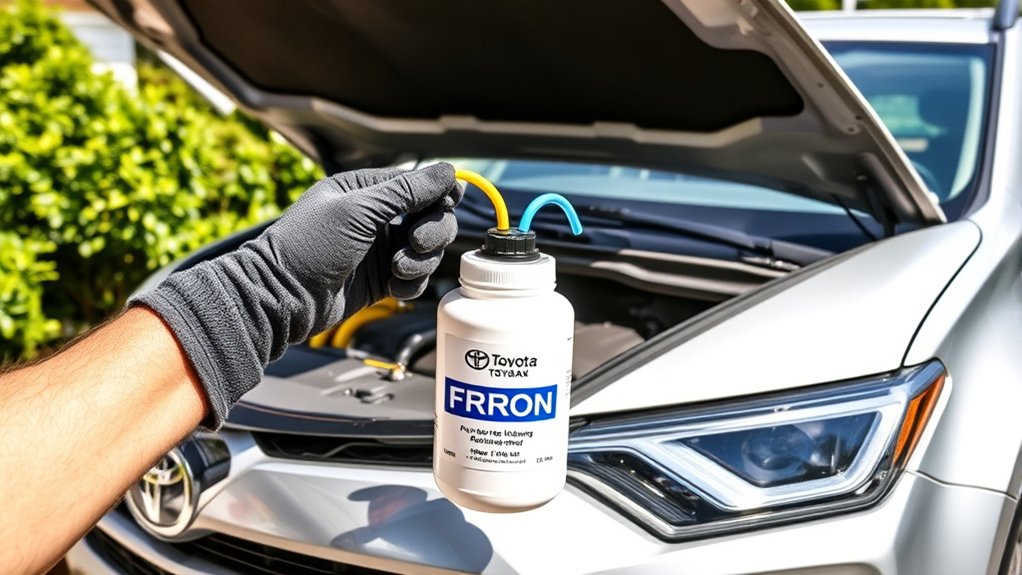
If your Toyota RAV4 blows warmer air than it used to, low refrigerant is only one possible cause. A careful top-off may help when the system is slightly low, but adding refrigerant blindly can overcharge the system, hide a leak, or damage the compressor. Start by identifying the exact refrigerant and deciding whether this is truly a safe do-it-yourself job.
Quick Answer
Check the under-hood label before adding refrigerant to a Toyota RAV4. A U.S.-market 2007 RAV4 uses R-134a, while newer models may use R-1234yf. Connect only to the low-side port, follow the recharge kit’s temperature-based instructions, and stop if the system is empty, leaking, noisy, or already shows high pressure.
Key Takeaways
- Confirm the refrigerant on the RAV4’s under-hood A/C label. Never mix R-134a, R-1234yf, or another refrigerant.
- Identify the low-side port by the “L” marking, fitting, and larger suction line. Do not rely on cap color alone.
- A fixed target such as 42 PSI is not correct for every day or every vehicle. Low-side pressure changes with ambient temperature and operating conditions.
- A top-off does not repair a leak. If cooling fades again, arrange leak detection and a charge by the manufacturer-specified weight.
- Stop and use a qualified A/C technician if the system is empty, the compressor is noisy, the gauge enters a warning range, or you cannot confirm the refrigerant.
At a Glance
| Time Required | About 20–30 minutes for inspection and a cautious top-off |
| Difficulty | Moderate; correct identification and careful gauge use are essential |
| Tools Needed | Correct refrigerant, compatible low-side recharge hose and gauge, safety glasses, gloves, and a vent thermometer |
| Cost | Low for a basic top-off kit; higher if the system needs leak repair, evacuation, and a measured recharge |
Warning: Never connect a consumer recharge can to the high-side port, mix refrigerants, bypass a pressure switch, or intentionally release refrigerant. Keep hands, clothing, and the hose away from belts and fans. If the system has lost all pressure, it needs leak diagnosis, evacuation, and a measured recharge rather than a simple top-off.
Get to Know Your RAV4’s A/C System
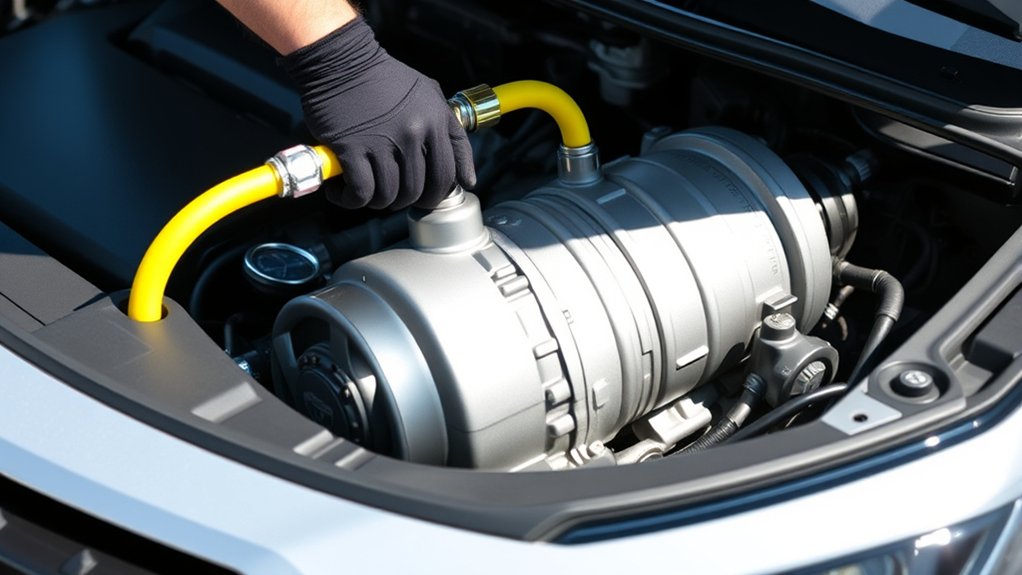
Your RAV4’s air conditioner moves refrigerant through a closed loop. The compressor raises refrigerant pressure, the condenser releases heat at the front of the vehicle, the expansion device lowers pressure, and the evaporator absorbs cabin heat. The blower then pushes cooled air through the vents.
The 2007 RAV4 discussed in the original article uses a belt-driven compressor. Newer RAV4 Hybrid and plug-in hybrid models can use electrically driven compressors, which require model-specific service procedures and compatible oil. Do not apply a 2007 procedure to a newer hybrid without checking its label and service information.
Refrigerant is not a consumable like engine oil. If the charge is low, refrigerant escaped through a leak, even when the leak is very small. The EPA explains that topping off may restore cooling, but it does not permanently repair the leak.
A low refrigerant charge is a symptom. The lasting repair is finding the leak, fixing it, and charging the system with the manufacturer-specified amount.
Decide Whether a DIY Top-Off Is Appropriate
A small top-off may be reasonable when the system still cools somewhat, the exact refrigerant is known, the compressor operates without abnormal noise, and a compatible low-side gauge indicates a low charge under the kit manufacturer’s stated test conditions.
Skip the DIY recharge and arrange professional service when any of these conditions apply:
- The system has no pressure or stopped cooling suddenly.
- The compressor grinds, rattles, smokes, or repeatedly stops.
- You see damaged hoses, collision damage, heavy oily residue, or fluorescent dye around a fitting.
- The low-side gauge enters a high-pressure or warning zone before refrigerant is added.
- The system needs refrigerant again soon after a previous recharge.
- You cannot confirm the refrigerant or the correct service port.
- Your RAV4 is a hybrid or plug-in hybrid and you lack model-specific service information.
Note: Weak airflow is not automatically a refrigerant problem. Check the cabin air filter, blower operation, vent selection, and condenser airflow before adding anything.
Locating the Low-Pressure A/C Port
The low-side service port is on the suction side of the system, usually on the larger-diameter aluminum line returning from the evaporator toward the compressor. Look for a cap or nearby marking with an L. The high-side port is on a smaller, hotter line and is often marked H.
Do not identify the port by blue or red cap color alone. Cap colors can vary or may have been replaced. EPA rules require refrigerant-specific service fittings, which help prevent accidental mixing, so a correct low-side coupler should fit only the intended port without an adapter.
With the engine off, trace the larger A/C line, locate the low-side fitting, and inspect the cap and surrounding area. Wipe away loose dirt before removing the cap so debris does not enter the valve.
Pro Tip: Take a clear photo of the under-hood refrigerant label and the low-side port before buying a kit. This makes it easier to match the refrigerant, fitting, and product instructions.
Essential Pre-Recharge Checks for Your RAV4’s A/C System
Verify Compressor Functionality
Start the engine, set the A/C to maximum cooling, select recirculation, and raise the blower speed. On a conventional 2007 RAV4, observe the compressor safely from a distance. A clutch may engage, but a click alone does not prove the system is healthy, and some compressors do not cycle in the same way.
If the compressor does not engage, do not jump the clutch or bypass a pressure switch. Very low refrigerant can prevent operation, but electrical faults, sensor problems, a damaged clutch, or compressor failure can cause the same symptom.
Check the Refrigerant Type
Read the A/C information label in the engine compartment. It identifies the refrigerant and usually lists the specified charge amount. A U.S.-market 2007 RAV4 uses R-134a, but newer RAV4s may use R-1234yf. Toyota’s official manuals portal can help you locate model-year information, but the vehicle label remains the first check before connecting equipment.
Use only the refrigerant shown on the label. R-134a and R-1234yf are not interchangeable, and an adapter must not be used to force one refrigerant’s hose onto another system.
Inspect the Low-Pressure Port
With the engine off, check the service port for bent parts, corrosion, dirt, wet oil, or dye residue. A small film of dirt is common, but oily staining may indicate a leaking valve core or nearby connection. Replace the protective cap after service because it provides a secondary seal.
Check Airflow Before Adding Refrigerant
Make sure the cabin blower moves air strongly, the cabin filter is not clogged, and the condenser at the front of the vehicle is not blocked by heavy debris. Confirm the cooling fans operate when required. Poor airflow can make vent temperatures rise and can also push A/C pressures higher, which makes a refrigerant-only diagnosis unreliable.
How to Add Refrigerant to Your RAV4: Step by Step

- Park safely. Work outdoors or in a well-ventilated area on level ground. Set the parking brake and keep children and pets away.
- Wear protection. Put on safety glasses and gloves. Liquid refrigerant can cause a cold burn if it contacts skin or eyes.
- Confirm the label. Match the refrigerant and the recharge hose to the vehicle’s under-hood label. Do not proceed if the label is missing or unclear.
- Read the kit instructions. Recharge kits use different can valves, couplers, and gauge scales. Prepare the can and hose exactly as the product manufacturer directs.
- Set the A/C test conditions. Start the engine and set maximum cooling, recirculation, and a high blower speed. Follow any additional engine-speed or ambient-temperature requirements printed on the kit.
- Connect to the low side. Remove the cap marked “L,” pull back the quick coupler, press it squarely onto the fitting, and release it. Tug gently to confirm it locked.
- Read the gauge before charging. If the needle is in a high-pressure or warning area, the reading is unstable, or the system appears empty, disconnect and stop.
- Add refrigerant in short intervals. Hold and move the can only as its instructions specify. Do not invert the can unless the manufacturer explicitly directs it. Pause between short charging intervals so the pressure can stabilize.
- Watch pressure and vent temperature. Use the kit’s ambient-temperature scale rather than chasing a universal PSI number. Stop when the gauge reaches the product’s specified range and cooling improves.
- Disconnect and recheck. Release the trigger or valve, remove the coupler, and reinstall the service-port cap. Check for hissing, oil, or dye around the port and confirm the vent temperature remains stable.
Do not assume the entire can belongs in the system. The remaining charge is unknown during a top-off, so adding a full can can overcharge the A/C. A professional recovery and recharge machine is the accurate way to remove the existing refrigerant and install the specified amount by weight.
How to Monitor A/C Pressure While Adding Refrigerant
A low-side gauge is useful, but it is not a complete diagnostic tool. Pressure changes with outdoor temperature, humidity, airflow across the condenser, engine speed, compressor control, and the amount of heat entering the cabin. That is why a fixed target such as 42 PSI can be wrong even when the gauge appears close.
| Gauge or System Behavior | What It May Mean | Best Action |
|---|---|---|
| Below the kit’s temperature-adjusted range, with some cooling present | The charge may be low | Add only brief amounts while following the kit instructions |
| In the normal range, but vents remain warm | Airflow, compressor, electrical, blend-door, or metering-device problem | Stop adding refrigerant and diagnose the system |
| High or warning-zone reading | Possible overcharge, poor condenser airflow, or another fault | Stop immediately and arrange professional service |
| Rapid cycling, unstable pressure, or abnormal noise | Low charge, control fault, restriction, or compressor problem | Stop if the behavior does not quickly normalize |
The EPA notes that a top-off cannot reveal exactly how much refrigerant remains. An evacuation and recharge allows a technician to install the precise manufacturer-specified amount. That measured method is the better choice when the diagnosis is uncertain or cooling remains poor.
Troubleshooting A/C Problems After Adding Refrigerant
If the vents remain warm after a cautious top-off, do not keep adding refrigerant. Both an undercharged and an overcharged system can cool poorly, and many non-refrigerant faults produce the same symptom.
The System Is Still Low or Has a Leak
Cooling that improves briefly and then fades usually points to a leak. Look for oily residue around hose crimps, the condenser, compressor seals, and service ports. Small leaks often require an electronic detector or ultraviolet dye inspection by a technician.
A leaking system may also draw in air and moisture when pressure becomes very low. It then needs recovery, repair, evacuation with a vacuum pump, and a measured recharge. Adding another can does not remove moisture or repair the leak.
The Compressor Does Not Operate Correctly
Confirm the engine is running, the A/C request is on, and the blower works. If the compressor still does not operate, possible causes include very low pressure, a fuse or relay fault, a pressure sensor problem, wiring damage, a failed clutch, or internal compressor damage.
Do not bypass safety controls to force compressor operation. A technician can compare high-side and low-side pressures, command components with a scan tool, and test the electrical circuit without risking additional damage.
The Gauge Looks Normal but the Air Is Warm
A normal consumer-gauge reading does not prove the charge is correct. Check for a clogged cabin filter, weak blower, inoperative condenser fan, dirty condenser, temperature blend-door fault, or an expansion-valve problem. These faults need diagnosis rather than more refrigerant.
Signs Your A/C Needs Professional Help
Stop the recharge and schedule service when you notice any of the following:
- The system is empty or the gauge does not show a usable pressure reading.
- Refrigerant escapes from the hose, service port, or another component.
- The compressor makes grinding, knocking, or squealing sounds.
- The gauge moves into a high-pressure or warning zone.
- The condenser fan does not run when the system requires it.
- Cooling improves only briefly before becoming warm again.
- The vehicle has collision damage or an A/C component was opened.
- You own a newer hybrid or plug-in hybrid and cannot verify the correct procedure.
Professional equipment can recover refrigerant instead of releasing it, test for leaks, evacuate air and moisture, and recharge the exact amount listed by Toyota. EPA rules also prohibit intentional venting of regulated refrigerants during service.
Choose the Right Refrigerant for Your RAV4
For the U.S.-market 2007 RAV4 covered here, use only R-134a that meets the vehicle label’s requirements. Do not assume every newer RAV4 uses the same refrigerant. Automakers began moving to lower-global-warming-potential refrigerants such as R-1234yf in the 2010s, and current light-duty vehicles commonly use it.
EPA-approved refrigerants use unique fittings to reduce accidental mixing. Never defeat that protection with an adapter. Avoid hydrocarbon substitutes or any product that is not approved for the system.
Choose plain refrigerant unless Toyota service information or a specific repair procedure calls for added oil or dye. Adding unnecessary oil can reduce cooling, while sealant products can complicate later service. If leak detection is needed, a technician can select a compatible method and correct quantity.
Maintaining Your A/C System for Optimal Performance
Your RAV4 should not need refrigerant on a fixed one- or two-year schedule. The system is sealed, so recharge it only after testing shows that the charge is low and the cause has been considered.
- Replace the cabin air filter at the interval and conditions appropriate for your vehicle.
- Keep leaves and heavy debris away from the condenser and radiator area.
- Pay attention to gradual changes in vent temperature, airflow, odor, and compressor sound.
- Inspect service-port caps and visible A/C lines during routine under-hood checks.
- Arrange leak diagnosis if refrigerant must be added more than once.
- Use the exact refrigerant and service procedure listed for your model year and powertrain.
Good airflow and early leak repair reduce compressor strain and give you more reliable cooling than repeated blind top-offs.
Frequently Asked Questions
How do I know if my RAV4 needs refrigerant?
Possible signs include weaker cooling, a compressor that cycles unusually, and a low reading under the recharge kit’s specified test conditions. Those signs are not proof by themselves. Poor airflow, electrical faults, and blend-door problems can also cause warm air, so stop adding refrigerant if the gauge is normal or high.
Can I use any refrigerant in my Toyota RAV4?
No. Use only the refrigerant printed on the under-hood A/C label. A U.S.-market 2007 RAV4 uses R-134a, while some newer RAV4s use R-1234yf. Never mix refrigerants or use an adapter to force an incompatible connection.
What tools do I need for a basic RAV4 A/C top-off?
You need the correct refrigerant, a compatible low-side recharge hose with a gauge, safety glasses, gloves, and ideally a vent thermometer. Full diagnosis, recovery, evacuation, and charging by weight require professional equipment and training.
Is it safe to add refrigerant myself?
A cautious top-off can be reasonable when the system is only slightly low and you can confirm the refrigerant, low-side port, and product instructions. Stop if the system is empty, the gauge is high, the compressor is noisy, or refrigerant is leaking. Never vent refrigerant or connect to the high side.
How often should I recharge my RAV4’s A/C?
There is no routine recharge interval. Refrigerant circulates in a sealed system and does not wear out. Recharge only when testing indicates a low charge, and investigate the leak if cooling drops again.
What should I do if the compressor will not engage?
Do not bypass the pressure switch or jump the clutch. The system may be extremely low, but a fuse, relay, sensor, wiring fault, clutch problem, or failed compressor can cause the same symptom. A qualified technician should test the system.
Why is the air warm when the low-side gauge looks normal?
The refrigerant charge may still be incorrect, or the problem may involve condenser airflow, the cabin filter, blower, compressor control, blend door, or expansion valve. A single low-side gauge cannot separate those faults, so do not add more refrigerant based only on warm vent air.
Conclusion
Adding refrigerant to a Toyota RAV4 is not simply a matter of finding a blue cap and aiming for 42 PSI. Confirm the refrigerant label, use only the low-side port, follow the kit’s temperature-based directions, and add the smallest amount needed. If the system is empty, repeatedly low, noisy, or still warm with a normal gauge reading, stop and have the leak and full A/C system diagnosed.
Sources
- Toyota Manuals and Warranties: model-specific owner information and manual access.
- EPA: Options for Recharging Your Air Conditioner: top-off, leak repair, evacuation, and charging by the manufacturer-specified amount.
- EPA: Regulatory Requirements for MVAC System Servicing: refrigerant handling, venting prohibition, approved equipment, and unique fittings.
- EPA: Acceptable Refrigerants and Their Impacts: R-134a, R-1234yf, approved substitutes, and the refrigerant transition.
- EPA: Unique Fittings and Label Colors: refrigerant-specific service fittings and labeling.

