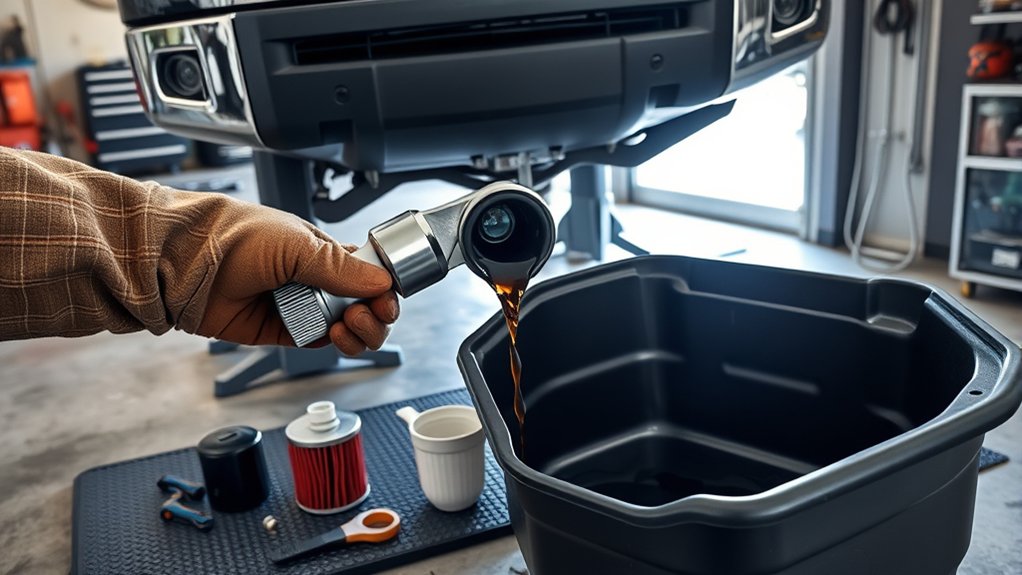
Last updated: September 22, 2026
For a 2018–2021 Toyota Tundra with the 5.7L V8 and factory cartridge-style oil filter, a typical oil-and-filter change uses SAE 0W-20 and has a reference refill capacity of approximately 8.5 US quarts (8.0 liters). Use the dipstick on level ground after the engine has been shut off for at least five minutes to set the final level. This guide does not apply to the redesigned 2022-and-newer Tundra. If your truck is a flex-fuel 5.7L model, the physical oil-change procedure is similar, but its maintenance interval can differ; see the interval section below.
Quick Answer
For a 2018–2021 Toyota Tundra 5.7L V8, use SAE 0W-20 oil and refill with about 8.5 US quarts when replacing the filter. Use a 14mm socket, 64mm 14-flute filter-cap wrench, new cartridge and O-rings, new drain-plug gasket, and a torque wrench. Verify the final level with the dipstick. Before using the maintenance interval in this guide, confirm whether your truck is a gasoline 3UR-FE or an applicable 3UR-FBE flex-fuel model.
Key Takeaways
- This procedure covers the 2018–2021 Tundra with the 5.7L V8, not every Tundra engine.
- The approximate refill capacity with a new filter is 8.5 US quarts, or 8.0 liters.
- Use SAE 0W-20 oil, a VIN-confirmed cartridge filter, two new filter O-rings, and a new drain-plug gasket.
- Tighten the factory drain plug to 30 ft-lb and the main filter cap to 18 ft-lb.
- Flex-fuel trucks can have a shorter oil-change interval than non-FFV trucks, so confirm the engine and model-year maintenance guide.
- Check for leaks, verify the dipstick level, reset the reminder, and recycle the used oil and filter.
At a Glance
| Time Required | About 45–75 minutes, including setup and cleanup |
| Difficulty | Beginner to intermediate |
| Tools Needed | 14mm socket, 64mm 14-flute filter-cap wrench, torque wrench, 10mm and 12mm sockets, Phillips screwdriver where applicable, drain pan, funnel, wheel chocks, and safe vehicle supports |
| Cost | Varies by location and oil brand; plan for 9 quarts of oil, one cartridge-filter kit, and a drain-plug gasket |
Warning: Work on a level, solid surface. Set the parking brake, chock the wheels, and support the truck with properly rated ramps or jack stands. Never work beneath a vehicle supported only by a hydraulic jack. Wear eye protection and gloves, and allow hot exhaust parts and oil to cool enough to avoid burns.
Does This Guide Fit Your 2018–2021 Tundra 5.7L?
The specifications below apply to a 2018–2021 Toyota Tundra equipped with the 5.7L V8 and its factory cartridge-style oil-filter housing. Applicable trucks can use the 3UR-FE gasoline engine or a 3UR-FBE flex-fuel engine. Confirm the engine and fuel type on the underhood emissions label, vehicle records, or a VIN-based parts catalog before buying supplies or using the maintenance interval in this guide.
| Engine | 5.7L V8 — 3UR-FE gasoline; 3UR-FBE flex-fuel on applicable trucks |
| Recommended viscosity | SAE 0W-20 |
| Capacity with filter change | Approximately 8.5 US quarts / 8.0 liters |
| Capacity without filter change | Approximately 7.9 US quarts / 7.5 liters |
| Oil-pan drain plug | 30 ft-lb / 40 N·m with a new gasket |
| Main filter cap | 18 ft-lb / 25 N·m |
| Small filter drain plug | 9 ft-lb / approximately 13 N·m, when removed |
Toyota lists these oil capacities in the 2021 Tundra Owner’s Manual. Capacity is an approximate refill amount. The dipstick, checked correctly on level ground, determines the final level.
Note: Buy 9 quarts so you have enough for the 8.5-quart refill and minor top-offs. Do not pour all 9 quarts into the engine.
Before You Buy Parts: Confirm three things before draining the oil: your truck has the 5.7L V8 and whether it is gasoline or flex-fuel; the replacement cartridge fits your VIN; and the under-cover or skid-plate hardware on your truck matches the tools you have. Factory-style hardware commonly requires both 10mm and 12mm sockets, while accessory protection can use different fasteners.
What Tools and Materials Do You Need for a Toyota Tundra Oil Change?

Tools Needed
- 14mm six-point socket and ratchet for the oil-pan drain plug
- 64mm, 14-flute cartridge-filter cap wrench
- Torque wrench covering approximately 9–30 ft-lb
- 10mm and 12mm sockets plus a Phillips screwdriver for common factory-style under-cover hardware
- Oil-filter drain adapter supplied with a compatible filter kit
- Drain pan with at least a 10-quart capacity
- Funnel, shop towels, and a container for transporting used oil
- Wheel chocks and properly rated ramps or jack stands
- Safety glasses and oil-resistant gloves
Skid plates and aftermarket protection can use different fasteners. Inspect the hardware before starting so you have the correct sockets or bits.
Materials Needed
- 9 quarts of SAE 0W-20 motor oil meeting the owner’s-manual grade requirements; check for a current API certification mark when selecting an equivalent oil
- A VIN-confirmed cartridge oil filter
- A new large filter-cap O-ring
- A new small filter-drain-plug O-ring
- A new oil-pan drain-plug gasket or crush washer
Toyota lists 04152-YZZA4 as a current replaceable filter element for applicable Toyota engines, with 04152-38020 listed as a previous version. Confirm fitment by VIN before ordering.
Do not confuse the disposable cartridge with housing numbers such as 15620-36020 or 15620-36010. Those numbers identify oil-filter housing or cap components rather than the element you normally replace during an oil change.
Pro Tip: Open the filter box before lifting the truck. Confirm that the cartridge, large O-ring, small O-ring, and drain adapter are present. A missing O-ring can stop the job after the old oil has already been drained.
Step-by-Step Guide to Your Tundra Oil Change
1. Warm the Oil Without Overheating the Work Area
Run or drive the truck briefly so the oil becomes warm and flows easily. Shut off the engine before positioning the truck. Avoid working beside a hot exhaust system or draining oil that is hot enough to cause burns.
2. Park and Support the Truck Safely
- Park on a level, solid surface.
- Shift into Park and set the parking brake.
- Chock the wheels that will remain on the ground.
- Raise the front only if you need more access.
- Use properly rated ramps or place jack stands at approved support points.
- Gently test the truck’s stability before going underneath it.
Open the hood. Loosen the oil-filler cap and pull the dipstick slightly upward to help the crankcase vent while the oil drains.
3. Remove the Skid Plate
Support the engine under cover or skid plate while removing its final fasteners. A factory-style layout commonly uses three smaller front fasteners and five larger under-cover bolts, so both 10mm and 12mm sockets may be needed; some front fasteners can also accept a Phillips screwdriver. Accessory skid plates may differ. Arrange the hardware in removal order and note any missing, damaged, or mismatched fasteners.
4. Drain the Engine Oil
- Place the drain pan beneath the oil-pan drain plug.
- Use a 14mm six-point socket to loosen the plug.
- Finish removing it by hand while keeping inward pressure on the plug.
- Pull the plug away quickly and allow the oil to drain into the pan.
- Remove the old gasket from the drain plug.
- Inspect the plug and oil-pan threads for damage.
- Clean the sealing surfaces and install a new gasket.
- Thread the plug in by hand to prevent cross-threading.
- Tighten the factory plug to 30 ft-lb, or 40 N·m.
Do not use an impact wrench on the drain plug. If the plug will not thread in smoothly by hand, stop and inspect the threads.
5. Drain and Replace the Cartridge Filter
- Move the drain pan beneath the cartridge-filter housing.
- Remove the small center drain plug from the filter cap if your housing has one.
- Remove its old O-ring.
- Insert the filter-kit drain adapter so oil inside the housing empties into the pan.
- Remove the adapter after the housing stops draining.
- Seat the 64mm, 14-flute wrench fully on the main filter cap.
- Loosen the cap with steady pressure. Do not crush it with pliers or a pipe wrench.
- Remove the old cartridge and large O-ring.
- Confirm the large O-ring did not remain stuck in the housing.
- Clean the filter cap’s threads and O-ring groove with a lint-free towel.
- Lightly coat the new large O-ring with clean engine oil.
- Install it in the designated O-ring groove, not on the cap’s threads.
- Insert the new cartridge element.
- Thread the cap into the housing by hand.
- Tighten the cap to 18 ft-lb, or 25 N·m, with the filter wrench fully seated.
- Lubricate and install the new small O-ring.
- Install the small filter drain plug and tighten it to 9 ft-lb, or approximately 13 N·m.
Toyota’s filter-cap service guidance stresses using the correct, fully seated filter tool and a torque wrench. Excess torque can make the cap difficult to remove and can damage the cap or tool.
6. Reinstall the Skid Plate
Wipe oil from the frame, filter housing, oil pan, and skid plate. Reinstall every skid-plate fastener in its original position. Start all fasteners by hand before tightening them so the plate remains aligned.
Replace missing or badly corroded fasteners. A loose skid plate can rattle, shift, or make the next oil change more difficult.
7. Refill With 0W-20 Oil
- Confirm that the oil-pan plug and filter housing are installed.
- Place a clean funnel in the oil-filler opening.
- Add approximately 8 quarts of 0W-20 oil.
- Pause and check beneath the truck for an obvious leak.
- Add oil gradually toward the approximate 8.5-quart capacity.
- Install the oil-filler cap and fully seat the dipstick.
Adding the final portion gradually reduces the chance of overfilling. Bottle markings and residual oil inside the engine can affect the amount required to reach the full mark.
8. Circulate the Oil and Check for Leaks
- Make sure no tools or containers remain beneath the truck.
- Start the engine and watch the oil-pressure warning light.
- Confirm that the warning light goes out promptly.
- Let the engine idle briefly while inspecting the drain plug and filter housing.
- Shut off the engine immediately if the warning light remains on or oil leaks rapidly.
- After confirming no active leak, shut off the engine.
- Wait at least five minutes on level ground so oil can return to the pan.
- Remove the dipstick, wipe it clean, reinsert it fully, and remove it again.
- Add small amounts of oil until the level is near the upper mark without exceeding it.
A small amount of oil left below the upper mark is safer than filling past it. Do not assume the engine needs the entire contents of nine one-quart bottles.
9. Reset the Maintenance Reminder
On most 2018–2021 Tundras with the multi-information display:
- Turn the ignition on without starting the engine.
- Use the steering-wheel controls to open the settings menu.
- Select Vehicle Settings.
- Select Maintenance Reset.
- Select Yes to confirm.
- Turn the ignition off, restart the truck, and confirm that the reminder is cleared.
If the menu wording or screen arrangement differs, use the owner’s manual for your exact model year rather than assuming an older button-reset procedure applies. For a year-by-year explanation, see the Toyota Tundra maintenance-required light reset guide.
Note: The maintenance reminder tracks scheduled service rather than directly measuring oil quality. Reset it only after completing the required maintenance.
10. Recycle the Used Oil and Filter
Transfer the used oil into a clean, leak-proof container with a secure cap. Do not mix it with coolant, fuel, solvents, or household chemicals. Drain the used filter element and place it in a sealed bag or approved container.
Take both items to an authorized used-oil collection site, repair facility, retailer, or municipal program. The U.S. Environmental Protection Agency recommends recycling used motor oil and properly drained oil filters instead of placing them in household trash or pouring oil onto the ground or into a drain.
Overcoming Common Oil Change Challenges
Over-Tightened or Rounded Drain Plug
Use a six-point socket that fits tightly. A small amount of penetrating oil can help with external corrosion, but it will not repair damaged threads. Avoid an open flame, impact wrench, adjustable wrench, or locking pliers.
If the plug head begins to round, stop before making it worse. A shop may need an extractor, replacement plug, thread repair, or oil-pan repair.
Stuck Oil-Filter Cap
Confirm that the cap wrench is the correct size and fully seated. Apply smooth pressure with a longer ratchet or breaker bar while supporting the tool so it remains square. Do not use the small center drain plug as leverage.
If the cap cracks or deforms, replace the housing before refilling and starting the engine. A damaged cap can leak under oil pressure.
Oil Leak After the Change
Common causes include a reused drain-plug gasket, loose plug, cross-threaded plug, pinched large O-ring, O-ring installed on the cap threads, missing small O-ring, or loose filter drain plug.
Clean the area before diagnosis. Fresh oil on a clean surface makes the source easier to identify. Do not compensate for a damaged seal by greatly exceeding the specified torque.
Oil Level Is Too Low
Add the correct 0W-20 oil in small amounts, waiting between additions. Recheck the dipstick after each addition. Inspect for leakage if the level falls again.
Oil Level Is Too High
Do not operate the truck with the oil clearly above the upper dipstick mark. Drain a controlled amount through the oil-pan plug or use a suitable extraction pump, then recheck the level on level ground.
Oil-Pressure Warning Light Stays On
Shut off the engine immediately. Confirm the oil level, filter-cap installation, drain plug, and visible leaks. Do not continue running the engine to see whether the warning clears. Persistent low oil pressure requires professional diagnosis.
How to Keep Your Tundra Running Smoothly After an Oil Change
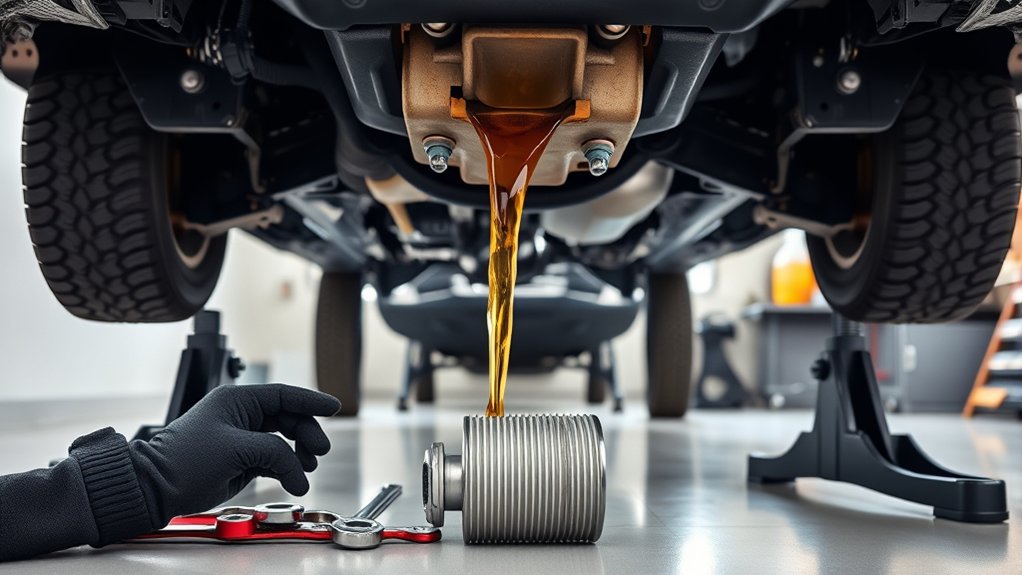
Inspect the drain-plug and filter-housing areas immediately after the oil change. Check them again after a short drive and once more the following day. A dry paper towel passed around each sealing area can reveal a small fresh leak.
- Check the dipstick periodically and before a long trip, tow, or off-road drive.
- Keep the oil between the dipstick’s low and full marks.
- Record the service date, mileage, oil brand, viscosity, filter part number, and any observations.
- Inspect the old cartridge for unusual metal particles, sludge, or damaged filter material.
- Inspect the engine air filter during scheduled maintenance and replace it when dirty, oily, damaged, or required by the maintenance schedule.
- Confirm that every skid-plate fastener remains secure.
Keep receipts for the oil, filter, gasket, and other service parts. Toyota’s maintenance guide states that owners may perform maintenance themselves, but damage caused by improper maintenance is not covered.
How Often Should You Change the Oil in a 2018–2021 Tundra 5.7L?
For non-FFV Tundras certified for 0W-20 oil, Toyota’s maintenance guidance permits an oil-and-filter interval of 10,000 miles or 12 months, whichever comes first, when 0W-20 is used under normal operating conditions. General scheduled maintenance still occurs every 5,000 miles or six months and can include tire rotation, fluid checks, and inspections.
For a non-FFV truck using the specified 0W-20 oil under normal conditions, the oil-and-filter interval can extend to 10,000 miles or 12 months. Toyota shortens the interval for listed special operating conditions.
Use a 5,000-mile or six-month oil-and-filter interval when a non-FFV truck is regularly operated under Toyota’s listed special conditions, including:
- Driving on dirt or dusty roads
- Towing, carrying a roof load, or operating with heavy vehicle loading
- Repeated trips of less than five miles in temperatures below 32°F / 0°C
- Extensive idling or prolonged low-speed use, such as delivery, taxi, or similar service
Flex-Fuel Exception: Do not automatically apply the non-FFV 10,000-mile interval to a flex-fuel Tundra. Toyota’s 2018 Tundra FFV Warranty & Maintenance Guide specifies oil-and-filter service every 5,000 miles or six months under its normal schedule. When E85 is used more than 50% of the time, that guide shortens the interval to 2,500 miles or three months. If your truck is an FFV, follow the maintenance guide for its exact model year and fuel use.
Toyota explains the non-FFV schedule in the 2021 Tundra Warranty & Maintenance Guide. Follow the maintenance guide for your exact model year when its instructions differ.
Related Guides
Frequently Asked Questions
How do you change your own Toyota Tundra oil step by step?
Confirm the engine, gather the correct oil and cartridge filter, warm the oil, support the truck safely, remove the skid plate, drain the pan, replace the drain-plug gasket, replace the cartridge and both O-rings, torque the fasteners, refill gradually, run the engine, check for leaks, verify the dipstick, reset the reminder, and recycle the used oil.
How many quarts of oil does a 5.7L Toyota Tundra take?
The 5.7L V8 takes approximately 8.5 US quarts, or 8.0 liters, when the oil filter is replaced. The listed capacity is approximate, so add the final portion gradually and confirm the level with the dipstick.
What oil does a 2018–2021 Toyota Tundra 5.7L use?
Use SAE 0W-20 motor oil that meets the grade requirements in the owner’s manual. The applicable Toyota maintenance interval depends on the specified viscosity, operating conditions, model year, and whether the truck is a flex-fuel model; do not determine the interval solely from the word “synthetic” on an oil bottle.
What are the Toyota Tundra oil drain-plug and filter-cap torque specifications?
For the factory 5.7L setup, tighten the oil-pan drain plug to 30 ft-lb, or 40 N·m, with a new gasket. Tighten the main cartridge-filter cap to 18 ft-lb, or 25 N·m. Tighten the small filter drain plug to 9 ft-lb, or approximately 13 N·m, when it has been removed.
What size oil-filter wrench fits the 2018–2021 Toyota Tundra 5.7L?
Use a 64mm, 14-flute cartridge-filter cap wrench that fits the factory-style housing correctly. Seat the tool fully and keep it square to the cap while applying steady pressure. Do not use pliers or a pipe wrench on the filter cap.
How often should you change the oil in a 2018–2021 Toyota Tundra 5.7L?
For a non-FFV Tundra certified for 0W-20, Toyota permits up to 10,000 miles or 12 months between oil-and-filter changes under normal conditions when the specified 0W-20 is used, while listed special operating conditions require 5,000 miles or six months. Flex-fuel trucks can differ: Toyota’s 2018 FFV guide specifies 5,000 miles or six months under its normal schedule and 2,500 miles or three months when E85 is used more than 50% of the time. Follow the maintenance guide for your exact model year and fuel type.
Conclusion
A successful Toyota Tundra oil change depends on more than draining the pan and pouring in new oil. Confirm that your truck has the 5.7L V8 and whether it is gasoline or flex-fuel, use approximately 8.5 quarts of 0W-20 as the reference refill amount with a new filter, replace every required gasket and O-ring, and tighten the factory components with a torque wrench.
Before driving, confirm that the oil-pressure warning light goes out, inspect the drain plug and filter housing, and verify the dipstick after the oil settles. Record the mileage and service date, then use the maintenance guide for your exact model year, fuel type, and operating conditions to determine the next oil-change interval.
Sources
- Toyota 2021 Tundra Owner’s Manual — oil viscosity, capacity, operating information, maintenance reset, and specifications
- Toyota 2021 Tundra Warranty & Maintenance Guide — normal and special-service maintenance intervals for applicable non-FFV trucks
- Toyota 2018 Tundra FFV Warranty & Maintenance Guide — flex-fuel and E85 oil-change intervals
- Toyota Genuine Replaceable Oil Filter Element 04152-YZZA4 — current and previous filter-element numbers
- Toyota Technical Information System — factory repair manuals, service bulletins, and model-specific service procedures
- American Petroleum Institute Engine Oil Categories — current oil certification information
- U.S. Environmental Protection Agency Used-Oil Guidance — used motor oil and filter recycling