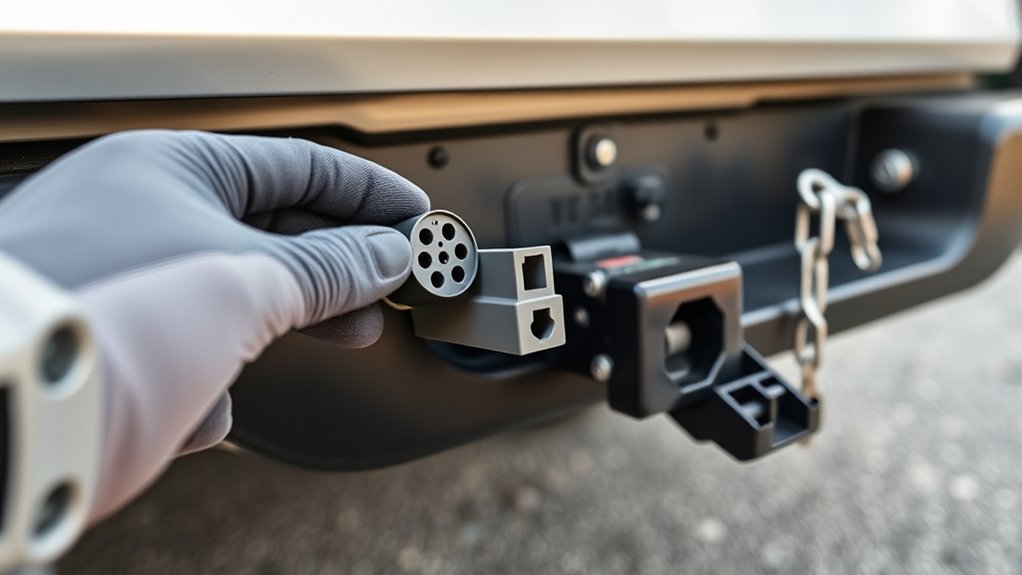
Connecting trailer wiring to your Toyota Tundra starts with identifying the truck’s model year, factory tow equipment, and existing connector. Some Tundras already have a combined 4-way and 7-way socket, while others need a model-specific harness or a complete retrofit. Test every circuit by function instead of relying on wire color alone.
Quick Answer
Use a 4-way connector for basic trailer lights or a 7-way connector when the trailer needs electric-brake output, auxiliary power, or reverse lights. Choose a harness made for your Tundra’s model year, connect each circuit by function, use the specified fuse or breaker, and test every light and brake function before towing.
Key Takeaways
- Check your Tundra’s model year, tow package, connector, and brake-controller equipment before buying parts.
- A 4-way carries basic lighting circuits. A 7-way can also carry trailer-brake output, auxiliary power, and reverse-light power.
- Never assume a wire’s function from its color. SAE and traditional 7-way configurations use different color assignments.
- Use the wire gauge, fuse, and circuit breaker specified by the exact harness or brake-controller manufacturer.
- Test the truck socket, trailer lights, and trailer brakes before every trip.
At a Glance
| Time Required | A few minutes for a plug-in adapter; longer for a socket replacement or complete hardwired installation |
| Difficulty | Easy for an adapter; intermediate to advanced for a hardwired 7-way and brake-controller circuit |
| Tools Needed | Digital multimeter or circuit tester, socket set, wire stripper and crimper, heat gun, protective loom, cable ties, and model-specific installation instructions |
| Cost | Varies by setup. An adapter costs less than a model-specific harness, 7-way retrofit, brake controller, or professional installation. |
Warning: Trailer wiring can affect exterior lights, trailer brakes, and the truck’s electrical system. Secure the truck and trailer before working underneath them. Disconnect the negative battery cable when the product instructions require it, and never install a larger fuse to stop a circuit from blowing.
How to Install a 4-Way or 7-Way Connector on a Toyota Tundra
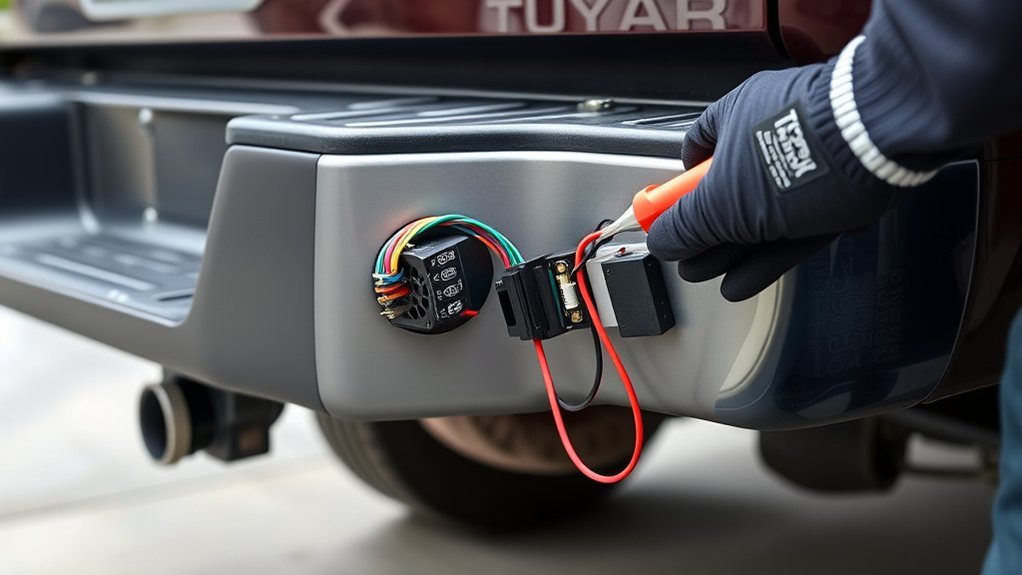
The correct installation depends on whether your Tundra already has factory towing wiring. Review the Toyota manual for your exact model year before removing panels, adding fuses, or connecting a brake controller.
Step 1: Identify the Truck’s Existing Equipment
Look beneath the rear bumper for a 4-way flat socket, a 7-way RV blade socket, or a combined connector. Then check whether your truck has a factory tow package and an integrated trailer brake controller.
Some older Tundras use a separate factory harness or connector. Certain early first-generation harness instructions also reference a gray connector near the battery. Connector names such as “O3” and their locations are model-year-specific, so do not search for or connect an under-hood plug unless the instructions for your exact harness identify it.
Step 2: Choose the Correct Installation Type
- Use an adapter when the truck already has a working 7-way and the trailer only has a 4-way plug.
- Replace the socket when the factory wiring works but the connector housing or terminals are damaged.
- Install a model-specific plug-in harness when the truck has the matching factory tow-package connector behind the bumper.
- Install a complete 7-way retrofit when the truck lacks the required wiring for trailer brakes, auxiliary power, or reverse lights.
Step 3: Mount the Connector
Mount the socket where the trailer plug can reach it without dragging or stretching. Keep it away from the exhaust, spare tire, hitch movement, and road-impact areas.
A clamp-on no-drill mount can avoid drilling into the hitch. For example, the CURT 57202 connector bracket, which some retailers list as C57202, uses a clamp to support a 7-way socket. Confirm that the bracket fits your hitch tube and socket before installation.
Step 4: Connect a Factory or Model-Specific Harness
Remove the protective cap from the matching factory connector and inspect the terminals for water, bent pins, dirt, or corrosion. Push the model-specific harness into place until its lock fully engages. Do not force together connectors that have different shapes or terminal arrangements.
Follow the harness instructions for any required relays or fuses. An empty fuse position does not automatically mean that a fuse belongs there.
Step 5: Connect a Hardwired 7-Way Only When Required
A complete 7-way generally needs circuits for ground, running lights, left stop and turn, right stop and turn, electric-brake output, 12-volt auxiliary power, and reverse lights. Some trailers do not use every function.
Connect each wire by tested function and the diagram supplied with the socket. Do not copy wire colors from another trailer or an online diagram without confirming the connector standard and viewing direction.
Route the auxiliary-power lead and brake-output lead exactly as the kit manufacturer instructs. Install the specified fuse or resettable circuit breaker close to the battery when required. The correct rating depends on the circuit, wire size, controller, and installation kit, so a 40-amp breaker is not universal.
Step 6: Make a Reliable Ground Connection
Use the factory ground point or a clean chassis location approved by the harness manufacturer. Remove paint and corrosion only where the instructions allow, secure the ring terminal tightly, and protect the finished connection from moisture.
A poor ground can cause dim lamps, flashing problems, overheated terminals, false trailer-disconnect warnings, and weak or inconsistent brake operation.
Step 7: Seal and Protect the Wiring
Use sealed crimp connectors or adhesive-lined heat-shrink terminals for exterior splices when the product instructions permit them. Electrical tape can provide an extra outer wrap, but it should not serve as the only weather barrier over an exposed splice.
Place wiring inside protective loom and secure it at regular intervals. Keep it away from the exhaust, driveshaft, suspension, steering parts, sharp sheet metal, and pinch points. Use a suitable grommet anywhere wiring passes through metal.
Step 8: Reconnect Power and Test the Installation
Reconnect the battery if you disconnected it. Test the truck socket before connecting the trailer, then connect the trailer and test every required function with a helper or trailer-light tester.
- Running and marker lights
- Left turn signal and left brake light
- Right turn signal and right brake light
- Hazard lights
- Reverse lights, if used
- 12-volt auxiliary output, if used
- Electric trailer-brake output, if equipped
Pro Tip: Test the truck socket first and the trailer second. This separates a truck-side fault from a trailer-side fault and prevents unnecessary rewiring.
Understanding Trailer Connector Types for Your Tundra
Your connector choice depends on the electrical functions the trailer needs, not only its physical size. Toyota has offered factory and accessory configurations that vary by year and equipment, including combined 4-pin and 7-pin connectors for specific applications.
| Connector | Typical Functions | Common Use |
| 4-way flat | Ground, running lights, left stop/turn, and right stop/turn | Small utility, boat, and cargo trailers without electric-brake or auxiliary-power connections |
| 7-way RV blade | Basic lighting plus electric-brake output, 12-volt auxiliary power, and reverse-light power | Trailers that need electric brakes, battery charging, breakaway-system support, or reverse-light functions |
| 7-way-to-4-way adapter | Passes the four basic lighting functions from an existing 7-way socket | Connecting a 4-way trailer to a truck that already has a working 7-way |
Common 4-Way Flat Color Convention
A common trailer-side 4-way flat convention uses white for ground, brown for running lights, yellow for the left stop and turn circuit, and green for the right stop and turn circuit. Verify these functions with a meter or tester because repairs and replacement plugs may not follow the original colors.
Why a 7-Way Color Chart Can Mislead You
The CURT trailer-wiring guide shows that traditional and SAE-style 7-way RV blade configurations use different color assignments. The Hopkins wiring guide also advises identifying wires by function because manufacturers do not use one universal color system.
Note: A pin diagram may show the front face of the truck socket, the front face of the trailer plug, or the wire-entry side. Confirm the viewing direction before connecting any conductor.
Required Tools and Components for Your Installation
You will not need every item for every Tundra. Select parts only after confirming the truck’s model year and existing tow equipment.
- Model-specific 4-way or 7-way harness, replacement socket, or adapter
- Connector mounting bracket and corrosion-resistant hardware
- Digital multimeter or powered circuit tester rated for automotive use
- Socket and wrench set
- Wire stripper and quality crimping tool
- Sealed crimp connectors or adhesive-lined heat-shrink terminals
- Heat gun when heat-shrink terminals are used
- Protective split loom, cable ties, clips, and suitable grommets
- Wire in the gauge specified by the harness or brake-controller manufacturer
- Manufacturer-specified fuse, fuse holder, or circuit breaker
- Connector-safe dielectric grease when recommended by the component maker
A universal brake-controller installation kit is not essential when your Tundra already has the necessary factory wiring or an integrated controller. Avoid buying parts based only on a generic Tundra description. Match them to the year, cab, engine, tow package, and connector type.
Factory Trailer Brake Controller Versus an Aftermarket Controller
Some Tundras have a Toyota integrated trailer brake controller. On equipped newer models, the controller sends brake output through the 7-pin connector and can support electric or electric-over-hydraulic trailer brakes when configured correctly.
Toyota’s 2024 Tundra Quick Reference Guide warns that using a third-party controller together with the Toyota controller may have unexpected effects. Follow the model-year manual instead of adding a second controller to an equipped truck.
If your Tundra does not have an integrated controller, use a controller and vehicle-specific adapter approved for that model year. Set the trailer brake type and gain according to the controller instructions, trailer weight, and road conditions.
Common Wiring Problems and How to Fix Them
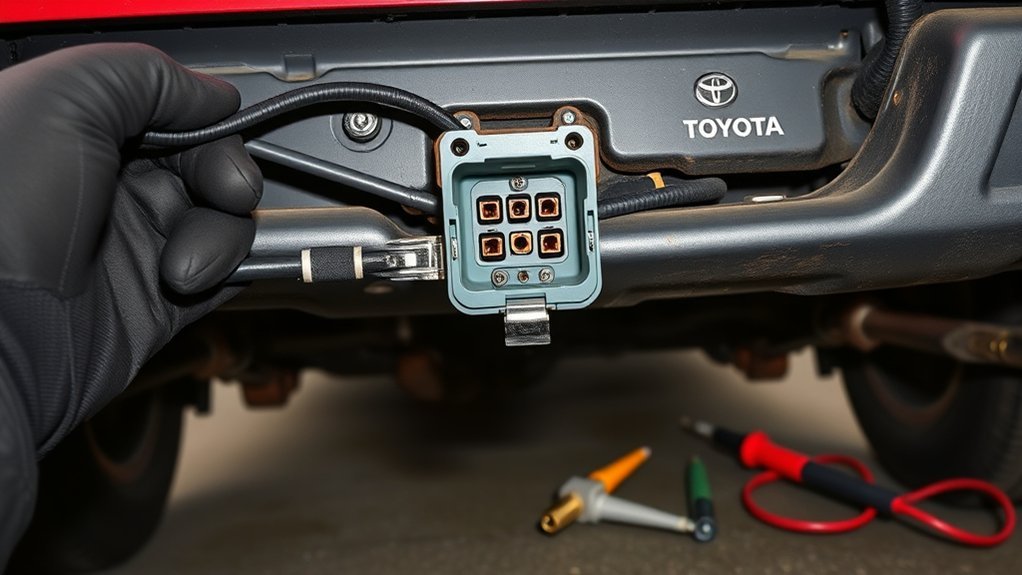
Start by testing the Tundra’s connector without the trailer attached. If the truck socket passes every test, inspect the trailer plug, junction box, grounds, lamps, and trailer wiring.
| Symptom | Likely Checks |
| No trailer lights work | Check plug engagement, main ground, tow-package fuses or relays listed in the manual, damaged terminals, and power at the truck socket. |
| One light function fails | Test the related socket terminal, bulb or LED assembly, plug pin, splice, and trailer-side wire. |
| Lights are dim or flicker | Inspect both truck and trailer grounds, corrosion, loose terminals, undersized repair wire, and damaged connector contacts. |
| Trailer brakes do not engage | Confirm trailer detection, controller settings, brake-output voltage, the 7-way brake terminal, trailer brake wiring, brake magnets or hydraulic actuator, and the trailer breakaway system. |
| No auxiliary power | Check the specified fuse or breaker, battery feed, socket terminal, and whether the model energizes that circuit only under certain ignition conditions. |
| A towing fuse keeps blowing | Disconnect the trailer and inspect for a pinched wire, water-filled plug, crossed terminals, damaged lamp, or short to ground. Do not install a higher-rated fuse. |
| Reverse lights do not work | Verify that both connectors use the expected reverse terminal and that the trailer actually has a connected reverse-light circuit. |
How to Test the Trailer Wiring Before Towing
The National Highway Traffic Safety Administration advises checking trailer brake lights and turn signals because a failed connection creates a serious safety hazard.
- Connect the trailer plug and confirm that the socket cover or retainer holds it securely.
- Switch on the running lights and inspect every marker and tail lamp.
- Test left turn, right turn, hazards, and brake lights.
- Shift into reverse with a helper watching the trailer lights, if the trailer uses a reverse circuit.
- Confirm that the controller recognizes the trailer, if applicable.
- Use the manual brake control at low speed in a safe, open area to confirm that the trailer brakes apply smoothly.
- Adjust controller gain according to the controller and trailer instructions.
- Inspect the cable for tension through tight turns. It must not drag, bind, or contact the exhaust.
A connector is not ready for towing until every required circuit works under load and the trailer brakes respond correctly.
Tips for Maintaining Your Trailer Wiring Setup for Longevity
- Inspect the truck socket and trailer plug before each trip.
- Keep the connector cover closed when the socket is not in use.
- Remove dirt and corrosion with products approved for electrical contacts.
- Replace terminals that have loosened, overheated, cracked, or lost their plating.
- Check chassis and trailer-frame grounds for tightness and corrosion.
- Inspect loom and cable ties where wiring passes near the hitch, spare tire, suspension, and exhaust.
- Use a small amount of compatible dielectric grease when the connector or harness manufacturer recommends it. Permatex lists trailer electrical connections among the suitable uses for its dielectric grease.
- Investigate blown fuses instead of replacing them repeatedly.
- Retest all lighting and brake functions after repairs, storage, or trailer changes.
Related Guides
Frequently Asked Questions
What wires go where on a 7-pin trailer plug?
A 7-way RV blade connector normally carries ground, running lights, left stop and turn, right stop and turn, electric-brake output, 12-volt auxiliary power, and reverse lights. Do not assign these functions by color alone. Use the diagram supplied with the plug and confirm whether it shows the terminal face or the wire-entry side.
How do you wire trailer lights to a truck with four wires?
A common 4-way trailer convention uses white for ground, brown for running lights, yellow for the left stop and turn circuit, and green for the right stop and turn circuit. Verify each function with a tester before connecting it because previous repairs or replacement plugs may use different colors.
How do you convert a 7-pin connector to a 4-pin connector?
Use a 7-way RV blade-to-4-way flat adapter when the Tundra already has a working 7-way socket. The adapter passes the ground and basic lighting circuits. It does not give a 4-way trailer electric-brake, auxiliary-power, or reverse-light connections.
Do you need a 7-pin or 4-pin trailer plug?
Choose a 4-way when the trailer only needs basic lights. Choose a 7-way when it needs electric-brake output, auxiliary power, reverse lights, or other supported circuits. Confirm the trailer’s brake requirements and local towing rules before choosing the connector.
Can you add an aftermarket brake controller to every Tundra?
An aftermarket controller may work on Tundras that lack an integrated controller when you use the correct vehicle-specific parts. Do not connect a second controller to a truck with Toyota’s integrated trailer brake controller unless Toyota’s instructions specifically allow it for that model year.
Why do the trailer lights work when the trailer brakes do not?
The lighting circuits and electric-brake output use separate 7-way terminals. Check the brake controller, trailer detection, controller gain, brake-output terminal, trailer wiring, brake magnets or actuator, ground, and breakaway system. A working brake light does not prove that the electric-brake circuit works.
Conclusion
Safe Toyota Tundra trailer wiring depends on using parts made for the truck’s model year and identifying every circuit by function. Choose a 4-way for basic lighting or a 7-way when the trailer needs brakes, auxiliary power, or reverse lights. Protect the wiring, use the specified circuit protection, and test every function before towing.
Stop and consult the model-year Toyota manual, harness manufacturer, or a qualified installer when the truck’s connector, fuse layout, brake controller, or wire functions do not match the supplied instructions.
Sources
- Toyota Manuals and Warranties — model-year-specific towing and electrical guidance
- Toyota 2024 Tundra Quick Reference Guide — integrated trailer brake controller operation and limitations
- Toyota Genuine 7-Pin and 4-Pin Trailer Connector — example of a model-specific Toyota connector
- CURT Trailer Wiring Diagrams — 4-way, SAE 7-way, and traditional 7-way circuit conventions
- Hopkins Towing Solutions Wiring Guides — guidance to identify wiring by function rather than color alone
- National Highway Traffic Safety Administration Vehicle Safety Checklist — pre-tow trailer-light testing guidance