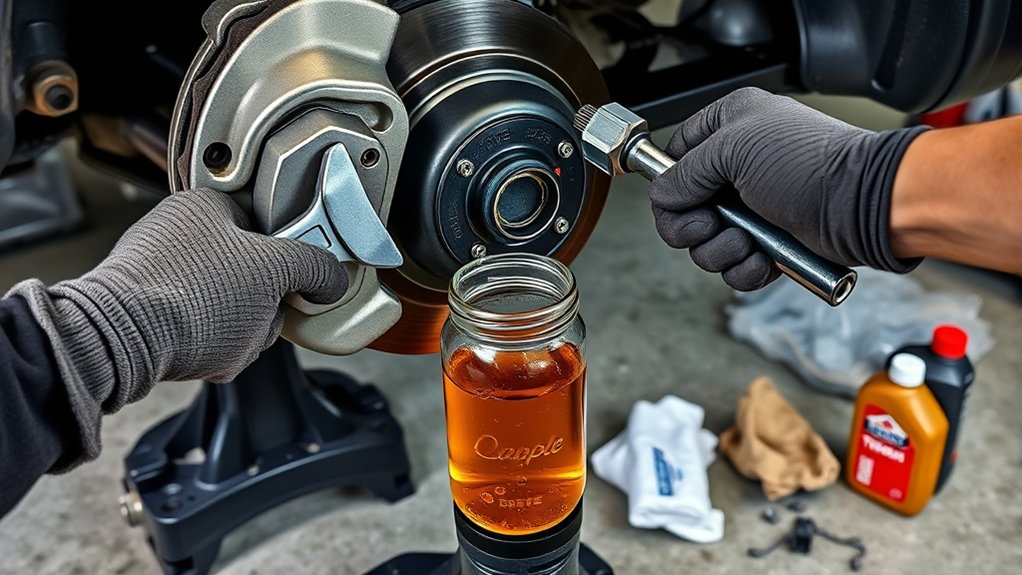
Bleed your Tacoma by working from the passenger rear, driver rear, passenger front, then driver front. Keep the reservoir topped with Toyota-spec fluid and use a suction or pressure tool to pull clear, bubble-free fluid. Jack and secure the truck, remove wheels for access, clean bleeders, open each valve under suction, then close before releasing. If your Tacoma has ABS, pump or cycle it with a scan tool and confirm a firm pedal. Keep reading for the full step-by-step process.
Quick Answer: How and When to Bleed Tacoma Brakes
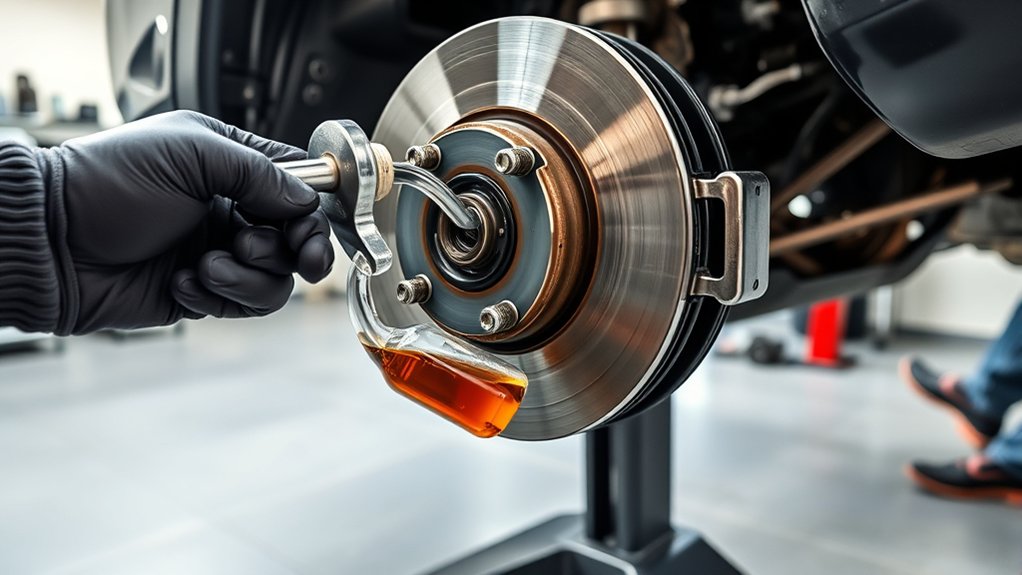
If you’ve changed brake fluid, replaced lines, or worked on ABS parts, bleed your Tacoma’s brakes to remove trapped air. Follow this order: passenger rear, driver rear, front passenger, then front driver. Keep the reservoir full the entire time.
You should bleed brakes whenever you replace brake fluid, swap lines, or suspect air in the ABS after servicing those components. Working in the right order prevents a spongy pedal and restores solid brake feel.
Use a consistent sequence and either have a helper pump the pedal or use a bleeder tool to pull fluid while you open and close each valve. Watch the reservoir level the whole time so you don’t introduce new air. After bleeding, check each line and fitting for leaks. Tighten bleeder valves by hand to seat them, but don’t over-torque. Test pedal firmness before driving. If the pedal is still soft, repeat the sequence. This procedure gets you back on the road with a firm, predictable brake feel on your Toyota Tacoma.
Tools & Parts to Bleed Tacoma Brakes
Gather these tools before you start: a 12mm socket, 10mm flare wrench, fluid transfer pump, and either a pneumatic or hand brake bleeder. Wear safety glasses and gloves, keep plenty of Toyota-spec brake fluid on hand, and consider an aquarium airline with a check valve to reduce mess and prevent backflow. Having replacement parts (rubber lines, bleeder valves) ready means you can handle leaks or damaged components without stopping mid-job.
Required Tools List
You’ll need a 12mm socket and a 10mm flare wrench for the caliper bleeder valves, plus gloves and safety glasses for protection. Grab a brake fluid transfer pump or pneumatic bleeder to evacuate old fluid and air efficiently.
Have fresh brake fluid that matches Toyota specifications from your owner’s manual ready, but keep it sealed until use. Prepare a clear hose and collection container rated for corrosive fluids to capture expelled brake fluid for proper disposal.
Bring a torque wrench for caliper hardware, jack stands and a hydraulic jack to secure the vehicle, and clean rags for spills. A helper is optional if you have a pump. Inspect your tools before starting. Contamination or incorrect fittings will cause problems and compromise safety.
Brake Fluid And Parts
Once you’ve checked your wrenches, pump, and safety gear, focus on the brake fluid and replacement parts you’ll use during bleeding. Use DOT 3/4 as specified by your Tacoma manual. Keep a sealed spare bottle to top the reservoir and protect brake performance.
Fit gloves and eye protection before opening the reservoir. Use a fluid transfer pump to extract old fluid and prevent overflow, then refill to the correct level so you don’t draw air into the system.
Use a pneumatic or manual brake bleeder tool at each caliper to evacuate fluid and trapped air. Keep a 10mm flare wrench and 12mm socket handy for bleeder valves. After finishing, confirm bleeder valves are tight and recheck the fluid level.
Prepare Your Tacoma: Jacking, Wheels, and Reservoir
Before you open any lines, lift the front of the Tacoma with a jack and secure it on rated jack stands so you can work safely underneath. Set the truck on a level surface, engage the parking brake, and follow the jack and jack stand ratings.
Remove the front wheels with a 22mm socket to expose the brake calipers and bleeder valves. Keep lug nuts and wheels organized.
Inspect the brake calipers for leaks or damage before you begin bleeding. Clean around each bleeder screw to avoid contamination. Check the brake fluid reservoir and top it off with fresh brake fluid to prevent air ingress during the procedure. Make sure you use the correct DOT specification.
Keep a 10mm socket, clear tubing, a catch container, and rags within reach. Wear proper attire and eye protection. Confirm the reservoir stays filled throughout the job and recheck jack stand seating periodically.
Bleeding Order for Tacomas: Why the Sequence Matters
With the wheels off and the reservoir topped, follow a specific bleed sequence to clear trapped air: passenger rear, driver rear, front passenger, then front driver. You bleed the longest line first so trapped air moves toward the master cylinder instead of lingering in ABS channels. This keeps brake pressure consistent and reduces uneven pedal feel.
If you have a manual transmission, bleed the clutch last to avoid reintroducing air into the brakes. For ABS-equipped Tacomas, sticking to this order lowers the chance of air remaining in the modulator.
| Position | Purpose |
|---|---|
| Passenger rear | Longest line; push air toward master |
| Driver rear | Next longest; equalize rear pressure |
| Front passenger | Front circuit balance |
| Front driver | Finalize system purge |
| Clutch (manual) | Bleed last to prevent cross-contamination |
| ABS note | Sequence minimizes modulator air |
Work methodically, keep the reservoir full, and watch for clear fluid at each bleeder. You’ll get the air out and restore confident stopping power.
Step-by-Step: Manual (Suction) Brake Bleeding
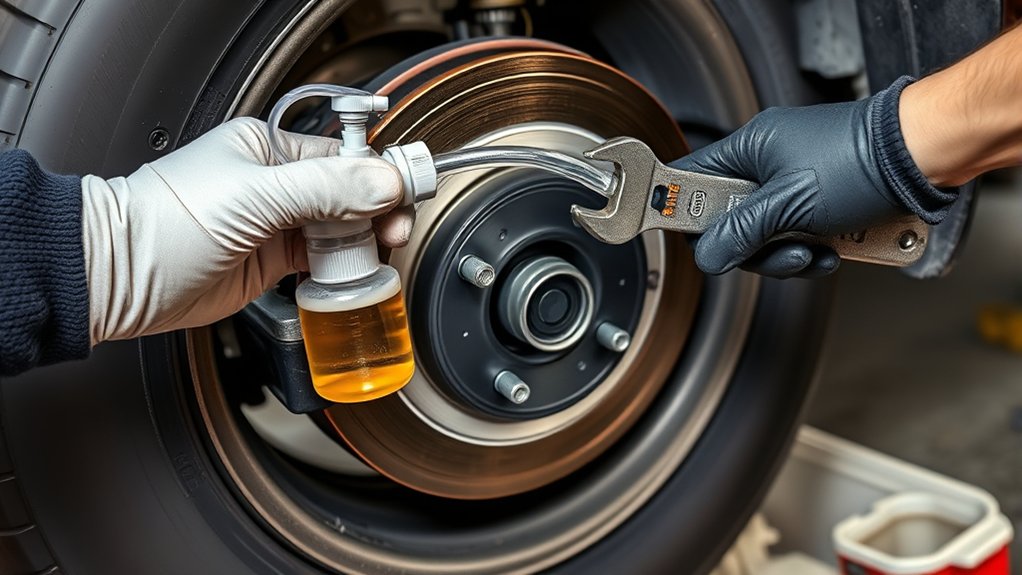
Start by gathering tools and preparing the truck: jack stands, wheel removal, a closed-end 10mm Allen, a suction brake bleeder, and fresh DOT fluid with the reservoir topped. Follow the bleeding sequence (passenger rear, driver rear, front passenger, front driver) and attach the suction tool to each caliper bleeder before opening the valve. Maintain suction while you open the valve, watch for continuous bubble-free fluid, top the master cylinder as needed, then close the bleeder under suction and reinstall the dust cover.
Tools And Preparation
To bleed the brakes on a Tacoma, gather a 12mm socket, 10mm flare wrench, closed-end 10mm Allen, gloves, fresh DOT brake fluid, and a fluid-transfer pump or suction bleeder. You’ll also need a 22mm socket to remove the front wheels after safely jacking and supporting the vehicle on stands.
Secure the truck, place stands, and remove wheels to access calipers. Locate each bleeder valve, remove dust caps, and verify the closed-end Allen fits the valve snugly. Keep fresh brake fluid sealed until use and top the reservoir continuously during bleeding with your fluid transfer pump to prevent air ingestion. Work methodically, using the valve and suction bleeder for clean, bubble-free fluid flow before moving to the next station.
Bleeding Sequence And Technique
Begin at the passenger rear caliper and work in order: passenger rear, driver rear, front passenger, front driver. This pulls air from the farthest line first.
Attach your manual brake bleeder to the bleeder valve, open the valve, and apply steady suction. Watch the fluid flow and trapped air exit the brake line. Keep the reservoir topped up to prevent new air ingress.
Close the bleeder valve while suction remains active to avoid sucking air back in, then release the bleeder tool and reinstall the dust cap. Move to the next wheel and repeat until clear, bubble-free fluid flows. After finishing all four corners, inspect each bleeder valve and brake line for leaks. Confirm firm pedal feel, then reassemble and lower the vehicle.
Using a Pressure Bleeder (Motive and Alternatives)
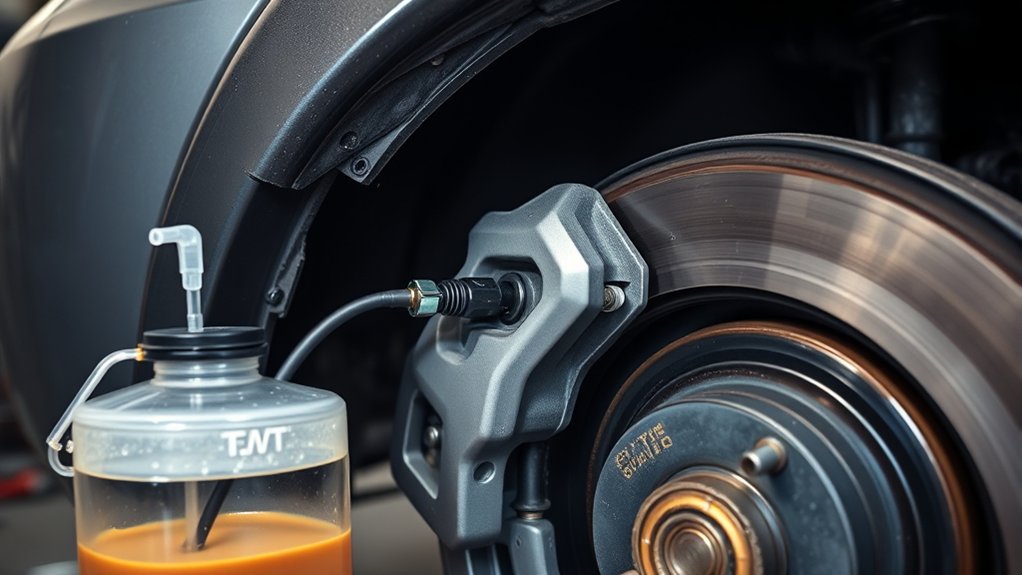
You can speed up bleeding a Tacoma’s brakes by using a pressure bleeder like a Motive unit or a compatible alternative. Fill the master cylinder with fresh DOT-rated fluid, attach the pressure cap, pressurize to the manufacturer’s recommended 10-15 PSI, and then open each caliper bleeder in sequence. Monitor the reservoir level closely to prevent air ingress until clear, bubble-free fluid flows.
Set up the pressure bleeder, confirm fittings seal, and verify you have the correct brake fluid. With steady pressure, you get one-person operation with no helper on the pedal. Crack the bleeder valve at each caliper in the same sequence you used previously, collect expelled fluid, and watch for continuous, bubble-free flow.
If the flow becomes sporadic, stop and top the reservoir immediately to avoid sucking air. When all wheels show clean fluid, close valves, release pressure per the tool’s instructions, and secure the master cap. Test the pedal for firm travel before road testing.
Dealing With ABS: Cycle, Scan, and Remove Trapped Air
After using a pressure bleeder on the calipers, you may find air trapped in the ABS modulator that won’t purge with conventional bleeding. To clear it, you need to cycle the ABS valves with a compatible scan tool that can command the pump and solenoids.
Use a scan tool that explicitly supports ABS system actuation. Park on a level surface, turn the key on with the engine off, connect the tool, and follow its ABS service routine to cycle pump and valve sequences while a helper slowly presses the pedal.
Monitor fluid level and top with the correct DOT fluid. Don’t let the reservoir run dry. Cycle until no bubbles appear and pedal firmness returns. If your scanner can’t command the ABS or trapped air persists, you may need a specialized ABS bleeding tool or professional service. Check Tacoma forums for model-year specifics and user-tested procedures.
Finish the bleeding process by clearing ABS fault codes with the scan tool and performing a low-speed brake test to confirm full braking authority.
How Often to Bleed Tacoma Brakes
Toyota recommends inspecting brake fluid at regular service intervals, and most mechanics suggest a complete brake fluid flush every 2-3 years regardless of mileage. Brake fluid is hygroscopic, meaning it absorbs moisture over time. That moisture lowers the fluid’s boiling point and can cause internal corrosion in brake components.
Beyond scheduled maintenance, bleed your brakes any time you open a brake line, replace a caliper or hose, swap the master cylinder, or notice a spongy pedal. If you tow frequently or drive in hilly terrain where brakes get hot, consider flushing more often. According to the NHTSA’s brake safety guidelines, properly maintained brakes are one of the most critical vehicle safety systems.
Common Problems & Fixes (Spongy Pedal, Stuck Bleeders)
If your Tacoma’s pedal feels spongy, it usually means air is trapped in the lines or ABS module. You’ll need systematic bleeding to restore firmness. Start by identifying which wheel(s) show delayed response and work from the furthest caliper toward the master cylinder.
Begin by confirming the fluid level and visually inspecting brake lines for leaks. For a spongy pedal, perform a controlled manual or pressure bleed, cycling each caliper until clear, bubble-free fluid exits.
If you hit stuck bleeders, apply penetrating oil, let it soak, then use the correct-size wrench and a steady counterhold to avoid rounding the hex. Crack a stubborn bleeder while a helper slowly pumps the pedal to force trapped air out. Close it before the pedal reaches the floor to prevent sucking air back in.
A pressure bleeder works well for ABS or persistent air pockets. Stay on top of regular bleeding intervals and address stuck bleeders promptly to maintain reliable braking.
Final Checks, Torque Specs & When to Call a Pro
Once you’ve finished bleeding the system, verify there are no visible leaks at the master cylinder, brake lines, fittings, and calipers. Keep the reservoir topped during the procedure to avoid drawing air back in. Confirm the pedal returns firm and consistent. A soft or low pedal after these checks usually means trapped air in the ABS circuit, which may require a scanner or professional help.
- Inspect: Perform final checks for leaks, fluid level, and hose seating. Fix any seepage before road testing.
- Pedal test: Cycle the pedal with the engine off and on. A persistent spongy brake pedal signals air or ABS involvement.
- Torque specs: Torque wheel nuts to 85 ft-lb using a 22mm socket. Follow a star pattern and re-check after a short drive.
- Call a pro: If bleeding doesn’t eliminate sponginess or ABS codes persist, take it to a professional mechanic with scan tools and ABS expertise.
Follow these steps carefully to make sure your Tacoma stops safely and predictably.
Frequently Asked Questions
How to Bleed Brake Lines in Tacoma?
Jack the truck, remove wheels, open the master cylinder, and top off brake fluid. Then bleed each caliper in sequence, purging air bubbles with a bleeder tool while someone pumps the brake pedal until fluid runs clear and the pedal feels firm.
How to Bleed Brakes by Yourself DIY?
You can do it solo with brake fluid and a vacuum pump or pressure bleeding rig. Jack and secure the truck, attach the tool, draw fluid until it runs clear, keep the reservoir topped, close valves, and test pedal firmness before driving.
Do You Bleed Brakes With Reservoir Cap on or Off?
Bleed brakes with the reservoir cap off. This prevents pressure buildup in the reservoir, lets you watch the brake fluid level, and helps expel air bubbles more effectively. Just make sure nothing falls into the open reservoir.
How to Bleed the Brakes on a 2016 Toyota Tacoma?
Jack the truck, open bleeders in the standard sequence (passenger rear, driver rear, front passenger, front driver), pump the brake pedal while topping brake fluid, and expel air bubbles until the pedal feels firm. Then tighten valves and confirm there are no leaks.
Conclusion
You’ve bled your Tacoma’s brakes the right way: followed the sequence, kept the reservoir topped, and forced fluid through until clean, bubble-free lines came out. Check for firm pedal return, proper wheel torque, and no leaks. Cycle the ABS with a scanner if needed. If the pedal still feels spongy or bleeders won’t open, stop and get professional help. Brakes aren’t the place to cut corners.
