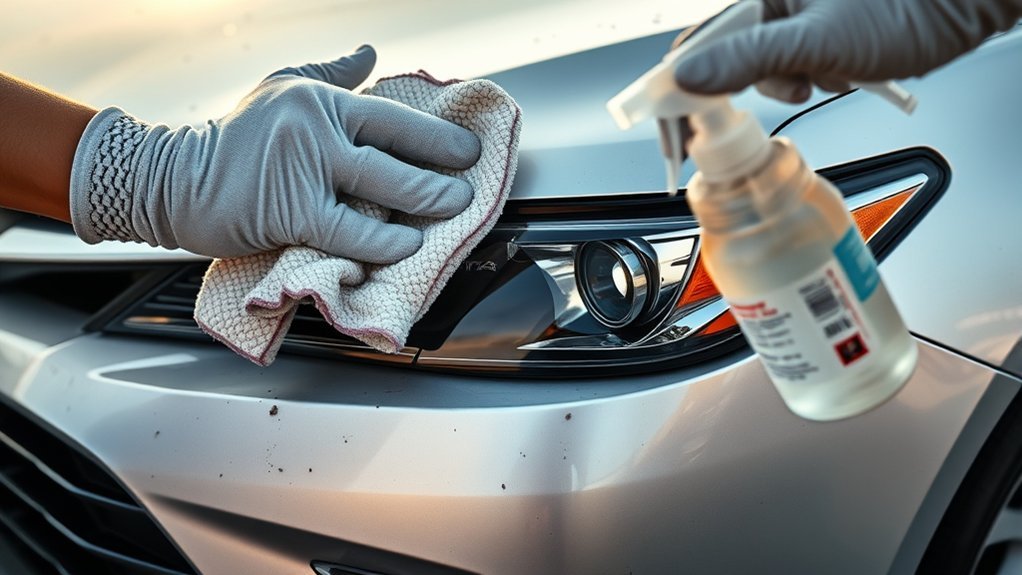
Bug splatter and road tar can bond tightly to your Toyota Camry’s clear coat, especially when the surface is hot. The safest approach is to remove loose grit first, soften the contamination, and use a product specifically labeled for automotive paint. Work gently and let water and chemistry do more of the cleaning than pressure or scrubbing.
Quick Answer
Park your Camry in the shade and let the paint cool. Rinse away loose dirt, wash the affected area with automotive shampoo, then apply a paint-safe bug-and-tar remover according to its label. Allow it to soften the residue, wipe gently with clean microfiber, rinse, dry, and restore any protection the cleaner removed.
Key Takeaways
- Never scrub dry bug residue or tar; rinse and soften it first.
- Use automotive shampoo and a remover approved for your Camry’s paint or protected surface.
- Skip Magic Erasers, baking soda paste, razor blades, gasoline, acetone, and unapproved household solvents.
- Repeat a gentle treatment instead of increasing pressure. Stop if the finish becomes dull, sticky, discolored, or scratched.
- Reapply wax, sealant, or coating maintenance product when the remover’s label indicates that it may reduce existing protection.
At a Glance
| Time Required | 20–45 minutes, depending on how old and widespread the residue is |
| Difficulty | Easy, provided the paint is intact and the correct products are used |
| Tools Needed | Hose or gentle pressure rinse, automotive shampoo, wash mitt, bug-and-tar remover, several clean microfiber towels, drying towel, and optional wax or sealant |
| Cost | About $10–$30 when purchasing basic supplies; less if you already have car-wash products |
Warning: Do not clean a hot panel or mix cleaning products. Avoid Magic Erasers, baking soda paste, scouring pads, razor blades, gasoline, paint thinner, acetone, undiluted degreasers, and any solvent that is not specifically approved for the surface. Follow the product label, including ventilation, glove, eye-protection, dwell-time, and rinsing directions.
Why You Should Remove Bugs and Tar Promptly
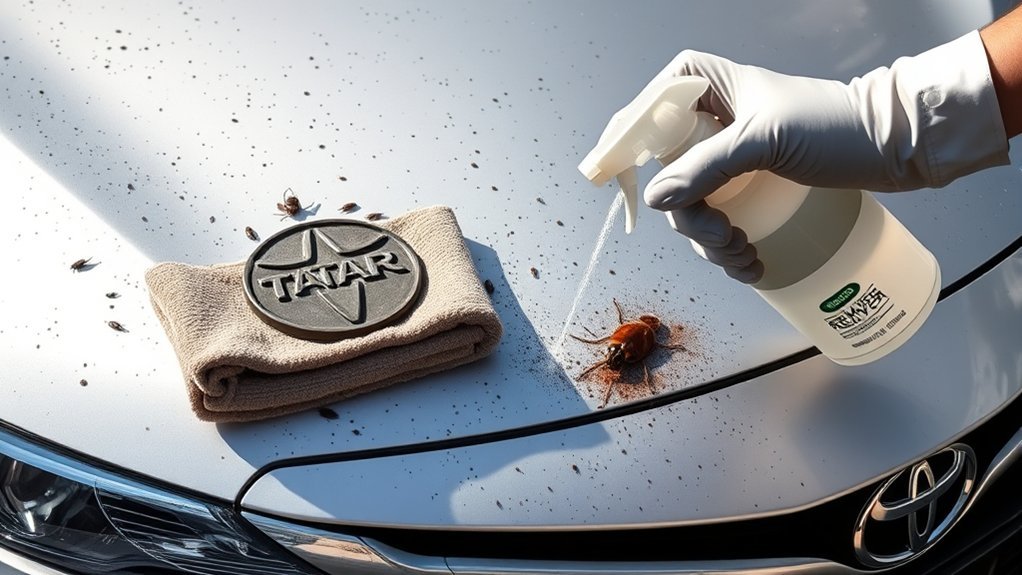
Fresh insect residue is normally easier to remove than residue that has dried and baked onto the surface. Tar can also collect dust and road grit, creating a rough spot that is more likely to mar the clear coat if it is rubbed while dry.
Prompt cleaning reduces the need for repeated wiping or stronger products. It also gives you a better chance of removing the contamination before it leaves staining, shadowing, or a visible outline in the finish. Cleaning cannot reverse clear-coat damage that has already occurred, but it can prevent additional rubbing damage.
The safest removal method is the one that uses the least mechanical force: rinse first, soften the residue, wipe gently, and repeat only when necessary.
Identify the Residue and Surface Before Cleaning
Before applying a cleaner, determine what you are treating. Products designed for insect residue and asphalt tar may not be suitable for road paint, adhesive, tree sap, or overspray.
- Bug residue: Usually irregular, crusty, or translucent splatter concentrated on the bumper, hood, mirror caps, grille, and windshield.
- Road tar: Usually appears as small black or dark-brown dots along the rocker panels, lower doors, wheel arches, and rear bumper.
- Tree sap: Often feels raised, sticky, or glass-like and may require a sap-specific automotive product.
- Road paint or overspray: May appear as repeated colored dots or a fine mist. Do not assume a tar remover is appropriate.
- Etching or staining: If the surface feels smooth after cleaning but an outline remains, the mark may be in the clear coat rather than sitting on top of it.
Inspect the finish as well. If your Camry has matte paint, a vinyl wrap, paint-protection film, a ceramic coating, repainted panels, or aftermarket graphics, check the finish manufacturer’s care instructions before using a solvent-based remover. Toyota’s official manual and warranty portal lets owners select the correct model year and review applicable exterior-care guidance.
Note: Test the product on a small, inconspicuous section when the label recommends testing. Stop immediately if the finish becomes hazy, soft, sticky, discolored, or unusually dry.
Must-Have Tools for Safely Removing Bugs and Tar
Gather everything before starting so the cleaner does not remain on the panel longer than intended.
- Automotive car-wash shampoo: Use a product formulated to provide lubrication on painted vehicle surfaces. Do not substitute dishwashing liquid for routine paint care.
- Clean wash mitt: Choose a soft microfiber or lambswool-style mitt reserved for painted surfaces.
- Bug-and-tar remover: Select a product whose label lists compatibility with the exact surface being treated.
- Several microfiber towels: Use separate towels for tar removal, final wiping, glass, and drying. A towel used on tar should not be returned to normal paint-washing duty until it has been properly cleaned.
- Water supply: A hose is sufficient. A pressure washer is optional, but it should be used with a broad pattern at a safe distance and never aimed closely at damaged paint, trim edges, seals, badges, film edges, cameras, or sensors.
- Soft detailing brush: Optional for textured grilles or unpainted crevices only. Do not use a brush to scrub contaminated painted panels.
- Paint protection: Keep a compatible wax, sealant, or coating-maintenance product available if the cleaner may weaken the existing protection.
[Amazon Products Picked for You]

SO EASY TO GET RESULTS (CWS_104_16SW) - Add this car wash bug remover to a wash bucket or foam cannon for maximum coverage; rinse easily without streaking or residue

Heavy-Duty Cleaning Power: Quickly softens and breaks down stubborn road tar, tree sap, bird droppings, adhesive residue, road grime, and other tough contaminants for easier removal

Cleans bugs, tar and bird droppings
Step-by-Step Guide to Cleaning Bugs and Tar Off Your Toyota Camry
1. Park in the Shade and Cool the Surface
Move the Camry out of direct sunlight. The paint, glass, and trim should feel cool before you begin. A hot panel can cause water or cleaner to evaporate too quickly, making the residue harder to work and increasing the chance of spotting.
2. Pre-Rinse Loose Dirt and Grit
Rinse the affected area thoroughly from top to bottom. Concentrate on the bumper, hood edge, mirrors, grille, rocker panels, and wheel arches. The goal is to remove as much loose contamination as possible before a towel or mitt touches the paint.
Do not place a dry towel over the splatter and begin rubbing. Any sand or road grit trapped beneath the towel can act like an abrasive.
3. Wash With Automotive Shampoo
Wash the affected panels with automotive shampoo and a clean mitt. Work in straight, overlapping passes using light pressure. Rinse the mitt frequently so removed dirt is not dragged across the finish.
Rinse the soap away and inspect the surface. Fresh bug residue may come off during this stage. Continue with a specialty remover only where contamination remains.
4. Soften Remaining Bug Residue
Apply a bug remover that is approved for the surface. Follow the bottle’s directions for application, dwell time, and whether the panel should be wet or dry. Keep the treated area from drying.
After the residue has softened, wipe in one direction with a clean microfiber towel using very light pressure. Fold the towel after each pass to expose a clean section. Repeat the labeled treatment rather than scrubbing harder.
5. Treat Road Tar Separately
Apply a paint-safe tar remover directly to the tar dots according to its label. Allow the product to loosen the tar, then blot or wipe gently with a dedicated microfiber towel. Avoid spreading dissolved tar over a larger area.
Use a fresh section of towel for each small area. Tar residue can remain in the towel and may redeposit on another panel.
6. Rinse and Rewash the Treated Area
Rinse away the cleaner and loosened contamination. If the product directions require it, wash the treated panel again with automotive shampoo. This step helps remove cleaner residue before drying or applying protection.
7. Dry and Inspect Under Good Light
Dry the surface with a clean microfiber drying towel. Blotting or lightly gliding the towel across lubricated, clean paint is safer than pressing hard.
Run a clean hand lightly over the dry surface. A remaining raised spot may need another labeled treatment. A smooth but visible outline is more likely to be staining or etching and should not be attacked with an abrasive household cleaner.
8. Restore Paint Protection
Some bug-and-tar removers can reduce wax or sealant in the treated area. Apply a compatible protection product when recommended by the cleaner or protection manufacturer. Follow its preparation, curing, and reapplication instructions instead of relying on a universal schedule.
Pro Tip: Carry a small bottle of paint-safe bug remover, water, and two clean microfiber towels on long highway trips. Removing fresh splatter after the panel has cooled is usually easier than cleaning residue that has baked on for several days.
Household Solutions: What Is Safe for Camry Paint?
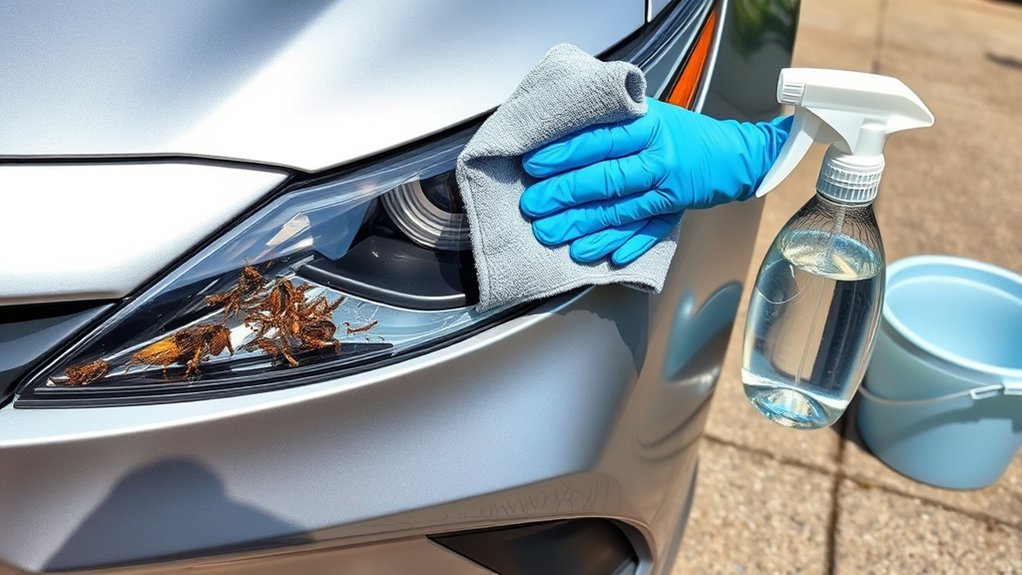
Household cleaners are tempting because they are inexpensive and readily available, but they are not automatically safe for automotive clear coat, trim, film, wax, sealant, or ceramic coatings. A product designed for kitchens or bathrooms may clean by abrasion, alkalinity, acidity, or strong degreasing action.
[Amazon Products Picked for You]

Cleans And Removed Bug, Tar/Asphalt, Bird Droppings, Tree Sap, Brake Dust, Gum, Sling and Stickers

POWERFUL PRE WASH (CLDSPRAY101): Fast acting aerosol breaks down stuck-on bug splatter, tree sap, and tar residue on bumpers and mirrors so your wash mitt glides with less scrubbing.

Bug Remover for Cleaning the Bug and Insects off your Cars.
Vinegar and Water Solution
Do not treat a 1:1 vinegar solution as a risk-free bug remover for painted panels. Vinegar can affect some waxes, sealants, trim materials, and aftermarket coatings, and overspray may reach surfaces that were not tested.
A diluted vinegar solution is sometimes used on untreated exterior glass, but it should not be used on tinted film, coated glass, plastic instrument lenses, camera covers, or other sensitive surfaces unless the manufacturer permits it. A dedicated automotive glass cleaner is the safer default.
Magic Eraser Technique
Do not use a Magic Eraser or other melamine cleaning foam on glossy automotive paint. Its cleaning action is abrasive and can dull the finish or create fine scratches. It may also mark glossy plastic, headlights, coated glass, piano-black trim, and vinyl surfaces.
If a spot will not release after two careful applications of a paint-safe remover, stronger rubbing with an abrasive sponge is not the next step. Stop and have the finish evaluated.
Baking Soda Paste
Do not scrub Toyota Camry paint with a baking soda paste. The particles can act as a mild abrasive, while the alkaline residue can collect in seams, badges, grille openings, and trim edges if it is not completely rinsed away.
Use an automotive contaminant remover that identifies the intended surface on its label. This provides more predictable cleaning than a homemade paste with an uncontrolled concentration and particle size.
Proven Techniques for Spot-Cleaning Tough Bug and Tar Stains
When a stain remains, identify what is still present before applying more product. Use the least aggressive option that matches the problem.
| What You See | Safest Next Step | When to Stop |
| Dry, raised bug residue | Soften again with the labeled bug remover and use a fresh microfiber section. | Stop if the finish begins to haze or the deposit does not soften after repeated labeled treatments. |
| Small black tar dots | Use a tar remover approved for the paint, working one small area at a time. | Stop if color transfers from the vehicle to the towel or the paint feels soft or sticky. |
| Smooth surface with a visible outline | Wash, dry, and inspect in indirect light. The residue may already be gone. | Do not keep applying solvent. The outline may require professional polishing or paint correction. |
| Sticky or glass-like raised spot | Treat it as possible tree sap and use a surface-approved sap remover. | Stop if the identity of the contamination is uncertain or the panel has a wrap, matte finish, or film. |
| Colored overspray or road-paint dots | Consult a professional detailer for an appropriate decontamination method. | Do not experiment with razor blades, paint thinner, acetone, or aggressive polishing. |
For windshields, begin with automotive glass cleaner and a clean glass towel. Do not use a razor blade around tint, camera housings, sensor areas, defroster elements, plastic edges, or coated glass. If the windshield has aftermarket treatment, follow that product’s care instructions.
Protecting the Paint After Bug and Tar Removal
A wax, sealant, ceramic spray, or coating-maintenance product can make future residue easier to release, but it does not make the surface immune to contamination. Remove bug splatter and tar promptly even when the vehicle is protected.
- Confirm the panel is clean: Protection should not be applied over remaining tar, cleaner residue, or grit.
- Use a compatible product: Match the protection to the existing finish, coating, film, or wrap.
- Apply only as directed: Follow the product’s panel-temperature, application, buffing, curing, and weather-exposure requirements.
- Reapply based on performance and instructions: Water behavior, exposure, washing method, mileage, and product chemistry all affect durability.
One current manufacturer method is to wash and dry the vehicle, saturate the remaining stain with a dedicated remover, allow penetration, wipe with microfiber, and follow with protection. Review the exact directions on the product you purchase rather than assuming every formula works the same way. See the manufacturer’s bug-and-tar remover directions for an example.
[Amazon Products Picked for You]
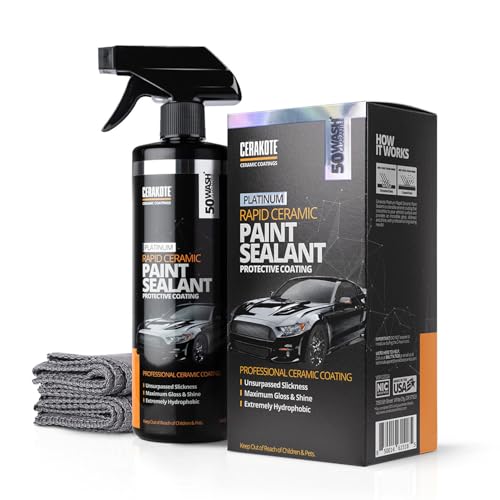
CERAMIC COATING FOR CARS: Delivers an extremely glossy, mirror-like finish on clean paint. Use as a standalone paint sealant or as a quick ceramic topper that deepens color and adds slickness. Not a one-step miracle coating and not a paint corrector

ONE-STEP APPLICATION: Simply spray onto just washed, wet car exterior surfaces and towel dry for the fastest way to instant gloss, durable ceramic car wax protection, and freshly detailed finish

CERAMIC PROTECTION: Made in the USA, our ceramic spray wax for cars forms an SiO2-infused shield that defends against oxidation, sun damage, and dirt adhesion; enjoy a high-gloss finish and hydrophobic water beading that lasts for months
Preventative Measures for Easier Bug and Tar Removal
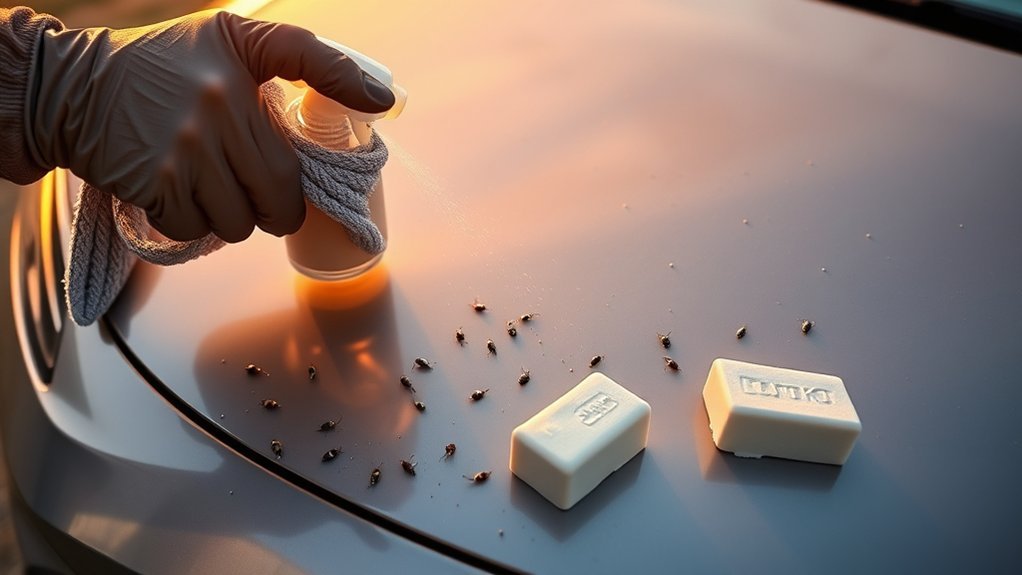
You cannot permanently prevent insects or road tar from reaching a moving vehicle, but you can reduce how firmly the contamination bonds and how much contact is needed during removal.
- Clean after heavy highway exposure: Inspect the bumper, mirrors, hood edge, windshield, and grille after long trips.
- Maintain paint protection: Use a compatible wax, sealant, or coating-maintenance product according to its instructions.
- Keep clean supplies in the vehicle: Store towels in a sealed bag so they do not collect grit in the trunk.
- Wash before residue builds up: Adjust the schedule to driving conditions rather than relying on a fixed number of days.
- Avoid fabric-softener mixtures: Fabric softener is not an automotive pre-treatment and can leave residue on paint, glass, towels, and trim.
- Clean microfiber correctly: Wash automotive towels separately and avoid fabric softener, which can reduce absorbency and leave residue. Additional towel-care and scratch-prevention guidance is available from Turtle Wax’s microfiber guide.
Whenever possible, wash on a surface where the water can be collected or directed to an approved sanitary system. Do not allow chemical-rich wash water to enter a storm drain where local rules prohibit it. The U.S. Environmental Protection Agency explains that municipal stormwater runoff is often discharged untreated into local water bodies.
When to Get Professional Help
Stop DIY treatment and contact a qualified detailer or body shop when:
- The surface is smooth but a dull, cloudy, or discolored outline remains.
- Vehicle color appears on the towel.
- The paint feels soft, sticky, swollen, or rough after the contamination is gone.
- The panel has peeling clear coat, exposed basecoat, cracking, or previous repair work.
- The residue sits on matte paint, vinyl wrap, paint-protection film, or a sensitive coating and compatibility is uncertain.
- Road paint, industrial fallout, adhesive, or overspray has been mistaken for tar.
- Two careful applications of an approved remover have not improved the spot.
A professional may use controlled chemical decontamination, clay, machine polishing, or paint correction after measuring and inspecting the finish. These methods can remove clear coat when performed incorrectly, so they should not be improvised with household abrasives.
Related Guides
Frequently Asked Questions
What is the safest way to remove bugs from Toyota Camry paint?
Cool the panel, rinse off loose grit, wash with automotive shampoo, and apply a bug remover approved for the surface. Let the product soften the residue, wipe lightly with clean microfiber, rinse, dry, and inspect. Repeat the labeled treatment instead of scrubbing harder.
Can I permanently prevent bug splatter on my Camry?
No product can permanently prevent insects from striking a moving vehicle. A maintained wax, sealant, coating, or paint-protection film may make residue easier to remove, but the front surfaces still need prompt cleaning after heavy exposure.
Can I use vinegar to remove bugs from car paint?
Vinegar is not the preferred cleaner for automotive paint because it may affect wax, sealant, trim, film, or an aftermarket coating. Use automotive shampoo and a paint-safe bug remover instead. On exterior glass, use a dedicated glass cleaner unless the glass or tint manufacturer specifically permits another solution.
Will a Magic Eraser remove bugs without scratching?
It may remove residue, but its abrasive melamine foam can dull or microscratch glossy paint and trim. Do not use it on the Camry’s painted exterior, headlights, coated glass, glossy plastic, wrap, or paint-protection film.
Can I use a pressure washer on bug splatter?
A pressure washer can remove loose contamination when used with a broad spray pattern at a sensible distance. Do not aim concentrated pressure at damaged paint, trim edges, seals, badges, film edges, cameras, or sensors, and do not rely on pressure to strip away bonded tar.
Why is a bug stain still visible after the surface feels clean?
The remaining mark may be staining, oxidation, or clear-coat etching rather than residue. More solvent will not necessarily remove it and may weaken the protection. Have a detailer inspect the area before attempting compound, polish, sanding, or other paint correction.
Conclusion
Safely removing bugs and tar from a Toyota Camry is mainly a matter of reducing friction. Work on cool paint, rinse away grit, use automotive products that match the surface, allow the cleaner to soften the contamination, and wipe with clean microfiber using minimal pressure. Avoid abrasive household methods, stop when a mark appears to be inside the finish, and restore protection after the panel is clean.
Sources
- Toyota Manuals and Warranties — official access to model- and year-specific Toyota owner information.
- Turtle Wax Bug & Tar Remover Directions — example manufacturer instructions for washing, dwell, microfiber removal, and protection.
- Turtle Wax Microfiber and Scratch-Prevention Guide — supports pre-rinsing, automotive soap, clean microfiber, and avoiding trapped grit.
- U.S. Environmental Protection Agency: Municipal Stormwater Discharges — explains why polluted runoff should be kept out of stormwater systems where required.
