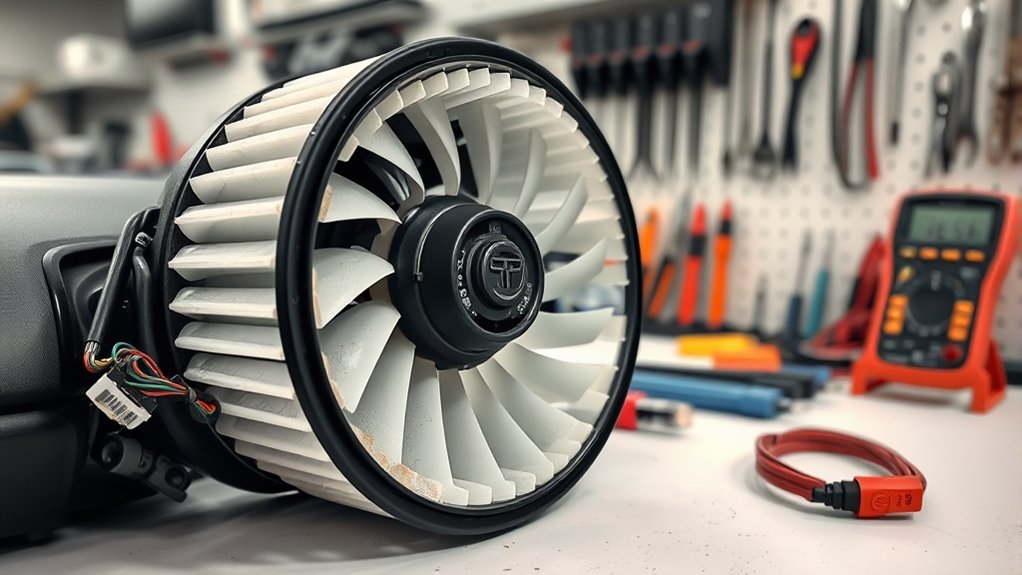
A Toyota Camry blower fan that keeps running after shutdown usually indicates a stuck blower relay, failed resistor or speed control module, faulty HVAC switch, or a wiring short. Diagnosis starts by confirming whether the fan responds to Auto, On, Off, and speed changes. The relay should be checked first, then the resistor, module, connectors, and ground points for heat damage or corrosion. Testing airflow at every speed helps verify the fault and the repair.
Why the Camry Blower Fan Stays On
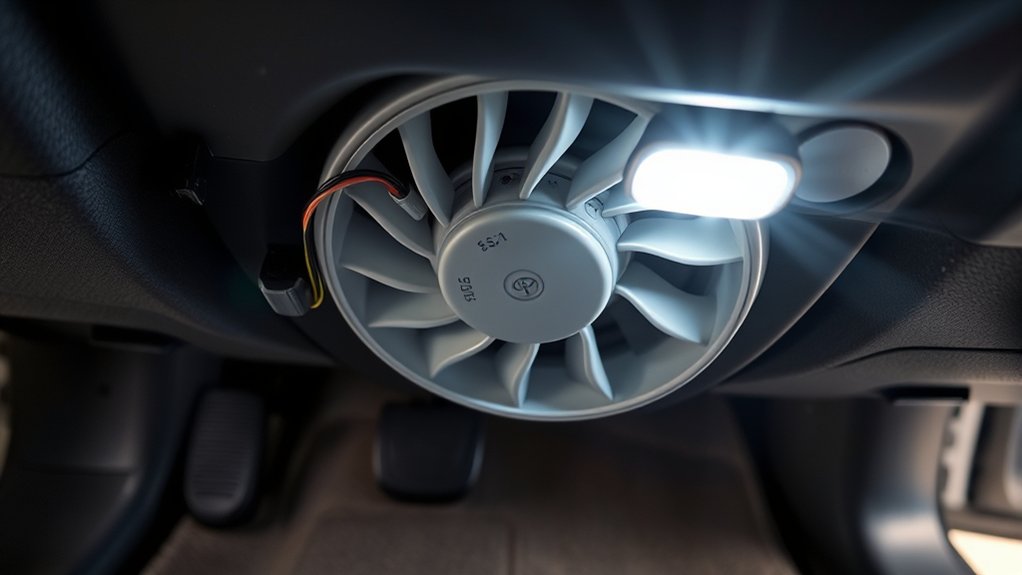
Why does a Toyota Camry blower fan remain on after shutdown? The condition usually indicates that power is still reaching the blower circuit when it should be interrupted.
A failed blower motor resistor is a common cause because it regulates fan speed and, when damaged, may leave the motor energized continuously. A stuck climate control switch can produce the same result.
A damaged blower motor resistor or stuck climate control switch can keep the fan running after shutdown.
In electronically managed systems, a faulty HVAC control module may also keep the command active.
Electrical faults must be considered. A short in the wiring harness can bypass normal control logic and feed constant voltage to the blower motor.
Overheating inside the motor itself may create a sticking condition, preventing proper shutdown even after ignition off.
To preserve diagnostic freedom, make sure the HVAC system receives regular inspection. Routine checks of switches, modules, wiring, and motor condition can expose the defect early and prevent battery drain, noise, and recurring blower operation after parking.
Confirm When the Fan Runs Constantly
Constant blower operation should first be verified with the climate control set correctly, since a fan set to “ON” may run continuously under normal conditions.
Fan behavior should then be checked at all speed settings to determine whether the motor responds properly or remains active without change.
If constant operation persists across all speeds, inspection should focus on the relay, blower motor resistor, fuse circuit, and HVAC control module.
Verify Constant Operation
Begin by confirming exactly when the Camry’s blower fan runs continuously: with the climate control set to Auto, On, and Off, at different speed settings, and after the ignition is switched off. This blower fan diagnostics step isolates command issues from faults. “On” can explain normal continuous operation.
| Condition | Meaning | Action |
|---|---|---|
| Auto mode only | Possible normal logic | Compare behavior |
| On mode always | User-commanded operation | Reset setting |
| After key-off | Relay likely stuck | Inspect circuit |
If operation ignores settings, a faulty blower motor resistor becomes suspect. Electrical system analysis should also inspect connectors for corrosion, heat damage, or looseness that can force unintended operation. Regular functional checks are practical maintenance tips, helping expose early malfunction, prevent battery drain, and preserve control over cabin airflow.
Check All Fan Speeds
After noting the conditions under which the Camry’s blower fan stays on, the next check is to cycle every fan speed with the ignition in the On position and the engine off.
Observe whether fan speed adjustments produce clear changes in airflow and sound at each setting.
If the blower runs constantly with no response, climate control troubleshooting should focus on the blower motor resistor and any relay that may be stuck closed.
No audible change across settings can also indicate a failing blower motor. Electrical inspection is then required.
Wiring and connector terminals at the blower motor and resistor should be checked for corrosion, heat damage, or looseness.
A visual inspection of the blower housing should also confirm it is free of debris or obstruction. This supports accurate blower motor maintenance and diagnosis.
Check the Camry Blower Relay First
The blower relay should be checked early because it controls power delivery to the Camry blower motor.
Diagnosis starts with confirming the relay location in the under-dash or under-hood fuse box, then performing a relay swap test with a matching known-good unit where applicable.
Relay power and continuity should then be verified with a multimeter to determine whether replacement is required.
Relay Location Check
Usually, the Camry blower motor relay is located in the engine compartment fuse box near the driver’s side, and this relay should be checked first when the fan is inoperative.
For accurate relay troubleshooting, the owner’s manual should be consulted to confirm the exact fuse box diagram and relay position before any inspection begins.
Before touching the relay, the negative battery cable should be disconnected to maintain electrical safety and prevent accidental shorts. A failed relay can block power delivery to the blower motor, leaving the fan completely dead.
After locating the correct relay, a multimeter should be used to check continuity while the relay is activated. If continuity is absent under activation, the relay is considered defective and replacement is required.
This disciplined check supports independent, informed diagnosis without unnecessary guesswork or delays.
Relay Swap Test
A relay swap test offers a fast confirmation step once the Camry blower relay has been identified. The blower motor relay governs power delivery to the blower motor, so failure here can silence airflow completely.
With ignition in the ON position, the relay can be removed from the fuse box and compared against matching relay types already installed. A like-for-like swap avoids guesswork and helps isolate a defective component without disturbing other electrical connections.
For stricter relay testing, the removed relay may also be energized and checked with a multimeter for continuity across its switched terminals. If the blower begins operating after the substitute relay is installed, the original relay is confirmed faulty and replacement is required.
This method gives a clear, liberating diagnostic answer with minimal disassembly and wasted effort.
Relay Power Verification
Begin relay power verification by locating the Camry blower relay in the engine compartment fuse box or under-dash panel. Then probe the relay output terminal with a multimeter. With ignition on and blower switch activated, battery voltage should appear at the output. This step anchors effective relay troubleshooting tips and follows any sound multimeter usage guide.
If voltage is absent, the relay or its control side requires inspection. A direct swap with a matching relay from another circuit can quickly confirm operation. The relay socket should also be checked for corrosion, heat damage, or loose terminals that create electrical flow issues.
If the relay passes testing, attention shifts to the harness between relay and blower motor. Continuity testing verifies wiring integrity, secure connections, and an unobstructed path for current delivery downstream.
Test the Blower Resistor or Control Module
Check the blower resistor or control module next, as this component regulates blower speed by varying the voltage sent to the motor. In Toyota Camry blower resistor testing, failure commonly appears as operation on only one or two speeds, or no airflow at all. Effective multimeter usage supports clear troubleshooting strategies and frees diagnosis from guesswork. Disconnect the battery before any inspection or measurement begins.
- Remove access panels as needed and isolate the resistor or module from the circuit.
- Use a multimeter to check continuity across specified resistor terminals; no continuity typically confirms an internal open failure.
- If continuity is present, compare blower behavior across speed settings to determine whether voltage control remains consistent.
- When the resistor tests good, shift suspicion toward the blower motor or an electronic control module fault requiring further functional verification.
This process identifies whether speed regulation has failed and narrows the fault path with disciplined, independent precision quickly.
Check the HVAC Switch, Connector, and Ground
Inspect the HVAC switch first to verify that it changes blower commands correctly and sends the proper signal through the circuit. A faulty switch can block speed requests before they reach the blower motor, limiting operation and restricting cabin airflow. As part of blower motor diagnostics, the switch should be checked for consistent continuity and response at each setting.
Next, examine the blower motor connector for heat damage, looseness, bent terminals, or corrosion that can interrupt voltage delivery. Apply electrical troubleshooting techniques with a multimeter to confirm power is present at the connector while the HVAC system is commanded on.
Inspect the blower motor connector for damage or corrosion, and verify voltage at the connector with the HVAC system switched on.
If voltage is missing or unstable, inspect the ground path closely. Ground points should be tight, clean, and free of rust, since resistance at ground can weaken blower performance.
For practical HVAC maintenance tips, trace the circuit back toward the fuse box and harness, checking for blown fuses, chafed insulation, or damaged wiring that prevents full electrical freedom.
Test the Repair on Every Fan Speed
Reconnect the negative battery cable to restore electrical power, then cycle the HVAC blower through every speed from low to high. This confirms the repair under real operating conditions and frees the diagnosis from guesswork. Regardless of blower motor types, the unit should respond smoothly at each setting without hesitation, surging, or dead spots.
- Start at the lowest speed and verify steady rotation and immediate engagement.
- Increase speed step by step, checking airflow volume for consistent cabin ventilation.
- Listen closely for rattling, grinding, or rubbing noises that indicate misalignment or loose hardware.
- If a fault appears, apply basic troubleshooting techniques by rechecking connectors, grounds, screws, and retaining clips.
Proper verification also supports sound installation tips, since an incorrectly seated motor can mimic electrical failure.
Airflow should strengthen predictably as speed rises, and sound levels should remain controlled. A successful test confirms the Toyota Camry blower repair is complete, stable, and ready.
Frequently Asked Questions
How to Reset Car AC Blower Motor?
To reset a car AC blower motor, the negative battery cable is disconnected for 30–60 seconds, then reconnected. Fan speed adjustments verify operation. If unsuccessful, blower motor troubleshooting and electrical system diagnostics may reveal underlying faults.
How Much Does It Cost to Replace the Blower Motor on a Toyota Camry?
Replacement typically costs $300–$600 on a Toyota Camry, like air stirring through dark vents. Costs vary by blower motor types, labor, and resistor issues. Installation tips and maintenance advice help drivers avoid needless expense, reclaiming control.
How Can I Tell if My Blower Resistor Is Bad?
A bad blower resistor is indicated by fan speed issues, high-only operation, intermittent airflow, or no blower motor symptoms. Resistor testing methods include multimeter terminal checks; infinite resistance, burning smell, or visible overheating confirms failure.
Where Is the Blower Motor Resistor Located in a Toyota Camry?
Located near the blower motor on the HVAC housing, typically beneath the passenger dashboard or behind the glove box. Diagnostic checks consider blower motor types, common symptoms, and maintenance tips to support reliable, unrestricted cabin airflow performance.
Conclusion
Persistent Camry blower operation is usually traced through a clear, controlled checklist. Careful confirmation, relay review, resistor or module testing, and switch, connector, and ground inspection help isolate the fault. Methodical measurement prevents parts swapping and supports precise repair. After correction, full-speed function should be verified at every setting. This disciplined, diagnostic process delivers stable, silent system performance and restores proper HVAC shutdown, preventing continued fan run-on, battery burden, and repeated electrical stress.

