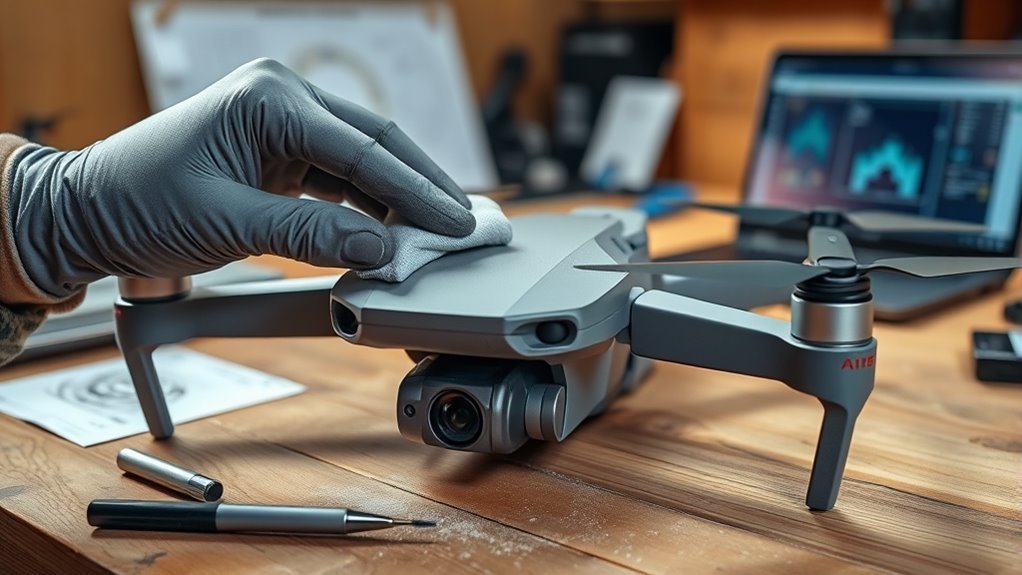
A vision system or obstacle sensor error on a drone often points to contamination, misalignment, or a firmware fault. The first diagnostic step is to confirm the alert, then inspect the sensors for dust, smudges, or impact damage. If cleaning does not restore normal operation, calibration may be required through the aircraft’s maintenance menu. Persistent faults can indicate deeper connection or hardware issues that need a closer look.
Confirm the Vision Sensor Error
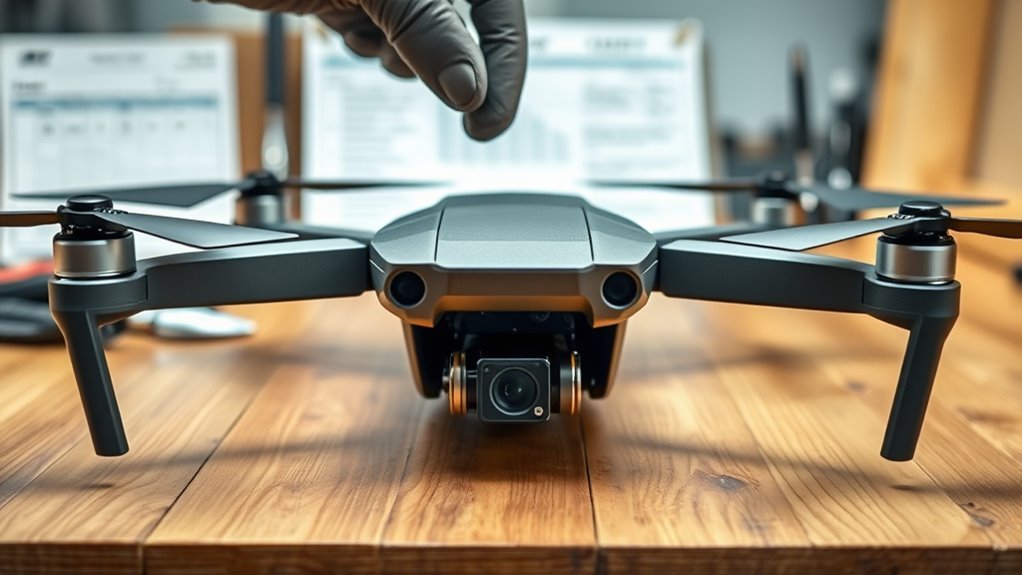
A vision sensor error notification indicates a potential malfunction in the drone’s obstacle detection system and should be treated as a safety-relevant fault. The indication warrants immediate confirmation before further flight, because compromised perception can reduce navigational reliability and operational autonomy.
A vision sensor error is safety-relevant and warrants immediate confirmation before further flight.
Affected aircraft may show warning text, degraded obstacle avoidance, or trouble playing with assisted flight modes when the vision sensors fail to report valid data. The condition should be logged as an active diagnostic event, not dismissed as a transient alert.
Verification includes checking whether the fault persists after a restart and whether the software reports a calibration requirement. If calibration is flagged, the message usually reflects that the sensors are not delivering trusted measurements.
Persistent reporting suggests a genuine system issue rather than a display anomaly. At this stage, the objective is strict fault confirmation, so corrective action can proceed with clear evidence and disciplined control.
Clean the Vision Sensors Safely
The drone should be powered off before any sensor maintenance is performed, and the vision sensors should be wiped only with a clean microfiber cloth to prevent surface damage.
Harsh chemicals and abrasive materials must be avoided, as they can degrade the sensor coating and reduce obstacle detection performance.
After cleaning, the sensors should be visually inspected for residual dust, obstruction, or damage before flight is resumed.
Safe Sensor Cleaning
With the drone powered off, the vision sensors should be inspected in a well-lit area for dust, debris, or smudges that may impair obstacle detection. This safe sensor cleaning step protects the optics and preserves flight reliability.
A microfiber cloth should be used to gently wipe each lens surface, with no harsh chemicals applied, since aggressive agents can degrade sensor coatings. The technician should inspect both sensors and adjacent housings for contamination that could distort readings.
After cleaning, the system should be reviewed through the drone software to verify functionality before flight. This diagnostic sequence supports autonomous performance, reduces error conditions, and allows the operator to recover clear sensing capability without unnecessary dependence on external service.
Tools And Materials
For safe vision sensor maintenance, the technician should prepare a microfiber cloth, distilled water or an optical-grade lens cleaner, and a clean, well-lit workspace before any contact is made with the sensors.
The drone must remain powered off during cleaning to eliminate activation risk and preserve component integrity. A microfiber cloth reduces abrasion, while distilled water or approved cleaner lifts residue without leaving conductive deposits.
Gentle maintenance should target only visible contamination on the sensors, with pressure kept minimal and motion controlled. Routine inspection for debris, obstructions, or physical damage supports reliable diagnostics and helps preserve performance.
Manufacturer guidance should determine cleaning frequency, because disciplined cleaning protects sensor longevity and grants the operator greater autonomy over flight-system reliability.
After-Cleaning Inspection
Once the vision sensors have been cleaned, a final inspection should confirm that no debris, streaks, or smudges remain on the optical surfaces.
The drone should remain powered off during cleaning and inspection to prevent unintended activation and mechanical stress. A microfiber cloth or approved lens solution is sufficient for precise wiping; harsh chemicals and abrasive materials are excluded because they can degrade protective coatings and reduce sensor fidelity.
Each lens should be checked under adequate light for residue at the edges and within recesses. After the inspection, calibration must follow without delay to verify correct sensor response and preserve obstacle detection accuracy.
This sequence restores operational clarity, supports safe flight, and gives the operator the freedom to trust the vision system again.
When a Vision Sensor Calibration Helps
Vision sensor calibration helps when obstacle detection becomes unreliable after a sensor replacement or repair, as even minor alignment or software issues can compromise flight safety.
Vision sensor calibration is most appropriate after installation of 100% new sensors, when the system must verify optical consistency and restore dependable obstacle detection. A successful firmware installation is required; outdated software can disable the calibration tool or distort sensor output.
In practice, the procedure is launched from the DJI “Service Tools” menu and usually completes in about 30 seconds. If calibration repeatedly fails, a clean Windows installation has been reported to remove conflicts that interfere with the process.
Calibration should not be used as a remedy for reused or removed sensors from another drone, because compatibility and performance cannot be assumed. Under disciplined conditions, the procedure helps reclaim precise sensing and safer, more autonomous flight.
Run a Vision Sensor Calibration
After confirming that the drone has brand new replacement sensors and current firmware, the calibration can be launched from the software’s “Service Tools” menu by selecting “Run Service Tool.”
The procedure is short, typically finishing in about 30 seconds, and it performs only a minimal base sensor check before writing the calibration data, so sensor condition must already be known to be sound.
The procedure is brief, but sensor condition must already be sound before calibration data is written.
A successful Calibration requires that each Sensor be installed correctly and that the Firmware is current, since outdated software can distort results.
After the routine completes, a reboot is required so the new values are applied.
- Open Service Tools, then start the service utility.
- Verify Sensor replacement status before proceeding.
- Confirm Firmware is current for reliable Calibration.
- Reboot after completion to commit the changes.
What to Do If the Error Remains?
If the vision system error persists, the drone’s sensor connections should be inspected for looseness, corrosion, or damage.
The vision system should then be recalibrated using the manufacturer’s service tools to verify alignment and sensor response.
If the fault remains after these checks, professional repair support is indicated.
Check Sensor Connections
A thorough inspection of the sensor wiring should be performed next, with each cable and connector checked for secure seating, visible damage, or partial disconnection.
To check sensor connections, the drone should be powered down, then each plug verified for firm contact and intact insulation. After reseating any suspect lead, a power cycle of both aircraft and controller may clear residual faults. A diagnostic check in the flight software should confirm whether the sensors are recognized and reporting normally.
- Inspect harnesses for pinched or frayed sections.
- Verify connector locks engage fully.
- Restart both devices to reset link state.
If faults persist, consult the manual before recalibrating the sensors through Service Tools.
Recalibrate Vision System
Recalibration should be followed by a targeted verification sequence if the vision system error remains. The operator should recalibrate the vision system again, then confirm that the firmware is current, because outdated firmware can trigger sensor faults and unstable obstacle detection.
Next, the sensors should be inspected under good light for dirt, debris, or physical damage. Any contamination on the lens should be removed with a clean, soft cloth using minimal pressure.
If the fault persists, resetting the drone to factory defaults can clear software conflicts that interfere with calibration data. Each step should be executed methodically, with results logged for comparison.
If the code remains unresolved, the manual should be consulted for the exact error meaning and prescribed diagnostics, preserving autonomous control over the repair process.
Seek Professional Repair
When the vision system or obstacle sensor error persists after cleaning and calibration, the fault may reflect a deeper hardware malfunction that requires professional assessment.
Drone Pilots should contact authorized repair services specializing in DJI platforms for precise diagnostics and component-level testing.
- Document the exact error code and flight conditions.
- List cleaning, calibration, and reset steps already completed.
- Ask technicians to review warranty status before approving repairs.
- Preserve prior repair records and logs for traceability.
This evidence supports efficient fault isolation and reduces guesswork.
If coverage remains active, some sensor or board replacements may be handled under warranty.
Otherwise, request a written estimate, turnaround time, and parts list.
Professional intervention restores operational confidence and helps maintain safe, independent flight capability.
Common Causes of Vision Sensor Errors
Vision sensor errors on a drone commonly originate from obstructions such as dust, debris, or other physical blockage on the sensor surface, which can distort image data and degrade obstacle detection.
In DJI Fly, make sure the craft is registered under a new account if configuration issues are suspected, then inspect the optics for contamination.
In DJI Fly, register the craft under a new account if configuration issues persist, then inspect the optics for contamination.
Outdated firmware or a software glitch may also produce faulty readings, so version mismatches should be treated as a primary diagnostic target.
Bright sunlight, glare, and reflective terrain can overwhelm the sensing pipeline, causing intermittent false alarms or missed obstacles.
Improper calibration, especially after repairs or structural impact, can leave the system biased and unstable.
Battery faults, including low voltage or poor connections, may reduce sensor reliability by limiting power delivery.
Together, these conditions explain most obstacle-sensor faults and require methodical inspection rather than guesswork.
Prevent Future Vision Sensor Problems
Preventing future vision sensor faults depends on a maintenance routine that reduces contamination, preserves calibration accuracy, and limits environmental stress.
Regular sensor maintenance tips begin with cleaning lenses and apertures to remove dust, oil, and debris that trigger false obstacle alerts. Calibration should follow manufacturer intervals, since drift degrades positional confidence and flight responsiveness.
Firmware updates must be applied promptly because patches often correct known vision defects and refine system logic. Storage conditions also matter; a protected case or dry cabinet minimizes environmental impact from moisture, thermal cycling, and particulate ingress.
- Inspect sensors before every mission.
- Recalibrate after impacts, transport, or firmware changes.
- Review user experience feedback in community forums for recurring fault patterns.
- Log anomalies to identify trends before failures escalate.
Frequently Asked Questions
How Do I Recalibrate the Vision System on My DJI Drone?
He accesses DJI software, opens Service Tools, then selects Run Service Tool to start recalibration. He first confirms the firmware matches the recommended version, since tool operation depends on it.
The process lasts about 30 seconds and suits 100% new sensors only. After success appears, he reboots the drone.
These sensor alignment techniques align with disciplined drone maintenance tips and a calibration frequency guide; persistent faults require physical inspection, not further recalibration.
How Do I Calibrate the Vision Sensor on My Drone Hack?
Like tuning a lock to a free breeze, the operator opens Service Tools, selects Run Service Tool, and starts the vision sensor calibration. The process lasts about 30 seconds.
Before using the calibration tools, firmware should match the recommended version, and only new sensors should be installed. Proper sensor alignment techniques matter.
After success appears, the drone must reboot. If issues persist, troubleshooting tips include a clean Windows installation.
How Do I Reset the Downward Vision Sensor Error on My DJI Mini 4 Pro?
He should reset the downward vision sensor error by power-cycling the DJI Mini 4 Pro and controller, then confirming the latest firmware updates importance through DJI Fly.
Next, he should run the Service Tools vision calibration, after inspecting and cleaning the lenses.
If the fault remains, sensor troubleshooting tips suggest checking for common sensor issues, reviewing the error code, and contacting DJI support to restore autonomous flight without obstruction.
What Software Do I Need to Calibrate the Vision Sensor on My DJI Air 3?
The DJI Air 3 requires DJI Fly software for vision sensor calibration. Among sensor software options, DJI Fly is the primary and supported choice; calibration tool comparison shows the Service Tools menu contains the needed utility.
It should be updated to the latest version, firmware checked for compatibility, then the calibration run and the drone rebooted. These troubleshooting techniques restore reliable sensing and keep the pilot free from avoidable system faults.
Conclusion
A vision system error can seem minor, yet its consequences are immediate: blocked sensing, unstable flight, compromised safety. Clean sensors with a microfiber cloth and distilled water, then calibrate through DJI Service Tools and reboot the aircraft. If the fault persists, inspect cables, update firmware, and seek professional repair. Maintenance is simple, but neglect is costly; regular cleaning and calibration preserve clarity, control, and confidence.
