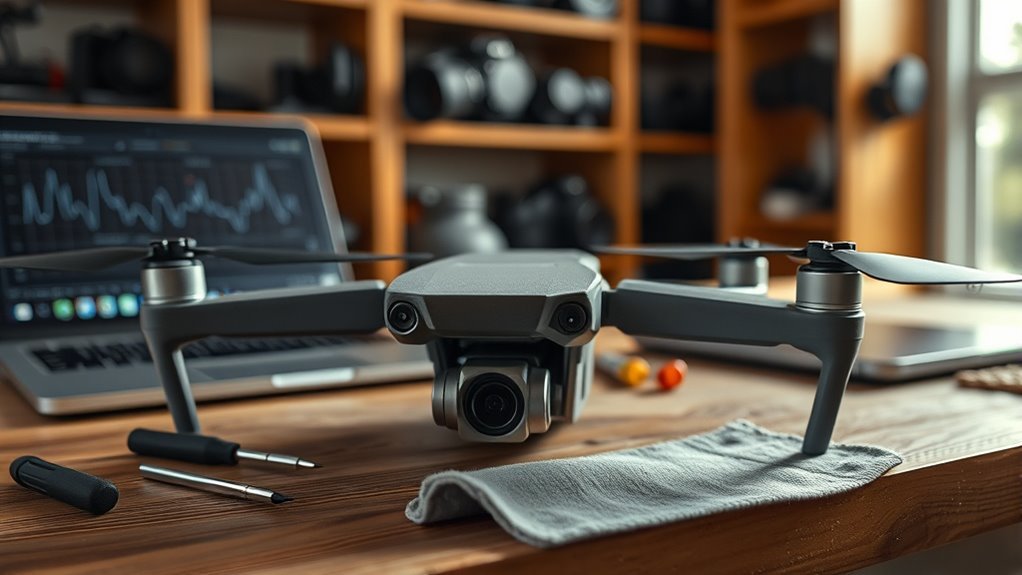
DJI gimbal errors such as Gimbal Stuck, Gimbal Motor Overloaded, calibration failure, horizon tilt, and high-frequency video shake usually trace back to blocked movement, a setup problem, calibration drift, or hardware damage. Start with the simple physical checks before you assume the gimbal needs replacement. The exact fix depends on the warning you see and what happened immediately before it appeared.
Quick Answer
Most DJI gimbal errors come from blocked movement, a protector or accessory left on, debris, a calibration problem, or hardware damage. Power off, remove the protector and third-party accessories, inspect for debris, then restart on a flat surface and run gimbal calibration. If the error returns after impact or the gimbal binds, use DJI repair.
Key Takeaways
- DJI identifies Error Code 40002, “Gimbal stuck,” with the protector, folded arms, or foreign matter as primary checks.
- A motor-overload warning can also come from a third-party filter or lens, aggressive Sport-mode input, or a hardware fault.
- A crooked horizon calls for IMU and gimbal calibration; supported models can then use manual gimbal fine-tuning if needed.
- IMU calibration and gimbal calibration are separate procedures, so use the menu that matches the warning shown in the app.
DJI Gimbal Errors Explained
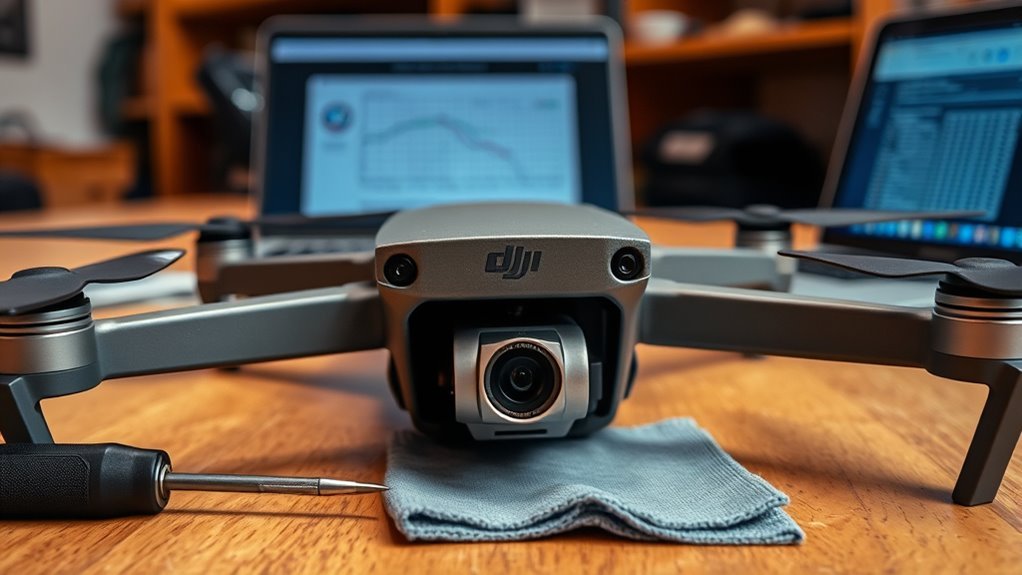
DJI gimbal errors do not all mean the same thing. A stuck warning points first to blocked physical movement, while a motor-overload warning can also appear when an accessory adds resistance or the gimbal reaches its adjustment limit.
Calibration errors are different again. They can come from an unstable setup, incorrect aircraft position, sensor drift, or hardware damage. DJI separates Gimbal Stuck Error Code 40002 troubleshooting from calibration procedures, so the fastest approach is to match the fix to the exact warning.
| Symptom | Likely first checks | First action |
|---|---|---|
| Gimbal Stuck / 40002 | Protector attached, arms folded, debris | Power off, remove obstruction, restart, then calibrate |
| Gimbal Motor Overloaded | Protector, sticker, debris, third-party filter or lens, Sport-mode input, hardware fault | Remove resistance and accessories; retest gently |
| Crooked horizon | Sensor error, uneven startup surface, calibration drift, hardware damage | Calibrate IMU, then gimbal; fine-tune if supported |
| Jello or high-frequency shake | Debris, damaged or misshapen gimbal, worn rubber damper, severe wind or cold | Inspect hardware and dampers, then calibrate |
Jello-like footage is not always a calibration problem. DJI says debris, visible gimbal damage, aging rubber dampers, strong wind, and severe cold can reduce stabilization, so inspect the physical system as well as the settings.
Why a DJI Gimbal Gets Stuck
A DJI gimbal gets stuck when it cannot complete its normal movement during startup or operation. The simplest causes are a transport protector left on, folded aircraft arms on affected models, or foreign material around the gimbal.
If the camera will not move freely after those checks, impact damage, a shifted arm, a damaged flex cable, or another internal hardware problem becomes more likely.
Physical Blockages
Physical blockages are the first thing to rule out because they can stop the gimbal before calibration even begins. Sand, grit, fibers, stickers, or a protector can create enough resistance to trigger a stuck or overload warning.
- Power the aircraft off.
- Remove the gimbal protector and any remaining protective sticker around the gimbal axis.
- Unfold the aircraft arms before the next startup when your model requires it.
- Inspect the gimbal area for sand, dust, fibers, or other foreign material.
- Gently check that the camera and gimbal can move through their normal range without forcing them.
- Clean visible debris carefully, then restart on a flat surface.
Warning: Power the aircraft off before checking for debris or gently moving the gimbal by hand. Do not force an axis that feels mechanically blocked.
If there is no debris and the gimbal can move, restart the aircraft and run gimbal calibration. If the stuck warning returns, DJI recommends sending the aircraft for diagnosis rather than repeatedly forcing the mechanism.
Motor Or Arm Damage
Motor or arm damage becomes more likely after a crash, hard landing, or other impact. A bent arm, shifted assembly, damaged motor, worn damper, or flex-cable problem can keep the gimbal from reaching its expected position.
The result may look mechanical rather than software-related: the camera may stop partway through its startup sweep, bind at one angle, shake, buzz, or repeatedly report overload. Debris inside the housing can add drag, while temperature changes may also affect stabilization.
If movement remains constrained after the external checks, replacement of damaged gimbal parts, motor assemblies, dampers, or flex cables may be necessary. That is a repair job rather than a calibration problem.
Why DJI Gimbals Show Motor Overloaded
A “Gimbal Motor Overloaded” warning means the system is seeing more resistance or load than expected. DJI lists several causes, including a protector or sticker left in place, debris, a third-party filter or wide-angle lens, aggressive Sport-mode control input, and an actual gimbal hardware error.
That makes overload broader than a simple “bad motor” diagnosis. Follow DJI’s motor-overload troubleshooting order before assuming the motor itself has failed.
- Remove the gimbal protector, buckle, and any protective sticker that could touch the axis.
- Place the aircraft on a flat surface and check for foreign objects around the camera and gimbal.
- Remove third-party filters, wide-angle lenses, or other accessories and retest.
- If the warning appears only during aggressive Sport-mode movement, use gentler stick input and see whether it clears.
- If the warning persists during normal operation, stop repeating the test and arrange a hardware diagnosis.
Hard landings can still bend components or shift alignment, and sand can add drag. Worn internal dampeners, often after about 200 flight hours, may also create persistent vibration or resistance.
How to Fix a DJI Gimbal Calibration Failed Error
A failed gimbal calibration means the aircraft could not complete or accept the gimbal’s alignment procedure. Before recalibrating, make sure the gimbal is physically free, the protector and accessories are removed, and the aircraft is resting still on a level surface.
For DJI Fly, DJI’s current path is Camera View > “…” > Control > Gimbal Calibration > Auto. DJI GO 4 uses Gimbal Settings > Gimbal Auto Calibration. The official DJI gimbal calibration guide covers both paths.
Common Calibration Triggers
Calibration trouble can follow impact, physical resistance, sensor drift, an unstable surface, or a hardware fault. A crooked horizon after startup can also point to an IMU or gimbal calibration issue rather than a stuck motor.
DJI specifically recommends IMU calibration first when the gimbal is skewed, followed by gimbal calibration and then manual fine-tuning on supported models. Roughly 40% of calibration-failure cases are linked to hard landings, insufficient gimbal protection, or firmware mismatches.
Temperature extremes can affect stabilization. DJI’s jello-effect guidance says severe cold can reduce gimbal stabilization, so allow the aircraft to return to a suitable operating condition before troubleshooting further.
- Inspect for impact damage or obvious binding.
- Confirm the aircraft is on a level, stable surface.
- Check for a firmware update if the app or DJI Assistant 2 offers one.
- Run the correct calibration for the warning shown.
Step-By-Step Reset Fixes
Use the least invasive fix first. Calibration cannot correct a physical obstruction, so clear the gimbal before you spend time repeating software steps.
- Power off and inspect. Remove the protector, stickers, debris, and third-party camera accessories.
- Restart on a level surface. Keep the aircraft still during startup.
- Run gimbal calibration. In DJI Fly, open Camera View > “…” > Control > Gimbal Calibration > Auto.
- Correct a tilted horizon. If the gimbal remains slightly skewed, DJI recommends calibrating the IMU, recalibrating the gimbal, and using manual fine-tuning where supported.
- Update firmware if needed. DJI supports firmware updates through the app or DJI Assistant 2 on compatible products. DJI Assistant 2 is for firmware management; gimbal auto-calibration itself is performed in DJI Fly, DJI GO 4, or supported goggles.
- Retry after temperature settles. A cold start is sometimes used in troubleshooting; one common recommendation is to power down and cool the drone for 25 minutes before retrying calibration.
- Escalate persistent faults. If the gimbal still binds, shakes, or fails calibration, arrange professional diagnosis.
If DJI Assistant 2 is appropriate for your model, use the official firmware update procedure. Do not confuse firmware updating with gimbal calibration.
Fast DIY DJI Gimbal Fixes
The fastest DIY fixes are the checks that remove external resistance before you touch calibration. Work in this order so you do not mask a mechanical problem with repeated resets.
- Remove the gimbal protector, transport buckle, and protective stickers.
- Unfold the aircraft arms before startup when applicable.
- Remove third-party filters, wide-angle lenses, or other camera accessories.
- Power off and clear visible dust, sand, or fibers with a soft-bristled brush or compressed air.
- Restart on a flat, stable surface and run gimbal auto-calibration.
- If the horizon remains tilted, calibrate the IMU and use gimbal fine-tune if your model supports it.
- If you see high-frequency shake, inspect the rubber dampers for cracks, loss of elasticity, or incorrect seating.
DJI’s jello-effect troubleshooting specifically calls out debris, damaged or misshapen gimbal parts, aging rubber dampers, strong wind, and severe cold as possible causes of visible shake.
Abnormal vibration or noise deserves attention even if the camera still stabilizes. Repeatedly running a gimbal that is mechanically binding can turn a simple obstruction into a repair problem.
When Your DJI Gimbal Needs Repair
Your DJI gimbal needs repair when the error survives the basic physical checks and correct calibration, especially after an impact. Visible deformation, repeated binding, persistent overload, abnormal movement at startup, or failed calibration with no obstruction points toward hardware diagnosis.
Rough landings and sandy conditions can introduce debris or damage parts. Extreme cold can also reduce stabilization, but a fault that continues under normal conditions should not be treated as a temperature-only problem.
If the camera still shakes after debris removal and calibration, inspect the rubber dampers. DJI says cracked or non-elastic dampers can cause vibration and may need replacement.
Around 15% of long-term gimbal failures are linked to worn dampeners after about 200 flight hours. Persistent faults may also involve motors, bearings, arms, or flex cables.
DJI does not publish one universal flat price for gimbal repair. Under its normal repair process, the service center inspects the product and sends a quotation with the diagnosis, repair plan, and cost breakdown. If the product qualifies for DJI Care Refresh, the service options can differ. See DJI’s quotation and payment process for the official workflow.
DJI Gimbal Fixes by Drone Model
DJI gimbal fixes vary by model mainly because different aircraft use different apps, controls, and gimbal hardware. Start with the software path DJI specifies for your product, then move to model-specific hardware inspection only if the standard checks fail.
| DJI family | Calibration method | What to check first |
|---|---|---|
| Many current Mavic, Air, Mini, Neo, and Flip models | DJI Fly: Control > Gimbal Calibration > Auto | Protector, debris, accessories, then calibration |
| Mavic 2, Phantom 4, Mavic Pro, Mavic Air | DJI GO 4: Gimbal Settings > Gimbal Auto Calibration | Free movement, debris, then auto-calibration |
| DJI FPV and Avata series | Goggles: Settings > Control > Gimbal Calibration | Obstruction and abnormal gimbal movement before calibration |
DJI’s current erratic-gimbal guidance lists the supported DJI Fly, DJI GO 4, and goggles calibration paths by product family.
The Mini series often needs ribbon-cable inspection first after hard landings or sand intrusion. For the Mavic 3 series, dual-camera symmetry makes manual calibration especially important when a small offset creates horizon tilt. FPV and Avata 2 units can show stuck behavior when debris binds the assembly or the dampening plate shifts.
- Mini series: inspect or reseat flex cables when a crash-related fault persists, then rerun calibration.
- Mavic 3: verify camera alignment before precision calibration.
- FPV/Avata 2: clear debris, confirm the dampening plate position, then test motion.
Newer drones require 0.01-degree precision, so even small defects can defeat stabilization. If the standard DJI steps fail, a professional inspection is safer than repeatedly disassembling or forcing the gimbal.
Frequently Asked Questions
My DJI Gimbal Isn’t Calibrating. What Can I Do to Fix This?
Start by powering off the drone, removing the gimbal protector and accessories, clearing visible debris, and restarting on a level surface. Then run the correct gimbal auto-calibration in DJI Fly, DJI GO 4, or the goggles menu. If calibration still fails after an impact or the gimbal binds, arrange professional diagnosis.
How Much Does DJI Charge to Repair a Gimbal?
DJI does not publish one universal flat gimbal-repair price for every model and failure. Under the normal repair process, DJI inspects the product and sends a quotation with the diagnosis, repair plan, and cost breakdown. DJI Care Refresh may provide a different service option when the product and incident qualify.
My DJI IMU Calibration Is Stuck at 95%. How Can I Fix It?
Restart the aircraft and repeat the IMU calibration exactly as DJI shows on screen. DJI says to begin with at least 50% battery, use a level and dry surface, and place the aircraft in each required orientation. If the IMU calibration still fails after a restart and correct positioning, submit the drone for testing.
How Do I Reset My DJI Gimbal?
For most DJI camera drones, the practical reset is to restart the aircraft and run gimbal auto-calibration rather than use a separate universal reset button. In DJI Fly, open Camera View, tap “…”, choose Control, then Gimbal Calibration and Auto. Older DJI GO 4 models use Gimbal Settings and Gimbal Auto Calibration.
For an IMU-specific warning, use DJI’s IMU calibration procedure rather than treating it as a gimbal-only fault.
Conclusion
DJI gimbal errors are easiest to solve when you separate physical resistance from calibration and sensor problems. Remove anything that can block the gimbal, calibrate only after the mechanism moves freely, and use the IMU procedure when the warning points to the aircraft sensors. If the fault survives those checks or follows a crash, professional diagnosis is the safer next step.
Sources
- DJI: Gimbal Stuck Error Code 40002: Causes and official first-step troubleshooting.
- DJI: Gimbal Motor Overloaded: Official causes and troubleshooting order.
- DJI: Aircraft Gimbal Calibration Guide: DJI Fly and DJI GO 4 calibration paths.
- DJI: Updating Your Drone Firmware: App and DJI Assistant 2 firmware procedures.
- DJI: Jello Effect in Drone Videos: Gimbal damage, debris, dampers, wind, cold, and calibration.
- DJI: Quotation Payment Guide: Inspection, quotation, repair plan, and cost process.
- DJI: Aircraft Gimbal Moving Erratically: Model-family calibration paths and repair escalation.
- DJI: IMU Calibration Guide: Battery, surface, positioning, and retry steps for IMU calibration.
”’.strip()
import re, json
print(“chars”,len(article_fixed),”words”,len(re.findall(r”\b[\w’’-]+\b”, re.sub(‘<[^>]+>’,’ ‘,article_fixed))))
print(“img”,article_fixed.count(“
new_src=re.findall(r’

