Checking your radiator fluid level, more accurately called the engine coolant level, takes only a few minutes once the engine is fully cold. The check can help you catch a slow leak before low coolant causes an overheating warning, loss of cabin heat, or engine damage.
Most modern vehicles let you check the level through a marked coolant reservoir or expansion tank. You usually do not need to open the radiator cap. Because cooling-system designs and coolant requirements vary, keep your owner’s manual nearby and follow its model-specific instructions.
Quick Answer
Park on level ground and let the engine become fully cold. Find the coolant reservoir, then compare the fluid level with its MIN/MAX or LOW/FULL marks. If it is low, add only the manufacturer-approved coolant to the cold-fill mark. Never open a hot, steaming, or pressurized cooling system.
Key Takeaways
- Check the coolant only after the engine and cooling system are fully cold.
- Use the reservoir markings and owner’s manual rather than opening the radiator cap unnecessarily.
- Select coolant by its required specification, not by color alone.
- Do not add water to coolant that is already sold as a premixed product.
- A level that keeps falling usually indicates a leak or another cooling-system fault.
- Do not continue driving if the engine is overheating, producing steam, or displaying a high-temperature warning.
At a Glance
| Time Required | 5–10 minutes, not including the time needed for the engine to cool fully |
| Difficulty | Easy visual inspection |
| Tools Needed | Owner’s manual, flashlight, gloves, clean rag, funnel, and approved coolant if topping up is necessary |
| Cost | No cost for inspection; coolant cost varies by specification and container size |
Warning: Never remove a radiator cap or pressurized expansion-tank cap while the system is hot. Escaping pressure can release boiling coolant and steam. If you see steam, hear hissing, or feel heat around the cap, leave it closed and allow the vehicle to cool completely.
Tools Needed for Checking the Coolant Level
You do not need a dipstick or specialized gauge for a normal visual check. Most vehicles use molded level marks on a translucent reservoir. Gather these items before you begin:
- Owner’s manual: Confirms the reservoir location, checking procedure, coolant specification, and correct fill mark.
- Flashlight: Helps you see the fluid line, molded markings, hose connections, and possible leaks.
- Protective gloves and safety glasses: Reduce contact with coolant and dirt.
- Clean rag or paper towels: Useful for wiping the outside of the reservoir and cleaning a small spill.
- Clean funnel: Helps prevent spills if a top-up is necessary.
- Correct coolant: Use only a product that meets the exact specification listed for your vehicle.
Do not insert an improvised dipstick, screwdriver, or other object into the cooling system. It can introduce dirt, provide an unreliable reading, or damage a component.
[Amazon Products Picked for You]

Allows color matching of caps for dedicated adapters.
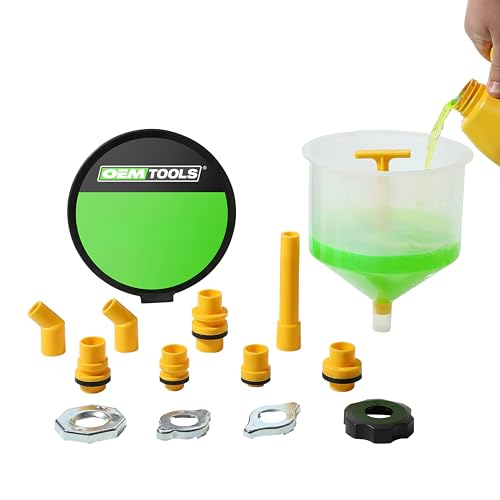
Prevents Spills: The no spill coolant funnel kit prevents spills and eliminates air bubbles during radiator refills, making it perfect for a clean, hassle-free coolant flush job.
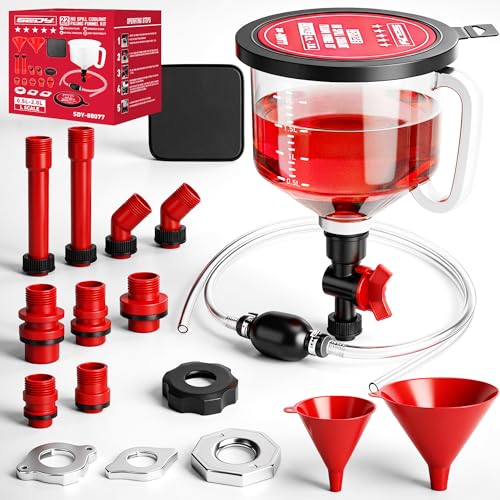
COMPREHENSIVE KIT - Comes with adapters, filler caps, 45° elbows, extenders, a durable transparent antifreeze funnel, circular funnel, siphon hand pump, and more, offering everything you need for a smooth and efficient coolant refill
Locating the Radiator and Coolant Reservoir

The radiator normally sits near the front of the engine bay, behind the grille. However, you may not be able to see or access its cap. Many current vehicles route routine filling and level checks through a separate reservoir or pressurized expansion tank.
Look for a plastic tank connected to the cooling system by one or more hoses. It may display a coolant or thermometer symbol and markings such as:
- MIN and MAX
- LOW and FULL
- COLD MIN and COLD MAX
- HOT and COLD ranges
Do not confuse the coolant reservoir with the windshield-washer tank, brake-fluid reservoir, or hybrid inverter-coolant reservoir. Washer-fluid caps often show a windshield symbol, while coolant caps commonly carry heat and pressure warnings.
Note: Hybrid and electric vehicles may have more than one cooling circuit. Do not open or fill an unfamiliar reservoir. Identify the correct tank in the owner’s manual or have a qualified technician inspect it.
Preparing the Vehicle Safely
Park the vehicle on firm, level ground, switch off the engine, engage the parking brake, and remove the key or move the key fob away from the vehicle. A level surface gives you a more reliable reservoir reading.
Wait until the engine and cooling system are fully cold. A fixed waiting period cannot guarantee safety because cooling time depends on the vehicle, outside temperature, driving load, and whether the engine overheated.
| Vehicle Component | Safe Checking Procedure |
|---|---|
| Coolant reservoir | Read the level through the tank while the vehicle is level and the engine is fully cold. |
| Pressurized expansion tank | Use the external markings. Remove its cap only when fully cold and only when topping up according to the manual. |
| Radiator cap | Leave it closed during a normal reservoir check. Open it only if the owner’s manual requires a direct radiator check and the system is completely cold. |
| Hoses and connections | Inspect visually for wet areas, crusty residue, cracks, swelling, or loose connections. Do not squeeze hot hoses. |
How to Check the Radiator Fluid Level
- Confirm that the engine is fully cold. Do not continue if the cap or nearby hoses feel warm or you notice steam, pressure, or hissing.
- Find the correct reservoir. Confirm its identity in the owner’s manual, especially on a hybrid or electric vehicle.
- Clean the outside if necessary. Wipe dirt from the tank so you can see the fluid line without opening it.
- Read the cold-level markings. The coolant should normally sit between the specified lower and upper marks when cold.
- Inspect the visible fluid. Look for oil, heavy sediment, foam, rust-colored contamination, or an unusual cloudy appearance.
- Inspect the surrounding area. Check hoses, seams, the cap area, and the ground beneath the vehicle for dampness or dried coolant residue.
- Record the result. A photo of the cold level can help you determine whether the system is losing coolant over the following days.
If the reservoir is opaque, use a flashlight from the side or behind the tank. Some tanks have a removable level indicator or an electronic sensor, but you should use only the procedure described by the vehicle manufacturer.
Pro Tip: Check the level under similar cold conditions each time. Comparing a cold morning reading with a reading taken immediately after driving can make a normal expansion-related change look like coolant loss.
Adding or Topping Up Radiator Fluid

Top up the system only after identifying the required coolant specification. The brand name or dye color alone does not prove that a product is compatible with your vehicle.
- Read the owner’s manual and coolant label. Confirm the required manufacturer specification and whether the product is premixed or concentrated.
- Make sure the engine is fully cold. Keep the cap closed if any heat or pressure remains.
- Clean around the cap. Prevent loose dirt from falling into the reservoir.
- Open the correct cap slowly. Stop immediately if you hear pressure escaping.
- Add coolant gradually. Use a clean funnel and stop at the specified cold-fill or MAX mark.
- Do not overfill. Coolant expands as it heats, so the empty space above the cold mark is necessary.
- Secure the cap fully. A loose or damaged pressure cap can contribute to coolant loss and overheating.
- Clean any spill immediately. Keep children and animals away from the work area.
Do not add water to a coolant labeled “prediluted,” “premixed,” “ready to use,” or “50/50.” If the approved product is a concentrate, mix it only with the water type and ratio stated by the vehicle manufacturer and product instructions.
A small top-up may restore the correct level, but it does not repair the cause of recurring coolant loss. Recheck the cold level after the next few drives and arrange an inspection if it drops again.
[Amazon Products Picked for You]
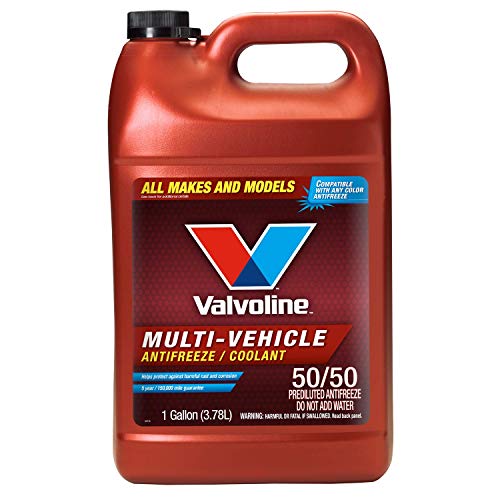
Contains Alugard Plus for compatibility with all ethylene glycol-based coolants in automobiles and light duty trucks
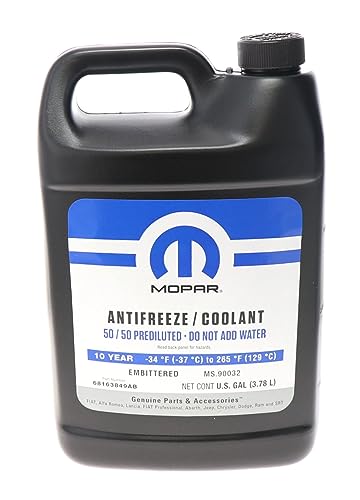
Item Name: MOPAR Antifreeze/Coolant 50/50 Prediluted MS.90032

CONCENTRATE ANTIFREEZE AND COOLANT: Efficient formula is compatible with all vehicle cooling systems, providing fast-acting and long-lasting protection on all cooling system metals against rust and corrosion
Checking for Leaks or Other Problems
A sealed cooling system should not need frequent additions. If the reservoir repeatedly falls below its normal cold level, treat the loss as a fault rather than routine consumption.
Signs of an External Coolant Leak
- Wet spots or colored residue around hose connections
- Cracked, swollen, soft, or hardened hoses
- Crusty deposits around the reservoir, radiator, thermostat housing, or cap
- Dampness near the water pump
- A puddle beneath the engine bay
- A sweet or chemical odor after driving
- Misting or residue inside the windshield that may indicate a heater-core leak
Signs That Need Professional Diagnosis
- The coolant level falls but no external leak is visible
- The engine overheats or the warning returns after topping up
- The cabin heater suddenly blows cold air while the engine is hot
- The reservoir bubbles continuously after the engine warms
- Persistent white exhaust vapor remains after normal condensation should have cleared
- Oil appears milky or coolant contains an oily film
- The cooling system becomes pressurized unusually quickly after a cold start
These symptoms do not prove that a head gasket has failed. A technician may need to perform a cooling-system pressure test, inspect the pressure cap, test for combustion gases, or examine the water pump, radiator, thermostat, heater core, and related components.
What to Do If the Engine Is Overheating
If the temperature warning appears, the gauge moves into the hot zone, or steam comes from under the hood, reduce speed and move to a safe stopping place as soon as traffic conditions allow. Switch off the engine and activate the hazard lights.
Do not open the hood if heavy steam makes it unsafe to approach. Never remove a cooling-system cap during an overheating event. Arrange roadside assistance if the coolant has escaped, the engine continues overheating, or you cannot identify and correct the cause safely.
Topping up coolant may restore the level, but it does not make an overheating vehicle safe to drive when the underlying leak or circulation problem remains.
Understanding the Different Types of Radiator Fluid
Automotive coolant normally combines water, a glycol base, corrosion inhibitors, and other additives. The complete specification matters because cooling systems contain different metals, plastics, seals, gaskets, and pump designs.
[Amazon Products Picked for You]
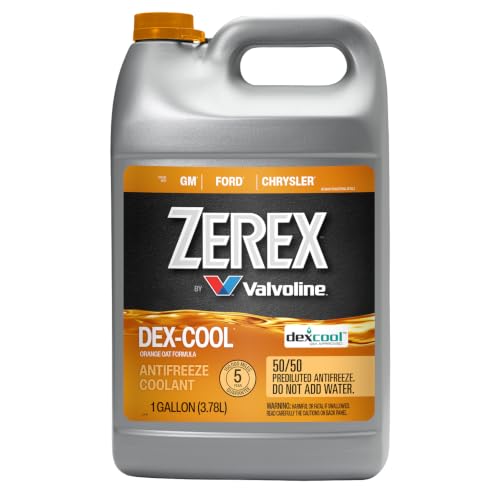
Unsurpassed freeze protection and anti-boil performance outperforms industry standards

Genuine Honda Type 2 Long-Life Blue Coolant, pre-mixed 50/50 (ready to use)

Heavy duty formula meets the harsher demands of heavy-duty diesel engines such as Cummins, DDC, MACK, Navistar and Paccar
Ethylene Glycol and Propylene Glycol
Many automotive coolants use ethylene glycol, while some use propylene glycol. The glycol base alone does not determine whether a coolant is approved for your vehicle. The additive package and manufacturer specification remain essential.
Ethylene glycol can be hazardous if swallowed. Store coolant in its original labeled container, clean spills promptly, and keep it away from children and animals.
Coolant Additive Technologies
Product descriptions may refer to IAT, OAT, HOAT, phosphate-enhanced, or silicate-enhanced formulas. These labels describe broad additive approaches, but they are not enough to establish compatibility with a specific vehicle.
Do not assume that two coolants can be mixed because they share a color or technology label. If you cannot confirm what is already in the vehicle, ask the manufacturer, dealer, or a qualified repair shop before adding another formula.
Premixed Coolant Versus Concentrate
- Premixed coolant: Ready to use at the stated concentration. Do not add more water.
- Concentrated coolant: Must be diluted according to the vehicle and product instructions.
Using too much water can reduce freeze, boil, and corrosion protection. Using too much concentrate can also reduce heat-transfer performance. Follow the specified ratio rather than guessing.
Tips for Maintaining the Correct Coolant Level
- Check the cold level at the interval listed in your owner’s manual and before long trips.
- Keep a photo or written record if you suspect a slow loss.
- Inspect hoses, connections, the reservoir, and the ground beneath the vehicle.
- Use only clean tools dedicated to coolant work.
- Keep the approved coolant’s container or record its exact specification for future top-ups.
- Replace coolant according to the vehicle’s maintenance schedule rather than a universal two-year or mileage rule.
- Do not mix coolant types unless compatibility is specifically confirmed.
- Replace a damaged, loose, or incorrect pressure cap with the exact approved type.
- Check for outstanding vehicle recalls through the National Highway Traffic Safety Administration recall search.
Used coolant should not be poured onto the ground, into a storm drain, or into household plumbing. Follow local rules and take it to an approved collection or recycling facility. The U.S. Environmental Protection Agency provides additional guidance on household hazardous waste management.
When to Seek Professional Help
Arrange professional diagnosis when:
- You need to add coolant repeatedly
- The vehicle overheats or displays a temperature warning
- You see steam, bubbling, or coolant being forced from the reservoir
- The leak source is not visible
- The coolant contains oil, heavy sediment, or unexplained contamination
- The cabin heater stops working while the engine is hot
- You suspect an internal leak
- You cannot identify the correct coolant specification
- The system needs bleeding, vacuum filling, pressure testing, or flushing
- The vehicle is a hybrid or EV with multiple cooling circuits that you cannot identify confidently
Do not continue driving a vehicle that is actively overheating. A short period of severe overheating can damage gaskets, cylinder heads, engine blocks, bearings, and other expensive components.
Importance of Regular Maintenance
A quick cold-level inspection can reveal a problem before it becomes an overheating emergency. The safest routine is simple: use the marked reservoir, follow the owner’s manual, add only an approved coolant, and investigate any level that keeps falling.
Your vehicle’s cooling system is designed to control engine temperature within a specific operating range. Correct coolant level, concentration, pressure, and circulation all matter. Regular inspection supports that system, but repeated top-ups should never replace proper diagnosis and repair.
Frequently Asked Questions
What is radiator fluid, and why is it important?
Radiator fluid is commonly called engine coolant. It carries heat away from the engine, helps prevent freezing and boiling, and contains additives that protect cooling-system components from corrosion. A low level can reduce the system’s ability to control temperature.
How often should I check the radiator fluid level?
Follow the inspection interval in your owner’s manual. A quick cold-level check before a long trip, during seasonal maintenance, or whenever you notice a warning, odor, leak, or temperature change is also sensible.
Should I check the radiator or the coolant reservoir?
Check the marked coolant reservoir or expansion tank first. Most modern vehicles do not require routine radiator-cap removal. Open another cooling-system cap only when the engine is fully cold and the owner’s manual specifically directs you to do so.
What should I do if the coolant level is low?
With the engine fully cold, add the exact manufacturer-approved coolant to the specified cold-fill mark. Do not overfill or dilute a premixed product. Recheck the level later and arrange an inspection if it falls again.
Can I choose coolant by its color?
No. Dye colors are not a dependable compatibility standard. Choose coolant by the specification, approval, and part number listed in your owner’s manual or manufacturer service information.
Can I add water when the coolant is low?
Do not add water to premixed coolant. Concentrated coolant must be diluted only to the ratio and with the water type specified by the vehicle and coolant manufacturer. Follow the owner’s manual for any emergency water-use guidance.
Why does my coolant level keep dropping?
Recurring loss may come from a hose, reservoir, radiator, pressure cap, water pump, heater core, gasket, or internal engine problem. A repair shop can pressure-test the system and check for leaks that are difficult to see.
What should I do if the engine is overheating?
Move to a safe location, switch off the engine, and keep every cooling-system cap closed. Do not approach heavy steam or continue driving with an overheating warning. Arrange roadside assistance when the cause cannot be corrected safely.
Sources
- Ford Owner Manuals — model-specific coolant checking, filling, specification, and safety instructions.
- Toyota Warranty and Owner’s Manuals — vehicle-specific cooling-system procedures and maintenance schedules.
- CDC/NIOSH Pocket Guide: Ethylene Glycol — health and exposure information for ethylene glycol.
- U.S. Environmental Protection Agency: Household Hazardous Waste — storage and disposal guidance for hazardous household products.
- National Highway Traffic Safety Administration Recall Search — checks for open safety recalls, including cooling-system-related defects.
