
Drone mapping lets you turn aerial photos into measurable maps, textured meshes, point clouds, and 3D models. To get reliable results, you need more than a good drone. You need safe flight planning, steady image capture, enough overlap, accurate positioning, and the right photogrammetry software. When each step works together, your final model becomes cleaner, easier to measure, and more useful for real projects.
Quick Answer
To use drones for 3D modeling, plan a safe mapping flight, capture sharp overlapping photos, process them in photogrammetry software, and export the result as a 3D mesh, point cloud, orthomosaic, or GeoTIFF. Beginners should focus on image quality, overlap, flight stability, legal compliance, and repeatable workflows.
Key Takeaways
- Photogrammetry turns overlapping drone photos into maps, point clouds, and 3D models.
- Good flight planning starts with airspace checks, weather review, battery planning, and site safety.
- Sharp photos, stable flight, and strong front and side overlap matter more than flying fast.
- RTK drones and ground control points can improve accuracy when measurements matter.
- Software such as Pix4D, WebODM, Agisoft Metashape, DroneDeploy, and RealityCapture can process drone imagery into usable 3D outputs.
At a Glance
| Time Required | 30 minutes to several hours, depending on site size, battery swaps, and processing time |
| Difficulty | Beginner to intermediate |
| Tools Needed | Drone, camera, batteries, flight planning app, memory card, mapping software, and optional ground control points |
| Cost | Varies widely based on drone type, software plan, accuracy needs, and project size |
Understanding Drone Mapping Basics
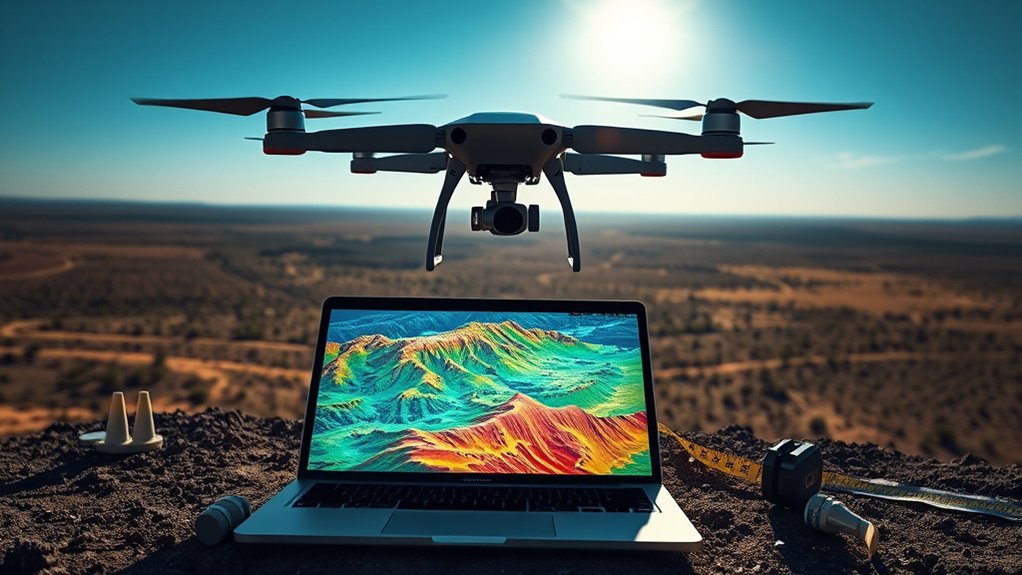
As you explore drone mapping basics, it helps to understand how photogrammetry turns aerial photographs into useful digital models. The process compares shared points across many overlapping images, then calculates camera positions and surface geometry.
That workflow can create several outputs. You may get an orthomosaic map, a dense point cloud, a textured 3D mesh, a digital surface model, or a GeoTIFF file. A GeoTIFF is a georeferenced image file that places map data in real-world coordinates.
An important part of this workflow is orthorectification. This step corrects perspective, camera tilt, and terrain distortion so the final map represents the surface more accurately. It is especially useful when you need measurements instead of just attractive aerial images.
This precision matters in industries like construction, agriculture, civil engineering, surveying, real estate, and environmental monitoring. Accurate drone data can support site planning, earthwork checks, crop analysis, inspection reports, and terrain review.
Drone mapping continues to grow because it can capture detailed site data faster than many ground-only methods. Still, your results depend on careful planning, legal operation, proper image overlap, and realistic accuracy expectations.
Understanding these fundamentals equips you to leverage drone mapping effectively in your projects.
Essential Flight Planning Steps
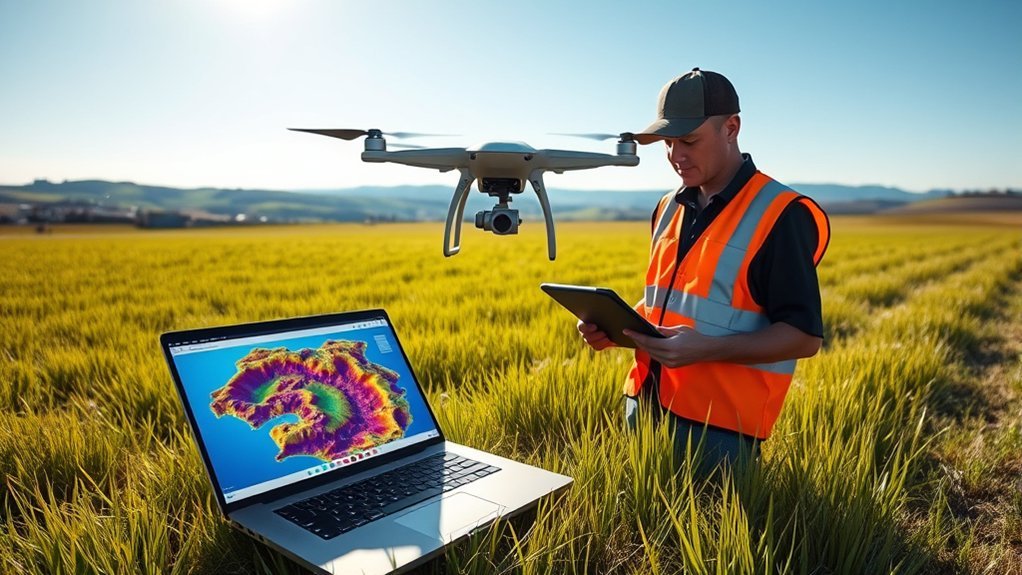
Before launching your drone for mapping, you must check airspace regulations to avoid restricted areas and help keep your flight compliant with local rules.
You should also review the site layout, nearby people, trees, power lines, roads, animals, reflective surfaces, and emergency landing areas. A safe mapping mission starts before the drone ever leaves the ground.
Additionally, evaluating weather conditions is vital, as factors like wind speed, rain, fog, heat, and glare can affect both flight safety and data quality.
These essential steps lay the groundwork for a successful and efficient mapping mission.
Airspace Regulations Check
To support a successful drone mapping flight, checking airspace regulations is a critical step that should not be overlooked.
Use official airspace tools, approved flight planning apps, or local aviation resources to determine whether you are flying in controlled, restricted, or sensitive airspace. If you are in the United States, the FAA’s B4UFLY resources and LAANC-enabled apps can help you understand where authorization may be required.
Familiarize yourself with airspace classifications, including Class A, B, C, D, E, and G, because they can affect operational restrictions and approval requirements. Also check for Temporary Flight Restrictions, often called TFRs, that may appear around emergencies, public events, wildfires, airshows, or VIP travel.
Local laws may add extra restrictions near schools, hospitals, parks, airports, correctional facilities, wildlife areas, or private property. You should also confirm whether your project requires a Remote Pilot Certificate under Part 107 or another local commercial drone qualification.
For professional work, keep a simple flight record. Note the date, location, pilot, airspace review, weather, drone used, battery cycles, and any permissions or authorizations. This habit protects your workflow and helps you repeat good results.
Warning: Do not fly only because your drone app lets you take off. Always confirm local airspace, site restrictions, people nearby, and emergency landing options before starting a mapping mission.
Weather Condition Assessment
Weather conditions greatly influence the success of your drone mapping flights, so evaluating them carefully is crucial. Adverse weather, such as high winds, rain, fog, heavy cloud shadow, or dust, can compromise both image quality and safety.
Aim for calm conditions, clear visibility, and wind speeds your drone can safely handle. For many small mapping drones, wind below about 10 mph often produces steadier imagery, although the safe limit depends on the aircraft, pilot skill, and site conditions.
Use weather forecasting tools and apps to check wind, gusts, precipitation, visibility, temperature, and sun angle. Real-time updates can help you schedule flights when shadows, glare, and motion blur are less likely to hurt your data.
Always check for local airspace restrictions and temporary flight restrictions that may arise due to weather events or emergencies. A storm, wildfire, or rescue operation can make a site unsafe or legally restricted, even if the sky above you looks calm.
Temperature and humidity can also affect your drone’s battery performance. Cold weather may reduce flight time, while hot conditions can stress batteries, motors, and electronics. Plan conservative battery reserves instead of trying to use every last minute of flight time.
Prioritize these assessments to support successful mapping operations.
Site Survey and Risk Planning
A short ground survey can prevent many mapping problems. Walk the launch area when possible, note obstacles, and choose a takeoff spot with enough clearance. Check for cables, towers, reflective rooftops, moving vehicles, uneven terrain, and people who may enter the area during the flight.
Think through your mission path before takeoff. Confirm your starting altitude, flight grid, return-to-home altitude, battery swap points, and emergency landing zone. If your site has tall buildings, trees, cranes, or uneven terrain, leave enough vertical clearance for safe turns and return-to-home behavior.
For jobs near private property, active construction, or public spaces, communicate with site owners or managers before flying. Clear communication reduces interruptions and helps you protect people on the ground.
Choosing the Right Drone and Camera
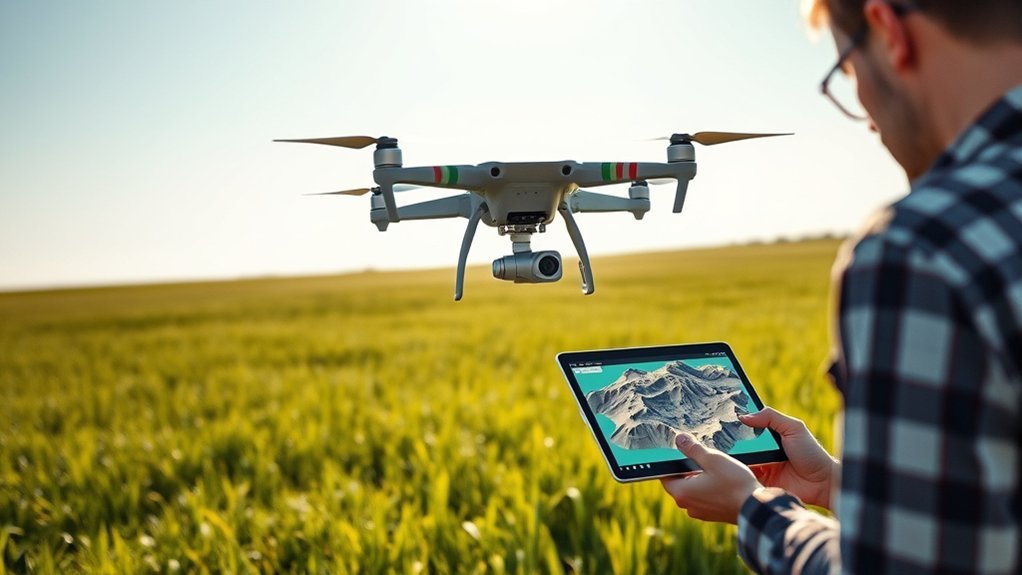
Selecting the right drone and camera for 3D modeling is fundamental to achieving accurate and high-quality results.
Start by evaluating drones like the DJI Phantom 4 RTK or Matrice 300 RTK, which are often used for high-accuracy mapping workflows. Similar mapping-focused drones can also work if they provide stable flight, good camera control, dependable GPS, and compatible software support.
For detailed photogrammetry, a higher-resolution camera gives the software more visual detail to match across photos. A minimum resolution of 20 megapixels is useful for many professional mapping projects, although smaller projects can still work with lower-resolution cameras when lighting, altitude, and overlap are handled well.
A stabilized gimbal is also critical. It helps keep the camera angle steady, reduces blur, and creates more consistent image sets. Consistent imagery makes it easier for software to align photos and build cleaner models.
Additionally, consider drones equipped with RTK, or Real-Time Kinematic, technology. RTK can improve positional accuracy and reduce reliance on ground control points, especially when you need repeatable measurements. However, RTK does not replace good image quality, proper overlap, or careful processing.
Finally, check software compatibility. Many mapping applications, such as Pix4D, DroneDeploy, WebODM, Agisoft Metashape, and RealityCapture, support specific drone models, camera profiles, or image metadata. Compatibility can improve flight planning, data processing, and export options.
Making informed choices about your drone and camera will lay a solid foundation for successful 3D modeling projects.
Camera Features That Matter
Camera quality has a direct effect on your model. Look for sharp optics, manual exposure control, low distortion, stable focus, and the ability to capture consistent images across the whole flight. A mechanical shutter can help reduce rolling shutter distortion on some mapping projects.
Keep your camera settings consistent once the flight begins. Sudden exposure changes can make images harder to match, especially over mixed surfaces such as grass, concrete, rooftops, and water. Use locked exposure when conditions allow, and avoid flying during rapidly changing light.
Image format also matters. JPEG files are common and easy to process, while RAW images may offer more editing flexibility. For many beginners, clean JPEGs with good exposure, sharp focus, and proper overlap are enough to learn the workflow.
Capturing High-Quality Aerial Imagery
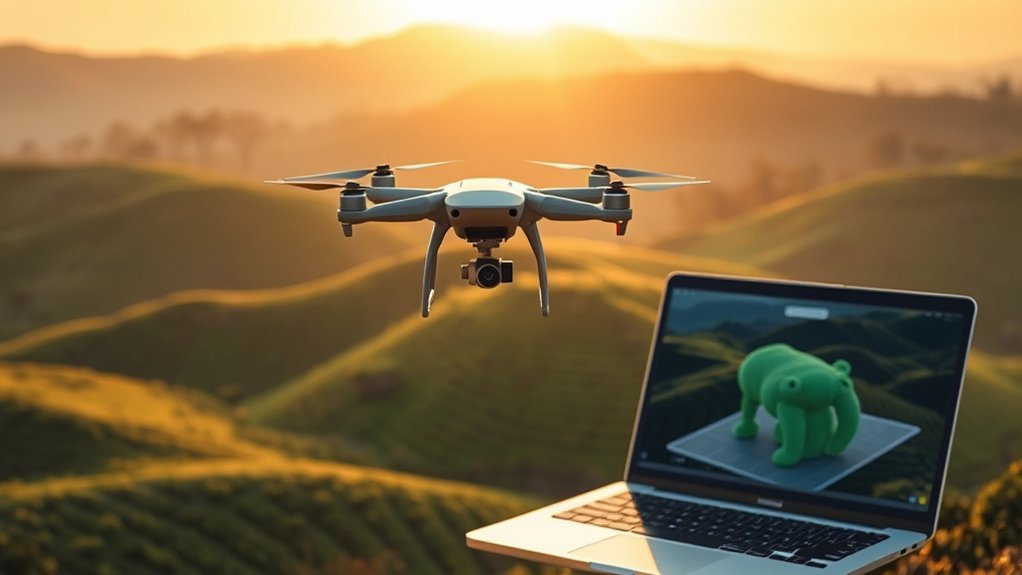
To capture high-quality aerial imagery, you need to select the right drone and camera that suit your mapping objectives.
Ideal flight settings play a vital role in ensuring that your images are clear and well-composed, facilitating effective photogrammetry.
For 3D modeling, your goal is not just beautiful photos. Your goal is a consistent image set with sharp details, enough overlap, reliable positioning, and steady lighting across the whole site.
Choosing the Right Drone
How can you help your drone capture the high-quality aerial imagery vital for effective 3D modeling? Start by selecting a model with at least a 12-megapixel camera for detailed images. For professional models and measurement-heavy projects, a higher-resolution camera can provide better surface detail.
Look for GPS and RTK capabilities to enhance positional accuracy and georeferencing. A stable flight platform is essential for maintaining altitude and achieving consistent image overlap.
| Feature | Importance |
|---|---|
| Camera Resolution | Minimum 12 MP for detailed imagery; higher resolution helps with fine detail |
| GPS/RTK Capabilities | Improves positional accuracy and georeferencing |
| Flight Stability | Supports consistent image overlap and sharper photos |
Evaluate software compatibility with popular mapping programs like Pix4D, DroneDeploy, WebODM, Agisoft Metashape, and RealityCapture. Finally, consider battery life. Longer flights allow you to cover more ground in a single mission, but you should still plan safe battery reserves.
Optimal Flight Settings
While optimizing flight settings is essential for capturing high-quality aerial imagery, understanding the specific parameters can make a significant difference in your 3D modeling outcomes.
Set your camera’s shutter speed fast enough to reduce motion blur. In many bright conditions, 1/1000 to 1/2000 second can work well, but the ideal setting depends on drone speed, light, aperture, ISO, and camera type.
Use a nadir flight pattern when you need a clean map view. Nadir means the camera points straight down. For many mapping projects, aim for 70-80% front overlap and 60-70% side overlap between photos.
Adjust the ISO to a lower value, such as 100-200, to enhance image quality by reducing noise, especially in bright conditions. If the site is darker, increase ISO only as much as needed to keep your shutter speed fast enough.
Fly at an altitude that matches your project needs. A height of 100-120 meters, or about 328-393 feet, can provide broad coverage in many settings, but lower flights may capture more detail. Always follow local altitude rules and site safety limits.
Finally, verify your drone’s GPS and compass are ready before flight. Follow your drone manufacturer’s calibration guidance rather than calibrating automatically before every mission. Poor calibration or weak positioning can reduce georeferencing accuracy and model quality.
Pro Tip: Fly slower than you think you need to. A slower flight gives the camera more time to capture sharp photos and helps maintain reliable overlap across the site.
Camera Angle and Flight Pattern
Nadir images are often best for orthomosaics, topographic maps, and surface models. They show the ground from straight above and make measurements easier. However, vertical surfaces such as walls, cliffs, facades, and towers need oblique images as well.
Oblique photos are taken at an angle instead of straight down. They help software understand sides, edges, and vertical detail. For detailed 3D objects or buildings, combine a nadir grid with one or more oblique passes around the subject.
Keep your flight lines consistent. Avoid random manual flying when you need a measurable model. A planned grid, crosshatch grid, orbit, or double-grid flight usually produces better results than scattered photos.
Importance of Overlapping Shots
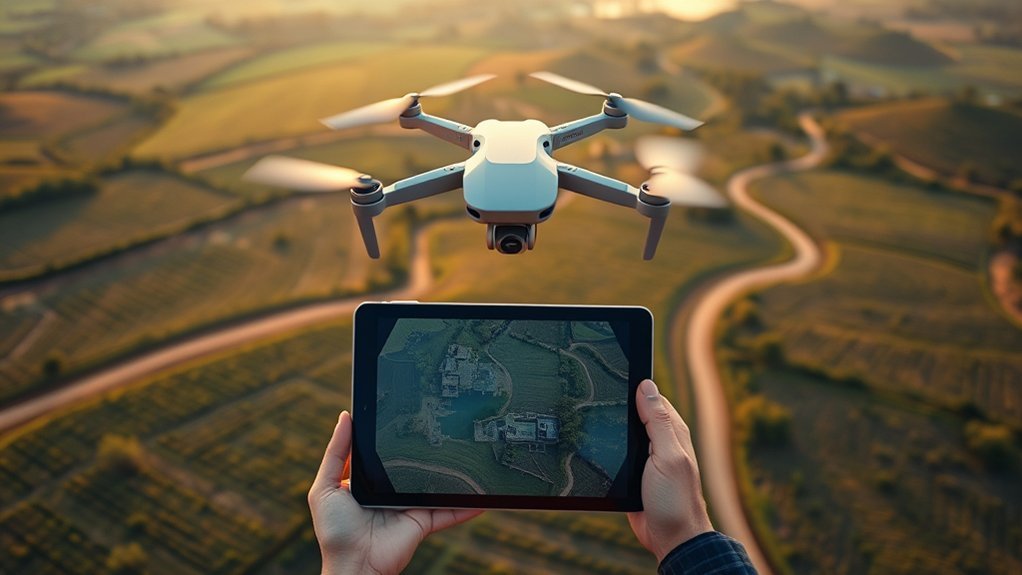
Overlapping shots play a vital role in drone mapping, as they provide the repeated visual information needed for effective photogrammetry and precise 3D model generation. Without enough overlap, the software may struggle to match shared points between photos.
To achieve reliable results, maintain at least 60-80% overlap between adjacent images. Many beginners should start near the higher end of that range because extra overlap can help reduce gaps and alignment failures.
Through overlapping shots, you capture varying angles of the terrain, enhancing the detail and accuracy of your 3D model, especially in complex environments. Trees, roofs, slopes, stockpiles, and construction sites often need more overlap than flat open land.
Insufficient overlap can lead to gaps in data, warped surfaces, duplicate edges, and incomplete models. These problems can hinder accurate measurements and analyses in fields like construction, agriculture, inspection, and land management.
To streamline this process, consider using flight planning software that automates the determination of overlap settings. Automated flight paths can help your drone capture a consistent image set, which improves your chances of building a clean model.
By ensuring your drone captures the necessary images, you enhance the quality of your mapping project, leading to better results and more reliable data.
Front Overlap vs. Side Overlap
Front overlap is the shared area between two photos taken one after another along the same flight line. Side overlap is the shared area between images captured on neighboring flight lines. Both matter because photogrammetry software needs connection points in both directions.
If front overlap is too low, the model may break along the flight path. If side overlap is too low, the model may split between flight lines. For 3D modeling, stronger overlap usually creates a denser and more reliable reconstruction.
For buildings, slopes, dense vegetation, or detailed inspection work, consider using higher overlap and adding oblique images. More photos create longer processing times, but they can also reduce holes and improve model detail.
Software Options for Photogrammetry
When it comes to photogrammetry in drone mapping, choosing the right software is essential for transforming aerial imagery into accurate 3D models. Popular options include Pix4D, WebODM, Agisoft Metashape, DroneDeploy, and RealityCapture, each serving different needs.
Pix4D stands out for its strong processing capabilities and user-friendly mapping workflows, making it a common choice for drone mapping projects. If you want a cost-conscious option, WebODM offers an open-source platform that can process drone images and generate mapping outputs.
Agisoft Metashape is widely used for photogrammetry projects that need detailed control over alignment, dense cloud creation, mesh building, and export settings. DroneDeploy is known for cloud-based mapping workflows, team access, and jobsite-friendly tools.
RealityCapture is known for speed and efficiency, especially when users need quick turnaround times for 3D reconstruction. It can be useful for detailed objects, structures, and mixed photo sets when the capture workflow is strong.
Regardless of your choice, you’ll need to familiarize yourself with specific workflows, including image acquisition, processing settings, coordinate systems, ground control points, and exporting formats like GeoTIFF, LAS, OBJ, FBX, or textured mesh files.
Each software option has unique strengths, so consider your specific project requirements before making a decision.
Beginner Software Comparison
| Software | Best For | Beginner Note |
|---|---|---|
| Pix4D | Professional mapping, orthomosaics, and inspection workflows | Good balance of power and guided workflow |
| WebODM | Open-source mapping and learning photogrammetry basics | Cost-conscious, but setup may require more patience |
| Agisoft Metashape | Detailed photogrammetry control and 3D reconstruction | Strong tools, but processing settings take time to learn |
| DroneDeploy | Cloud-based site mapping and team workflows | Easy to use for many jobsite mapping tasks |
| RealityCapture | Fast 3D model generation and textured meshes | Very capable, but best results still need strong image capture |
Stitching Photos to Create 3D Models
To create accurate 3D models from drone imagery, you must stitch together multiple photos using photogrammetry software. This process involves aligning and merging overlapping images captured by your drone, resulting in a detailed three-dimensional representation of the surveyed area.
The output can include a GeoTIFF file, which supports georeferencing and accurate spatial analysis. Depending on your software and project settings, you may also export a dense point cloud, 3D mesh, textured model, contour lines, digital surface model, or digital terrain model.
An essential step in your workflow is orthorectification, which corrects lens distortion and perspective issues so the map can represent the surface more accurately. This helps when you need measurements, annotations, overlays, or comparison with other geospatial data.
Popular software options include Pix4D, WebODM, Agisoft Metashape, DroneDeploy, and RealityCapture, each designed to meet different mapping needs.
For beginners, it is important to capture high-quality images with strong overlap. Aim for at least 70% front overlap for many projects, and increase side overlap when you are mapping complex surfaces, trees, structures, or uneven ground.
Carefully planning your flight paths and using automated planning tools can greatly enhance your efficiency. A repeatable flight plan helps you gather the necessary data for an accurate 3D model.
Basic Processing Workflow
A typical photogrammetry workflow starts with importing your images. Next, the software reads image metadata, estimates camera positions, identifies matching points, and aligns the photos. If the images align well, the software builds a sparse point cloud that represents the basic geometry of the scene.
After alignment, the software can generate a denser point cloud, mesh, texture, orthomosaic, and elevation model. Each output serves a different purpose. A textured mesh helps with 3D visualization, while an orthomosaic helps with map-style viewing and measuring.
Before exporting, inspect the result. Look for holes, warped surfaces, soft areas, duplicate features, and misaligned edges. If the model looks wrong, the issue often comes from poor overlap, blurry images, reflective surfaces, weak GPS data, or inconsistent lighting.
Note: A beautiful 3D model is not always a survey-grade model. If legal boundaries, engineering decisions, or payment quantities depend on the data, use proper control methods and qualified professionals.
Accuracy, Ground Control, and RTK
Accuracy is one of the most misunderstood parts of drone mapping. A model can look detailed and still be positioned poorly in real-world coordinates. For simple visual models, that may be acceptable. For measurements, progress tracking, and engineering use, accuracy matters much more.
Ground control points, often called GCPs, are visible marked points with known coordinates. When you add them to your project, they help the software tie the model to real-world positions. This can improve accuracy, especially when you need reliable measurements across a site.
RTK drones use correction data to improve location accuracy during flight. This can reduce the number of ground control points needed in some workflows. Still, many professional projects use checkpoints to verify results rather than assuming the model is accurate.
Beginners should treat accuracy as a project requirement, not a general promise. Decide whether you need a visual model, a planning model, a measurement model, or survey-grade data before you choose your workflow.
Applications of 3D Models in Various Industries
As industries increasingly adopt drone technology for mapping, the applications of 3D models have expanded considerably, reshaping how professionals approach various tasks. Here are four key industries leveraging this technology:
- Construction: 3D models facilitate site analysis, allowing you to visualize project layouts, monitor progress, document changes, estimate stockpiles, and optimize resource allocation before work begins.
- Agriculture: In farming, these models provide detailed topographic data that can help you assess drainage, crop patterns, irrigation needs, erosion risks, and field variability.
- Civil Engineering: For infrastructure assessments, 3D models enable planning and monitoring of projects, including bridges, roads, embankments, and drainage corridors.
- Real Estate: Professionals use 3D models for property visualization, creating realistic views that enhance marketing efforts for potential buyers, investors, and planners.
Additionally, environmental studies benefit from analyzing terrain and vegetation changes, supporting land management, habitat review, flood planning, and restoration work.
The versatility of 3D modeling continues to transform these industries, offering practical solutions to complex site challenges.
Common Mistakes Beginners Should Avoid
Beginners often focus on the drone first and the workflow second. That can lead to weak models, failed processing, and wasted flight time. A reliable 3D model starts with planning and ends with quality control.
- Flying with too little overlap: Low overlap can create holes, alignment errors, and warped surfaces.
- Using blurry images: Motion blur makes it harder for software to match details between photos.
- Ignoring lighting changes: Harsh shadows, glare, and changing clouds can reduce model quality.
- Flying too high for the needed detail: Higher flights cover more ground but may lose fine surface detail.
- Skipping airspace checks: Legal and safety mistakes can create serious problems.
- Assuming GPS equals accuracy: Standard drone GPS may not be enough for measurement-heavy work.
- Processing without review: Always inspect the model before using it for decisions.
The easiest way to improve is to repeat small missions. Map a simple open area, process the images, review the errors, then adjust your flight plan. That cycle teaches you faster than jumping straight into large commercial sites.
Tips for Beginners to Enhance Their Skills
Anyone looking to enhance their 3D modeling skills with drones should start by mastering the fundamentals of photogrammetry. This technique is essential for stitching images together to create accurate 3D models from drone photographs.
Familiarize yourself with beginner-friendly software like WebODM, Maps Made Easy, DroneDeploy, Pix4D, or Agisoft Metashape. These tools help you understand image alignment, map outputs, model generation, and data processing basics.
Practice measuring and calculating volumes on simple test sites before using your data on active construction projects. These skills can support topographic maps, stockpile checks, and project planning when the workflow is accurate enough for the task.
Engage in hands-on projects, such as mapping small areas in your local environment, to build confidence and gain practical experience in drone operation and data collection.
Study your failed models too. Processing errors can teach you about poor overlap, reflective surfaces, weak image texture, inaccurate GPS, bad lighting, and motion blur. Each mistake helps you refine the next flight.
Lastly, stay updated on drone regulations and safety practices. Understanding airspace restrictions and weather conditions is critical for successful and compliant drone mapping activities.
Related Guides
Frequently Asked Questions
How do you use a drone for beginners step by step?
Start by learning your drone controls and local flight rules. Then choose a safe site, check airspace and weather, plan a grid flight, capture overlapping images, import the photos into photogrammetry software, process the model, and review the final output for gaps or distortion.
What is the 1:1 rule for drones?
The 1:1 rule is often described as capturing lateral image coverage that relates closely to flight altitude. In simple terms, if you fly at 200 feet, you plan image spacing and overlap so each photo connects well with nearby images. For practical mapping, focus on tested overlap settings rather than relying only on this shortcut.
How do you learn 3D modeling as a beginner?
Start with simple photogrammetry tutorials, then practice on small outdoor subjects with clear texture and good lighting. Use beginner-friendly software, compare different overlap settings, inspect your failed models, and gradually move from small objects to larger mapped sites.
Why were some DJI drones restricted or banned in the USA?
Some U.S. agencies and organizations have restricted or avoided certain DJI drones because of data security, privacy, supply chain, and national security concerns. Rules and purchasing policies can change, so pilots should check current federal, state, agency, and client requirements before choosing equipment for professional work.
What overlap is best for drone photogrammetry?
Many mapping projects work well with 70-80% front overlap and 60-70% side overlap. Complex sites, trees, buildings, steep terrain, and detailed 3D models often benefit from higher overlap and extra oblique images.
Do you need RTK for drone 3D modeling?
You do not always need RTK for visual 3D modeling. RTK becomes more useful when you need better positional accuracy, repeatable site data, or professional mapping outputs. For high-accuracy work, ground control points and checkpoints may still be important.
Conclusion
As you immerse yourself in 3D modeling with drones, focus on the workflow rather than only the aircraft. A strong model comes from safe planning, clean imagery, enough overlap, accurate positioning, and careful processing.
By mastering the basics, planning your flights meticulously, and using the right software, you can create detailed models with real-world applications in industries like construction, agriculture, environmental monitoring, civil engineering, and real estate.
Start small, review every model, and improve one part of your process at a time. As your skills grow, you will build cleaner models, make better measurements, and open the door to more advanced drone mapping opportunities.
