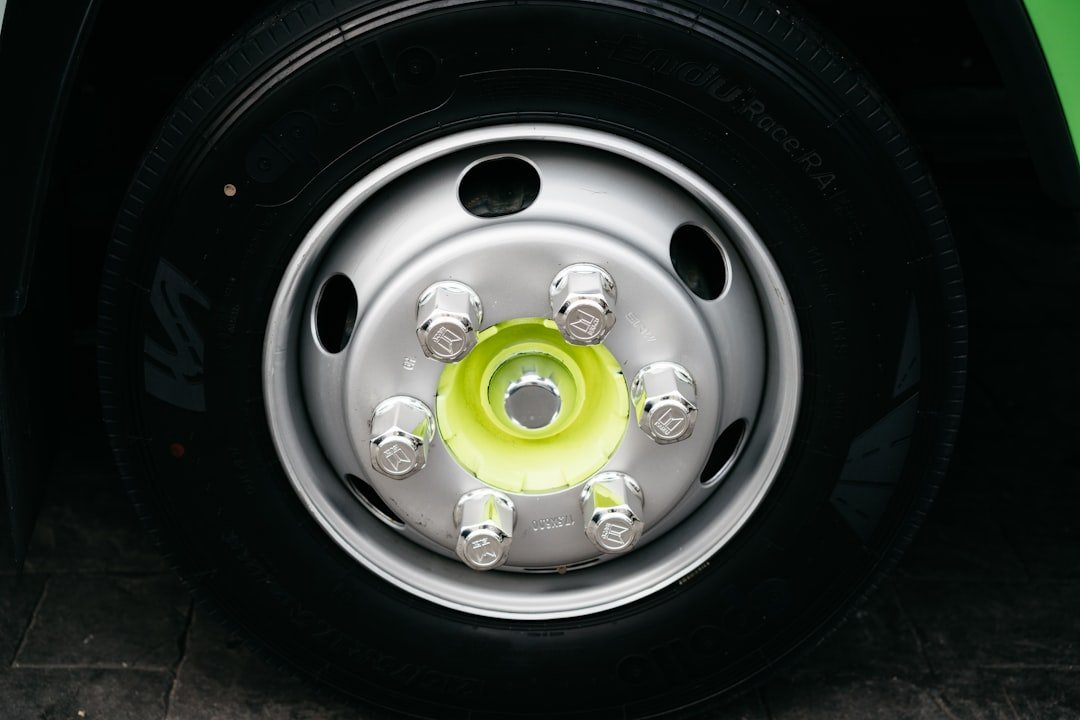
Changing brake pads at home can save money and help you understand one of your vehicle’s most important safety systems. Brake pads create friction against the brake rotors so your vehicle can slow down or stop. As the pads wear thinner, stopping performance can suffer, and delaying replacement can damage other brake components.
This job is manageable for many careful DIYers, but brakes are safety-critical. You need the right tools, a stable work area, correct replacement parts, and the patience to follow your vehicle’s service information. If you notice fluid leaks, damaged brake lines, seized calipers, severe rotor damage, or a brake warning light, stop and contact a qualified mechanic.
Quick Answer
To change brake pads at home, park on level ground, loosen the lug nuts, lift and support the vehicle with jack stands, remove the wheel, unbolt the caliper, swap the pads, compress the caliper piston, reinstall everything, torque the wheel, pump the brake pedal, and test the brakes slowly in a safe area.
Key Takeaways
- DIY brake pad replacement can save labor costs, but only if you work safely and follow your vehicle’s service instructions.
- Essential tools include a jack, jack stands, lug wrench, socket set, C-clamp or caliper tool, brake cleaner, torque wrench, and the correct new brake pads.
- Always support the vehicle with jack stands before removing a wheel. Never rely on a jack alone.
- Inspect rotors, calipers, slide pins, clips, brake lines, and fluid level before installing the new pads.
- After installation, pump the brake pedal before driving and test the brakes at low speed before returning to normal traffic.
At a Glance
| Time Required | About 1 to 3 hours for most DIYers, depending on experience, rust, vehicle design, and whether you replace rotors or hardware. |
| Difficulty | Moderate. The steps are straightforward, but the work affects braking safety. |
| Tools Needed | Jack, jack stands, lug wrench, socket set, ratchet, C-clamp or brake caliper tool, torque wrench, brake cleaner, gloves, safety glasses, and rags. |
| Cost | Varies by vehicle, pad quality, and whether you also need rotors, clips, slide pin service, or brake fluid. |
Tools and Materials Needed for the Job
Before starting a brake pad replacement, gather everything you need. A complete setup keeps the job safer and prevents delays once the vehicle is lifted. At minimum, you need a lug wrench, floor jack, jack stands, socket set, ratchet, C-clamp or brake caliper tool, brake cleaner, rags, safety glasses, and gloves.
A torque wrench is also important because wheel lug nuts and caliper fasteners must be tightened correctly. Over-tightening can damage parts, while under-tightening can create a serious safety risk. Use your vehicle owner’s manual or service information for the correct torque specifications.
You also need the correct brake pads for your exact vehicle. Match the year, make, model, trim, axle position, and brake package. Some vehicles have different pad shapes or rotor sizes even within the same model year. If the rotors are deeply scored, warped, too thin, cracked, or heat-damaged, replace or service them before installing new pads.
- New brake pads that match your vehicle
- Brake cleaner for dust and residue
- Brake lubricant for pad contact points and slide pin service, where specified
- New pad clips or hardware, if included or required
- A drain pan or container for cleanup
- Disposable gloves and lint-free rags
Warning: Never work under a vehicle supported only by a jack. Use properly rated jack stands on a solid, level surface. The National Highway Traffic Safety Administration explains safe jack and jack stand use for vehicle work.
Preparing the Vehicle for Brake Pad Replacement
Preparation is the most important part of the job. Park on a flat, solid surface away from traffic. Turn off the engine, place the transmission in Park for an automatic or in gear for a manual, and engage the parking brake unless the service procedure for the axle you are working on says otherwise.
Wear safety glasses and gloves before you begin. Brake dust, rust flakes, and sharp metal edges can irritate your eyes and skin. Keep children and pets away from the work area, and avoid breathing brake dust. Use brake cleaner rather than compressed air when cleaning components.
Before lifting the vehicle, loosen the lug nuts slightly while the tire is still touching the ground. This keeps the wheel from spinning while you break the nuts loose. Do not remove the lug nuts completely yet.
Next, place the jack under the correct lift point for your vehicle. Raise the vehicle high enough to remove the wheel, then secure it with jack stands. Once the vehicle is stable, remove the lug nuts completely and take off the wheel to expose the brake caliper, rotor, and pads.
Pro Tip: Take a clear photo of the brake assembly before removing anything. The picture can help you confirm pad position, clip placement, and caliper orientation during reassembly.
Removing the Old Brake Pads
| Task | Time | Tools |
|---|---|---|
| Removing old brake pads | About 30 minutes per axle for many DIYers | Wrench, socket set, C-clamp or caliper tool, brake cleaner |
With the wheel removed, inspect how the brake caliper is mounted. Most calipers are secured by two guide pin bolts or mounting bolts. Use the correct socket or wrench so you do not round off the fasteners.
Remove the caliper bolts, then carefully slide the caliper off the rotor. Do not let the caliper hang by the brake hose. The hose is not designed to support the caliper’s weight, and stretching it can cause damage. Use a bungee cord, wire, or rope to support the caliper from the suspension.
The old brake pads usually slide out of the caliper bracket or are held by clips, shims, or pins. Notice how the pads and clips are positioned before removing them. Some inner and outer pads look similar but are not interchangeable, especially when wear sensors or special backing plates are used.
Gently remove the old pads from their slots. If they are stuck, avoid forcing them against the rotor or caliper bracket. Rust buildup can make pads bind, so clean the bracket contact areas carefully before installing the new pads.
Note: Some vehicles with electronic parking brakes require a service mode before rear brake pad replacement. Check your vehicle’s service instructions before pushing back the rear caliper piston.
Inspecting the Brake Components
Once the old brake pads are out, inspect the rest of the brake system before installing new parts. Do not skip this step. New pads will not perform correctly if the rotor, caliper, or hardware is damaged.
Start with the brake rotors. Look for deep grooves, cracks, heavy rust, uneven wear, blue heat spots, or a noticeable lip on the outer edge. A smooth, even rotor surface helps the new pads bed in correctly. If the rotor is below its minimum thickness, badly scored, warped, or heat-damaged, it should be replaced or professionally serviced.
Next, check the caliper. Look for brake fluid leaks around the piston, dust boot damage, uneven pad wear, and signs that the caliper may be sticking. One pad worn much more than the other can point to seized slide pins, a sticking caliper, or a bracket problem.
Inspect the brake lines and hoses for cracks, swelling, rubbing, or wet areas that suggest a leak. Brake fluid leaks are serious and should be repaired before the vehicle is driven.
Also check the clips, shims, pins, and slide areas. Brake hardware holds the pads in the correct position and helps reduce noise. Replacing worn hardware can improve pad movement and extend brake life.
Uneven brake pad wear is a useful warning sign. It often points to a stuck slide pin, binding hardware, caliper trouble, or rotor problems that should be fixed before new pads go on.
Installing the New Brake Pads
With the brake parts inspected and cleaned, you can install the new brake pads. Compare the new pads with the old pads before installation. The shape, thickness, wear sensor location, and clip design should match the parts you removed.
Apply a small amount of brake lubricant to the correct contact points, such as the pad ears or backing plate areas recommended by the pad or vehicle manufacturer. Do not put grease on the friction material or rotor surface. Contaminated friction surfaces can reduce braking performance and cause noise.
Slide the new pads into the caliper bracket in the same orientation as the old pads. Make sure the pads move freely in the bracket but do not rattle loosely. If the pads bind, clean the bracket contact points and check that the clips are seated correctly.
Before reinstalling the caliper, compress the caliper piston back into its bore using a C-clamp or brake caliper tool. Place an old brake pad against the piston and press slowly and evenly. Keep an eye on the brake fluid reservoir under the hood because the fluid level can rise as the piston retracts.
Once the piston is fully retracted, carefully position the caliper over the new pads and align the mounting holes. Reinstall the caliper bolts and tighten them to the correct specification for your vehicle. Reinstall the wheel, hand-thread the lug nuts, lower the vehicle, and torque the lug nuts in a star pattern.
Warning: Do not press the brake pedal while the caliper is removed from the rotor. The piston can push out of the caliper and create a brake fluid leak or repair problem.
Bleeding the Brake System
Bleeding the brake system is not always required for a basic pad replacement if you never opened the hydraulic system. However, bleeding may be necessary if air entered the brake lines, if you opened a bleeder valve, if the brake fluid level dropped too low, or if the pedal feels spongy after the work.
Air in the brake lines can create a soft pedal and reduce braking performance. To bleed the brakes, locate the bleeder valve on the caliper. It is usually near the top of the caliper assembly.
Open the bleeder valve only as part of a proper bleeding procedure. If you are not comfortable working with brake fluid and hydraulic pressure, have a professional bleed the brakes.
For a two-person bleeding method, attach a clear hose to the bleeder valve and place the other end into a container. Have an assistant press the brake pedal slowly and hold it down. Open the bleeder valve slightly, let fluid and air escape, then close the valve before the assistant releases the pedal.
Repeat until clean fluid flows without bubbles. Many vehicles are bled from the wheel farthest from the master cylinder to the closest, but the correct order can vary. Follow your vehicle’s service information. Keep the brake fluid reservoir filled during the process so air does not enter the system.
Testing the Brakes
After everything is reassembled, test the brakes before normal driving. First, make sure all tools are clear of the vehicle. Confirm that the caliper bolts, wheel lug nuts, and other fasteners are secure.
Before moving the vehicle, pump the brake pedal several times while parked. The pedal may go low at first because the caliper pistons need to move the new pads into position against the rotors. Keep pumping until the pedal feels firm.
Check the brake fluid level and inspect around the calipers for leaks. If the pedal stays soft, sinks to the floor, or feels unusual, do not drive. Recheck the work or contact a mechanic.
Take the vehicle for a short, slow test drive in a safe area away from traffic. The brakes should engage smoothly without grinding, pulling, vibration, or warning lights. Avoid hard braking until the pads are properly seated according to the pad manufacturer’s instructions.
Pay attention to how your brakes feel. They should engage smoothly without grinding noises, harsh vibration, or a spongy pedal. If anything feels wrong, return home slowly if safe to do so and inspect the installation again. If you are unsure, have the vehicle checked by a qualified mechanic before driving farther.
Proper Disposal of Old Brake Pads
Proper disposal of old brake pads is an often-overlooked part of DIY maintenance. Brake parts can contain metals, dust, and residue that should not be thrown around your work area or washed into drains.
Place the old pads, used rags, packaging, and contaminated cleanup materials in a safe container. Many auto parts stores, repair shops, recycling centers, or local waste programs may accept used brake parts or related automotive waste. Rules vary by location, so check local disposal guidelines before throwing anything away.
If you also handled brake fluid, keep it in a sealed, clearly labeled container. Do not mix it with motor oil, coolant, gasoline, or household waste. Contact your local waste management facility for proper disposal instructions.
Troubleshooting Common Issues
Even with careful preparation, problems can show up during or after a DIY brake pad replacement. Knowing what the symptoms mean can help you respond quickly and safely.
Squeaking, grinding, pulling, vibration, or a soft pedal after brake work should never be ignored. These symptoms can point to installation mistakes, damaged parts, contaminated pads, or air in the brake system.
One common issue is squeaking shortly after installation. Light noise can happen while pads bed in, but loud, constant, or metallic noise may mean the pads are installed incorrectly, clips are missing, hardware is rubbing, or the friction material is contaminated.
Grinding is more serious. Stop driving and inspect the brakes if you hear grinding after a pad replacement. The pad may be misaligned, the wrong part may have been installed, or a metal component may be contacting the rotor.
Vibration or pulsing can point to rotor problems, uneven pad transfer, or loose components. Pulling to one side may suggest a sticking caliper, uneven pad movement, or a hydraulic issue.
If this occurs shortly after installation, double-check that all components are properly aligned and secured. Make sure the pads are seated correctly, the clips are installed, the caliper bolts are tight, and the wheel lug nuts are torqued properly.
A spongy brake pedal after bleeding may mean air remains trapped in the system. It can also point to a leak, low fluid level, damaged hose, or master cylinder issue. If you experience this while driving, address it immediately. Re-bleeding the brakes may solve the problem, but a persistent soft pedal should be inspected by a professional.
Conclusion and Final Tips for DIY Brake Pad Replacement
Replacing your own brake pads can be a rewarding project that saves money and builds confidence. The key is to treat the job with care because brakes directly affect your safety and the safety of everyone around you.
Prepare your tools, confirm the correct parts, work on a level surface, use jack stands, inspect every related component, and follow the correct torque specifications. Take your time during reassembly and never rush the final testing step.
If you find damaged brake lines, leaking calipers, badly worn rotors, electronic parking brake complications, or a pedal that does not feel right, pause the DIY repair and get professional help. With the right approach, changing brake pads at home can become a practical part of your regular vehicle maintenance routine.
If you’re looking to save money by doing home maintenance tasks yourself, you may also be interested in learning about whether floor epoxy is worth the investment. Just like changing brake pads, applying floor epoxy can be a DIY project that can save you money in the long run. Check out this article for tips on how to determine if floor epoxy is the right choice for your home.
Sources
- National Highway Traffic Safety Administration: Car Jacks and Jack Stands — supports safe lifting and jack stand precautions.
Related Guides
Frequently Asked Questions
What tools do I need to change brake pads at home?
To change brake pads at home, you usually need a jack, jack stands, lug wrench, socket set, ratchet, C-clamp or brake caliper tool, brake cleaner, torque wrench, gloves, safety glasses, and the correct new brake pads for your vehicle.
How often should brake pads be changed?
Brake pad life varies by vehicle, pad material, driving style, load, terrain, and traffic conditions. Some pads may need replacement around 30,000 miles, while others can last much longer. Inspect pad thickness regularly and follow your vehicle manufacturer’s guidance.
Can I change brake pads at home without any prior experience?
Yes, some beginners can change brake pads at home by following a careful step-by-step process. However, you must be comfortable lifting the vehicle, removing brake parts, using jack stands, and testing the brakes. If anything feels unsafe or unfamiliar, ask a mechanic for help.
What are the steps to change brake pads at home?
The general steps are to loosen the lug nuts, lift the vehicle, secure it with jack stands, remove the wheel, remove the caliper, take out the old pads, inspect the rotor and hardware, install the new pads, compress the caliper piston, reinstall the caliper and wheel, torque the lug nuts, pump the brake pedal, and test the brakes.
Are there any safety precautions to consider when changing brake pads at home?
Yes. Wear eye protection and gloves, work on level ground, use jack stands, avoid breathing brake dust, keep grease away from pad friction surfaces, torque fasteners correctly, pump the brake pedal before driving, and test the brakes slowly in a safe area.
Do I need to bleed the brakes after changing pads?
Not always. If you only changed pads and did not open the hydraulic system, bleeding may not be needed. Bleeding is usually needed if air entered the system, the pedal feels spongy, a bleeder valve was opened, or the brake fluid level dropped too low.

2 thoughts on “DIY Guide: Changing Brake Pads at Home”