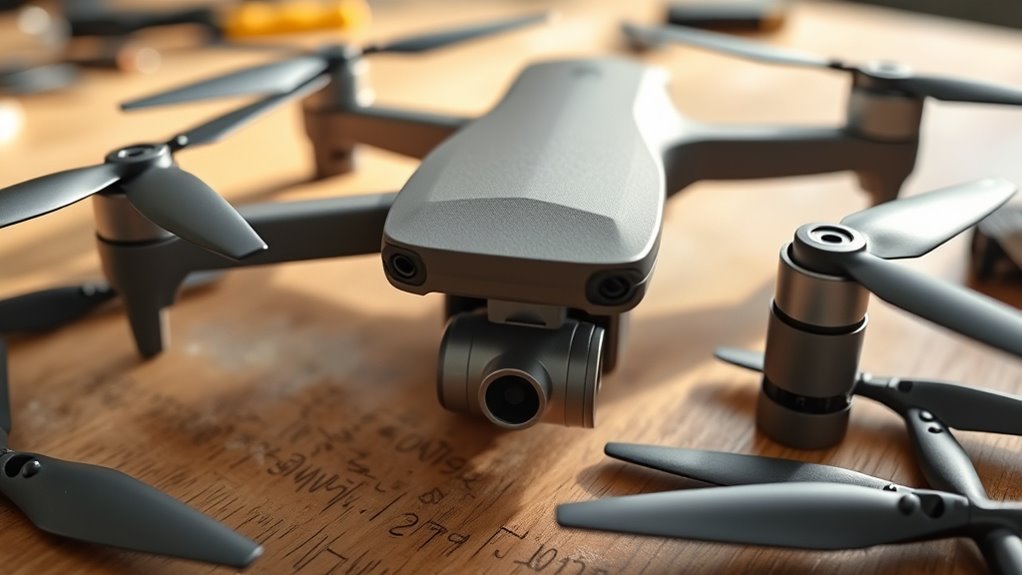
Drone propeller problems are usually mechanical or installation issues: damage, a loose mount, the wrong propeller on a motor, debris in the hub, or crash damage to the motor itself. Because the propeller is part of the aircraft’s lift and control system, even a small fault can lead to vibration, failed takeoff, or unstable flight. Diagnose the symptom before you try to fly again.
Quick Answer
Start by powering the drone off and checking each propeller for cracks, warping, looseness, debris, and correct motor pairing. Do not fly with a damaged or insecure prop. If a motor will not turn smoothly by hand or the prop will not lock using the model’s normal procedure, inspect the motor, hub, and mount before flying.
Key Takeaways
- Do not force a propeller that will not seat, lock, or align normally; identify the mounting system and correct propeller first.
- Replace cracked, badly chipped, bent, warped, or otherwise damaged propellers rather than trying to repair them.
- CW and CCW placement depends on the aircraft design, so follow the markings or motor map for your specific drone.
- After a crash, check the motor mechanically before performing any powered test, and remove all propellers when the manufacturer or flight-controller procedure calls for bench motor testing.
Identify the Drone Propeller Problem First
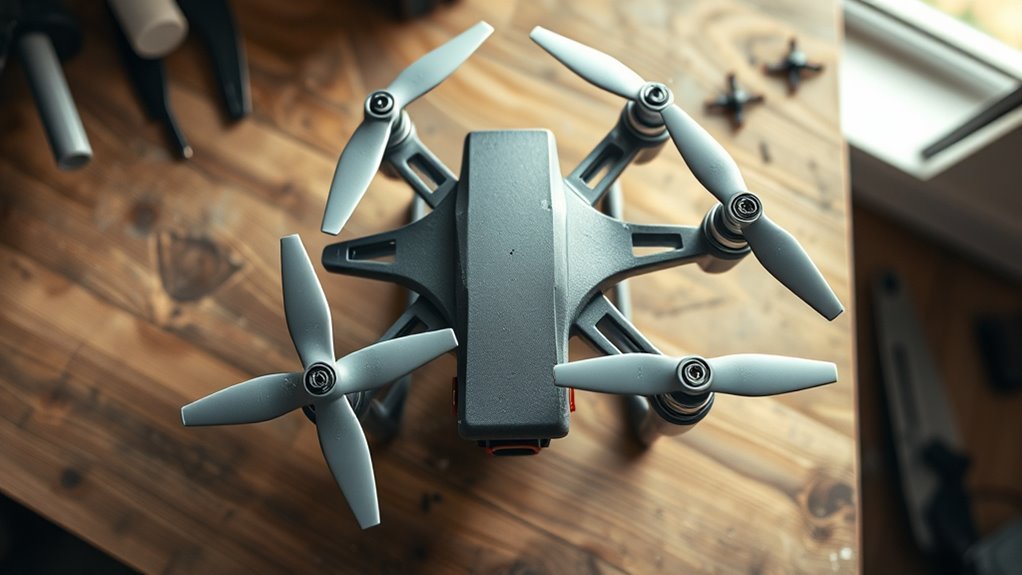
The safest way to diagnose drone propeller problems is to separate visible prop damage from mounting, direction, and motor faults. Power the aircraft off first. Then inspect every blade, hub, fastener, and motor position rather than focusing only on the propeller that appears suspicious.
Look for cracks, chips, bends, warping, corrosion, worn mounting surfaces, loose screws, or foreign material around the hub. DJI, for example, tells Mini 4 Pro users to check for cracks, wear, warp, corrosion, and loose screws before each flight in its propeller inspection guidance.
Next, confirm that each propeller is installed on the motor position intended for it. Many drones use matched clockwise (CW) and counter-clockwise (CCW) propellers, but markings and mounting methods vary by aircraft.
| Symptom | Likely Area to Check | First Action |
|---|---|---|
| Propeller feels loose | Hub, locking mechanism, screws, or wrong propeller | Power off and verify the model-specific installation procedure |
| Visible crack, bend, or major chip | Propeller blade or hub | Do not fly; replace the damaged propeller as specified by the manufacturer |
| Drone will not lift or immediately behaves incorrectly | Propeller position, orientation, motor direction, or arming fault | Stop the motors and verify prop-to-motor matching |
| One motor feels gritty or binds | Motor, bearing area, debris, or crash damage | Keep the drone grounded and investigate the motor before reinstalling props |
This first inspection usually tells you whether you are dealing with an orientation error, structural damage, an insecure mounting system, or a motor problem. Do not treat those faults as interchangeable because each requires a different fix.
Fix Loose Drone Propellers Before Flight
A loose drone propeller should be corrected using the installation method specified for that aircraft. Do not assume every propeller should simply be pushed onto the shaft until it clicks. Some drones use quick-release hubs, while others use screws or different locking arrangements.
For example, DJI’s propeller attachment guide shows that some Mavic models use press-and-rotate quick-release mounting, while several Mini models use screws. Follow the instructions for your exact aircraft rather than applying force based on another drone’s design.
- Power the aircraft off. Do not work around a propeller that could start unexpectedly.
- Identify the correct propeller. Match its marks, color coding, part designation, or CW/CCW type to the correct motor position.
- Inspect the mounting surfaces. Remove loose dirt or debris that could stop the hub from seating fully.
- Install it using the specified method. Quick-release props should engage in their normal lock direction. Screw-mounted props should use the required hardware and procedure.
- Confirm secure installation. Check that the propeller is seated as described by the manufacturer and that screws or locking parts are not obviously loose, damaged, or missing.
If the propeller still moves abnormally, will not seat fully, or repeatedly loosens, do not compensate by forcing it harder. Check the propeller hub, motor mount, fastener, and locking parts for wear or damage and replace the affected component when required.
Spot Cracks, Chips, and Stress Marks
Cracks, major chips, bends, and other structural damage are reasons to keep the drone grounded. A damaged blade can become unbalanced or fail under rotational load, so replacement is safer than trying to glue, straighten, or continue using it.
Inspect the entire blade under good light, including the leading edge, tip, root, and hub. White stress marks on plastic can indicate that the material has been heavily flexed or stressed, so examine that area closely for deformation or cracking.
- Check the leading edge and blade tip for chips or impact damage.
- Look along the blade for bends, twists, or warping.
- Inspect the blade root and hub for hairline cracks.
- Check for white stress marks or other discoloration around a stressed area.
- Replace any propeller that shows clear structural damage or does not match the manufacturer’s acceptable-condition guidance.
A light fingertip or fingernail pass along an unpowered blade can also make a small edge nick easier to notice, but visual inspection remains essential. Do not flex a blade aggressively while checking it.
Manufacturer guidance is deliberately conservative. Skydio’s X2E propeller guidance, for example, says hairline cracks, large breaks, chips, or bends require immediate replacement and advises against flying with damaged propellers.
Check Propeller Direction and Motor Match
The propeller type must match the rotation and position expected by the drone. On many quadcopters, two motors rotate clockwise and two rotate counter-clockwise, but the exact motor numbering and “props in” or “props out” pattern depends on the aircraft or flight-controller setup.
| Check | Requirement |
|---|---|
| Direction | Match the propeller type to the motor or frame markings |
| Fit | Confirm the propeller is fully secured using its intended mounting system |
| Condition | Inspect the blade, hub, fasteners, and motor mount for damage or wear |
Do not assume that the front-left motor must always use a particular CW or CCW propeller. Ready-to-fly drones usually provide marks, colors, raised symbols, or model-specific instructions. Custom FPV and autopilot builds may use different motor maps and rotation patterns.
A wrong-pitch or incorrectly positioned propeller may prevent takeoff, cause the aircraft to tip or behave unpredictably, or produce thrust in the wrong way for the flight controller’s expected motor layout. Correct the propeller position before investigating more complicated electronic faults.
Why Your Drone Prop Won’t Lock?
A drone propeller that will not lock usually points to the wrong propeller, incorrect alignment, debris, damaged locking parts, a worn hub, or a fastener problem. The exact cause depends on whether your drone uses a quick-release, screw-mounted, self-tightening, or another propeller system.
Do not force the prop into position. If normal installation requires unusual pressure or the prop never reaches its expected locked or secured state, remove it and identify the obstruction or mismatch.
Check Prop Orientation
Incorrect prop orientation can stop some mounting systems from engaging correctly and can also cause severe flight problems even when the prop physically fits. Match the propeller’s marks and rotation type to the corresponding motor or hub.
- Verify the hub markings, color coding, or part designation.
- Confirm the blade is facing the orientation specified for that propeller.
- Check the mounting hole or hub for sand, dirt, fragments, or other debris.
- Do not interchange visually similar props unless the aircraft documentation says they are interchangeable.
If a propeller appears to install normally but comes free unusually easily, compare it with a known-good propeller of the correct type. The fault may be in the propeller hub rather than your installation technique.
Inspect Locking Tabs
On a quick-release system, worn, bent, cracked, or broken locking tabs can prevent full engagement. Screw-mounted systems have a different failure point, so inspect their screws, threads, mounting holes, and hardware instead of looking for tabs that the design does not use.
With the aircraft powered off, look for damaged edges, distorted plastic, worn contact surfaces, or debris around the locking mechanism. Do not file, bend, glue, or reshape a damaged safety-critical locking part unless the manufacturer specifically provides that repair procedure.
If the propeller will not stay secured after the correct prop and installation method are confirmed, replace the damaged propeller or mounting component as appropriate. A propeller that cannot be positively secured should not be flown.
Test Motor Mount Fit
The motor mount itself can be the reason a propeller refuses to seat. A crash, worn hub, damaged shaft, distorted mount, or trapped debris may prevent normal installation even when the propeller is correct.
- Remove dirt or foreign material from the propeller and motor interface without damaging the motor.
- Compare the affected mount with the other motor mounts for obvious distortion or unusual play.
- Check the propeller hub for cracks, deformation, or abnormal wear.
- Stop if the propeller requires force beyond its normal installation procedure.
If a known-good, correctly matched propeller also fails to fit the same motor position, the mount or motor is more suspect than the propeller. Keep the aircraft grounded until the damaged part is identified.
Test Motors and ESCs After a Crash
After a crash, begin with an unpowered mechanical inspection before testing motors or electronic speed controllers (ESCs). A motor that feels rough, catches, scrapes, or will not rotate normally by hand may contain debris or have impact damage that needs repair.
Warning: Remove every propeller before any powered bench motor test when your drone’s approved procedure calls for such testing. A motor can start unexpectedly. Do not improvise a powered test on a consumer drone if its manufacturer does not provide a safe procedure.
- Power the aircraft off and inspect the crash area. Check arms, motors, hubs, propellers, wires, and visible connectors for damage.
- Remove the propellers before an approved motor test. This reduces injury risk and prevents a damaged prop from becoming airborne.
- Rotate each motor gently by hand while unpowered. Compare them. A motor that jams, scrapes, or feels noticeably rough deserves further inspection.
- Check for debris. Sand, dust, grass, or fragments around the motor can interfere with rotation.
- Review any app or flight-controller warning. A propulsion, motor, ESC, or pre-arm warning can narrow the fault.
- Use the correct diagnostic procedure for the aircraft. Consumer drones and custom FPV builds do not use the same testing method.
DJI’s official motor-start troubleshooting lists improper propeller installation, debris inside the motor, and motor malfunction as possible causes of a motor-start failure. It also recommends checking whether the powered-off motor rotates smoothly by hand.
For custom FPV aircraft using Betaflight, the Betaflight Motors tab documentation explicitly warns users to remove propellers before connecting a battery and testing motors. Its motor tools can help confirm motor direction and response when used correctly.
A custom autopilot can also refuse to run its motors because of configuration or safety checks rather than a failed propeller. ArduPilot’s pre-arm safety checks can block propulsion when calibration, configuration, sensor, battery, or other required conditions are not satisfied.
Do not keep applying power to a motor that stutters, overheats, smells burned, makes abnormal mechanical noise, or repeatedly reports an error. Sealed consumer drones and damaged ESCs often require manufacturer or qualified repair rather than component-level troubleshooting by the pilot.
Frequently Asked Questions
What Could Be the Reasons Why My Drone Propeller Isn’t Spinning?
A non-spinning propeller can result from debris or mechanical binding in the motor, incorrect propeller installation, motor or ESC failure, damaged wiring, an arming or safety-check failure, or a power problem. There is no universal rule that the battery must be above 50%. Check the aircraft’s warnings and approved troubleshooting procedure.
Can a Drone Fly With a Broken Propeller?
No, you should not deliberately fly a drone with a broken or cracked propeller. Damage can upset thrust and vibration levels and may worsen under load. If propeller damage is suspected after landing or a strike, keep the aircraft grounded and replace the damaged propeller according to the manufacturer’s procedure.
What Is the 1:1 Rule for Drones?
The 1:1 rule is not a propeller-matching rule. In European drone guidance, it refers to keeping horizontal separation from uninvolved people at least equal to the drone’s height in situations where that principle applies. EASA’s 1:1 rule guidance explains the principle. Local operating rules can differ by country and category.
In What Direction Should Drone Props Spin?
Drone propellers should spin in the directions specified by the aircraft manufacturer or the selected flight-controller motor map. A typical quadcopter uses both clockwise and counter-clockwise rotation, but the exact positions can vary. Match marked props to marked motors, and test motor direction with the propellers removed on custom builds.
How Often Should Drone Propellers Be Replaced?
There is no single replacement interval that applies to every drone. Replace a propeller whenever the manufacturer’s inspection limits are exceeded or you find damage, excessive wear, warping, corrosion, loose hardware, or another unsafe condition. Some manufacturers also specify flight-hour replacement intervals for particular aircraft, so follow the schedule for your model.
Conclusion
Treat loose, cracked, incorrectly matched, or non-locking propellers as a no-fly condition until you identify and correct the cause. Start with the propeller and mounting system, then move to the motor and ESC only when the basic mechanical checks pass. Before the next flight, make sure every propeller is undamaged, correctly matched, and secured using the procedure for your specific drone.
Sources
- DJI Mini 4 Pro Support: Supports preflight inspection for cracks, wear, warp, corrosion, loose screws, and secure propeller installation.
- DJI Attaching and Detaching Propellers: Supports model-specific quick-release, screw-mounted, marked, CW, and CCW installation guidance.
- Skydio X2E Propeller Replacement: Supports preflight inspection and replacement of cracked, chipped, bent, or damaged propellers.
- DJI Motor Starting Failure: Supports checking improper propeller installation, motor debris, motor faults, and smooth manual rotation.
- Betaflight Motors Tab: Supports props-off motor testing and motor-direction diagnostics for compatible custom builds.
- ArduPilot Pre-Arm Safety Checks: Supports troubleshooting configuration, sensor, battery, and other conditions that can prevent propulsion from arming.
- EASA Easy Access Rules for Unmanned Aircraft Systems: Supports the correct meaning and application of the drone 1:1 separation principle.

