
When repairing a cracked drone arm, assess the damage before you fly again. A small crack may look harmless, but the arm carries motor vibration, landing shock, and flight loads. DIY fixes can save money on minor cosmetic damage, but gluing a structural arm can create safety and reliability risks if the repair is not strong enough. For many consumer drones, professional repairs often involve replacing the damaged arm, shell, wiring, or motor assembly. Costs can range from a low parts-only repair to a much higher service bill depending on the model, damage, labor, warranty status, and whether calibration is required. Use genuine or OEM-equivalent parts whenever possible, and avoid repairs that could void your warranty or protection plan. The safest decision depends on where the crack is, how deep it is, how much the drone is worth, and whether the repaired arm can be trusted in flight.
Quick Answer
A cracked drone arm should usually be replaced, not glued, if the crack is near the motor, hinge, screw posts, wiring channel, or any load-bearing part. Minor cosmetic cracks may be monitored, but structural cracks can cause vibration, unstable flight, or mid-air failure.
Key Takeaways
- Ground the drone if the crack reaches a motor mount, hinge, screw post, or main structural section.
- DIY adhesive repairs are best limited to non-load-bearing cosmetic cracks, not critical arms or frames.
- Replacing the damaged arm with a genuine or OEM-equivalent part is usually safer than relying on glue.
- Repair may make sense when the total cost stays well below the price of a comparable replacement drone.
- Unauthorized repairs can affect warranty claims, protection plans, and future service eligibility.
At a Glance
| Time Required | 10–20 minutes for inspection; 1–3 hours for a simple arm replacement if you have experience; longer for soldering, wiring, calibration, or professional service. |
| Difficulty | Moderate to advanced. Cosmetic inspection is easy, but structural arm replacement can require careful disassembly, wiring, soldering, and calibration. |
| Tools Needed | Bright light, magnifier, small screwdriver set, tweezers, replacement arm or shell, thread-safe containers, and model-specific repair guidance. Soldering tools may be needed on some drones. |
| Cost | Small parts may cost about $15–$75 on some consumer models, while professional repair can cost much more depending on parts, labor, shipping, calibration, and damage severity. |
Understanding the Damage: Assessing a Cracked Drone Arm
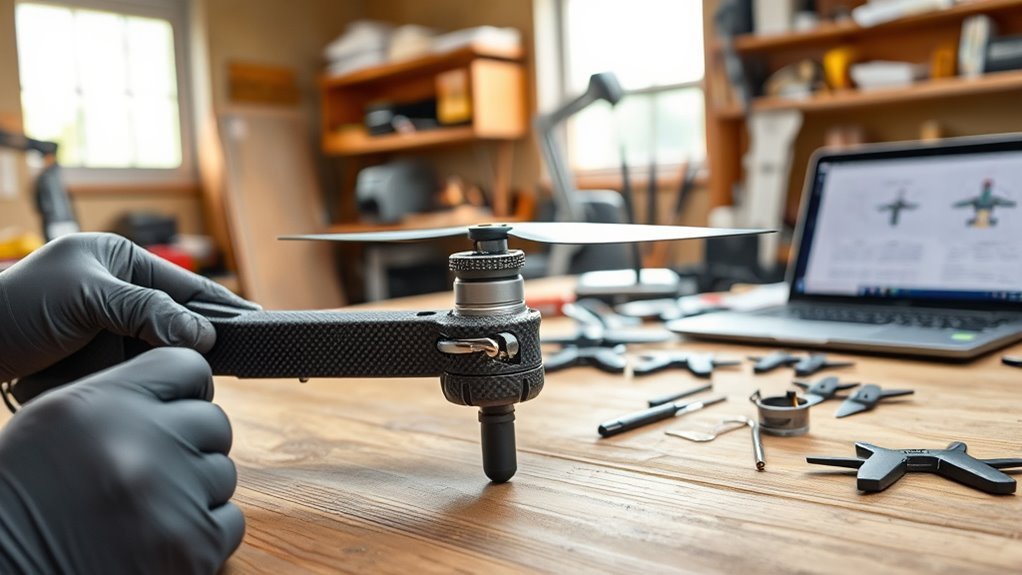
Evaluating a cracked drone arm is essential for maintaining flight safety and performance. Your damage assessment should involve a close inspection of the arm’s structural integrity, not just a quick glance at the surface.
Start by removing the battery and placing the drone on a stable table. Look at the crack under bright light. Check whether it is only a surface mark or whether it reaches a screw post, motor base, hinge, fold joint, or wiring channel. Gently wiggle the arm and compare it with the matching arm on the other side. Any looseness, clicking, flexing, or uneven movement is a warning sign.
A cracked arm can sometimes still allow operational flight, but that does not mean the drone is safe. Flight loads, motor vibration, wind, sharp turns, and hard landings can make a small crack worse. You must weigh the potential safety hazards against the cost of repair, which may range from basic replacement shells or small components on some models to a larger professional service cost when internal wiring, motors, sensors, or calibration are involved.
Warning: Do not fly if the crack is near the motor base, hinge, screw mount, propeller area, or any part that carries flight stress. A structural arm failure can make the drone unstable or cause it to fall.
While DIY repair options like gluing may seem tempting, they can jeopardize warranties and Care Refresh-style coverage. Community feedback generally favors replacing the arm over gluing it, especially when the crack is under stress. If you see cracks near the motor base or hinge, ground the drone and replace the arm before the next flight to reduce the risk of mid-air failure.
Prioritizing safety over short-term savings helps protect your drone, nearby people, property, and future flights.
Repair Options: DIY vs. Professional Services

When considering repair options for a cracked drone arm, should you attempt a DIY fix or seek professional services? The answer depends on the crack location, drone value, your skill level, and whether the repair affects flight safety.
DIY repairs often involve adhesives like B-7000 or epoxy, but these methods can compromise your drone’s structural integrity if used on a load-bearing arm. Adhesive may hold during a bench test but fail later under motor vibration, temperature changes, or repeated flight stress.
Professional repair services typically replace damaged components instead of masking the crack. This is safer for arms, shells, motor mounts, hinges, gimbals, and other critical structures. A professional repair may also include post-repair checks, calibration, and a review of hidden crash damage that you may miss at home.
Repair makes the most sense when the drone is still valuable, the damage is limited, genuine parts are available, and the total repair cost is clearly lower than replacement.
For many mainstream consumer drones, professional repair costs can range from a modest parts-and-labor bill to a much larger amount if the repair involves motors, wiring, gimbal damage, water damage, or calibration. Because of this, compare the full repair quote with the price of a comparable new or refurbished drone before you approve the work.
Community support can be useful for DIY attempts because other pilots often share model-specific teardown tips, parts lists, and mistakes to avoid. Still, community advice should not replace official repair guidance when the crack affects flight-critical parts.
Additionally, a protection plan such as DJI Care Refresh may provide a safer path through replacement or service options, depending on your plan terms, service fee, and replacement limits. Review your current coverage before opening the drone or attempting a structural repair.
When You Should Ground the Drone Immediately
Some cracks are too risky for another test flight. Even if the drone powers on and hovers, a damaged arm can change motor alignment, propeller angle, vibration levels, and flight stability.
Ground the drone immediately if you notice any of these signs:
- A crack running from the motor mount toward the arm.
- A broken or loose hinge on a folding arm.
- A crack around a screw post or shell seam that flexes under light pressure.
- Visible separation between the top and bottom shell.
- New vibration, shaking, drifting, or unstable hovering after impact.
- A propeller that no longer sits level with the matching propeller on the opposite side.
- Exposed wires, pinched wires, or signs of heat near the motor.
- Error messages, motor obstruction warnings, IMU warnings, or compass issues after the crash.
Note: A short low-altitude hover test is not proof that a cracked arm is safe. Many failures happen after vibration, wind, turning force, or repeated stress makes the crack spread.
Material Considerations: Choosing the Right Adhesive

Choosing the right adhesive for repairing a cracked drone arm can affect the longevity and performance of your drone. However, adhesive should not be treated as a safe replacement for a damaged load-bearing arm.
For minor joint separations or cosmetic cracks that are not load-bearing, B-7000 adhesive may work as a flexible bonding option. Epoxy can offer a stronger bond on some plastics, but it is not always flexible enough for vibration-heavy areas. It can also add weight, create uneven stiffness, and hide damage rather than restore the original strength of the arm.
Some pilots consider reinforcing a repair with fiberglass fabric, which can help spread stress over a wider area. This may be useful for non-critical shell areas, but it is not a guaranteed fix for a motor arm, folding hinge, or frame section that carries flight loads.
Be cautious with alternatives like Loctite superglue or Bondic. Their adhesive effectiveness depends on the plastic type, surface preparation, crack shape, curing quality, and the stresses applied during flight. Superglue can also become brittle, which is a problem on parts exposed to vibration.
Pro Tip: If you are unsure whether the crack is cosmetic or structural, treat it as structural. Replacing the damaged arm is usually safer than trying to make a critical crack disappear with adhesive.
While DIY repairs can save costs, they may compromise safety and durability under stress. Manufacturer guidance and professional repair practices generally favor replacing cracked structural arms rather than relying only on glue for critical components.
Additionally, glued repairs may void your warranty or affect future service claims. Before you apply adhesive, confirm whether your drone is still under warranty, covered by a protection plan, or eligible for official repair.
Parts and Tools Needed for a Safer Repair
If you decide to replace the cracked arm yourself, gather everything before opening the drone. Working without the right tools can strip screws, damage ribbon cables, pinch wires, or create new problems.
Common repair items may include:
- Model-specific replacement arm, shell, or full arm assembly.
- Correct precision screwdriver set.
- Plastic pry tool or spudger.
- Tweezers for small connectors and wires.
- Magnetic mat or labeled containers for screws.
- Bright desk light and magnifier.
- Thread-safe organization photos taken during disassembly.
- Soldering tools if the motor wires are soldered on your model.
- Official or model-specific calibration steps after reassembly.
Not every drone arm is a simple bolt-on part. Some include antennas, LEDs, motor wires, ribbon cables, or soldered joints. If the repair requires soldering near sensitive electronics and you are not experienced, professional service is the safer choice.
Cost Analysis: Weighing Repair Expenses Against Replacement
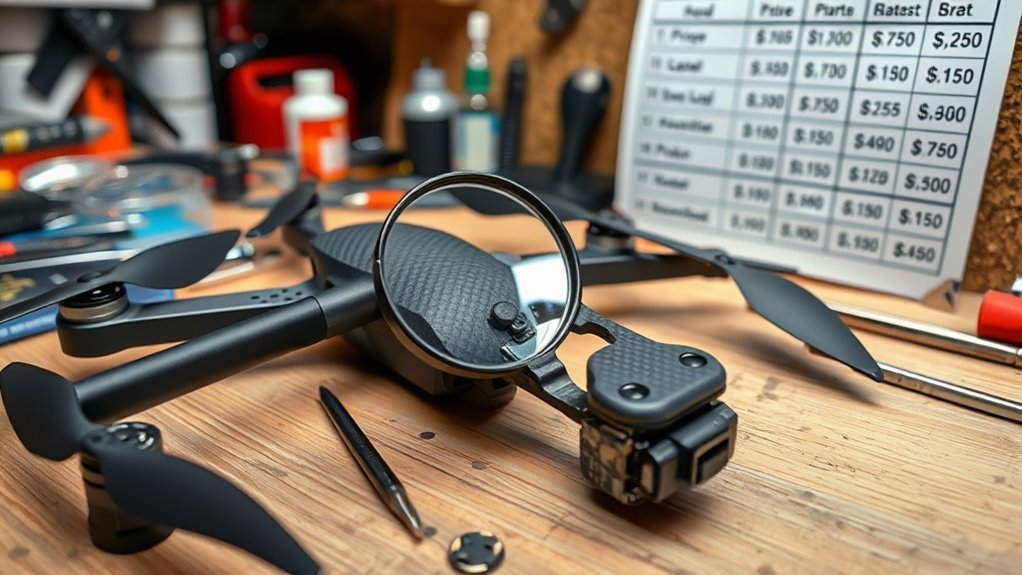
When considering whether to repair a cracked drone arm or replace the entire unit, analyze the full cost, not just the price of one part.
If repair expenses stay below roughly half the price of a comparable replacement drone, repairing may make sense, especially if the drone is newer, still supported, and otherwise in good condition. If the repair quote climbs close to the cost of a new or refurbished model, replacement may be the better long-term option.
Also factor in warranty and insurance options. A protection plan, manufacturer service program, or store protection plan may change the final cost. On the other hand, an unauthorized repair may reduce future coverage or make later repairs more expensive.
Repair Cost vs. Replacement
Analyzing the cost of repairing a cracked drone arm versus purchasing a new drone reveals several financial considerations.
Repair costs for typical non-catastrophic damage may be reasonable if the problem is limited to a replaceable arm, shell, or simple part. Costs can rise quickly when genuine parts, motor assemblies, wiring, sensors, gimbals, shipping, labor, or calibration are involved.
As a practical rule, compare the repair quote with the current price of a similar replacement drone. If the repair is a small percentage of replacement cost and restores safe operation, repair is reasonable. If the drone is old, heavily crashed, unsupported, or close to replacement cost, buying a newer model may offer better value.
While DIY repairs might save money, they can compromise safety and functionality compared with professional repairs. Using low-quality or non-genuine components can lead to fit problems, motor alignment issues, vibration, poor flight performance, and warranty complications.
Long-Term Value Consideration
Repairing a cracked drone arm involves more than immediate cost. You also need to think about the future reliability of the drone.
Consider these factors:
- Cost-effectiveness of repairs: Repair is more attractive when the total cost is clearly lower than replacement and the drone still has useful life left.
- Replacement parts availability: Genuine or OEM-equivalent parts are a better choice than unknown parts that may not fit correctly.
- Warranty implications: DIY methods may void your warranty or complicate future support claims.
- Drone age: An older drone with weak batteries, outdated features, and limited parts support may not be worth a costly repair.
- Hidden damage: A crash that cracked an arm may also damage the gimbal, shell, sensors, motor, or internal wiring.
Balancing these elements can help you decide whether repairing your drone is a smart financial move or whether investing in a new drone offers better long-term value.
Insurance and Warranty Implications
While weighing the decision to repair or replace a cracked drone arm, understanding insurance and warranty implications is essential.
Repair costs can vary widely, so repairs may be justifiable for some damage types and poor value for others. A protection plan such as DJI Care Refresh may cover part of the replacement cost for accidental damage, but you may still pay a service fee and remain limited by the plan’s replacement rules.
Extensive self-repairs or unauthorized modifications can affect eligibility for both standard manufacturer warranty and protection plan benefits. Review your specific terms and consider contacting official support before attempting your own structural repair.
Transparency from service providers about repair assessments is important. Ask what parts will be replaced, whether parts are genuine, whether calibration is included, how long the repair is expected to last, and whether the work affects warranty coverage.
Safety Risks: Evaluating the Reliability of DIY Repairs
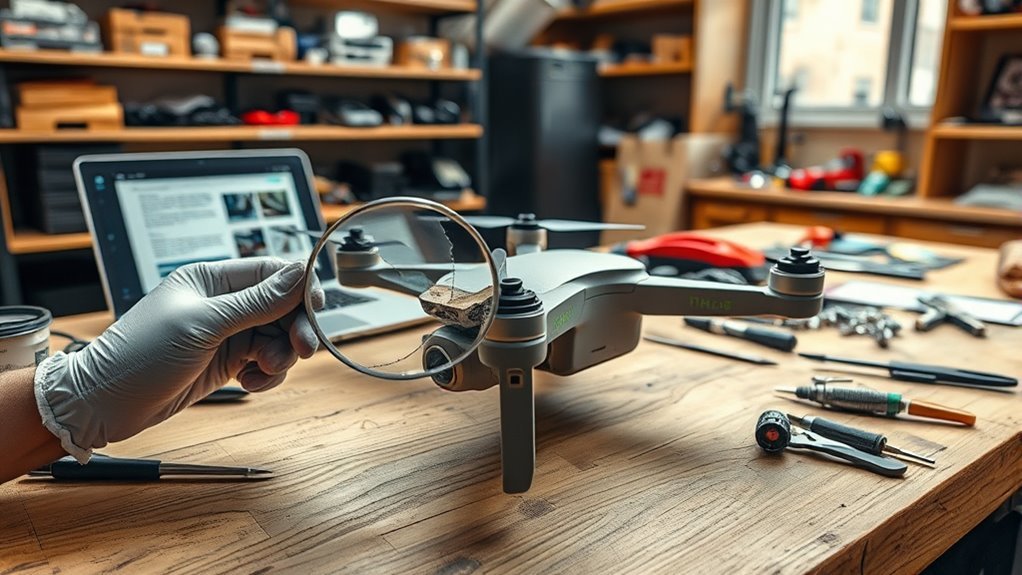
When you attempt a DIY repair, such as gluing a cracked drone arm, you risk compromising its structural integrity. That can lead to failure during flight.
This creates serious long-term reliability concerns because flight forces may stress the repaired component beyond its limits. Remote pilots are responsible for checking that the aircraft is safe before flight. That is difficult to guarantee if a critical arm has only been glued after a crash.
Evaluating these risks is essential for the safety of your drone, people nearby, property, and the surrounding airspace.
Structural Integrity Concerns
DIY repairs, especially glued components, introduce safety risks that can compromise the structural integrity of your drone.
While you might think gluing a cracked arm is a quick fix, adhesives can fail under vibration, impact, heat, cold, and repeated flight stress. A repair that looks solid on a workbench may not perform like the original molded part in the air.
Using genuine replacement parts helps maintain manufacturer fit, weight balance, motor alignment, and overall reliability.
- Glued components may not withstand vibration and flight forces.
- DIY repairs can void warranties and complicate claims under Care Refresh-style plans.
- Experts and experienced pilots often recommend avoiding glued repairs for critical arms and frames.
- Incorrect reassembly can pinch wires, strip screws, affect motor angle, or create new faults.
Prioritize safety by choosing professional repairs or genuine parts when the crack affects a structural part.
Long-term Reliability Issues
Repairs performed without the right skill can lead to long-term reliability issues. DIY repairs, such as gluing a cracked arm, may not restore the original strength of the part. Adhesive solutions may not endure aerodynamic stress, vibration, or repeated takeoffs and landings. Such repairs can also void manufacturer warranties, complicate future claims, and reduce safety assurance.
Following manufacturer guidance is important for safe operation. A professional assessment can help identify whether the crack is isolated or whether there is hidden damage elsewhere.
| Factor | Impact on Reliability |
|---|---|
| DIY Repairs | Can increase reliability issues if the repair affects a load-bearing part |
| Structural Integrity | May be compromised under stress, vibration, and landing impact |
| Manufacturer Guidelines | Following them improves safety and service eligibility |
| Professional Assessment | Helps identify hidden crash damage and repair risks |
Post-Repair Checks Before Flying Again
After a cracked drone arm repair, do not rush straight into normal flying. A repaired drone should be checked carefully before it goes back into the air.
Use these post-repair checks:
- Confirm every screw is installed in the correct location and tightened evenly.
- Check that the repaired arm sits at the same angle as the matching arm.
- Spin each propeller by hand with the battery removed to confirm there is no rubbing.
- Inspect wiring for pinching, cuts, or exposed copper.
- Check the motor for roughness, grinding, heat, or unusual resistance.
- Run the required calibration steps for your model if the repair affected sensors, shell, arms, or flight stability.
- Install undamaged propellers before testing.
- Start with a short, low, open-area hover test only after the drone passes inspection.
- Land immediately if you hear new vibration, see drifting, get warnings, or notice unstable hovering.
Note: If a crash damaged one arm badly enough to crack it, inspect the opposite arms, propellers, gimbal, landing gear, sensors, and battery shell too. Hidden damage is common after impact.
Community Insights: Recommendations From Fellow Drone Pilots
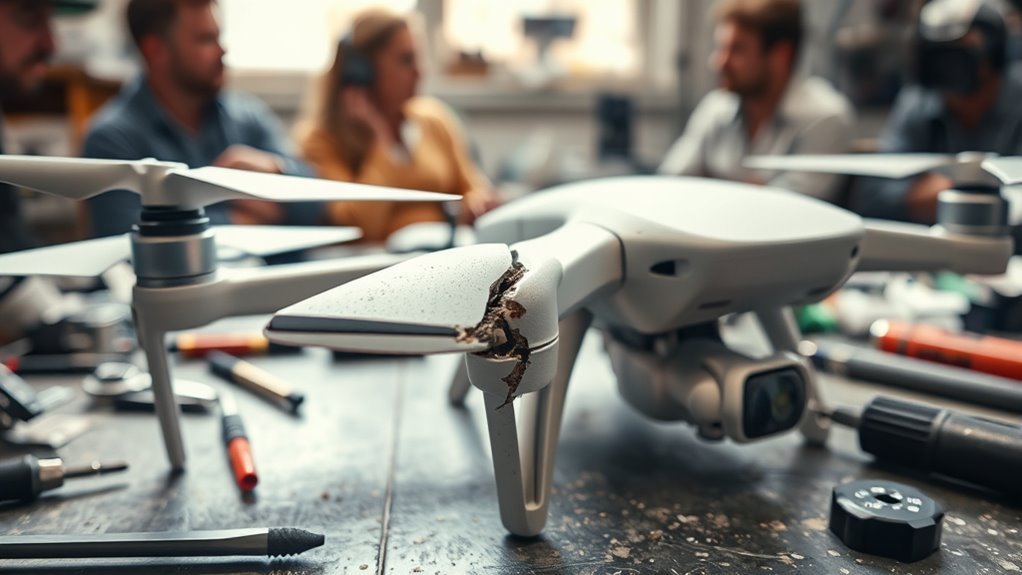
How do fellow drone pilots approach repairs for cracked arms? Many drone enthusiasts emphasize the importance of maintaining structural integrity during flight.
Community forums can be useful for sharing DIY repair techniques, replacement part sources, teardown photos, and model-specific advice. Pilots often advise against gluing cracked arms because of safety concerns. Instead, they usually recommend using genuine replacement parts or having the drone checked by an authorized or experienced repair service.
- Use community forums to learn about model-specific repair difficulty.
- Compare several repair experiences before deciding whether to DIY.
- Consider reinforcement only for non-critical shell areas where appropriate.
- Do not treat a successful repair story as proof that your cracked arm is safe.
- Weigh the risks and benefits of each repair method before flying again.
Community advice is most helpful when it supports safe, conservative decision-making. The more critical the cracked part is, the more you should favor replacement or professional repair.
Warranty Implications: How Repairs Affect Coverage

When considering repairs for a cracked drone arm, it is important to understand how those actions can affect your warranty coverage. Standard manufacturer warranties usually cover defects in materials or workmanship, not crash damage, misuse, water damage, or unauthorized modification.
Following manufacturer guidance is important. Improper repairs or unauthorized modifications can void warranty coverage and complicate future claims. Using genuine parts helps keep the drone closer to original fit, balance, and service expectations.
Filing claims under a protection plan such as DJI Care Refresh may involve paying a fixed service fee for each replacement and using one of the limited replacements available under your agreement. The details can vary by plan, country, model, and coverage period.
Familiarize yourself with the specific terms of your coverage before opening the drone. If your plan is active, contact official support first and ask whether self-repair will affect future service eligibility.
Long-Term Considerations: The Future of Your Drone Post-Repair

As you consider the long-term implications of repairing a cracked drone arm, remember that the integrity of the repair directly affects your drone’s performance.
You need to monitor repaired components because they may not withstand the same stresses as original parts. Watch for new vibration, drifting, motor noise, arm flex, loose screws, or spreading cracks after each flight.
- Investing in genuine or OEM-equivalent parts can help maintain your drone’s reliability and future service options.
- Regular checks of repaired areas are important for structural integrity and safe operation.
- Ongoing repairs may not be worth it if the drone is old, unsupported, badly damaged, or close to replacement cost.
- A newer model may offer better safety features, better camera performance, longer flight time, improved obstacle sensing, and easier parts support.
If you continue flying after a repair, keep your first flights short and conservative. Avoid high wind, aggressive sport mode flying, long-distance flights, and flying over people or property until you are confident the drone is stable.
Related Guides
Frequently Asked Questions
How much does drone repair usually cost?
Drone repair cost depends on the model, part availability, labor, shipping, calibration, and damage severity. Simple parts may be relatively affordable on some consumer drones, while professional service can cost much more if the repair involves motors, wiring, sensors, gimbals, or hidden crash damage. Once the repair quote approaches the cost of a comparable replacement drone, replacement may be the better value.
How do you fix a broken DJI drone arm?
The safest way to fix a broken DJI drone arm is usually to replace the damaged arm or arm assembly with a genuine or OEM-equivalent part. Avoid gluing a structural crack near the motor, hinge, or screw posts. Depending on the model, the repair may require careful disassembly, wire routing, soldering, and calibration. If you are not comfortable with those steps, use professional or authorized repair.
How much are DJI drone repairs?
DJI drone repair costs vary by model and damage type. A simple replacement part may be inexpensive compared with the drone’s full value, but major structural damage, gimbal damage, motor damage, water ingress, or calibration needs can make the repair much more expensive. Always compare the official repair quote with the current price of a similar new or refurbished drone.
Can Best Buy repair my drone?
Best Buy may offer drone protection or service options for covered drones purchased through its plans, but service details can vary by plan, product, location, and coverage terms. Some cases may involve repair, replacement, or referral to the manufacturer. Confirm whether the service uses authorized parts and whether it affects your manufacturer warranty or protection coverage.
Can you fly a drone with a cracked arm?
You should not fly a drone with a cracked arm if the crack is structural, spreading, near the motor, near a hinge, near screw posts, or causing vibration or looseness. Even if the drone powers on, the crack can worsen under flight stress. Ground the drone until it is inspected and repaired properly.
Is epoxy safe for a cracked drone arm?
Epoxy may bond some plastic surfaces, but it is not a reliable substitute for replacing a cracked structural drone arm. It can become stiff, add weight, hide damage, and fail under vibration or impact. Use epoxy only for minor non-load-bearing cosmetic areas, and replace the arm if the crack affects flight-critical structure.
Conclusion
Repairing a cracked drone arm is a safety decision, not just a cost decision. A small cosmetic crack may only need monitoring, but a crack near the motor, hinge, screw post, wiring channel, or main arm structure should be treated seriously. DIY glue fixes can look appealing, yet they may weaken reliability, affect warranty coverage, and create flight risk if used on critical parts. For the safest result, inspect the damage carefully, compare repair cost with replacement value, use genuine or OEM-equivalent parts, and choose professional service when the repair involves structural parts, soldering, calibration, or hidden crash damage. Whether you repair or replace, make the decision that keeps the drone stable, reliable, and safe to fly.
Sources
- FAA Unmanned Aircraft Systems — supports safe operation responsibilities and U.S. drone safety context.
- DJI Care Refresh — supports protection plan and replacement-service context for DJI drones.
- DJI Repair Services — supports official repair and service-route guidance.
- Best Buy Protection — supports general protection-plan context for covered products.
