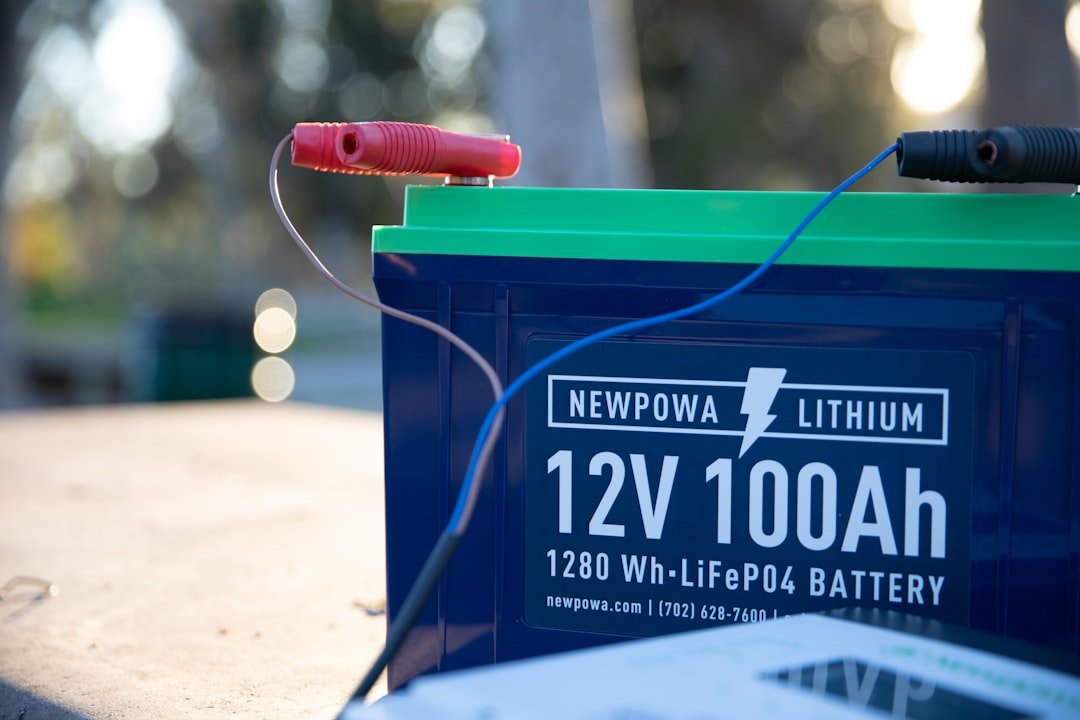
Replacing a car battery is a manageable DIY job when you prepare the right tools, follow the correct terminal order, and work safely around battery acid and electrical connections. Before you begin, park on a flat surface, turn the vehicle off, remove the key, and give the engine bay time to cool. You will need a compatible new battery, a wrench or socket set, safety gloves, goggles, a battery cleaning brush or wire brush, and a way to recycle the old battery properly.
Quick Answer
To install a car battery, turn off the vehicle, disconnect the negative cable first, then the positive cable. Remove the hold-down clamp, lift out the old battery, clean the tray and terminals, place the new battery in position, connect positive first, connect negative last, secure the clamp, and test the vehicle.
Key Takeaways
- Gather the correct tools, safety gloves, goggles, and a vehicle-compatible battery before you start.
- Locate the battery and check whether your vehicle places it under the hood, in the trunk, or under a seat.
- Disconnect the old battery carefully by removing the negative terminal first, then the positive terminal.
- Clean the battery tray, cable ends, and terminals before setting the new battery in place.
- Connect the new battery in the correct order: positive terminal first, negative terminal last.
- Secure the hold-down clamp so the battery cannot shift while you drive.
- Start the vehicle, check dashboard warning lights, and confirm the electrical system works normally.
- Recycle the old battery at an auto parts store, service center, or approved recycling facility.
- Double-check both battery connections after installation to prevent loose-cable problems.
- Maintain your new battery by keeping terminals clean and watching for slow starts, corrosion, or charging issues.
At a Glance
| Time Required | 15 to 30 minutes for most vehicles |
| Difficulty | Beginner-friendly, as long as the battery is accessible and the cables are not badly corroded |
| Tools Needed | Safety gloves, goggles, wrench or socket set, battery cleaning brush, wire brush, pliers, and optional multimeter |
| Cost | Usually the cost of the replacement battery, plus any cleaning supplies you do not already have |
Gather the Necessary Tools and Materials
Start by gathering everything you need before touching the battery. The most important item is a new battery that matches your vehicle’s size, terminal layout, and power requirements. Check your owner manual, the label on the old battery, or the battery fitment guide at an auto parts store before buying one.
You will also need a wrench or socket set to loosen the battery terminals and the hold-down clamp. Safety gloves help protect your hands from corrosion and sharp edges, while goggles help protect your eyes from debris or battery acid splashes.
A multimeter can help you test the voltage of the new battery before installation. A fully charged 12-volt car battery typically reads about 12.6 volts or slightly higher with the engine off. If the reading is much lower, the battery may need charging or testing before you install it.
Keep a battery terminal cleaner, wire brush, or battery cleaning brush nearby. Corrosion can weaken the electrical connection between the battery and the vehicle, which may cause hard starts, dim lights, or charging problems. A pair of pliers can also help remove stubborn terminal clamps if they are stuck.
Finally, prepare a safe plan for the old battery. Car batteries are heavy and contain hazardous materials, so place the old battery upright in a sturdy container or bag and take it to a proper recycling location after the job is complete.
Warning: Never smoke, create sparks, or place metal tools across both battery terminals. A short circuit can cause burns, electrical damage, or battery failure.
Locate the Battery in Your Vehicle
Finding the battery is the next step in the replacement process. In most cars, the battery sits under the hood near the front or side of the engine compartment. However, some vehicles place the battery in the trunk, under the rear seat, under the front passenger seat, or behind a cover panel.
Open the hood and look for a rectangular battery case with two cables attached. The positive cable is usually red and marked with a plus sign (+). The negative cable is usually black and marked with a minus sign (-).
If you cannot find the battery quickly, check your vehicle’s owner manual. The manual can show the battery location, any access panels you need to remove, and any vehicle-specific instructions. Some vehicles also have remote jump-start posts under the hood, even when the actual battery is located elsewhere.
Before you continue, make sure the vehicle is parked, the ignition is off, and the key is removed. For push-button vehicles, keep the key fob away from the car so the system does not wake up while you work.
Disconnect the Old Battery

Once you have located the battery, disconnect the old battery safely. Confirm that the engine is off, the lights are off, and all accessories are turned off. This helps prevent electrical shorts and accidental starts while you work.
Start with the negative terminal. The negative terminal is usually marked with a minus sign (-) and connected to a black cable. Use your wrench or socket set to loosen the nut on the negative terminal clamp. Lift the cable off the battery post and move it away from the battery so it cannot spring back into contact.
After removing the negative cable, disconnect the positive terminal. The positive terminal is marked with a plus sign (+) and usually connects to a red cable. Loosen the nut, lift the clamp off the post, and keep the cable away from the battery.
Following the correct negative-first removal order helps reduce the risk of sparks or short circuits. Once both cables are disconnected, inspect the cable ends for corrosion, cracks, loose clamps, or damaged insulation.
Note: Some vehicles may lose radio presets, clock settings, or window auto-up settings when the battery is disconnected. A memory saver can help, but only use one if you understand your vehicle’s instructions.
Remove the Old Battery and Hold-Down Clamp
Most vehicles use a hold-down clamp, bracket, strap, or bar to keep the battery secure. Find the fastener and remove it carefully with the correct socket or wrench. Set the clamp and hardware aside in a safe spot so you can reinstall them later.
Lift the old battery straight up and out of the tray. Car batteries are heavy, so use both hands and keep the battery upright. Do not tilt it, drag it across painted surfaces, or set it where it can tip over.
If the battery is stuck because of corrosion or dirt around the tray, gently work it loose without prying against delicate parts. If the case is cracked, leaking, swollen, or too difficult to move safely, stop and get help from a professional.
Prepare the New Battery
| Task | Time Required (minutes) | Resources Needed |
|---|---|---|
| Remove old battery | 10 | Wrench, gloves |
| Clean battery compartment | 5 | Baking soda, water, brush |
| Prepare new battery | 5 | None |
| Install new battery | 10 | Wrench, gloves |
With the old battery disconnected and removed, prepare the new battery for installation. First, confirm that the new battery matches the old one in group size, terminal placement, and power rating. A battery with reversed terminals or the wrong size may not fit correctly or may stretch the cables.
Check that the new battery is fully charged and in good condition. If you have a multimeter, test its voltage before installation. A fully charged 12-volt car battery should read around 12.6 volts or higher when it is not connected to the vehicle.
Inspect the new battery for cracks, leaks, swelling, broken posts, or other physical damage. A damaged battery can create safety risks and may fail soon after installation. Do not install a battery that looks damaged.
Remove any plastic caps or protective covers from the terminals. Keep tools away from both posts while you work so you do not accidentally bridge the positive and negative terminals.
Clean the Battery Tray and Cable Ends
Before installing the new battery, clean the battery tray and the cable ends. Dirt, corrosion, and old battery residue can cause weak connections or future starting problems. If you see white, blue, or green buildup on the terminals or cable clamps, clean it before reconnecting anything.
A battery cleaning brush or wire brush works well for light corrosion. For heavier buildup, use a small amount of baking soda and water on the affected area, then scrub carefully. Avoid letting cleaning liquid enter the battery cells or nearby electrical connectors.
Dry the area fully before installing the new battery. Check the battery tray for cracks, loose hardware, or rust. The new battery should sit flat and stable inside the tray.
Pro Tip: Take a quick photo of the old battery before removal. The photo can help you confirm cable routing, terminal position, and hold-down placement during reassembly.
Connect the New Battery
Now that the new battery is prepared, place it into the battery tray. Make sure the positive terminal lines up with the positive cable and the negative terminal lines up with the negative cable. The battery should sit level and should not pinch nearby wires or hoses.
Connect the positive terminal first. Place the positive cable clamp over the positive post and tighten it with your wrench or socket. The clamp should feel secure, but do not overtighten it to the point that you damage the battery post.
Next, connect the negative terminal. Place the negative cable clamp over the negative post and tighten it securely. Connecting the negative terminal last helps reduce the risk of accidental grounding while the positive side is being connected.
After both cables are connected, gently try to move each clamp by hand. If either clamp twists or lifts, loosen it, seat it properly, and tighten it again. A loose connection can cause slow cranking, flickering lights, warning lights, or a no-start condition.
Secure the New Battery in Place

After connecting both terminals, secure the new battery in place. Most vehicles use a bracket, clamp, strap, or metal bar designed for this purpose. If your vehicle has such a mechanism, position it over the top of the battery and use your tools to tighten it down securely.
This step prevents the battery from shifting while you drive. A loose battery can damage the case, loosen the cables, or create electrical problems over time. It can also move during hard braking, rough roads, or sharp turns.
If your vehicle relies on a snug battery compartment instead of a visible clamp, make sure the battery sits fully inside the tray and cannot move. Check that no cables, covers, or brackets are trapped under the battery.
Once the battery is secure, inspect your work again. Confirm that the red cable is on the positive terminal and the black cable is on the negative terminal. Also make sure the hold-down hardware is tight and the battery is sitting upright.
Test the New Battery
With everything connected and secured, test the new battery. Start the vehicle and listen for a normal, strong crank. The engine should start without hesitation if the battery is charged and the connections are tight.
Watch the dashboard after the engine starts. If the battery light, charging system warning, check engine light, or other warning lights stay on, the vehicle may need more inspection. A warning light can point to a loose connection, a weak new battery, an alternator issue, or a wiring problem.
Turn on the headlights, interior lights, radio, and climate controls. They should operate normally. If the lights are dim, the starter cranks slowly, or accessories act strangely, shut the vehicle off and recheck both battery terminals.
If the connections look correct but the problem continues, have the battery and charging system tested at an automotive store or repair shop. A new battery may not solve a problem caused by the alternator, starter, parasitic drain, or damaged cables.
Dispose of the Old Battery Properly
After the new battery works correctly, handle the old battery responsibly. Car batteries contain hazardous materials such as lead and sulfuric acid, so they should never go in regular household trash.
Many automotive retailers accept old batteries for recycling, especially when you buy a replacement battery from them. Some stores also charge a core fee when you purchase a new battery and refund it when you return the old one.
Local recycling centers, service shops, and municipal hazardous waste programs may also accept old car batteries. Keep the battery upright during transport, place it in a stable container, and avoid setting it inside the passenger area if you can place it safely in the trunk or cargo area instead.
Never dump an old battery, leave it outdoors, or throw it into a regular trash bin. Proper recycling protects people, pets, soil, and water from battery chemicals.
Check for Any Warning Lights
After successfully installing and testing the new battery, check for warning lights again before driving. Modern vehicles use diagnostic systems that monitor the battery, alternator, sensors, and electrical system. If there are any issues with these systems after replacing your battery, warning lights may illuminate on your dashboard.
Common warning lights include a battery symbol, charging system message, check engine light, or low-voltage warning. Some lights may appear briefly when you first turn the key or press the start button, but they should go away once the engine starts.
If a warning light remains on, do not ignore it. Recheck the battery connections first. If the cables are tight and correctly connected, the vehicle may need a charging system test or diagnostic scan.
Some newer vehicles may also require battery registration or reset procedures after replacement. This depends on the vehicle make and model. Check your owner manual or ask a qualified technician if your vehicle uses a battery management system.
Double-Check the Battery Connection
Before concluding your task, take a moment to double-check all connections related to the new battery installation.
Ensure that both terminals are securely tightened and free from corrosion or debris that could interfere with electrical flow.
A loose connection can lead to intermittent power issues or even complete failure of electrical systems in your vehicle. It may also cause clicking sounds, no-start problems, dashboard flickering, or random electrical warnings.
Inspect the surrounding components for wear or damage that may have gone unnoticed during installation. Look for cracked cable insulation, loose ground straps, broken terminal clamps, damaged hold-down hardware, or corrosion spreading onto nearby parts.
Also confirm that tools are removed from the engine bay. Leaving a wrench, socket, or pliers near the battery can create serious damage if it contacts electrical parts while the vehicle is running.
Tips for Maintaining Your New Battery
To maximize the lifespan and performance of your new car battery, add a few simple maintenance habits to your routine. Regularly inspect your battery terminals for signs of corrosion; if you notice any buildup, clean them promptly using a mixture of baking soda and water along with a wire brush or terminal cleaner designed for this purpose.
Another important part of battery maintenance is making sure your vehicle’s charging system works correctly. A faulty alternator can overcharge or undercharge the battery, which can shorten battery life and cause starting problems.
Periodically check voltage levels with a multimeter if you are comfortable doing so. With the engine off, a healthy fully charged battery often reads around 12.6 volts. With the engine running, many charging systems read roughly 13 to 14 volts. If your readings are consistently low or unusually high, have the charging system checked.
Keep the top of the battery clean and dry. Dirt, moisture, and corrosion around the battery case can contribute to poor performance. Also make sure the battery stays tightly secured after driving on rough roads.
If your vehicle sits unused for long periods, start it regularly or use a proper battery maintainer. Short trips, cold weather, and long parking periods can drain a battery faster than normal. By checking the battery and charging system regularly, you can reduce surprise no-start problems and help the new battery last longer.
If you’re looking to upgrade your car’s battery, you may also be interested in learning how to properly clean your appliances. Check out this article on how to clean your appliances to keep them looking and functioning like new.
Related Guides
Frequently Asked Questions
What tools do I need to install a car battery?
You will need safety gloves, goggles, a wrench or socket set, and a battery cleaning brush. A wire brush, pliers, and multimeter are also helpful for cleaning terminals, removing stubborn clamps, and checking battery voltage.
How do I know if my car battery needs to be replaced?
Common signs include difficulty starting the car, slow cranking, dim headlights, electrical problems, corrosion around the terminals, a swollen battery case, or a battery warning light. Testing the battery and charging system can confirm the problem.
What are the steps to install a car battery?
Turn off the engine, locate the battery, remove the negative terminal first, remove the positive terminal, remove the hold-down clamp, lift out the old battery, clean the tray, place the new battery in position, connect the positive terminal, connect the negative terminal, secure the clamp, and test the vehicle.
How long does it take to install a car battery?
Installing a car battery usually takes about 15 to 30 minutes. It may take longer if the battery is hard to access, the terminals are corroded, or the hold-down hardware is stuck.
Can I install a car battery myself?
Yes, many car owners can install a battery themselves if the battery is easy to reach and the cables are in good condition. If you are unsure, uncomfortable, or dealing with heavy corrosion, leaks, or warning lights, seek professional help.
Which battery terminal should I remove first?
Remove the negative terminal first when disconnecting the old battery. When installing the new battery, connect the positive terminal first and the negative terminal last.
What should I do if my car still will not start after replacing the battery?
Recheck both battery terminals, confirm the clamps are tight, and make sure the battery is charged. If the car still will not start, the issue may involve the alternator, starter, cables, fuses, or another electrical component.
Sources
- AAA Auto Repair — supports safe battery terminal handling and the importance of correct connection order.

