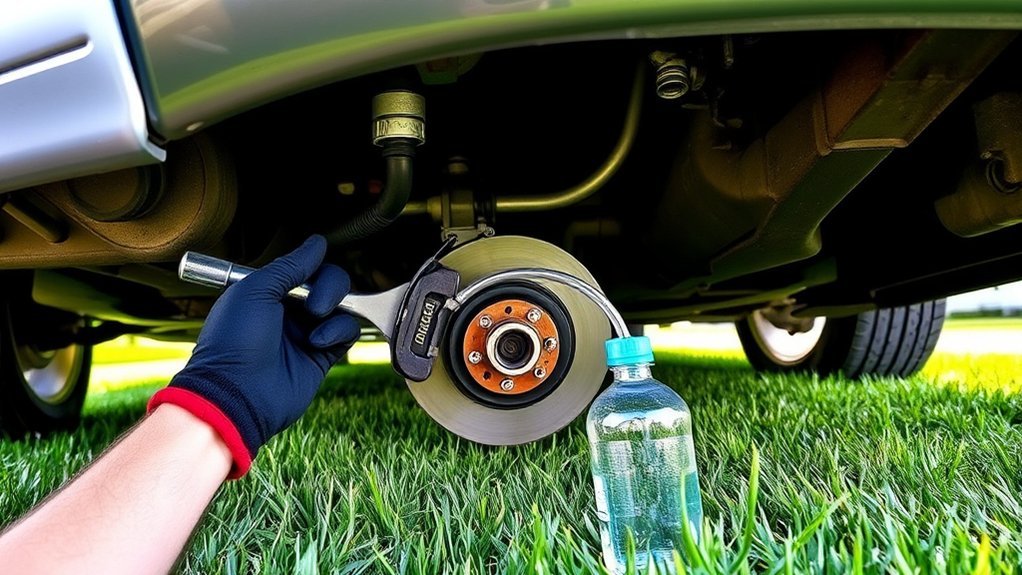
Bleeding your Toyota Camry’s brakes removes trapped air after part of the hydraulic system has been opened, replaced, or allowed to run low. The correct method depends on the model year, powertrain, market, and brake-system design. A conventional wheel-circuit bleed may be suitable for some repairs, while hybrid or electronically controlled systems may require Toyota-compatible diagnostic equipment and a guided factory procedure.
Last updated: September 19, 2026 — procedure scope, scan-tool cautions, source links, and FAQ guidance rechecked.
Quick Answer
To bleed Toyota Camry brakes, verify the exact model-year procedure and brake-fluid specification first. Keep the reservoir full, follow Toyota’s stated wheel order, and close each bleeder before the pedal is released. If only pads or rotors were replaced and no hydraulic connection was opened, bleeding is not automatically required. Stop if the reservoir runs dry or the system requires Techstream, actuator depressurization, or another guided service mode.
Key Takeaways
- Use the repair information for your exact Camry year, powertrain, brake configuration, fluid, wheel order, and tightening specifications.
- Never let the brake-fluid reservoir run dry during bleeding.
- During a two-person bleed, close the bleeder before your helper releases the pedal.
- Pad- or rotor-only service does not automatically require bleeding when the hydraulic circuit stayed closed and the reservoir did not run dry.
- A hybrid, electronically controlled brake system, dry reservoir, master-cylinder repair, or ABS actuator repair may require a Toyota-compatible scan tool.
- Do not drive if the pedal sinks, braking is weak or uneven, fluid leaks, or a brake-system warning remains on.
At a Glance
| Time Required | Varies by model and repair scope; a simple wheel-circuit bleed is shorter than a guided actuator or complete hydraulic air-bleeding procedure |
| Difficulty | Intermediate for a model-approved wheel-circuit bleed; advanced or professional for master-cylinder, ABS actuator, accumulator, or electronically controlled procedures |
| Tools Needed | Specified brake fluid, snug box-end wrench, clear tubing, collection bottle, wheel chocks, jack and jack stands when needed, torque wrench, gloves, and eye protection |
| Cost | Usually limited to fluid and small supplies if you own the lifting tools; higher for a pressure bleeder, scan-tool access, seized parts, or professional service |
Warning: Brakes are safety-critical. Stop and arrange professional service if the pedal sinks under steady pressure, fluid leaks from any connection, a BRAKE or ABS warning remains on, the reservoir has run dry, the bleeder is seized, or you cannot confirm the correct procedure for your Camry.
Which Brake-Bleeding Method Does Your Camry Need?
Before opening a bleeder screw, decide whether the repair is suitable for a conventional wheel-circuit bleed. Toyota provides model-specific owner information through its Manuals and Warranties portal. Detailed repair manuals, service information, and Techstream resources are available through the Toyota Technical Information System.
| Condition | Likely Approach | What to Do |
|---|---|---|
| One caliper or wheel-end hose was opened, and the reservoir stayed full | A model-approved manual, pressure, or vacuum bleed may be suitable | Confirm the fluid, wheel order, pedal sequence, and bleeder torque before starting |
| Routine fluid replacement with no air introduced | A model-approved flush method may be suitable | Keep the reservoir above its outlet ports and replace fluid in the stated sequence |
| Reservoir ran dry, master cylinder was replaced, or an upstream line was opened | A complete factory air-bleeding procedure may be required | Do not assume wheel bleeding alone will remove all air |
| ABS actuator, accumulator, or electronically controlled brake component was replaced or emptied | Toyota-compatible diagnostic commands and special precautions may be required | Use the exact guided procedure or arrange professional service |
| System type, repair history, or correct procedure is unknown | Do not proceed by trial and error | Identify the vehicle by VIN and obtain the correct repair information |
How Do You Prepare a Toyota Camry for Brake Bleeding?
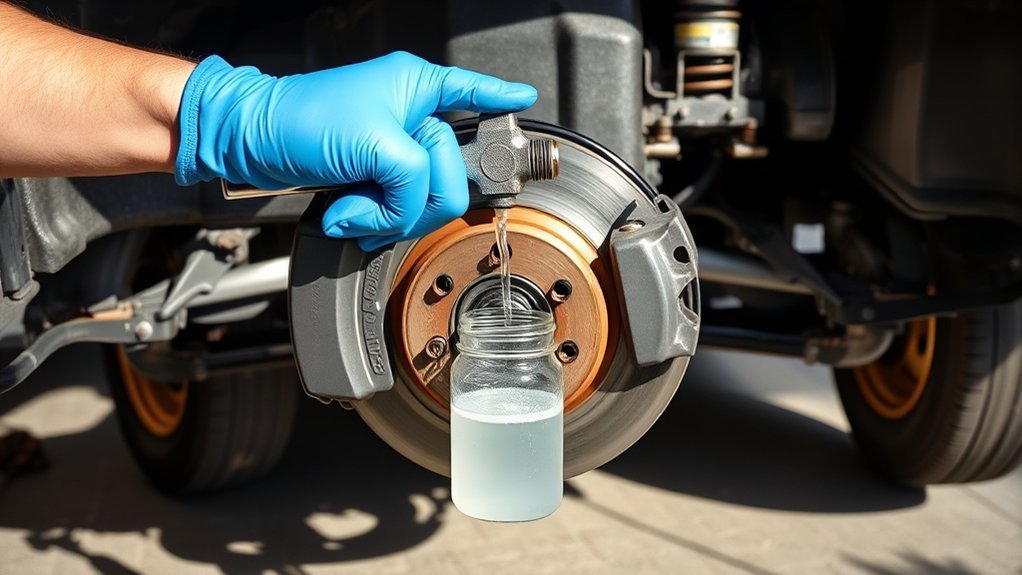
Identify the Camry’s model year, engine or hybrid powertrain, market, and brake-system configuration. Check the VIN when selecting service information so you do not apply a procedure written for a different generation, market, or brake actuator.
A two-person pedal bleed may be appropriate after a limited wheel-end repair when the factory procedure permits it and the reservoir has remained full. Replacing a master cylinder, ABS actuator, accumulator, or upstream hydraulic line can require additional steps before or during wheel bleeding.
Park on firm, level ground. Place the transmission in Park, apply the parking brake when the procedure allows it, and chock the wheels that remain on the ground. Loosen wheel nuts slightly before lifting. Raise the vehicle only at approved lift points and support it with properly rated jack stands. Never work under a vehicle supported only by a hydraulic jack.
Clean dirt from the reservoir cap before opening it. Brake fluid must stay clean and dry. Protect painted surfaces, keep shop towels nearby, and use only funnels or suction tools reserved for brake-fluid work.
On a conventional vacuum-booster system, the factory procedure may direct you to press the pedal several times with the ignition off to remove stored assist and create a consistent manual pedal feel. That step does not place a hybrid or electronically controlled brake system into its required service mode.
You may remove some old fluid from the reservoir with a clean, brake-fluid-only suction tool before a flush. Do not empty the reservoir, expose its outlet ports, remove an internal screen, or disconnect a hydraulic line unless the repair procedure specifically directs you to do so.
Pro Tip: Photograph the starting fluid level, hose routing, bleeder caps, caliper positions, and wheel locations. The photos make it easier to confirm that every part is reassembled and dry before the vehicle moves.
How Does Brake Bleeding Work on a Toyota Camry?
When Brake Bleeding Is Needed
Bleeding is commonly required after a caliper, wheel cylinder, brake hose, hydraulic line, master cylinder, or actuator circuit has been opened. It may also be needed if the reservoir ran low enough to draw air or if the pedal remains soft after a repair. A soft pedal can have other causes, so do not assume bleeding will correct a leak, damaged hose, incorrectly installed caliper, or failing master cylinder.
Brake bleeding and brake-fluid flushing are related but different tasks. Bleeding removes compressible air from the hydraulic system. Flushing moves fresh fluid through the system to replace old or contaminated fluid. A repair may require one or both procedures.
During a conventional two-person bleed, a helper slowly presses and holds the brake pedal. You briefly open one bleeder screw so fluid and air can leave. Close the bleeder before the helper releases the pedal. Releasing the pedal while the bleeder is open can draw air back through the bleeder.
The correct fluid, wheel order, diagnostic mode, accumulator precautions, and tightening torque come from the procedure for your exact Camry—not from the model name alone.
Some conventional systems are bled from the circuit farthest from the master cylinder toward the nearest circuit, but that is not a universal Camry rule. Do not assume a right-rear, left-rear, right-front, left-front sequence. Follow Toyota’s stated order for the exact vehicle and repair.
Check the reservoir after every few bleed cycles. Keep the fluid within the required range and never allow the level to fall low enough to expose a reservoir outlet.
What Tools Do You Need to Bleed Camry Brakes?
Gather every tool and supply before lifting the vehicle. Stopping midway to find fluid or a wrench increases the risk of contamination, an empty reservoir, or a missed reassembly step.
Essential Tools Required
- Factory repair information for the exact model year, powertrain, and brake system
- Fresh brake fluid that meets the specification on the reservoir cap or in the applicable manual
- A snug six-point box-end wrench that fully fits the installed bleeder screw
- Clear tubing that seals tightly over the bleeder nipple
- A stable, chemically compatible collection bottle or jar
- A clean funnel or filling tool reserved for brake fluid
- A floor jack, rated jack stands, and wheel chocks when wheel removal is required
- A torque wrench and correct wheel sockets
- Brake cleaner approved for external brake-component cleaning
- Shop towels and a sealable container for used fluid
- A compatible pressure or vacuum bleeder only when the model-specific procedure permits that method
Do not assume one bleeder-wrench size fits every Camry. Original and replacement calipers can use different hardware. Test the wrench for a full, snug fit before applying force, and stop if the screw begins to round or twist.
Brake Fluid Selection
Read the reservoir cap and the manual for your exact Camry before buying fluid. Do not substitute one grade for another based only on a higher DOT number or another owner’s experience. Current 49 CFR §571.116 requires brake-fluid labels to tell users to follow the vehicle manufacturer’s recommendation and keep the fluid clean and dry.
Use fluid from a new or properly sealed container. Never pour fluid from a catch bottle back into the reservoir. Do not mix brake fluid with motor oil, transmission fluid, power-steering fluid, mineral oil, silicone fluid, or any unknown product.
Keep the container tightly closed whenever you are not filling the reservoir. Buy enough fluid to complete the approved procedure without depending on old, partly used containers or an arbitrary replacement percentage.
Safety Gear Necessities
| Safety Item | Purpose | Required |
|---|---|---|
| Safety goggles | Protect your eyes from pressurized fluid and cleaner | Yes |
| Chemical-resistant gloves | Limit skin contact with brake fluid and cleaning products | Yes |
| Wheel chocks | Prevent unintended vehicle movement | Yes |
| Rated jack stands | Support the vehicle after lifting | Yes when lifted |
| Paint protection and towels | Reduce damage from accidental spills | Yes |
One-Person Brake-Bleeding Options
A compatible pressure bleeder, vacuum bleeder, one-way valve, or gravity method can reduce the need for a helper when Toyota’s procedure permits it. The tool does not change the required fluid, wheel order, reservoir limits, service mode, or actuator precautions.
| Method | Useful For | Main Limitation |
|---|---|---|
| Pressure bleeder | Steady fluid flow and reservoir support | Requires the correct sealed adapter and only the pressure allowed by the procedure and tool maker |
| Vacuum bleeder | Drawing fluid from a wheel without pedal pumping | Air can appear around bleeder threads or a loose hose, creating false bubbles |
| One-way valve or bottle | Some conventional pedal-bleed procedures | It must seal correctly and does not replace required actuator commands |
| Gravity bleed | Procedures that specifically allow slow gravity flow | It can be slow and may not remove air trapped in an upstream component |
Do not pressurize the reservoir with an improvised adapter or unregulated shop air. Stop if the adapter leaks, the reservoir deforms, the fluid level cannot be monitored, or the method conflicts with the Toyota procedure.
When Do Camry Brakes Require Techstream or a Scan Tool?
Do not rely on a generic pedal-bleeding procedure when the master cylinder, brake actuator, accumulator, or ABS hydraulic unit has been replaced, emptied, or opened. Air trapped inside an upstream component may not leave through normal wheel bleeding.
Hybrid and electronically controlled brake systems can require specific ignition states, accumulator-pressure precautions, relay or connector steps, and scan-tool commands. Do not assume the system is depressurized merely because the vehicle is not in READY mode. Follow the applicable repair manual before opening a bleeder or disconnecting a hydraulic component.
Note: A basic code reader is not necessarily able to run Toyota’s brake air-bleeding utility. Do not activate pumps or valves with an unsupported app, use a generic ABS command, or copy a procedure from another Toyota model.
Professional service is also the safer choice when the reservoir has run dry, the pedal falls to the floor, a bleeder is seized, the master cylinder may be bypassing internally, or fluid is leaking from a hose, line, caliper, wheel cylinder, actuator, accumulator, or master cylinder.
Bleeding a Rear Brake When Toyota’s Sequence Starts There
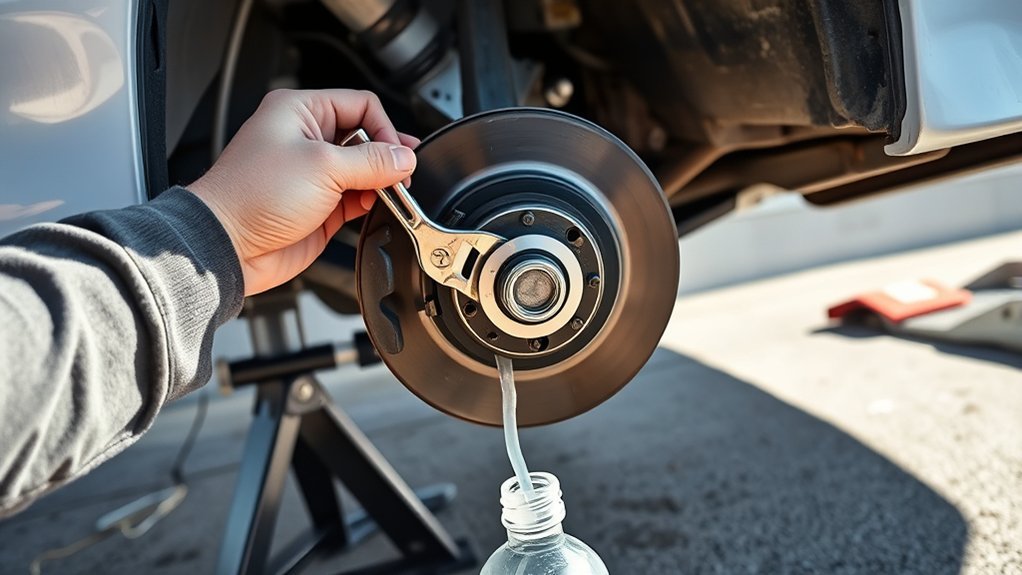
If the factory sequence for your Camry begins at a rear wheel, use the following pump-and-hold process only when that method is approved. If Toyota specifies another first wheel, a pressure method, or a diagnostic bleeding mode, follow that procedure instead.
- Prepare the reservoir. Clean the cap area, position the cap as directed, and fill the reservoir with the specified fresh fluid. Keep the opening shielded from dirt while allowing any venting required by the procedure.
- Expose the bleeder. Remove the rubber dust cap and clean the outside of the bleeder screw. Do not push dirt into the opening.
- Check caliper orientation. Confirm that the bleeder is at or near the highest point of the caliper or wheel cylinder. A caliper installed on the wrong side can trap air above the bleeder.
- Fit the wrench and tube. Place the correct box-end wrench over the screw, push the clear tube fully over the nipple, and place the other end in a stable collection bottle.
- Build gentle pedal pressure. Ask your helper to press the pedal slowly several times only if the procedure calls for pumping, then hold steady pressure. Avoid rapid pumping.
- Open the bleeder briefly. Turn it only far enough for fluid to flow. The pedal may move downward as pressure releases.
- Close before release. Tighten the bleeder gently while your helper continues holding the pedal down. Tell the helper to release the pedal only after you confirm that the bleeder is closed.
- Pause and refill. Let the pedal return slowly. Check the reservoir after every few cycles and add fresh fluid before it approaches the minimum mark or exposes an outlet.
- Repeat and watch the result. Continue until bubbles stop and the discharge meets the factory procedure. If bubbles persist without improvement, stop and inspect the tube seal, bleeder threads, reservoir level, opened connections, and required service mode.
- Finish the wheel. Tighten the bleeder to the specification for the installed caliper or wheel cylinder. Do not over-tighten it. Clean the area and reinstall the dust cap.
- Move to the next wheel. Repeat the approved process in Toyota’s specified order.
Do not force the pedal violently against the floor or use longer pedal travel than the procedure requires. A controlled stroke or suitable pedal stop can prevent unnecessary overtravel when the factory method permits it.
Bleeding a Front Brake in the Specified Sequence
Move to a front wheel only when it is next in the stated sequence. Support the vehicle correctly, remove the wheel when necessary, and locate the bleeder near the upper portion of the caliper.
Clean the bleeder, install the snug wrench and clear tubing, and repeat the approved helper sequence:
- Slowly press the pedal and hold it.
- Open the bleeder only enough to release fluid and air.
- Close the bleeder while the pedal remains down.
- Tell the helper to release the pedal slowly.
- Check and refill the reservoir.
- Repeat until the discharge is free of bubbles and the procedure’s completion condition is met.
If bubbles continue indefinitely, inspect the tubing connection around the bleeder. A loose tube or air entering around bleeder threads can create bubbles in the hose even when the hydraulic circuit is no longer releasing air.
Once the front wheel is complete, tighten the bleeder to the correct specification, clean the area, and reinstall its protective cap. Repeat at the remaining wheel or wheels in the prescribed order.
Why Won’t Toyota Camry Brakes Bleed Correctly?
Air Trapped in the System
Air can remain at high points, inside a master cylinder, or within an ABS actuator even after the fluid looks clear at the wheels. Persistent air is more likely when the reservoir ran dry or a component upstream of the wheel circuits was replaced.
Recheck the exact wheel order, reservoir level, hose fit, helper sequence, caliper orientation, and every opened connection. If the procedure calls for Techstream or another Toyota-compatible diagnostic function, manual wheel bleeding alone may not complete the repair.
No Fluid Flow or Persistent Bubbles
Little or no flow can result from a blocked or seized bleeder, a restricted hose, an empty reservoir, an incorrectly positioned caliper, a closed valve inside the system, or a service mode that has not been entered. Do not apply excessive torque to a seized bleeder or continue pumping an empty reservoir.
With a vacuum bleeder, bubbles may enter around the bleeder threads rather than come from inside the brake line. Seal and tube fit must be checked before treating every visible bubble as trapped hydraulic air.
Spongy or Sinking Brake Pedal
A soft or spongy pedal can indicate trapped air, an external leak, a flexible-hose problem, incorrect caliper installation, or an internal master-cylinder fault. A pedal that slowly sinks under steady pressure is a stop condition, even when no external leak is visible.
For a broader diagnostic path that separates trapped air from leaks, hose faults, master-cylinder bypass, and actuator problems, see Toyota Camry soft brake pedal causes and fixes.
| Problem | Likely Clue | Safe Response |
|---|---|---|
| Air remains in a wheel circuit | Bubbles appear and the pedal improves after correct repeated bleeding | Verify the sequence and repeat only the approved bleed method |
| Reservoir ran low | New bubbles appear after the fluid had become clear | Stop and follow the complete factory air-bleeding procedure |
| Hydraulic leak | Wet connection, falling fluid level, or sinking pedal | Do not drive; repair the leak before bleeding again |
| Bleeder blocked or seized | Little or no flow despite the correct procedure | Stop before rounding or breaking it and service the component |
| Master-cylinder internal bypass | Pedal slowly sinks without an obvious external leak | Do not road-test; have the system diagnosed |
| ABS or actuator air | Pedal remains abnormal after correct wheel bleeding | Use the model-specific guided procedure or professional service |
| Caliper installed on the wrong side | Bleeder sits below the top of the caliper and air will not clear | Correct the installation before bleeding again |
Essential Safety Tips for Bleeding Brakes
- Work on a level, solid surface with the vehicle secured against movement.
- Use approved lift points and rated jack stands. Never rely on the floor jack alone.
- Wear safety goggles and chemical-resistant gloves.
- Keep brake fluid away from painted surfaces and follow the product label for spill cleanup.
- Use only clean tools reserved for brake-fluid work.
- Never reuse fluid collected from a bleeder.
- Do not over-tighten bleeder screws.
- Replace damaged bleeder caps so dirt and water cannot collect around the opening.
- Do not try to replace a required ABS bleed utility by intentionally activating ABS on a road, gravel surface, or lift.
- Do not drive with a soft or sinking pedal, active brake warning, visible leak, weak braking, or uncertain wheel installation.
If a BRAKE, ABS, stability-control, or related warning remains illuminated after the procedure, read the applicable diagnostic information before moving the vehicle. Clearing a code or warning without diagnosing its cause does not prove that the brake system is safe.
If the red BRAKE or ABS warning remains on, use the separate Toyota Camry brake-system warning light guide to identify the warning before deciding whether the vehicle can be moved.
Final Steps in the Brake-Bleeding Process
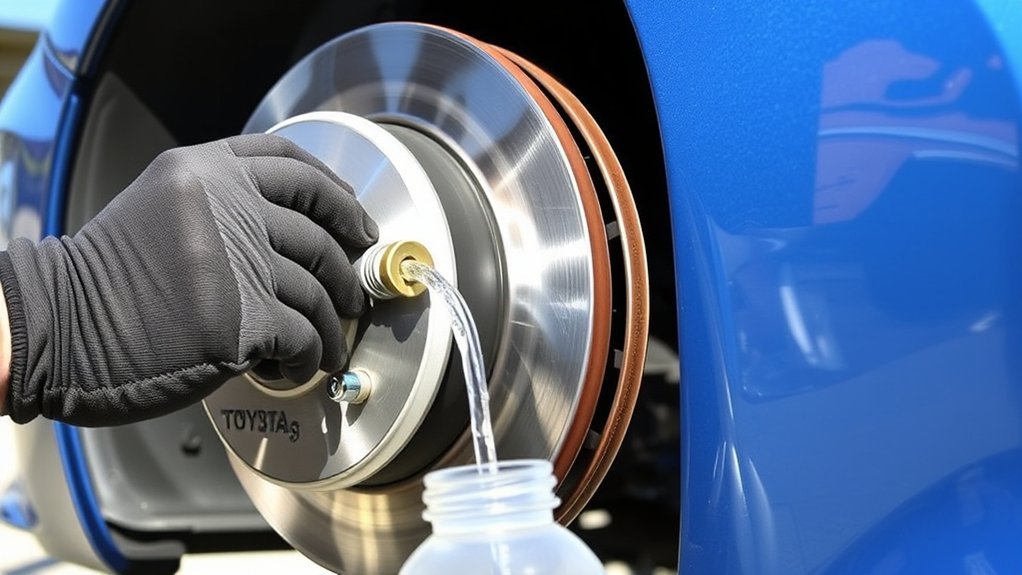
After completing every required wheel and any guided actuator steps, set the reservoir to the specified level. Do not overfill it. Reinstall the reservoir cap securely and wipe away external residue.
- Inspect every bleeder, hose, line, banjo fitting, caliper, wheel cylinder, master cylinder, actuator, and accumulator area that was disturbed.
- Confirm that each bleeder is tightened to the correct specification and protected by its dust cap.
- Clean external brake-fluid residue with an appropriate product while keeping cleaner away from rubber components and painted surfaces unless its label permits contact.
- Reinstall each wheel and hand-start every lug nut to prevent cross-threading.
- Lower the vehicle according to the correct lifting procedure.
- Tighten the wheel nuts in the specified pattern and to the torque listed for your Camry and wheel type.
- Operate the pedal or run the guided utility as directed, then check the reservoir level again.
- Reinspect every opened connection for fresh fluid before any moving test.
Collect used brake fluid in a sealed, compatible, clearly labeled container. Do not pour it down a drain, onto the ground, or into a storm sewer. Contact a local household hazardous-waste or automotive-fluid collection program. The U.S. Environmental Protection Agency’s household hazardous-waste guidance recommends checking local collection and disposal options.
How to Test Your Brakes After Bleeding
Complete a stationary inspection before attempting any road test. Configure the ignition, hybrid system, or READY mode only as directed for your model. Press the brake pedal as specified, then hold steady pressure for the check described by the applicable procedure while another person inspects every disturbed connection for fresh leaks.
The pedal should feel consistent and should not continue moving toward the floor. Normal brake-assist behavior differs between conventional and electronically controlled systems, so compare the result with the model-specific procedure rather than relying on pedal height alone.
| Test | Acceptable Result | Stop Condition |
|---|---|---|
| Steady pedal hold | Pedal remains stable for the full check | Pedal slowly sinks or reaches the floor |
| Leak inspection | All fittings and bleeders remain dry | Any fresh fluid appears |
| Warning-light check | Normal startup sequence with no persistent brake fault | BRAKE, ABS, or stability warning remains on |
| Walking-speed test | Car stops smoothly, promptly, and predictably | Delayed, uneven, noisy, or weak braking |
| Post-test inspection | Fluid level remains stable and components stay dry | Level drops or leakage develops |
Perform the first moving test at walking speed in a clear, private area. Stop immediately if the pedal feels abnormal, the car pulls, braking is delayed, unusual hydraulic noises occur, or a warning appears. Reinspect the system before gradually increasing speed. Do not enter public traffic until braking is normal and every inspection passes.
Frequently Asked Questions
How do you bleed Toyota Camry brakes?
Confirm the procedure and fluid for the exact model year, keep the reservoir full, connect clear tubing to the first bleeder in Toyota’s specified sequence, and use the approved press, hold, open, close, and release cycle. Complete every required wheel or guided actuator step, then inspect and test before driving.
Can you bleed Camry brakes by yourself?
A compatible pressure bleeder, vacuum bleeder, one-way tool, or gravity method can allow one-person work when Toyota’s procedure permits it. Follow the tool limits and keep the reservoir full. A one-person tool does not replace a required ABS or electronically controlled brake utility.
How do you bleed air out of a Camry ABS system?
Use the repair manual for the exact Camry. Air inside an ABS or brake actuator may require Toyota-compatible diagnostic equipment to operate pumps and valves in a controlled sequence. Do not run a generic ABS command or copy a procedure from another model.
Do you bleed brakes with the reservoir cap on or off?
Position the cap exactly as the approved bleeding method requires. The reservoir may need to vent, but the fluid must stay protected from dirt and moisture. Never pressurize the reservoir unless you are using a compatible adapter, tool, pressure limit, and model-approved procedure.
What brake fluid should you use in a Toyota Camry?
Use the exact brake-fluid specification printed on the reservoir cap or listed in the owner’s or repair manual for your model year and market. Do not choose fluid only because another Camry used it or because a higher DOT number appears better.
What order should Toyota Camry brakes be bled in?
Use Toyota’s sequence for the exact year, brake configuration, and repair. Many conventional procedures begin with a rear circuit, but hybrid, electronically controlled, split-circuit, or repair-specific procedures can use a different order.
Why is no fluid coming from the bleeder screw?
Possible causes include a blocked or seized bleeder, a restricted hose, an empty reservoir, an incorrectly installed caliper, a closed hydraulic valve, or a procedure that requires actuator control. Stop before damaging the bleeder and diagnose the cause instead of applying excessive force.
Why is the brake pedal still soft after bleeding?
The system may still contain air, the reservoir may have run low, a caliper may be installed with its bleeder below the trapped air, or there may be a leak, damaged hose, master-cylinder fault, or actuator air. Do not road-test until the cause is found.
Can you activate ABS while driving to remove trapped air?
No. Intentionally activating ABS on a road or loose surface is not a safe substitute for Toyota’s guided bleed procedure. If actuator air requires pump or valve operation, use the model-specific diagnostic utility or professional service.
Do you need to bleed Camry brakes after replacing pads or rotors?
Not automatically. If you replaced only pads or rotors, did not open a hose, caliper line, master-cylinder line, or other hydraulic connection, and the reservoir did not run dry, bleeding is not normally part of the job. If the pedal is soft, a hydraulic connection was opened, or the model-specific procedure requires bleeding, follow the Toyota repair information for that vehicle.
Should the engine be on or off when bleeding Toyota Camry brakes?
Use the ignition or READY state specified for the exact Camry and procedure. A conventional pedal bleed may be performed with the power assist inactive, while hybrid or electronically controlled systems can require a specific power state, depressurization step, or diagnostic utility. Do not assume one engine-on or engine-off rule applies to every Camry.
Conclusion
Bleeding Toyota Camry brakes safely requires more than opening each bleeder and pumping the pedal. Use the correct model-year procedure, approved fluid, wheel order, support equipment, tightening specifications, and testing sequence. Keep the reservoir full, close every bleeder before releasing the pedal, and stop if you find a leak, warning light, or unstable pedal.
A conventional manual bleed may be appropriate after a limited wheel-end repair. Air inside a master cylinder, ABS actuator, accumulator, or electronically controlled hybrid brake system can require Toyota-specific diagnostic steps. When the correct method is uncertain, have the vehicle serviced rather than risk incomplete braking.
For routine checks after the repair is complete, see the separate Toyota Camry brake inspection guide.
Sources
- Toyota Manuals and Warranties — model-specific owner information and manual access
- Toyota Technical Information System — factory repair manuals, service bulletins, diagnostics, and Techstream resources
- 49 CFR §571.116, Motor Vehicle Brake Fluids — federal brake-fluid performance, packaging, labeling, contamination, and storage requirements
- U.S. EPA Household Hazardous Waste Guidance — safe handling and local disposal guidance for potentially hazardous household products
