
Changing the front radar sensor in a Toyota RAV4 is not a simple plug-and-play repair. The sensor can affect safety features such as the Pre-Collision System and Dynamic Radar Cruise Control, so the physical replacement and the calibration both matter. You can inspect the area, remove the bumper, and replace the sensor if you have the right skill level, but final calibration should follow Toyota service information and use the correct ADAS equipment for your exact model year.
Quick Answer
To change a Toyota RAV4 radar sensor, confirm the sensor is actually faulty, disconnect the battery, remove the front bumper, unplug and replace the sensor, reinstall the bumper correctly, then complete OEM-style radar calibration with a Toyota-compatible scan tool and approved target setup before relying on PCS or radar cruise control.
Key Takeaways
- Do not replace the radar sensor until you check for easier causes, such as a dirty emblem, loose connector, damaged bumper bracket, weak battery, or stored diagnostic code.
- The front radar mainly supports features such as Pre-Collision System and Dynamic Radar Cruise Control, but the exact system depends on your RAV4 year, trim, and market.
- Radar calibration is safety-critical. A sensor that looks installed correctly can still be aimed incorrectly.
- Use a Toyota dealer or ADAS-capable repair shop if you do not have the correct scan tool, target stand, measurements, and level calibration space.
At a Glance
| Time Required | About 2 to 4 hours for careful removal and installation, plus calibration time. Complex calibration failures can take longer. |
| Difficulty | Advanced DIY for hardware replacement; professional-level for radar calibration. |
| Tools Needed | Trim tools, socket set, screwdriver set, torque wrench, battery wrench, Toyota-compatible scan tool, OEM repair information, calibration target/stand, measuring tools, and a level work area. |
| Cost | Often several hundred to more than $1,500 depending on the sensor, labor, calibration, and any bumper or bracket damage. Ask for a written quote before repair. |
Warning: Do not rely on Pre-Collision System, Dynamic Radar Cruise Control, or related driver-assistance features until the radar sensor has been installed, scanned for codes, and calibrated correctly. These systems assist the driver, but they do not replace safe driving or driver attention.
Confirm the Radar Sensor Needs Replacement First
Before you remove the bumper, confirm that the radar sensor is the actual problem. A RAV4 may show a PCS warning, radar cruise warning, or unavailable safety-system message because the front emblem is dirty, the bumper is misaligned, the connector is loose, the sensor bracket is bent, or the battery voltage is low.
Start with the basics. Clean the front emblem or grille area where the radar sits, inspect the bumper for impact damage, and check whether any accessories, license plate brackets, paint, wrap, stickers, or grille changes block the radar path. Then scan the vehicle for diagnostic trouble codes with a Toyota-compatible scan tool.
Also confirm the exact system on your RAV4. Toyota Safety Sense equipment varies by model year, trim, and market, so check your owner’s manual or Toyota service information before ordering a sensor. Toyota’s safety information explains that features such as Pre-Collision System and Dynamic Radar Cruise Control operate under specific conditions and may vary by vehicle.
Note: If the warning appeared after a front-end collision, bumper repair, grille replacement, emblem replacement, suspension work, wheel alignment, or sensor removal, the issue may be calibration or mounting alignment rather than a failed radar unit.
Why Changing the Radar in Your RAV4 Is Essential for Safety
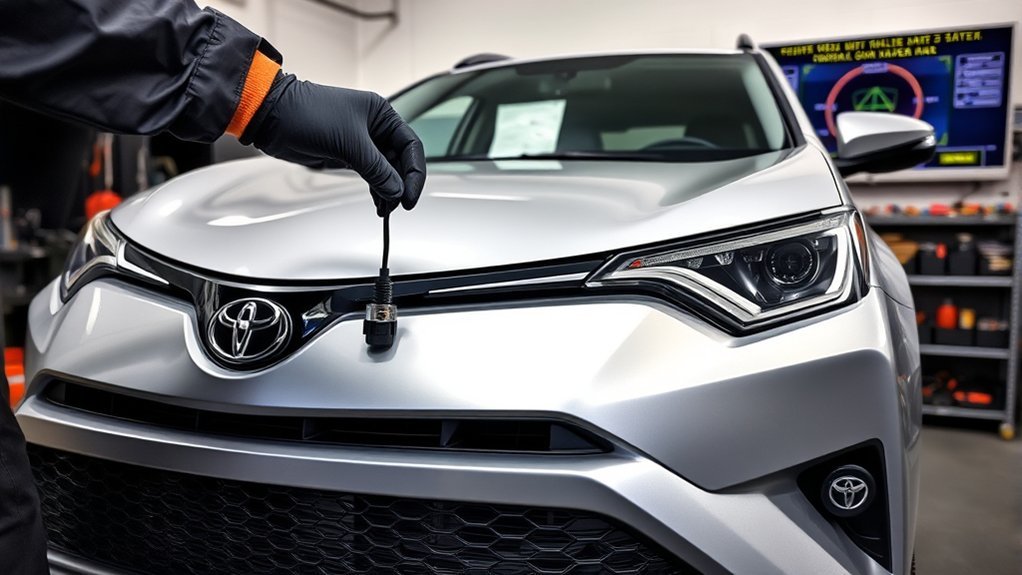
The front radar sensor helps your RAV4 monitor the area ahead of the vehicle. Depending on your model year and equipment, it may support features such as Pre-Collision System and Dynamic Radar Cruise Control. When the sensor is damaged, loose, blocked, or misaligned, those systems may warn late, warn incorrectly, turn off, or set diagnostic trouble codes.
A radar sensor can be physically installed but still aimed incorrectly. Calibration is the step that helps the vehicle understand where the sensor is pointing.
Front crash prevention systems can help warn the driver and may apply braking in some situations, but they have limits. Weather, road conditions, sensor blockage, poor alignment, and vehicle speed can affect performance. That is why a radar sensor repair should include careful mounting, code checks, and calibration instead of only replacing the part.
Tools and Equipment Needed to Replace Your Radar Sensor
Replacing the radar sensor in your Toyota RAV4 requires basic bumper-removal tools and specialized ADAS equipment. Do not treat a generic scanner as enough unless it can run the correct radar calibration procedure for your vehicle.
- Plastic trim tools for clips and bumper retainers
- Metric socket set, ratchet, and screwdrivers
- Torque wrench for brackets and sensor fasteners
- Battery wrench for disconnecting the negative terminal
- Painter’s tape or labels for connectors and hardware locations
- OEM replacement radar sensor or a compatible part confirmed by VIN
- Toyota repair information for your exact year and trim
- Toyota-compatible scan tool with ADAS calibration functions
- Approved radar calibration target, stand, measuring tools, and level floor space
Some shops use systems such as ADASLink® with a VCI, radar stands, lasers, and distance-measuring equipment. The exact setup can vary, so follow the service procedure for your RAV4 rather than copying a generic tool list.
Pro Tip: Order the sensor by VIN, not by appearance alone. Radar sensors can look similar while using different software, brackets, or calibration requirements.
Step-by-Step Guide: How to Remove the Front Bumper
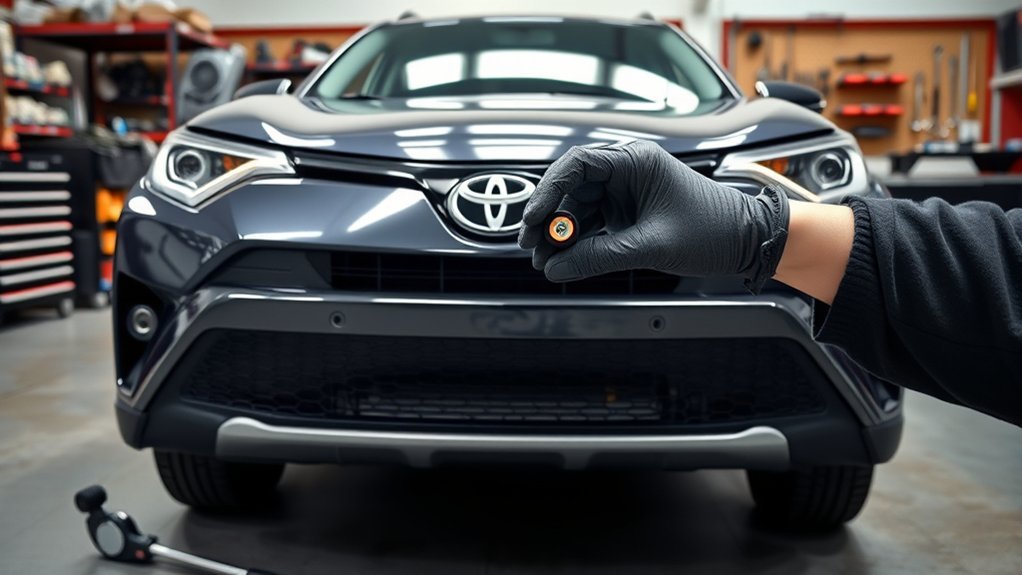
Removing the front bumper gives you access to the radar sensor and its mounting bracket. The exact clip and screw locations vary by RAV4 year, trim, fog light setup, parking sensors, and grille style, so use your service manual as the final guide.
- Park on a level surface, set the parking brake, turn the ignition off, and remove the key from the vehicle.
- Disconnect the negative battery terminal and wait before working near electrical connectors or front-end components.
- Protect painted edges with painter’s tape where the bumper meets the fenders and headlights.
- Remove the upper clips or fasteners along the radiator support area.
- Remove the screws and clips inside the front wheel wells.
- Remove the lower splash shield fasteners beneath the front bumper.
- Gently pull back the inner fender liners to access hidden bumper fasteners near the corners.
- Disconnect fog light, parking sensor, camera, or radar-related connectors as needed, and label them for reassembly.
- Release the side bumper tabs carefully so you do not crack the bumper cover or break retaining clips.
- Lift the bumper cover away with help from another person and place it on a clean padded surface.
Do not force the bumper if it feels stuck. A hidden clip, screw, or connector may still be attached. Pulling hard can bend the bumper, damage brackets, or change the radar sensor mounting position.
Disconnecting and Replacing Your RAV4 Radar Sensor
Once the bumper is removed, locate the front radar sensor and inspect the bracket before removing anything. A bent bracket or cracked mounting point can cause calibration failure even with a new sensor.
Safety Precautions First
Keep the vehicle off, the battery disconnected, and the radar connector protected from dirt or moisture. Wear gloves and eye protection. Avoid static discharge, and do not drop the sensor. A radar sensor is a precision electronic part, not a standard trim component.
Take photos before disassembly. Capture the connector routing, sensor angle, bracket location, and fastener positions. These photos can help during reassembly, especially if multiple clips or harnesses run behind the bumper.
Step-by-Step Replacement Guide
- Inspect the old sensor, bracket, connector, and nearby harness for impact damage, corrosion, or broken locking tabs.
- Disconnect the electrical connector by releasing the lock tab without pulling on the wires.
- Remove the sensor fasteners while supporting the sensor with your other hand.
- Compare the old and new sensors, part numbers, connector shape, and mounting points before installation.
- Install the new sensor on the bracket without bending the bracket or forcing the sensor into place.
- Tighten fasteners to the service-manual specification if available.
- Reconnect the electrical connector until the lock clicks fully into place.
- Reinstall the bumper carefully, making sure the bumper cover, grille, emblem, and sensor area sit flush and straight.
- Reconnect the battery and scan the vehicle for codes before calibration.
Warning: Do not bend the radar bracket to “make it fit.” A small bracket angle change can affect sensor aim and cause calibration problems.
Calibration Preparation: Getting Ready After Sensor Installation
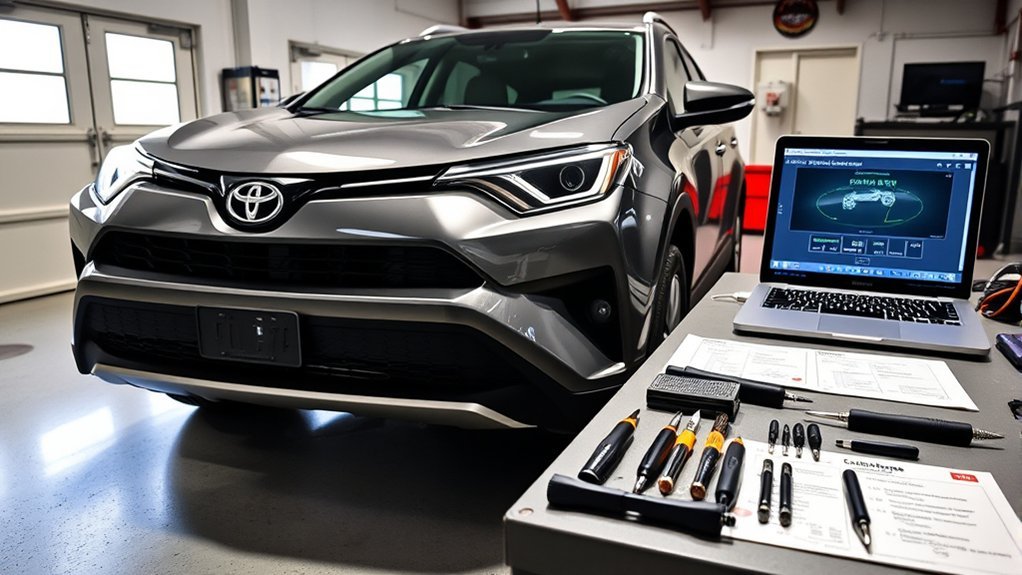
Calibration preparation matters as much as the sensor replacement. The vehicle, target, floor, tire pressure, steering angle, and surrounding area can all affect the result.
Use this checklist before starting radar calibration:
| Step | What to Check |
|---|---|
| Level Surface | Park on a flat, level surface that meets the calibration tool requirements. |
| Tires and Alignment | Set tire pressure correctly and confirm the vehicle does not have obvious alignment or ride-height issues. |
| Radar Area | Clean the emblem or grille area and remove dirt, ice, wax, stickers, paint overspray, or accessories that may block radar waves. |
| Vehicle Condition | Close the doors, remove excess cargo, and keep the battery charged during the procedure. |
| Calibration Space | Keep the target area clear of people, tools, moving vehicles, and large metal objects unless the procedure requires a specific target. |
The Calibration Process: Aligning Your Radar Sensor
Radar calibration aligns the sensor with the vehicle’s centerline so the system can correctly judge the area ahead. This is why calibration must use the correct scan tool prompts, target location, measurement points, and service information for your RAV4.
Calibration Preparation Steps
- Connect a Toyota-compatible scan tool and check for current diagnostic trouble codes.
- Confirm the steering wheel is straight and the vehicle is positioned according to the calibration procedure.
- Measure from the required vehicle reference points, not from random bumper edges.
- Set the radar target or stand at the exact distance, height, and angle required by the procedure.
- Keep the calibration area still and clear while the scan tool runs the procedure.
- Save or print the calibration report if the tool provides one.
Alignment Verification Techniques
During alignment verification, focus on the sensor bracket, vehicle centerline, target placement, and scan-tool result. If the scan tool reports a failed calibration, do not keep adjusting blindly. Recheck bumper fitment, bracket damage, sensor part number, target distance, floor level, tire pressure, and stored codes.
Research on radar and camera calibration shows that sensor alignment has a direct effect on how vehicle perception systems interpret the area around the vehicle. That is why radar calibration should be treated as a precision repair, not a quick reset.
Troubleshooting Common Calibration Issues
Calibration problems usually come from setup errors, damaged parts, or conditions around the vehicle. Work through the basics before replacing the sensor again.
- PCS or radar cruise warning stays on: Scan for codes and confirm the sensor connector is fully locked.
- Calibration will not start: Check battery voltage, scan-tool compatibility, vehicle model selection, and required preconditions.
- Calibration fails repeatedly: Inspect the radar bracket, bumper reinforcement, grille, emblem, and target placement.
- System works sometimes but not always: Clean the radar area and check for accessories or bumper repairs that may block or distort the radar signal.
- Warning appeared after a collision: Look for hidden structural or bracket damage before assuming the new sensor is bad.
- Codes return after clearing: Do not ignore them. A returning code means the system still sees a problem.
Note: Some calibration routines require specific lighting, target space, wheel alignment, or road-test conditions. If the procedure fails twice after you verify setup, stop and use a qualified ADAS repair shop.
How to Test Your New Radar Sensor for Optimal Performance
After installation and calibration, test the system safely. Do not try to trigger automatic braking by driving toward a person, wall, parked car, or object. That is dangerous and can damage the vehicle.
- Scan all related modules and confirm there are no active radar, PCS, cruise control, camera, or communication codes.
- Confirm the instrument cluster does not show PCS, radar cruise, or sensor-unavailable warnings.
- Verify that Dynamic Radar Cruise Control turns on normally in a safe road environment where the feature is allowed.
- Check that the front emblem or grille area is clean after reassembly.
- Listen for rattles or loose bumper clips that could point to poor bumper fitment.
- Ask the shop for a calibration report if a professional calibration was performed.
If warning lights return during the first few drives, scan the vehicle again instead of assuming the system is “learning.” A properly completed repair should not leave active safety-system faults.
Routine Maintenance Tips to Keep Your RAV4’s ADAS Functioning Properly
Routine care helps the radar sensor and related driver-assistance systems work as designed. Keep the front emblem, grille, and bumper area clean, especially after mud, snow, ice, heavy rain, wax, or bug buildup.
- Do not place stickers, covers, paint, wraps, or metal accessories over the radar area.
- Inspect the front bumper after any parking impact, curb strike, or minor collision.
- Check tire pressure regularly, since ride height can affect calibration and sensor aiming.
- Recalibrate the system after front radar replacement, bracket replacement, bumper repair, or front-end structural repair if the service procedure requires it.
- Use the owner’s manual to understand system limitations and warning messages.
- Do not ignore a PCS, radar cruise, or ADAS warning light.
Frequently Asked Questions
How much does it cost to replace a Toyota RAV4 radar sensor?
The total cost can range from several hundred dollars to more than $1,500, depending on the sensor price, model year, labor rate, calibration charge, and whether the bumper or bracket also needs repair. Get a written quote that separates the sensor, labor, and calibration.
Can I replace the radar sensor myself?
You may be able to replace the physical sensor if you are comfortable removing the bumper and working with vehicle electronics. Calibration is the harder part. If you do not have the correct scan tool, target setup, and service information, have a Toyota dealer or ADAS-capable shop complete the calibration.
What are signs of a failing or misaligned radar sensor?
Common signs include PCS warnings, radar cruise control unavailable messages, active diagnostic trouble codes, false alerts, no alerts when expected, or warnings after front bumper repair. These signs can also come from blockage, wiring damage, bracket damage, or poor calibration.
Will replacing the radar sensor void my warranty?
A repair does not automatically void the entire vehicle warranty, but a wrong part, poor installation, or failed calibration may affect related warranty claims. Warranty rules vary by country and coverage terms, so check with your Toyota dealer before using aftermarket parts or DIY repair on an ADAS component.
How long does radar sensor calibration take?
Many shops may complete calibration in about one to two labor hours, but the time can increase if codes return, the bumper is misaligned, the sensor bracket is bent, or the calibration area does not meet the required setup. Ask whether the shop includes a calibration report.
Can I drive before calibration is complete?
You may be able to drive the vehicle mechanically, but you should not rely on PCS, radar cruise control, or related driver-assistance features until calibration and code checks are complete. If warning lights are active, drive cautiously and schedule service as soon as possible.
Does bumper removal always require radar calibration?
Not every bumper removal automatically means the radar is out of calibration, but many front-end repairs can disturb the sensor, bracket, emblem, or bumper alignment. If the radar sensor was removed, replaced, hit, bracket-adjusted, or the service manual calls for calibration, complete the calibration before relying on the system.
Conclusion
Replacing a Toyota RAV4 radar sensor can restore important driver-assistance features, but only when the job is done correctly. The safest approach is to diagnose the warning first, protect the bumper and wiring during removal, install the correct sensor, and complete calibration with proper ADAS equipment.
If you only have basic hand tools, treat this as a repair that may need professional help. A poorly aimed radar sensor can create warning lights, false alerts, or reduced system performance. Use Toyota service information, scan for codes, and confirm calibration before you trust the system on the road.
Sources
- Toyota Safety Hub — backs Toyota Safety Sense feature descriptions and the need to check vehicle-specific owner information.
- NHTSA Driver Assistance Technologies — backs driver-assistance terminology, driver responsibility, and technology limitations.
- IIHS Advanced Driver Assistance — backs front crash prevention system explanations, sensor use, and real-world safety context.
- 3D Radar and Camera Co-Calibration study — backs the importance of precise radar/camera calibration in sensor-based systems.
- FTC Auto Warranties and Service Contracts — backs cautious warranty guidance and the need to review coverage terms.
