
On a Toyota RAV4 equipped with Blind Spot Monitor, the rear side radar sensors are mounted behind the left and right rear bumper corners. They support Blind Spot Monitor (BSM) and Rear Cross-Traffic Alert (RCTA), while the forward radar used by Dynamic Radar Cruise Control and the Pre-Collision System is a different component. Identify the warning and your exact model year before cleaning, removing, or replacing anything.
Last updated: September 19, 2026 — technical claims rechecked against Toyota owner information and Toyota/NHTSA service guidance.
Quick Answer
To access a Toyota RAV4 rear radar sensor, you generally remove the rear bumper cover; the left and right modules sit behind the bumper corners. Do not remove the bumper just to clean them—clean the exterior bumper surfaces over the sensor zones. If a sensor, bracket, or mounting area is removed, replaced, bent, or impact-damaged, follow the exact model-year repair procedure for diagnostics and any required beam-axis adjustment or calibration.
Key Takeaways
- Rear side radar sensors support Blind Spot Monitor and Rear Cross-Traffic Alert, not Dynamic Radar Cruise Control. Some newer-generation RAV4s may use rear-side radar for additional assistance functions depending on market and equipment.
- Routine cleaning is performed on the exterior rear bumper areas in front of the hidden sensors.
- Direct sensor access normally requires removing the rear bumper cover using the procedure for the exact model year and trim.
- Do not loosen a sensor or bend its bracket during a basic inspection because small alignment changes can affect detection.
- Replacement, bracket repair, impact damage, or misalignment faults may require Toyota-capable diagnostics and beam-axis calibration.
At a Glance
| Time Required | Exterior cleaning is brief; bumper-cover access time varies by model year, equipment, fastener condition, and experience |
| Difficulty | Easy for exterior cleaning; intermediate for bumper removal; advanced for diagnosis, replacement, or calibration |
| Tools Needed | Microfiber cloth, mild car-wash solution, trim-removal tools, model-appropriate sockets, ratchet, protective tape, padded blanket, work light, and the exact repair instructions |
| Cost | Little to no cost for cleaning; diagnostic, calibration, bumper repair, and sensor-replacement costs vary by model year and local labor rates |
Warning: Blind Spot Monitor and Rear Cross-Traffic Alert are supplemental driver-assistance systems. Never rely on them instead of mirrors, shoulder checks, direct observation, and careful reversing. Do not treat a cleared warning light as proof that a disturbed or replaced radar sensor is correctly aligned.
Do You Need to Clean, Access, or Calibrate the RAV4 Rear Radar Sensor?
| Situation | Best First Step |
|---|---|
| Mud, snow, ice, salt, or a temporary obstruction over the rear bumper corners | Clean the exterior bumper only; do not remove the bumper for routine cleaning |
| Persistent BSM/RCTA warning with no obvious impact damage | Follow the model-year recovery guidance, then scan the BSM system if the warning remains |
| Connector, wiring, water-intrusion, or bracket inspection is needed | Access the modules using the exact rear-bumper removal procedure |
| Sensor/bracket removal, replacement, impact damage, or a misalignment fault | Perform the repair-manual inspection and any required beam-axis confirmation or calibration before relying on the system |
Which RAV4 Radar Sensor Is Causing the Warning?
The phrase “rear radar sensor” is often used for several different components. Before troubleshooting, match the warning or symptom to the correct system.
| Component | Typical Location | Main Functions |
|---|---|---|
| Rear side radar sensors | Behind the left and right rear bumper corners | Blind Spot Monitor and Rear Cross-Traffic Alert; some newer-generation vehicles may use rear-side radar for additional assistance functions depending on market and equipment |
| Front millimeter-wave radar | At the front grille, emblem, or front radar cover, depending on model year | Dynamic Radar Cruise Control and parts of the Pre-Collision System |
| Parking-assist sensors | Small, usually round sensors visible in the front or rear bumper | Short-range obstacle detection while parking |
| Rear camera | Near the liftgate handle or above the license plate | Rear-view image and camera-based parking assistance |
The 2024 Toyota RAV4 Quick Reference Guide describes Blind Spot Monitor and Rear Cross-Traffic Alert separately from Toyota Safety Sense and Dynamic Radar Cruise Control. This distinction prevents you from cleaning or disassembling the rear bumper when the actual warning concerns the front radar.
What Do the RAV4 Rear Radar Sensors Do?
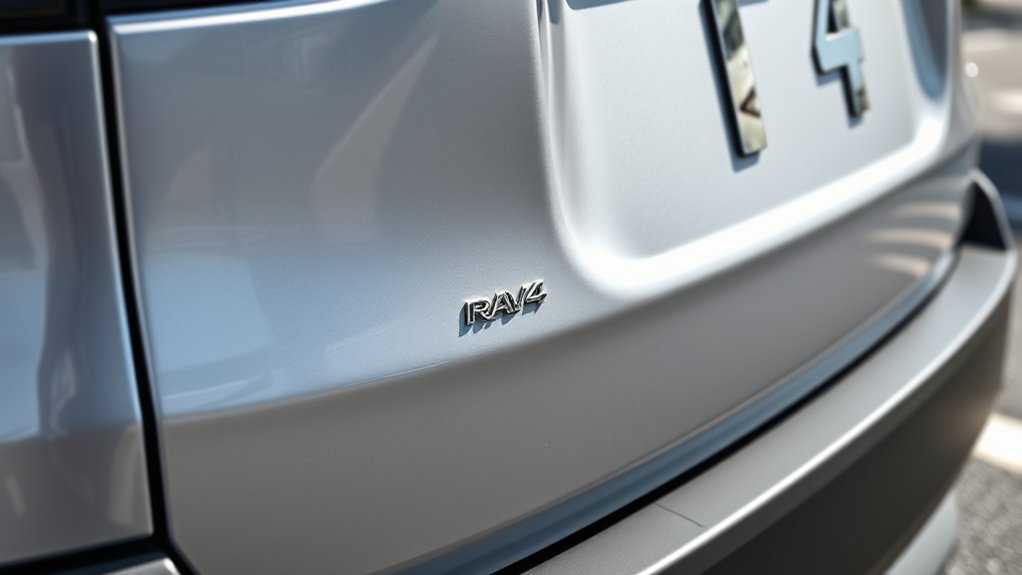
On a RAV4 equipped with Blind Spot Monitor, rear side radar modules monitor areas beside and behind the vehicle. The system can illuminate an indicator in the applicable outside mirror when it detects a vehicle in or approaching the monitored area.
Rear Cross-Traffic Alert uses the rear side radar sensors while the vehicle is reversing. When the system detects qualifying cross traffic, it may flash the mirror indicators, sound a buzzer, and display an alert on the multimedia screen. Equipment and display behavior vary by model year and trim.
The modules are concealed behind the bumper cover rather than exposed like visible parking sensors. Their position and angle matter. A sensor that looks undamaged can still perform incorrectly if its bracket, mounting area, or beam axis has shifted after an impact or repair.
The rear side radar modules support Blind Spot Monitor and Rear Cross-Traffic Alert and do not serve as the primary radar for Dynamic Radar Cruise Control. Toyota’s newer-generation RAV4 documentation also assigns additional functions to rear-side radar on some vehicles, so always match the feature to the exact model year and market.
Can You Clean the Rear Radar Sensors Without Removing the Bumper?
Yes. Routine cleaning does not require access to the hidden electronic modules. Wash the exterior surfaces of the rear bumper corners where the radar signals pass through the bumper cover.
- Park safely, switch the vehicle off, and allow the bumper surface to cool.
- Rinse away loose mud, road salt, snow, or grit.
- Use a clean microfiber cloth with water or a mild automotive wash solution.
- Wipe gently instead of scrubbing with an abrasive pad.
- Remove temporary stickers, tape, packed snow, or accessories covering the sensor zones.
- Dry the bumper with a clean microfiber towel.
Do not remove the bumper merely to clean the module. Also avoid attaching metallic tape, thick decorative coverings, bumper guards, stickers, or other accessories over the sensor zones unless Toyota identifies them as compatible.
Note: Toyota does not prescribe a universal monthly cleaning interval. Clean the rear bumper whenever mud, ice, snow, road film, stickers, or other material could obstruct the radar zones, especially after winter driving or off-road travel.
Toyota’s post-cleaning recovery guidance is model-year dependent. Some RAV4 owner manuals specify driving with the BSM operating conditions satisfied for a period after dirt or snow is removed before treating the warning as persistent. Use the owner’s manual for your exact model year rather than applying one universal timer, and do not confuse a post-cleaning recovery drive with calibration after a sensor or bracket has been disturbed.
What Does a RAV4 Radar Warning Mean?
Do not assume every message containing the word “radar” points to the rear bumper. Read the full dashboard message and note which features stopped working.
| Symptom or Message | Likely System | First Action |
|---|---|---|
| BSM or RCTA unavailable, or a message directs you to clean a rear sensor area | Rear side radar | Clean the exterior left and right rear bumper corners and check for impact damage or accessories |
| Dynamic Radar Cruise Control or Pre-Collision System radar unavailable | Front radar and/or forward camera | Inspect and clean the front radar cover, emblem, grille area, and windshield camera area as directed by the owner’s manual |
| Parking-assist buzzer or obstacle display behaves incorrectly | Ultrasonic parking sensors | Clean the visible round bumper sensors and inspect them for damage |
| BSM malfunction, persistent warning, or one mirror indicator stays on incorrectly | Rear radar, wiring, indicator circuit, mounting, or calibration | Use a Toyota-capable scan tool and inspect the system according to the exact repair manual |
Where Are the RAV4 Rear Radar Sensors Located?
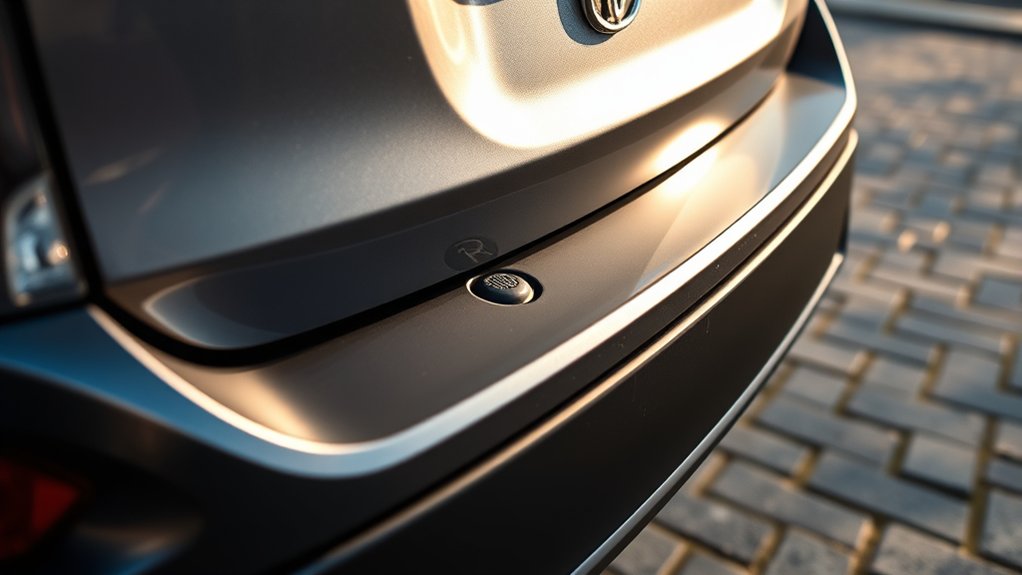
- Confirm that BSM is equipped. Look for Blind Spot Monitor symbols in the outside mirrors and a BSM setting in the multi-information display. Availability varies by year and trim.
- Identify the rear bumper corners. Equipped vehicles generally have a left and right radar module positioned behind the bumper cover near the rear quarter-panel areas.
- Do not look for a visible lens. The rear radar modules are concealed; the small circles visible on some bumpers are parking sensors, not the BSM radar modules.
- Use the correct manual. Find the owner’s manual and repair information for the exact model year, powertrain, trim, and installed equipment through Toyota’s Manuals and Warranties portal.
- Remove the bumper cover only when direct access is necessary. Examples include connector inspection, bracket inspection, water-intrusion diagnosis, sensor replacement, or collision repair.
RAV4 generations and powertrains do not use one universal bumper procedure. Fasteners, clips, harnesses, hands-free liftgate equipment, sensor brackets, and calibration steps can vary by model year, drivetrain, production date, and installed equipment.
Tools and Safety Preparation
For direct sensor access, prepare the work area before releasing any bumper clips. Useful tools commonly include:
- Plastic trim-removal tools
- A model-appropriate socket and ratchet set
- Phillips and flat-blade screwdrivers, where specified
- A small torque wrench for fasteners with published torque values
- Low-tack automotive masking tape for painted edges
- A padded blanket or bumper stand
- Containers for separating clips and fasteners by location
- A work light
- A second person to support the bumper cover
- An enhanced Toyota-capable scan tool for diagnostic work
Warning: Do not treat battery disconnection as a universal first step or as a method for erasing a fault. Keep the ignition off and the key away from the vehicle, then follow the exact repair manual. If that procedure requires disconnecting the 12-volt negative terminal, observe its waiting period and initialization instructions. On hybrid and plug-in hybrid models, never touch orange high-voltage cables or components.
How to Remove the Rear Bumper Cover for Sensor Access
The following is a safe overview rather than a substitute for the model-year repair manual. Exact fastener positions, clip directions, and torque values must come from the applicable Toyota procedure.
- Park on a level surface. Apply the parking brake, select Park, switch the vehicle off, and keep the electronic key away from the work area.
- Open the liftgate and protect painted edges. Apply low-tack automotive tape where the bumper cover meets the quarter panels and lamp areas.
- Follow the repair manual’s power procedure. Disconnect the 12-volt battery only when directed for the equipment and repair being performed.
- Remove the specified upper, lower, and wheelhouse fasteners. Keep clips and screws organized so each one returns to its original position.
- Check for concealed attachments. Depending on equipment, the bumper may contain parking-sensor wiring, a hands-free liftgate sensor, lighting, or other harnesses.
- Release the side retainers carefully. Use the direction and release points shown in the repair manual. Do not pull outward forcefully if one area remains attached.
- Support the bumper with a helper. Move it only far enough to reach and disconnect the applicable harness connectors.
- Release connector locks rather than pulling wires. Inspect each connector for a secondary lock before applying force.
- Place the bumper cover on a padded surface. Do not rest it on the painted face or allow its weight to hang from wiring.
- Locate the left and right radar modules. They will be mounted to brackets or body locations behind the rear bumper corners.
Pro Tip: Photograph every fastener group, connector, harness route, and clip before removal. The images help prevent pinched wiring, misplaced clips, and incorrect harness routing during reassembly.
Inspecting the Sensors, Connectors, and Mounting Areas
Once the bumper cover is safely supported or removed, inspect the system without disturbing the sensor position unnecessarily.
Check the Sensor Mounting and Brackets
- Look for cracked tabs, bent brackets, shifted mounting studs, missing hardware, or evidence of a rear-corner impact.
- Compare the left and right mounting areas for obvious differences.
- Do not bend a bracket back by eye and assume the beam axis is correct.
- Do not loosen the sensor simply to inspect its rear surface.
- Do not add washers, shims, tape, sealant, or homemade spacers.
Check the Electrical Connections
- Confirm that the connector is fully seated and its locking tab is intact.
- Inspect for moisture, corrosion, pushed-back terminals, chafed wiring, or collision-related stretching.
- Check that the harness follows its original retainers and is not trapped between the bumper and body.
- Do not probe terminals with oversized test leads that can spread or damage them.
- Do not spray cleaner or water into a connector.
Check the Bumper and Radar Path
- Inspect the exterior bumper over each sensor zone for dents, deformation, thick filler, unauthorized repairs, stickers, or accessories.
- Check for packed mud, road salt, ice, or material trapped between components.
- Do not paint, coat, or modify the sensor or its mounting area unless the applicable Toyota repair information permits the process.
Does a RAV4 Rear Radar Sensor Need Calibration After Bumper Work?
Reinstall the bumper cover in the reverse order specified by the repair manual. Replace broken clips rather than relying on loose retainers, and confirm that every harness is connected and routed away from sharp edges.
Rear-bumper-cover removal is not a universal calibration trigger by itself. The required check depends on the model year, the exact repair operation, and whether the radar sensor, bracket, mounting area, or body geometry was disturbed. Follow the applicable repair manual whenever it calls for beam-axis confirmation, initialization, or calibration.
After reassembly:
- Reconnect the 12-volt battery if the applicable procedure required disconnection.
- Perform every initialization listed for the model and installed equipment.
- Use a Toyota-capable scan tool to check all relevant control modules for current, pending, and history DTCs.
- Correct faults before clearing codes. Clearing a code does not repair a damaged bracket, open circuit, or misaligned sensor.
- Run the specified BSM operation check and beam-axis confirmation.
- Verify that the mirror indicators complete their normal startup check and that no warning remains.
Toyota’s BSM calibration target-placement guidance uses the vehicle centerline, perpendicular measurements, model-specific target positions, and repair-manual specifications. This is why aiming a radar sensor by sight is not an acceptable substitute for calibration.
Work That May Require Calibration or Beam-Axis Confirmation
- Removing and reinstalling a radar sensor
- Replacing a radar sensor
- Repairing or replacing its bracket or mounting area
- Rear quarter-panel or structural repairs near a mounting point
- Impact damage to a rear bumper corner
- Applicable bumper-cover removal or replacement procedures that call for calibration
- A misalignment DTC or failed operation check
- Changes to ride height or body geometry when identified by the repair manual
A Toyota bulletin for certain RAV4 Prime repairs also notes that some systems may require initialization or calibration after the battery is reconnected and instructs technicians to follow every bumper-installation step in the applicable repair manual.
Can a Weak 12-Volt Battery Cause RAV4 Radar Warnings?
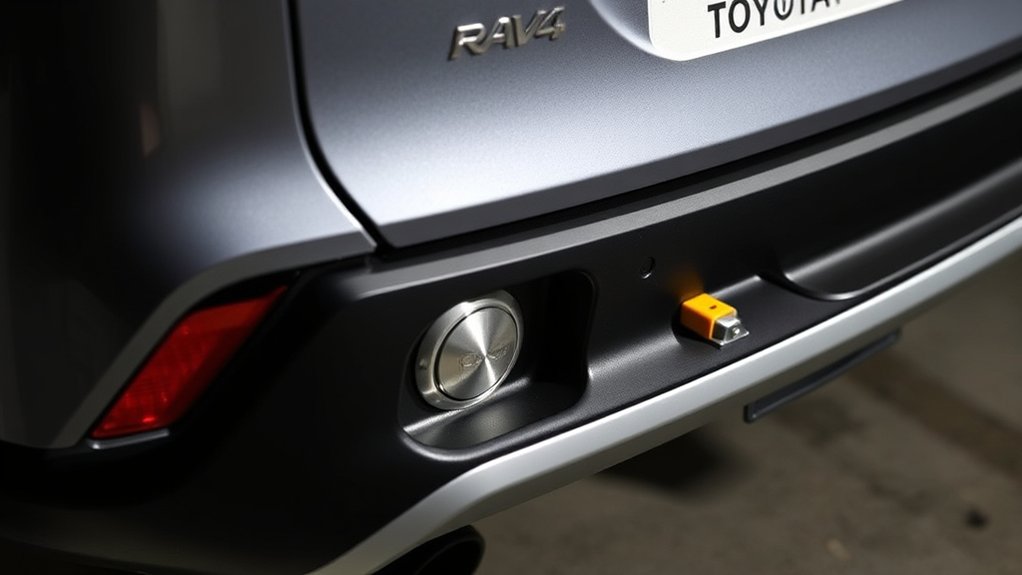
A weak or unstable 12-volt supply can coincide with multiple communication or control-module warnings, especially during startup. However, a BSM warning by itself does not prove that the battery is the cause.
Use the following approach:
- Note whether several unrelated systems produced warnings at the same time.
- Check for slow cranking, recent jump-starting, a discharged 12-volt battery, loose terminals, or recent battery replacement.
- Test the 12-volt battery and charging system rather than replacing the battery based only on a radar warning.
- Scan all affected modules for low-voltage, communication, circuit, and misalignment DTCs.
- Complete any required initialization after battery service.
- Diagnose a persistent BSM warning instead of repeatedly disconnecting the battery.
Note: Driving for a few minutes is not a universal substitute for BSM calibration. Likewise, switching the vehicle off for a fixed number of minutes or disconnecting the battery does not correct a bent bracket, damaged circuit, incompatible sensor, or beam-axis fault.
What Scan Tool Can Read RAV4 Blind Spot Monitor Faults?
Basic code readers are designed mainly for emissions and powertrain information. They may not communicate with the RAV4’s Blind Spot Monitor modules or provide live data and calibration utilities.
Use one of the following:
- Toyota Techstream or Techstream Lite
- A professional aftermarket scan tool that specifically lists Toyota BSM or rear side radar coverage for the exact model year
- A Toyota dealer or qualified ADAS repair facility
Toyota describes Techstream Lite as a platform providing factory-level support for Toyota, Lexus, and Scion vehicles. Toyota service bulletins also direct technicians to use Techstream when checking Blind Spot Monitor DTCs.
Depending on vehicle and year, relevant fault categories may include:
- Lost communication with a master or slave radar module
- Sensor power or ground faults
- Mirror-indicator circuit faults
- Horizontal or vertical beam-axis misalignment
- Internal sensor faults
- Configuration, initialization, or replacement-related faults
Record all codes and freeze-frame or related data before clearing anything. The exact definition and diagnostic path must come from the repair information for that vehicle.
How Do You Troubleshoot a RAV4 Rear Radar Warning?
- Read the complete message. Confirm whether the warning names BSM, RCTA, parking assist, radar cruise control, or the Pre-Collision System.
- Confirm the system is enabled. Check the BSM and RCTA settings in the multi-information display.
- Clean the correct area. For BSM/RCTA, clean both exterior rear bumper corners. For radar cruise or PCS, inspect the front radar and camera areas instead.
- Remove temporary obstructions. Clear snow, ice, mud, tape, stickers, or cargo accessories from the applicable zone.
- Inspect for impact damage. Even a low-speed parking impact can deform a bumper, retainer, bracket, or mounting area.
- Check the 12-volt system when several warnings appear together. Test it rather than assuming it is the cause.
- Scan the correct modules. Use Toyota-capable equipment and save the DTCs before clearing them.
- Access the modules only when necessary. Follow the exact bumper-removal procedure and avoid disturbing sensor alignment during inspection.
- Repair the actual fault. Replace damaged wiring, clips, brackets, or components according to Toyota specifications.
- Complete calibration and verification. Perform all required beam-axis checks, initialization, DTC clearing, and operation tests.
Stop DIY Work and Seek Professional Service When
- The bumper corner or quarter panel has collision damage.
- A sensor bracket is bent, cracked, loose, or repaired.
- A radar sensor has been removed or replaced.
- A misalignment code is stored.
- Water or corrosion is present inside a connector.
- The replacement part requires programming, configuration, or calibration.
- The warning returns immediately after cleaning.
- You do not have the exact repair procedure or a scan tool with Toyota BSM coverage.
How Do You Prevent RAV4 Rear Radar Problems?
- Keep both rear bumper corners clean, especially after snow, mud, road-salt, or gravel-road driving.
- Do not place stickers, metallic tape, thick wraps, bumper guards, or unapproved accessories over the radar zones.
- Inspect the bumper after any rear-corner impact, even when paint damage appears minor.
- Use repair facilities familiar with Toyota ADAS procedures when the bumper, quarter panel, or radar mounting areas are repaired.
- Replace missing or broken bumper clips so the cover sits in its intended position.
- Do not pressure-wash exposed electrical connectors when the bumper is removed.
- Address recurring warnings promptly rather than relying on the system while it is unavailable.
Frequently Asked Questions
How often should I clean the rear radar sensor area?
There is no universal monthly interval. Clean both exterior rear bumper corners whenever they are covered with mud, snow, ice, road salt, stickers, or heavy road film. Cleaning after harsh winter or off-road driving is especially useful.
Can I access the sensor without removing the bumper?
You can clean and inspect the exterior radar zones without removing anything. Direct physical access to the hidden radar modules, connectors, and brackets generally requires removing or at least carefully releasing the rear bumper cover according to the exact repair manual.
What tools do I need to access the rear radar sensors?
Common tools include plastic trim tools, model-appropriate sockets, a ratchet, screwdrivers, protective tape, a padded blanket, containers for fasteners, and a helper. Diagnostic or replacement work also requires a Toyota-capable scan tool and may require professional calibration equipment.
Will a dirty rear bumper affect my RAV4’s safety features?
Mud, snow, ice, stickers, or other material over the radar zones can make Blind Spot Monitor or Rear Cross-Traffic Alert temporarily unavailable or less reliable. These systems remain supplemental, so always use mirrors, direct observation, and shoulder checks.
Can I replace a RAV4 rear radar sensor myself?
Physical replacement may be possible for an experienced technician, but correct part identification, wiring diagnosis, configuration, DTC checks, beam-axis inspection, and calibration can be required. Replacement should not be considered complete until every applicable Toyota procedure and operation check passes.
Does the rear radar sensor control Dynamic Radar Cruise Control?
No. The rear side radar modules support Blind Spot Monitor and Rear Cross-Traffic Alert. Dynamic Radar Cruise Control and the Pre-Collision System use forward-facing Toyota Safety Sense sensors.
Will disconnecting the battery reset a BSM warning?
Battery disconnection is not a reliable repair for a BSM fault and can create additional initialization requirements. Diagnose the stored codes and correct the underlying obstruction, circuit, mounting, sensor, or calibration problem.
How long should I drive after cleaning the RAV4 rear radar area?
Use the owner’s manual for your exact model year. Toyota’s post-cleaning recovery guidance varies across RAV4 generations, so there is no single drive-time rule for every RAV4. If the warning remains after the applicable recovery conditions are met, diagnose the system rather than repeatedly cleaning or disconnecting the battery.
Does removing the RAV4 rear bumper require BSM calibration?
Not in every case solely because the bumper cover was removed. The required procedure depends on model year and repair scope. If a radar sensor, bracket, mounting area, or nearby body geometry was disturbed—or the repair manual calls for a beam-axis check—complete the specified confirmation or calibration before relying on BSM or RCTA.
Sources
- Toyota 2024 RAV4 Quick Reference Guide — identifies the functions of BSM, RCTA, Toyota Safety Sense, and Dynamic Radar Cruise Control.
- Toyota Manuals and Warranties — provides model-year-specific owner documentation.
- Toyota 2022 RAV4 Driving Support Systems Manual Excerpt — supports radar-cleaning, impact, modification, and calibration precautions.
- Toyota Tech Tip T-TT-0537-19 Rev1 — explains BSM sensor angle confirmation and direct access behind the bumper cover.
- Toyota Tech Tip T-TT-0663-21 — explains target placement and vehicle-centerline measurements for BSM calibration.
- Toyota Service Bulletin T-SB-0027-22 — demonstrates RAV4 Prime rear-bumper access and notes possible post-battery initialization or calibration requirements.
- Toyota USA 2026 RAV4 overview — confirms the sixth-generation RAV4 and standard Blind Spot Monitor with Rear Cross-Traffic Alert.
- Toyota RAV4 HEV digital manual: Safe Exit Assist — documents an additional new-generation function that uses rear-side radar; equipment and market availability vary.
Conclusion
Accessing a Toyota RAV4 rear radar sensor begins with identifying the correct system. The concealed left and right rear modules support Blind Spot Monitor and Rear Cross-Traffic Alert, while radar cruise control uses the forward Toyota Safety Sense sensors. On some newer-generation vehicles, rear-side radar can support additional functions depending on market and equipment.
For routine maintenance, keep both exterior rear bumper corners clean and free of obstructions. Remove the bumper cover only when direct inspection or repair is necessary, follow the exact model-year procedure, and avoid disturbing the sensor brackets. When a sensor, bracket, or mounting area has been damaged, removed, replaced, or shifted, complete every required Toyota-capable scan, beam-axis check or calibration, and operation test before relying on the system.
For related model-specific maintenance and feature guides, see the Toyota RAV4 Guide.
