
Quick Answer
To replace a license plate light on a 2018 Toyota RAV4, open the liftgate and remove the small interior access cover behind the license-plate-light area. Turn the bulb base counterclockwise, pull the old bulb straight out, install the matching replacement, then reinstall the socket and cover. Toyota specifies a 5-watt clear wedge-base bulb for the license plate lights. A 168 bulb is commonly listed for this application, but compare the removed bulb before buying rather than assuming every 194/T10-labelled bulb has identical electrical specifications.
Last updated: September 22, 2026 · Author: [VERIFY: add real author/byline]
Replacing a 2018 Toyota RAV4 license plate light is a beginner-friendly DIY job, but the access point matters. Toyota’s procedure does not call for prying the exterior license-plate-light housing out of the liftgate. Instead, you open the back door, remove an interior access cover, turn the bulb socket counterclockwise, and remove the bulb.
Before buying a replacement, note that Toyota’s 2018 RAV4 specifications list the license-plate lamp as a 5-watt clear wedge-base bulb. A 168 bulb is widely cataloged for this application, while some retailers also group 194 and T10-style bulbs with the same physical socket family. Because those labels do not always mean identical wattage, compare the removed bulb and use Toyota’s 5W specification as the primary reference.
Key Takeaways
- Access the license-plate-light bulb from the inside of the open liftgate, not by prying the exterior lamp housing out.
- Toyota specifies a 5-watt clear wedge-base bulb for the 2018 RAV4 license plate lights.
- A 168 bulb is commonly listed for this application, but do not treat every 168/194/T10-labelled bulb as electrically identical.
- Turn the lights off and let the bulbs cool before removal. Avoid touching new incandescent bulb glass with bare fingers.
- Test both license plate lights before reinstalling the interior access cover.
Why Do License Plate Lights Matter?
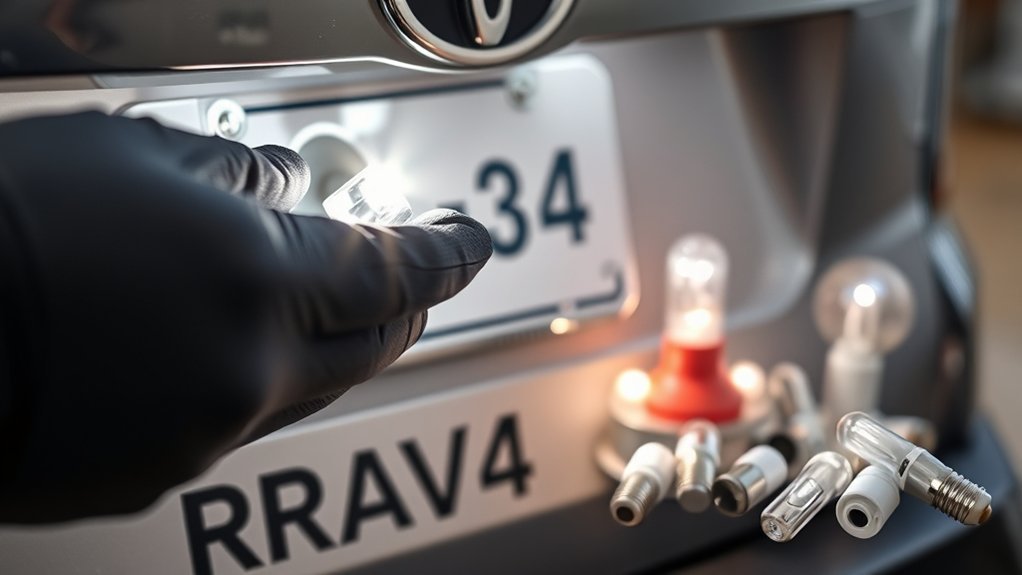
License plate lights illuminate the rear registration plate when the parking or headlight circuit is on. U.S. federal vehicle-lighting requirements include rear license-plate illumination, while state laws govern how lighting equipment must operate on vehicles driven on public roads.
If one lamp is dark, replacing it promptly keeps the plate properly illuminated and also gives you a chance to inspect the socket for looseness, corrosion, or moisture before those problems become worse.
What Tools Do You Need?
You need only a few items for this repair:
- Replacement bulb: Match Toyota’s 5W clear wedge-base specification and compare the new bulb with the one removed from your RAV4.
- Plastic trim tool or protected flathead screwdriver: Toyota’s procedure shows removing the interior access cover and recommends protecting the screwdriver tip with a rag to avoid damage.
- Clean gloves or a dry cloth: Use these when handling a new incandescent bulb so moisture and skin oils do not get on the glass.
- Flashlight: Helpful for seeing the left and right sockets through the liftgate access opening.
You normally do not need to disconnect the 12-volt battery for this owner-serviceable bulb replacement. Turn the vehicle and exterior lights off and allow the lamp to cool before beginning.
[Amazon Products Picked for You]
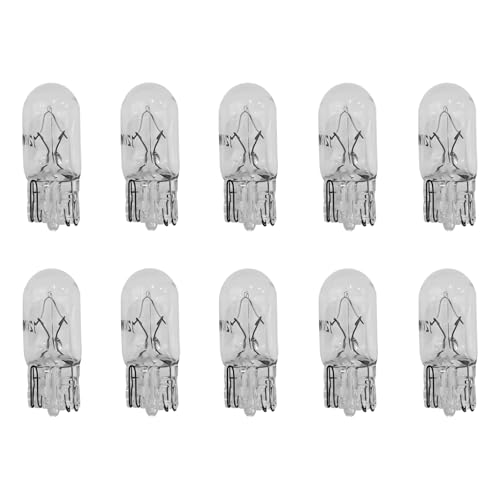
Durable Quartz Glass: These 194 bulbs are made of high-quality, high-temperature resistant quartz glass, making them sturdy and unbreakable, providing excellent protection for the filament and ensuring long-term use

Compatible Vehicles: Suitable for trucks, SUVs, RVs, and cars. This car turn signal replacement is compatible with universal vehicle models including 194, W5W, and 168, and also compatible with sizes such as 147/152/158/159/161/184/192/193/259/280/285/447/464/501.

300% BRIGHTER: AUXITO 194 LED bulbs equipped with 14 pieces 6000K~6500K white high illumination 2835 SMD LED. 360° lighting angle, no dark spots, huge brightness. Bring your car a pure white super bright light output
How Do You Change a 2018 RAV4 License Plate Light?
Allow several minutes for each side and work gently around the liftgate trim. The correct access point is inside the open back door.
[Amazon Products Picked for You]

Voltage: 12V, color: 6000K xenon white, power: 2w/pc, lumen:500lm, dimensions: 1 by 0.47 inches, net weight: 2g/pc. Low power consumption for longer lifespan
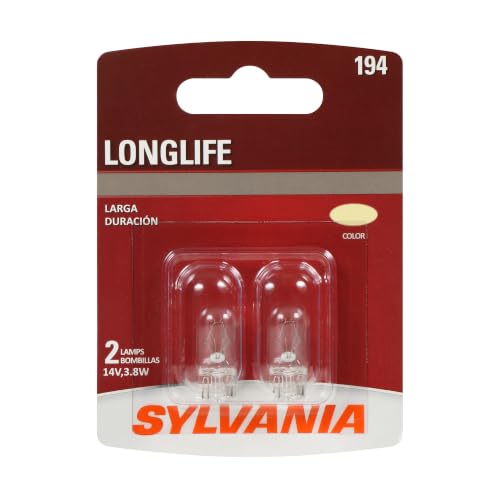
Lights Dim Over Time, Replace In Pairs: Your lights are a pair, one is never turned on without the other. If one bulb burns out, the other isn't far behind.

【300% Brighter】194 led bulb has 3030 SMD LED chips, with high illumination and perfect beam pattern, supporting 6000K white super bright light output. 360°Lighting angle and No dark spot. You can easily find misplaced items in your car at night. Working Power: 2.5W; Working Volts: 12V-24V.
Step-by-Step Instructions
- Park and switch the lights off. Put the RAV4 in Park, switch off the exterior lights, turn the vehicle off, and let the bulbs cool if they were recently illuminated.
- Open the liftgate. Locate the interior access cover in the back-door trim behind the license-plate-light area.
- Remove the access cover. Use a plastic trim tool or a flathead screwdriver with its tip wrapped in a clean rag. Pry only at the interior access cover. Do not pry the exterior license-plate-light housing out of the liftgate.
- Release the bulb socket. Identify the socket for the left or right license plate light and turn the bulb base counterclockwise.
- Remove the old bulb. Pull the wedge bulb straight out of its socket.
- Install the replacement. Compare the old and new bulbs, then press the matching 5W clear wedge-base replacement straight into the socket until fully seated.
- Lock the socket. Insert the bulb base back into its opening and turn it clockwise until secure.
- Test the light. Turn on the parking lights or headlights and confirm that both license plate lamps illuminate steadily.
- Reinstall the cover. Once the repair passes the test, press the interior access cover back into the liftgate trim.
How Should You Handle the Bulb Safely?
Toyota warns that bulbs can become hot and that the glass portion should not be handled with bare hands. Turn the lights off and let the bulb cool before removal. Hold a new incandescent bulb by its base or use clean gloves or a dry cloth.
If the old bulb is cracked or broken, protect your hands and eyes and remove loose glass carefully. For disposal, follow your local household-waste or bulb-recycling rules rather than assuming every automotive store or recycling program accepts small incandescent bulbs.
If you find melted plastic, badly corroded contacts, damaged wiring, or a socket that will not securely hold the bulb, stop treating the problem as a simple bulb replacement and have the electrical fault inspected.
What Bulb Does a 2018 Toyota RAV4 License Plate Light Use?
Toyota’s 2018 RAV4 owner’s manual specifies the license plate lamp as a 5-watt clear wedge-base bulb. The manual’s specification table does not give a conventional bulb trade number for this position.
A 168 is commonly listed by current bulb catalogs and RAV4 replacement references for the 2018 license-plate-light position. You may also see 194 or T10 terminology because those bulbs use a similar small wedge form factor. However, 168 and 194 incandescent bulbs can differ in wattage and output, so physical fit alone should not be your only check.
For the safest match, compare the markings and shape of the removed bulb with the replacement and keep Toyota’s 5W specification in mind. You can confirm the factory procedure and wattage in the 2018 Toyota RAV4 Owner’s Manual. For other RAV4 lamp positions and model years, see the Toyota RAV4 light bulb replacement guide.
[Amazon Products Picked for You]
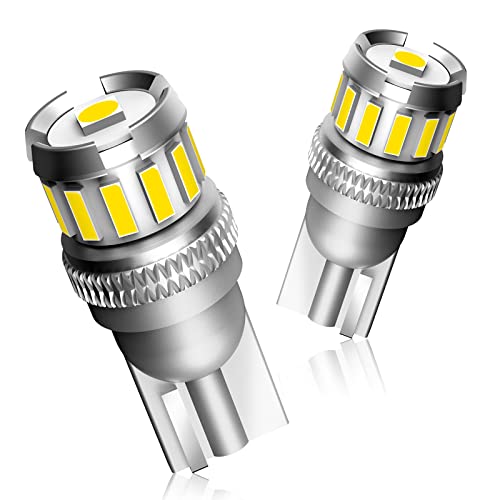
HIGH BRIGHTNESS: 194 LED bulbs uses 12pcs 4014SMD and 1pcs 3030SMD Chips. 300% brighter than stock bulbs, 6500K white provides better visibility. 360° lighting angle for allover light emission, no dark spots or shadowed areas.

400% Brighter: AUXITO 194 led bulb uses 18pcs high performance LED chips, generating 6500K super bright output, 360 ° lighting, no dark spots. Bring bright light and new look to your car.

【800% Brighter Than Halogen Bulb】 Sealight is equipped with a 3030 high-performance light bulb chip. 6000K super bright white light. 360 ° lighting angle, no dark spots, and huge brightness. Bring pure white and ultra bright light output to your car.
How Do You Install and Seat the New Bulb?
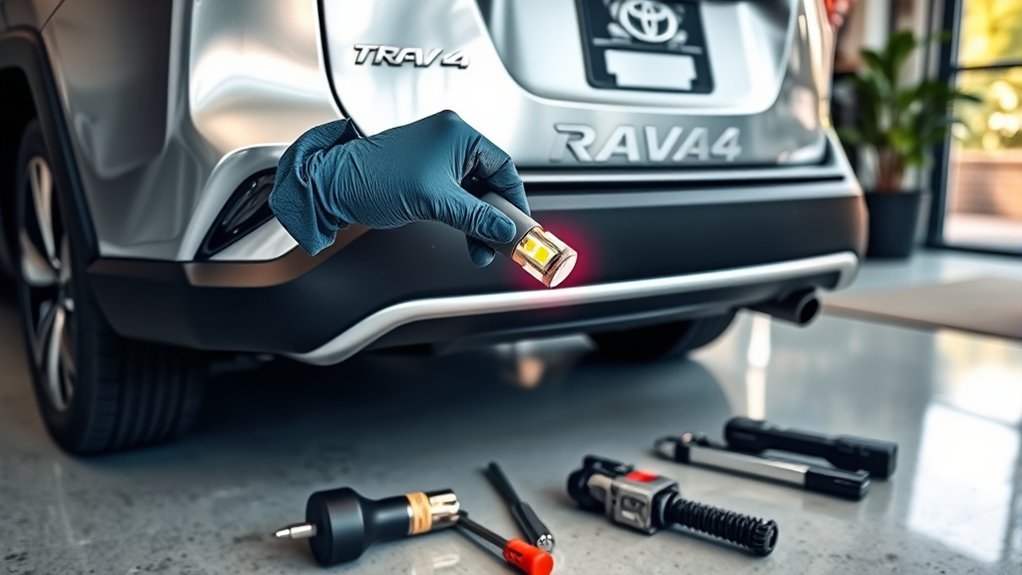
Push the replacement wedge bulb straight into the socket until it is fully seated. It does not need to make an audible click. If the bulb feels unusually loose, compare its base with the original before reinstalling the socket.
Insert the socket into the lamp opening and turn it clockwise to lock it. Test the lamp before closing the interior access cover so you do not have to reopen the trim if the bulb needs adjustment.
If you installed a polarity-sensitive LED and it does not illuminate, switch the lights off, remove the LED, rotate it 180 degrees, and reinstall it. If the LED still flickers or does not work correctly, use a known-compatible replacement or return to a matching incandescent bulb.
What Mistakes Should You Avoid?
- Prying the exterior lamp housing: The 2018 Toyota procedure accesses the bulbs through the interior liftgate cover.
- Buying only by socket shape: Similar 168/194/T10 wedge bulbs can have different electrical specifications.
- Working on a hot bulb: Let the lamp cool before touching it.
- Touching incandescent glass with bare fingers: Use clean gloves or a dry cloth.
- Forcing the socket or access cover: Stop and realign the part instead of breaking a plastic tab.
- Closing the trim before testing: Verify both lights first.
- Installing a colored LED: License-plate illumination should remain white.
Also inspect the socket seal and surrounding area before reassembly. A loose socket or damaged seal can allow dirt or moisture to reach the electrical contacts.
How Do You Test the New License Plate Lights?
Turn on the parking lights or headlights and walk to the rear of the RAV4. Both license plate lamps should illuminate steadily and produce similar-looking white light across the plate.
If only one lamp is out, switch the lights off and recheck that bulb’s seating, socket contacts, and replacement bulb. If both license plate lamps are out, look at the other parking and tail lights as well. Multiple lights failing together can point to the shared lighting circuit or fuse rather than two bulbs failing at exactly the same time.
Use the fuse diagram for your exact vehicle before replacing a fuse, and never substitute a higher-amperage fuse. If the correct fuse fails again, or voltage is missing at the socket with a good fuse installed, the circuit needs electrical diagnosis.
Can You Use LED License Plate Bulbs?
You can use a physically and electrically compatible white LED replacement, but an LED upgrade is not automatically better for every RAV4. The original bulb specification is a 5W clear wedge-base incandescent-style lamp, which gives you the closest match to Toyota’s factory configuration.
An LED can provide whiter light and lower electrical draw, but aftermarket LEDs vary in polarity, dimensions, heat management, light distribution, and compatibility. A label such as “CAN bus ready” does not by itself guarantee correct operation in every vehicle.
After installing an LED, check for flickering, intermittent operation, poor fit, or uneven illumination of the license plate. Use only white light for this position; NHTSA’s FMVSS 108 license-plate-lamp testing specifies white illumination.
How Do You Keep the License Plate Lights Working?
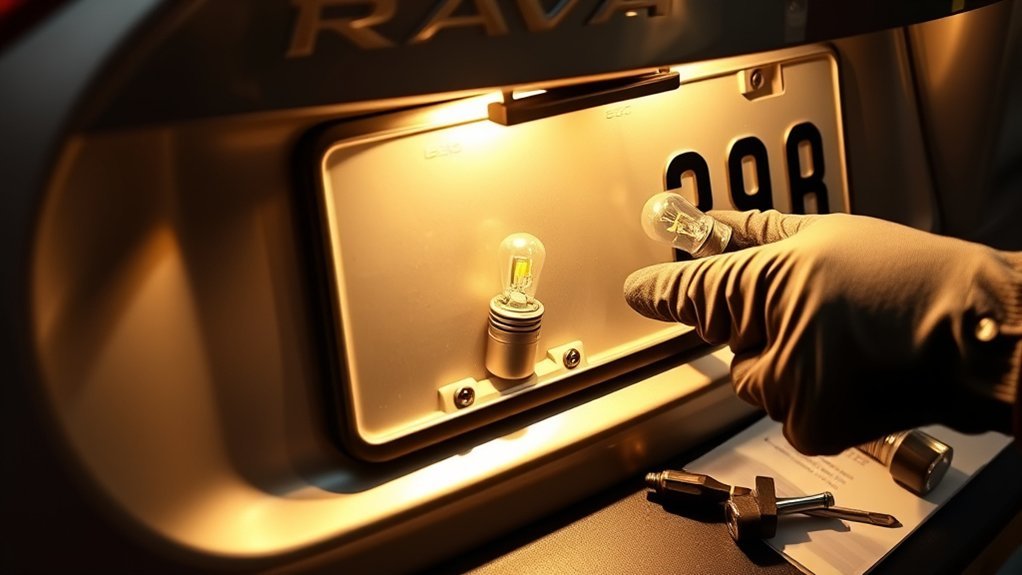
Check both license plate lights when you inspect the other exterior lights or before a long nighttime drive. Replace a failed or noticeably dim bulb rather than following a fixed replacement interval.
Clean the exterior lamp lenses during a normal car wash so road film does not reduce illumination. If a bulb repeatedly fails, inspect the socket for looseness, corrosion, overheating, or moisture instead of repeatedly installing new bulbs.
Keeping a matching spare bulb in the vehicle can be useful, especially on a road trip. Store it in its original package so the glass and contacts stay protected.
Sources
- Toyota — 2018 RAV4 Owner’s Manual: factory bulb-replacement procedure, bulb wattage, bulb type, and handling precautions.
- NHTSA — FMVSS 108 Lamp Test Procedure: license-plate-lamp requirements and white-light specification.
Related Guides
Frequently Asked Questions
What bulb does a 2018 Toyota RAV4 use for the license plate light?
Toyota specifies a 5-watt clear wedge-base bulb. A 168 is commonly cataloged for the 2018 RAV4 license plate light, but compare the removed bulb before buying because similar 194/T10-style bulbs are not necessarily identical in wattage.
Do I remove the license plate light from outside the liftgate?
No. Toyota’s 2018 RAV4 owner procedure says to open the back door and remove the interior access cover. You then turn the left or right bulb base counterclockwise and remove the bulb.
Can I use an LED license plate bulb?
Yes, if the LED is physically and electrically compatible and produces white light. Test it for correct polarity, steady operation, secure fit, and even plate illumination before reinstalling the access cover.
Why are both license plate lights not working?
If both lamps are out, first check whether the parking and tail lights are also affected. A shared lighting-circuit or fuse problem may be more likely than two bulbs failing simultaneously. Check the correct fuse using your vehicle’s fuse diagram and investigate the circuit if a replacement fuse fails again.
Do I need to disconnect the battery to replace the bulb?
Toyota’s normal owner procedure for the 2018 RAV4 license plate bulbs does not instruct you to disconnect the battery. Switch the vehicle and exterior lights off and allow the bulbs to cool before replacement.
How often should I replace the license plate bulbs?
There is no useful fixed replacement interval. Check the lights periodically and replace a bulb when it fails, becomes noticeably dim, or shows intermittent operation. Repeated failures justify inspecting the socket, wiring, and moisture sealing.
Will changing the license plate bulb void my warranty?
Replacing an owner-serviceable bulb is normal maintenance, but warranty coverage for any resulting damage depends on the vehicle’s warranty terms and the cause of the damage. Avoid forcing trim, modifying wiring, or installing an incompatible bulb.
Final Thoughts
Replacing a 2018 Toyota RAV4 license plate light is straightforward once you use the correct access point. Open the liftgate, remove the interior cover, turn the bulb socket counterclockwise, replace the matching 5W clear wedge-base bulb, lock the socket back in place, and test both lights before reinstalling the cover.
The main things to avoid are prying the exterior lamp housing, assuming every 168/194/T10-labelled bulb is identical, and repeatedly replacing bulbs without investigating corrosion, moisture, or an electrical problem. If the socket is damaged or the correct bulb and fuse do not restore operation, have the circuit diagnosed before replacing more parts.
