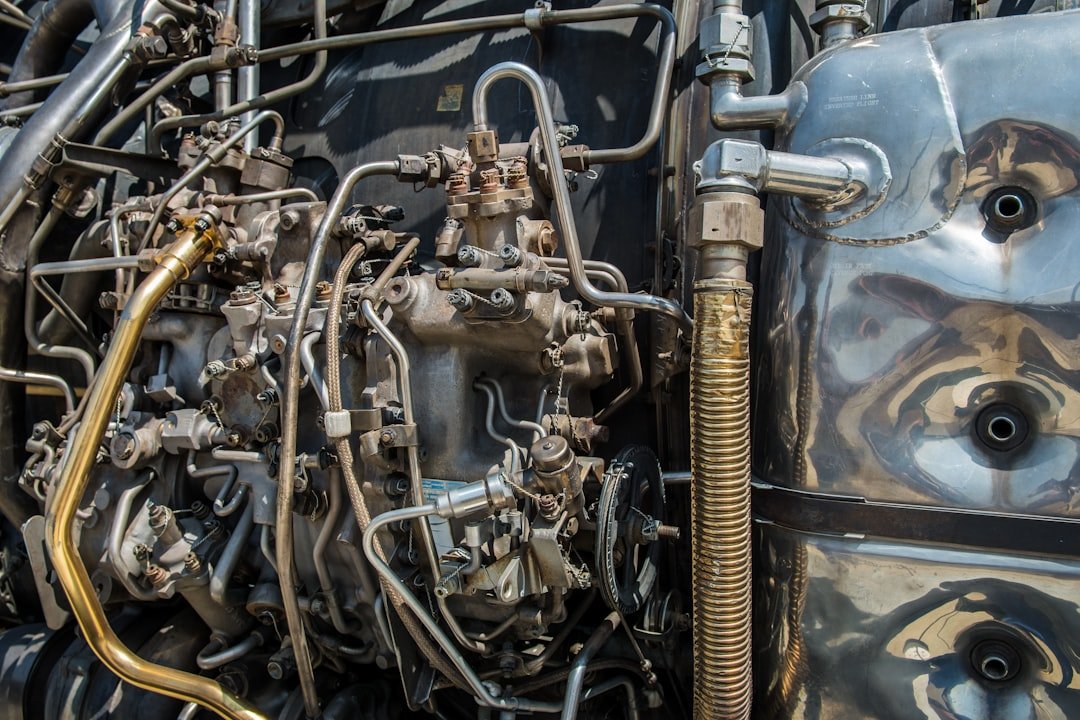
Cleaning a car engine bay is a useful maintenance task when you do it carefully. A clean engine compartment makes it easier to spot oil leaks, coolant seepage, cracked hoses, loose clamps, worn belts, and corrosion before they turn into bigger problems. It can also make the vehicle look better if you plan to sell it.
The safest approach is not to blast the engine with high-pressure water. Instead, let the engine cool, protect sensitive electrical parts, use an automotive-safe degreaser, scrub gently, rinse with low water pressure, and dry everything completely before starting the vehicle.
Quick Answer
To clean a car engine safely, let it cool, disconnect the battery if recommended for your vehicle, cover sensitive electrical parts, remove loose debris, apply automotive degreaser, scrub dirty areas, rinse gently, dry the engine bay fully, then inspect for leaks or damage before driving.
Key Takeaways
- Always clean a cool engine, never a hot or running one.
- Cover the alternator, fuse box, exposed wiring, sensors, and air intake before applying water or cleaner.
- Use an automotive-safe degreaser and gentle water pressure instead of a pressure washer.
- Dry the engine bay completely before reconnecting parts or starting the vehicle.
- Use the clean engine bay to check for leaks, worn hoses, corrosion, or loose components.
At a Glance
| Time Required | 45 to 90 minutes, plus extra drying time |
| Difficulty | Easy to moderate |
| Tools Needed | Automotive degreaser, soft brush, stiff brush, microfiber towels, plastic bags or foil, hose with gentle spray nozzle, gloves, eye protection |
| Cost | Usually low if you already have basic cleaning supplies |
Safety Precautions Before Cleaning
Before you clean a car engine, put safety first. Engine bays contain hot metal, electrical connections, moving parts, belts, fans, sensors, and chemical residue. Start only when the engine is completely cool to the touch.
A hot engine can burn your hands and may react poorly to sudden cold water. Never spray cleaner or water on a running engine. You should also remove the key from the ignition and keep it away from the vehicle while you work.
Warning: Do not use a pressure washer on the engine bay. High-pressure water can force moisture into electrical connectors, sensors, fuse boxes, ignition components, and air intake areas.
Disconnecting the battery can help reduce the risk of electrical shorts, but some modern vehicles may need special procedures before power is removed. Check your owner’s manual first. If you disconnect it, remove the negative terminal first and keep the cable away from the battery post.
Wear safety goggles, gloves, and old clothing. Degreaser can irritate your skin and eyes, and old engine grime can contain oil, fuel residue, road dust, and other contaminants. Work outdoors or in a well-ventilated area so fumes do not build up.
Also think about runoff. Avoid letting oily water or degreaser flow into storm drains. If possible, clean the engine bay in an area where wastewater can be contained and disposed of responsibly according to local rules.
Gathering the Necessary Tools and Supplies
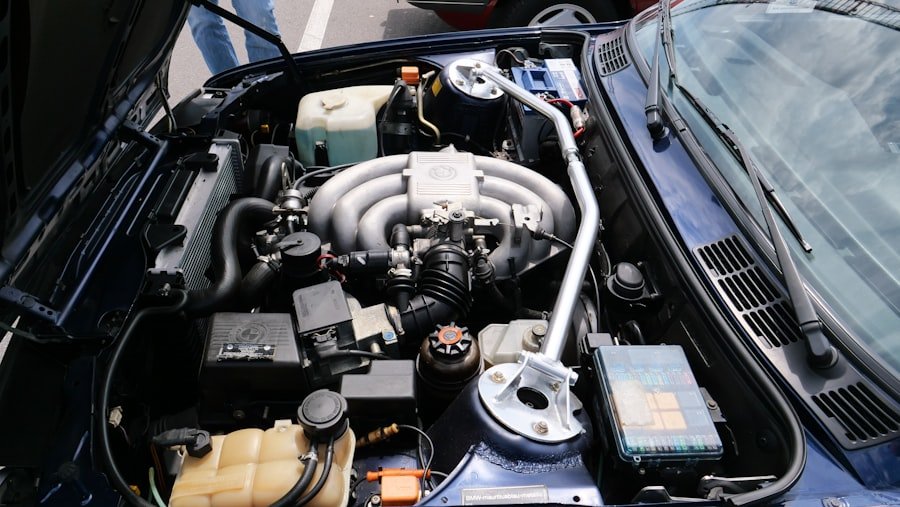
Having the right tools and supplies makes the job easier and safer. Start with a high-quality automotive degreaser designed for engine bays. Automotive-safe products are made to break down grease and grime while reducing the chance of damaging common engine-bay materials when used as directed.
You may also want a biodegradable cleaner if you are concerned about environmental impact. Read the label before using any product. Some degreasers must be diluted, some need a short dwell time, and some should not be used on specific metals, painted surfaces, or rubber parts.
For scrubbing, gather a few brush types. A stiff-bristled brush can help with heavy grease on sturdy metal areas. A softer detailing brush works better around plastic covers, hoses, wiring looms, and painted surfaces. An old toothbrush can reach tight spaces around brackets, caps, and small crevices.
You will also need microfiber cloths, a spray bottle, a bucket, plastic bags or aluminum foil, painter’s tape or rubber bands, and a hose with a gentle spray nozzle. If you have compressed air or a small blower, it can help dry hard-to-reach areas after rinsing.
Preparing the Engine for Cleaning
| Task | Time Required | Tools Needed |
|---|---|---|
| Letting the Engine Cool | 30 minutes or longer | Gloves, patience |
| Removing Loose Debris | 5 to 10 minutes | Soft brush, vacuum, microfiber cloth |
| Protecting Sensitive Components | 10 minutes | Plastic bags, foil, tape, rubber bands |
| Disconnecting the Battery if Needed | 5 to 10 minutes | Wrench, gloves, owner’s manual |
Preparation is the most important part of cleaning your car engine safely. Begin by removing loose debris from the engine bay. Leaves, pine needles, dust clumps, and small stones can collect around the cowl, battery tray, radiator support, and hood hinges.
Use your hands, a soft brush, or a vacuum to remove dry debris before you apply any liquid. This prevents loose material from turning into muddy residue and helps keep drain channels clear.
Next, inspect the engine bay for areas that should not receive direct water. Cover the alternator, fuse box, exposed wiring, ignition coils, aftermarket electrical accessories, open air intake, exposed filters, and sensitive sensors with plastic bags or aluminum foil. Secure the coverings lightly so they stay in place.
Note: Some modern vehicles have complex electronics under the hood. When in doubt, use less water, more hand wiping, and follow your owner’s manual.
Applying Degreaser to the Engine
Once the engine is cool, dry, and protected, apply the degreaser. Shake the bottle if the label tells you to do so. Then spray the product onto greasy areas, working in small sections so the cleaner does not dry on the surface.
Focus on areas with visible grime, such as the valve cover area, lower plastic covers, brackets, caps, and the upper parts of the engine where oil mist or dust has collected. Avoid soaking electrical connectors, fuse boxes, exposed wires, the alternator, and intake openings.
Allow the degreaser to sit for the time recommended on the label. This dwell time helps loosen dirt and grease. Do not let the product dry completely, especially in direct sunlight or hot weather.
If a spot is heavily soiled, apply a little more degreaser and let it work again. Avoid using harsh household cleaners, gasoline, brake cleaner, or solvents not intended for general engine-bay cleaning. These can damage rubber, plastic, paint, or wiring insulation.
Scrubbing and Agitating the Dirt and Grease
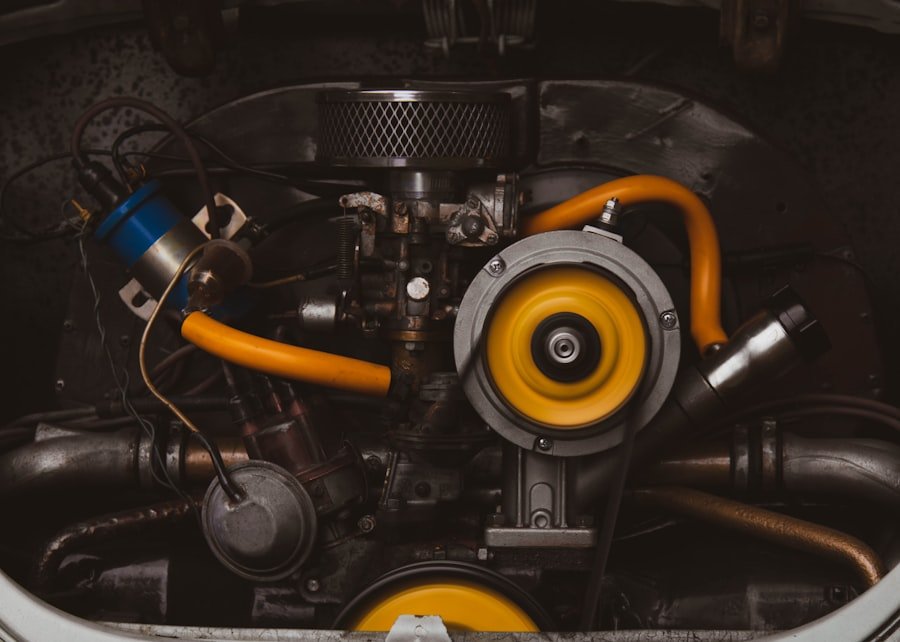
After the degreaser has had time to loosen the grime, start scrubbing. Use a stiff brush only on durable metal or heavily soiled areas. Use a softer brush around plastic covers, hoses, wire looms, caps, labels, and painted areas.
Work one small area at a time. This helps you clean more thoroughly and prevents degreaser from sitting too long. Agitate the surface gently, then wipe away loosened dirt with a microfiber cloth so you can see your progress.
For tight spaces, use an old toothbrush. It works well around brackets, hose clamps, caps, and small corners where larger brushes cannot reach. Do not force the brush into electrical connectors or delicate wiring.
Pro Tip: Keep one microfiber towel for greasy areas and another clean towel for final drying. This prevents old grime from spreading back onto clean surfaces.
Rinsing Off the Degreaser and Dirt
After scrubbing, rinse away the degreaser and loosened dirt with low water pressure. A hose with a gentle spray nozzle works better than a strong jet. Start from higher areas and let dirty water run downward.
Be careful around electrical parts and sensors. Do not aim water directly at the alternator, fuse box, exposed wiring, ignition components, or intake openings. If a protected area still looks dusty, wipe it with a damp microfiber cloth instead of spraying it.
Continue rinsing until visible cleaner and dirt are gone. Degreaser residue can attract more dirt later and may leave stains on some surfaces. Use only as much water as needed to remove the cleaner.
If you are cleaning in a driveway, watch where the runoff goes. Oily residue should not enter storm drains. Use absorbent material if needed and dispose of waste according to local rules.
Drying the Engine and Components
Drying the engine bay is not optional. Water left in tight spaces can contribute to corrosion, stains, or electrical issues. Start by wiping accessible surfaces with clean microfiber towels.
Then remove the plastic bags or foil carefully. Check that no pooled water falls onto the parts you protected. Wipe those areas by hand if needed.
For tight spaces, use compressed air, a small blower, or extra drying time. Blow water away from connectors rather than deeper into them. If you do not have compressed air, leave the hood open and let the engine bay air-dry longer.
Do not start the vehicle while the engine bay is still wet. Give electrical areas, plug wells, and covered components enough time to dry fully. If the vehicle runs rough after cleaning, shut it off and let it dry longer before troubleshooting further.
Inspecting for Any Leaks or Damage
Once the engine bay is clean, inspect it closely. Dirt and grease often hide small problems, so this is a good time to look for oil leaks, coolant stains, power-steering fluid residue, transmission-fluid seepage, or brake-fluid leaks.
Check hoses for cracks, swelling, soft spots, loose clamps, or rubbing marks. Look at belts for cracking, glazing, fraying, or uneven wear. Inspect wiring harnesses for damaged insulation, loose clips, corrosion, or signs of rodents.
Also check around the battery terminals. White or bluish corrosion on the terminals can cause starting or charging problems. Clean battery corrosion with the proper method for your battery type and wear eye protection.
If you find a leak or damaged part, address it soon. A clean engine bay does not fix mechanical problems, but it makes them easier to see. Early repairs can help prevent breakdowns and more expensive damage later.
A clean engine bay is most valuable because it helps you see problems clearly. Leaks, cracked hoses, loose clamps, and corrosion are easier to spot when old grime is gone.
Reassembling Any Removed Components
If you removed covers or protected sensitive areas, reassemble everything carefully after the engine bay is dry. Remove plastic bags, foil, tape, and rubber bands. Make sure nothing is left near belts, fans, pulleys, or hot exhaust components.
Reattach any plastic covers, heat shields, intake pieces, or clips that you removed for access. Do not overtighten screws or bolts. Overtightening can strip threads, crack plastic covers, or damage brackets.
If you disconnected the battery, reconnect it according to the correct procedure for your vehicle. In many cases, the positive terminal should be connected before the negative terminal. Check your owner’s manual if you are unsure.
After everything is back in place, look around the engine bay one more time. Confirm that caps are secure, tools are removed, covers are attached, and no towels or bags remain under the hood.
Final Touches and Maintenance Tips
After reassembling all components, you can add a few finishing touches. Wipe plastic covers, rubber hoses, and painted areas with a clean microfiber cloth. If you use a silicone-based dressing, apply it sparingly and only to suitable plastic or rubber surfaces.
Avoid spraying dressing directly into the engine bay. Overspray can make belts slippery, attract dust, or create residue on areas that should stay clean. Apply dressing to a cloth first, then wipe the surface lightly.
To keep the engine bay cleaner, remove leaves and debris whenever you notice them. Check under the hood during routine maintenance, especially after long trips, dusty driving, or severe weather.
A light engine-bay cleaning once or twice a year is often enough for many drivers. Vehicles exposed to dust, mud, road salt, or heavy stop-and-go driving may need more frequent attention.
Regular inspections during routine maintenance can help you catch issues early. Keeping your engine bay clean supports better visibility, easier maintenance, and stronger pride of ownership.
If you’re looking for more tips on car maintenance, you may also be interested in learning about whether a summer cooling system is worth the investment. That article discusses the benefits of maintaining your vehicle’s cooling system during hot summer months. Just like cleaning your car engine, proper maintenance can help extend the life of your vehicle and keep it running smoothly.
Related Guides
Frequently Asked Questions
What is the importance of cleaning a car engine?
Cleaning a car engine bay helps remove dirt, grease, leaves, and debris that build up over time. The biggest benefit is visibility. A clean engine bay makes it easier to spot leaks, cracked hoses, corrosion, loose clamps, worn belts, and other maintenance issues.
How often should a car engine be cleaned?
Many drivers can clean the engine bay once or twice a year. You may need to clean it more often if you drive on dusty roads, muddy roads, salted winter roads, or in areas with heavy leaf debris. Light wipe-downs between deep cleanings can also help.
What are the steps to clean a car engine?
The basic steps are to let the engine cool, remove loose debris, protect sensitive components, apply automotive degreaser, scrub dirty areas, rinse with gentle water pressure, dry the engine bay completely, inspect for leaks or damage, and reassemble any removed parts.
What precautions should be taken when cleaning a car engine?
Make sure the engine is cool, wear gloves and eye protection, avoid harsh chemicals, cover electrical parts, avoid spraying the air intake, use low water pressure, and let everything dry completely before starting the vehicle.
Can I use a pressure washer to clean a car engine?
It is generally safer not to use a pressure washer on a car engine bay. High-pressure water can push moisture into electrical connectors, sensors, fuse boxes, ignition parts, and air intake areas. Use a gentle stream of water, a spray bottle, or damp microfiber towels instead.
Should I disconnect the battery before cleaning the engine?
Disconnecting the battery can reduce electrical risk, but some vehicles need special steps before the battery is disconnected. Check your owner’s manual first. If you do disconnect it, remove the negative terminal first and keep the cable away from the battery post.
Is it safe to clean an engine with water?
Yes, light water use can be safe when you protect sensitive parts and avoid high pressure. Use gentle rinsing, keep water away from electrical components and intake openings, and dry the engine bay fully before starting the vehicle.
Sources
- Consumer Reports — engine cleaning safety, degreaser use, and gentle rinsing guidance
