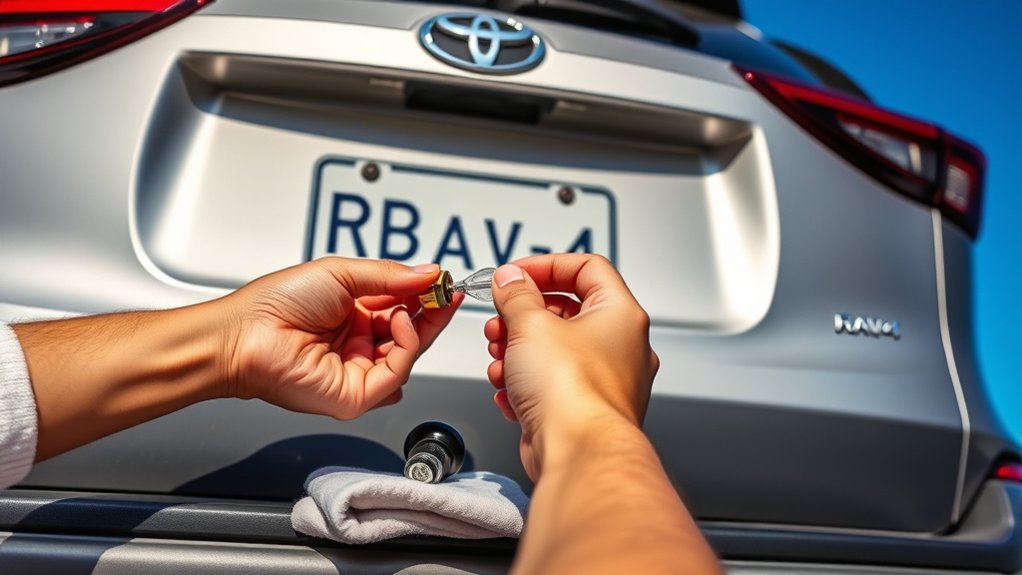
To replace the license plate light bulb on a 2018 Toyota RAV4, open the back door, remove the small interior access cover, turn the bulb socket counterclockwise, pull the old wedge bulb straight out, install the matching replacement, then reinstall the socket and cover. Toyota’s 2018 owner’s manual specifies a 5W clear wedge bulb for the license plate lights; common replacement catalogs list 168 as a fitment, but confirm the markings and shape of the bulb you remove before buying.
Time needed: About 5–10 minutes | Difficulty: Beginner | Last updated: September 22, 2026
Editorial scope: This guide is written for the 2018 U.S.-market RAV4 procedure verified against the Toyota owner’s manual and current fitment references. It does not claim hands-on testing on every trim or market version.
Key Takeaways
- Toyota’s 2018 RAV4 manual specifies a 5W clear wedge bulb for each license plate light.
- Open the back door and remove the interior access cover; protect a flathead screwdriver tip with a rag if you use one.
- Turn the bulb socket counterclockwise, remove the old bulb straight from the socket, and install the replacement without forcing it.
- Common aftermarket fitment guides list bulb 168 for this position; 194 is a related wedge size and should not be treated as physically impossible to fit, but it is not electrically identical to a 168.
- Turn the exterior lights on and verify that both license plate lamps work before reinstalling the access cover.
Why Replace Your License Plate Light
A working license plate lamp keeps the rear plate illuminated at night and helps the vehicle remain compliant with applicable lighting rules. U.S. vehicle-lighting requirements specify white light for the license plate lamp, while state operating rules can add their own requirements. Use a white replacement bulb and check your local law if you are changing the original lighting setup.
The 2018 RAV4 has two license plate light positions. If one side has failed, inspect the other side at the same time for dimming, discoloration, moisture, or a loose socket. Bulb life varies by brand, construction, voltage, vibration, and operating time, so there is no reliable universal replacement interval.
What You’ll Need
You only need a few basic items. Toyota specifically notes that a screwdriver tip should be covered with a rag to reduce the chance of trim damage.
| Tool or Part | Purpose | Notes |
|---|---|---|
| Plastic pry tool or flathead screwdriver | Remove the access cover | Wrap a screwdriver tip with a clean rag |
| 5W clear wedge bulb | Replacement license plate bulb | 168 is commonly cross-listed; confirm the removed bulb before purchase |
| Clean gloves or dry cloth | Handle the new bulb | Avoid touching the glass with bare fingers |
| Flashlight (optional) | Illuminate the work area | Useful when working in a garage or at night |
How Do You Access the 2018 RAV4 License Plate Bulb?
The Toyota procedure starts from inside the open back door. You do not need to remove the exterior license plate light assembly for a routine bulb change.
Step 1: Open the Back Door
Park safely, switch the exterior lights off, and open the liftgate fully. If the lights were recently on, allow the bulb to cool before touching it.
Step 2: Remove the Access Panel
Locate the small cover on the inside of the back door behind the license plate light area. Pry the cover out carefully. If you use a flathead screwdriver, cover its tip with a rag as Toyota instructs to help protect the trim.
Step 3: Locate the Bulb Socket
Behind the cover you will see the bulb socket for the left or right license plate lamp. The socket releases by turning counterclockwise. Avoid pulling on the wiring.
How Do You Remove the Old License Plate Bulb?
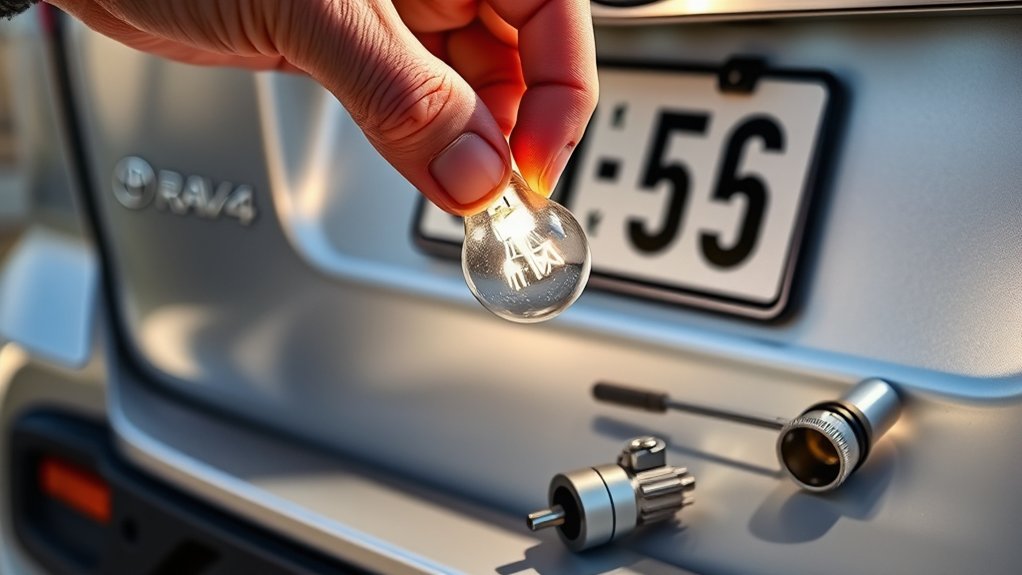
Grip the bulb socket, turn it counterclockwise until it releases, and pull the socket out far enough to reach the bulb. Pull the old wedge bulb straight out of the socket. Do not twist the glass or pull on the wires.
Accessing the Housing
Work through the interior access opening rather than forcing the exterior lamp housing. If the socket will not turn with normal hand pressure, stop and check its alignment before using more force.
Twist the Socket, Then Pull the Bulb Straight Out
Toyota’s sequence is simple: turn the bulb base counterclockwise, remove the bulb, then reverse the steps for installation. The owner’s manual does not specify that the socket must make an audible click, so judge installation by full seating and correct locking position rather than by sound alone.
Dispose of the Old Bulb Properly
Disposal rules vary by location. Follow your local waste or recycling guidance rather than assuming household glass recycling accepts automotive bulbs.
What Bulb Does a 2018 Toyota RAV4 License Plate Light Use?
Toyota’s 2018 owner’s manual lists the license plate lamp as a 5W clear wedge bulb but does not print a bulb trade number in that specification table. Multiple current aftermarket fitment references list 168 for the 2018 RAV4 license plate position, so 168 is a common replacement reference. For the most reliable fit, compare the new bulb with the bulb removed from your vehicle.
| Choice | What to Know |
|---|---|
| 5W clear wedge incandescent | Closest match to Toyota’s published 2018 specification |
| 168 incandescent | Commonly listed by aftermarket fitment catalogs for the 2018 RAV4 |
| 194 incandescent | Related wedge-base bulb; often physically compatible, but typically lower wattage/output than 168, so do not assume it is an identical substitute |
| White 168/T10-style LED | May fit if the product explicitly lists the application; confirm size, polarity behavior, color, and legal compliance before use |
If you choose an LED, use a white automotive bulb intended for the license plate position. Avoid colored LEDs. Some LED designs are polarity-sensitive, so if a compatible LED does not light, remove it, rotate it 180 degrees, and test again only if the bulb manufacturer says the design is polarity-sensitive.
How Do You Install the New License Plate Bulb?
With the exterior lights off and the old bulb removed, hold the replacement by its base or use clean gloves. Push the wedge bulb straight into the socket until it is fully seated. Do not force it or bend the contacts.
Insert the socket back into the license plate light assembly and turn it clockwise to lock it. The socket should sit fully in its intended position without wobbling. Reinstall the access cover only after testing the light.
How Should You Secure the Bulb Socket?
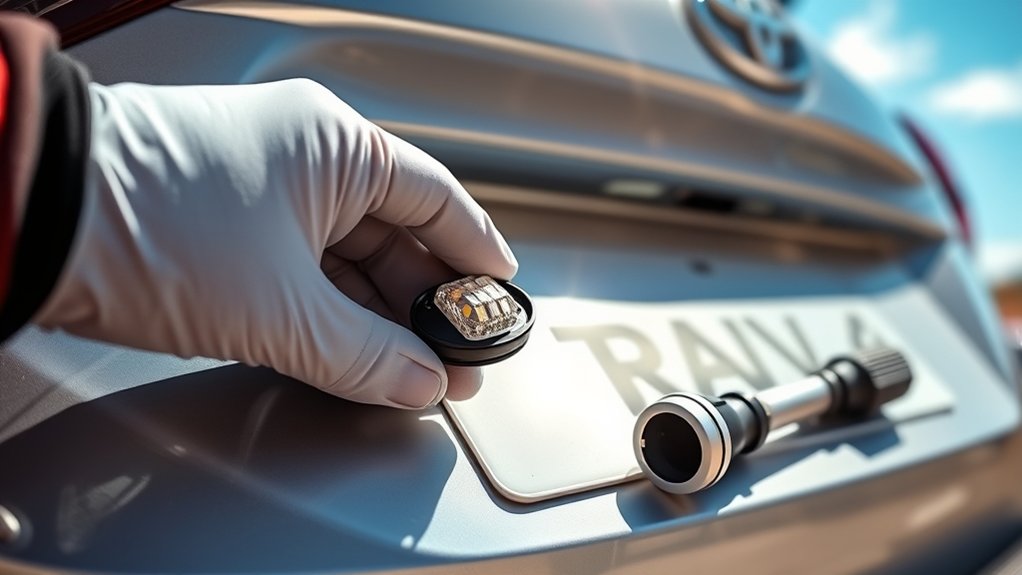
Align the socket correctly, insert it fully, and rotate it clockwise only until it reaches its locked position. Do not overtighten the plastic socket.
| Step | Description |
|---|---|
| Align the socket | Match the socket tabs with the lamp opening |
| Lock it | Turn clockwise until the socket is fully seated in its locking position |
| Inspect the area | Check for damaged seals, corrosion, moisture, or loose wiring before closing the access panel |
If you see pooled water, heavy corrosion, melted plastic, or damaged wiring, stop and repair the underlying problem before installing another bulb.
How Do You Test the New License Plate Bulb?
Turn on the parking lights or headlights and check the repaired side from outside the vehicle. Compare it with the other license plate lamp. Both should illuminate the plate evenly with white light.
- Confirm the bulb is fully seated in the socket.
- Confirm the socket is fully installed and locked.
- If using a polarity-sensitive LED, follow the bulb maker’s instructions for reversing orientation.
- Inspect the socket contacts for corrosion, bending, heat damage, or looseness.
- If both license plate lamps are out, check the relevant exterior-light circuit and fuse information in the owner’s manual rather than assuming there is a dedicated license-plate fuse.
If the lamp still does not work after these checks, the socket, wiring, connector, ground, or lighting circuit may need electrical diagnosis.
Common Problems and Solutions
The access cover will not release: Work from the intended pry point and use a plastic trim tool or a rag-covered screwdriver. Do not pry around the whole panel.
The socket will not turn: Make sure you are turning the bulb base counterclockwise and are gripping the socket rather than the wiring. Stop if excessive force is required.
The new bulb fits but does not light: Re-seat the bulb and inspect the contacts. With an LED that is designed to be polarity-sensitive, reverse the bulb only as directed by its manufacturer.
You have a 194 bulb on hand: A 194 and a 168 share a closely related wedge format and may fit the same socket, but they are not electrically identical. For the 2018 RAV4, Toyota’s published requirement is a 5W clear wedge lamp, so match that specification and the removed bulb rather than choosing by physical fit alone.
There is moisture inside the lamp: Light temporary misting can occur in exterior lighting, but pooled water, repeated condensation, or corrosion suggests a sealing problem that should be corrected before repeated bulb replacement.
How Do You Help the License Plate Lights Last?
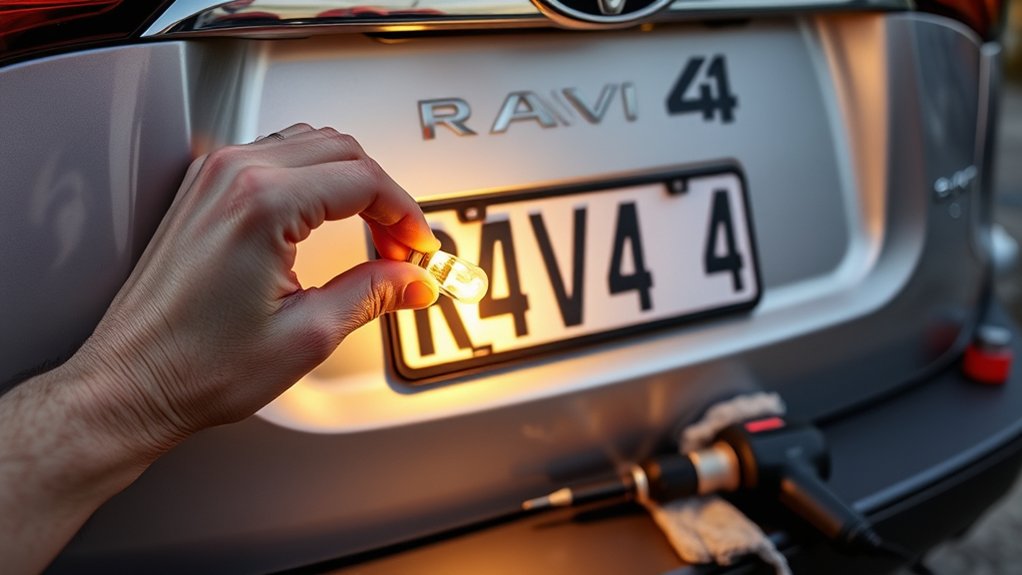
Check both license plate lamps during routine walk-around inspections, especially before long night drives. A quick check can reveal a failed bulb, flicker, or moisture before it becomes a larger electrical problem.
Check Both Lamps
Turn on the exterior lights and compare both sides. If one bulb has failed from age, inspecting or replacing the matching side at the same time can help keep the plate evenly illuminated, but replacement intervals vary by bulb design and use.
Keep the Lens and Housing Clean
Clean the exterior lens with normal vehicle-wash methods and a soft cloth. If you see heavy condensation, pooled water, corrosion, or a damaged seal, address the source of moisture rather than repeatedly replacing bulbs.
Investigate Repeated Bulb Failures
Repeated failures can come from the wrong bulb rating, poor socket contact, moisture, vibration, overheating, or an electrical problem. If a correctly fitted bulb fails repeatedly, inspect the socket and charging system rather than installing higher-wattage bulbs.
Related Guides
Frequently Asked Questions
How often should I replace my 2018 RAV4 license plate light bulb?
Replace a bulb when it fails, flickers, or becomes noticeably dim. There is no single reliable calendar interval because service life varies with bulb construction, voltage, vibration, and nighttime use. Check both lamps during routine maintenance.
What bulb does a 2018 Toyota RAV4 license plate light use?
Toyota’s 2018 owner’s manual specifies a 5W clear wedge bulb. Current aftermarket fitment references commonly list 168 for the license plate position. Confirm the bulb you remove before ordering if you want the closest like-for-like replacement.
Can I use an LED bulb in the 2018 RAV4 license plate light?
A white automotive LED sold for the compatible 168/T10-style application may physically fit, but confirm its size, polarity behavior, heat management, and legal suitability. A 5W clear wedge incandescent remains the closest match to Toyota’s published specification.
Is a 194 bulb the same as a 168 bulb?
No. They are closely related wedge bulbs and often fit the same socket, but standard incandescent 168 and 194 bulbs have different electrical and light-output ratings. Do not treat them as technically identical.
What if the new license plate bulb does not work?
Re-seat the bulb, confirm the socket is locked, inspect the contacts for corrosion or damage, and check the relevant exterior-light circuit information in the owner’s manual. If both lamps stay dark or a fuse repeatedly blows, the circuit may need professional diagnosis.
Sources
- Toyota Manuals and Warranties — 2018 RAV4
- NHTSA FMVSS No. 108 laboratory test procedure — license plate lamp requirements
Conclusion
On a 2018 Toyota RAV4, license plate bulb replacement is a short DIY job: open the back door, remove the access cover, turn the socket counterclockwise, pull out the old wedge bulb, install the correct replacement, lock the socket, and test both plate lights.
The key fitment detail is to follow Toyota’s 5W clear wedge specification and confirm the bulb removed from your vehicle. A 168 is commonly listed for this application, while a 194 may share the socket format but is not technically identical. If the new bulb still does not work, inspect the socket and circuit instead of repeatedly replacing bulbs.
