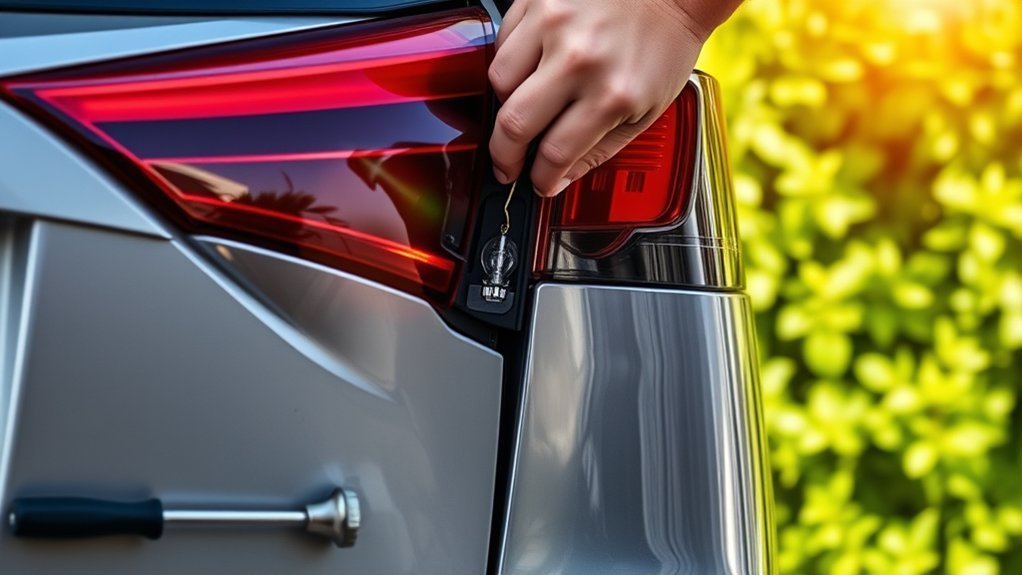
Replacing a Toyota RAV4 tail light can be a simple driveway repair, but the correct method depends on the model year and the failed component. Some RAV4s use replaceable bulbs behind an interior access cover. Others require removal of the outer lamp assembly, and certain LED functions may be built into a sealed unit.
Quick Answer
To replace a Toyota RAV4 tail light, first identify whether you need a bulb or the complete lamp assembly. Turn the vehicle off, open the liftgate, remove the model-specific trim or fasteners, release the connector, and install the matching part. Refit the seals, tighten gently, and test every rear-light function before driving.
Key Takeaways
- Confirm your RAV4’s model year, side, lamp position, connector, and LED or bulb design before buying parts.
- Do not assume every RAV4 uses two screws or the same socket size.
- Pull an outer lamp straight rearward with controlled pressure so you do not break its guide pins or body grommets.
- Inspect the gasket, connector, bulb socket, and mounting area for corrosion, cracks, or trapped water.
- Test the tail, brake, turn-signal, hazard, and reverse-light functions before driving.
At a Glance
| Time Required | About 20–60 minutes, depending on the model year and whether you are replacing a bulb or complete assembly |
| Difficulty | Easy to moderate |
| Tools Needed | Trim tool, gloves, flashlight, ratchet, and the socket or screwdriver that matches your vehicle’s fasteners |
| Cost | Usually low for a replaceable bulb; moderate to high for a complete LED lamp assembly |
Warning: Park on level ground, switch the vehicle off, apply the parking brake, and let the lamps cool before working. During a reverse-light test, keep everyone clear of the vehicle’s path and have a driver hold the brake pedal firmly.
Identify What Needs Replacement
Before removing trim or fasteners, determine whether the problem is a replaceable bulb, a bulb socket, the wiring connector, or the complete lamp assembly. “Tail light” can refer to several rear-light functions housed in the same unit.
| Symptom | Likely Repair |
|---|---|
| One replaceable bulb is dark, but the lens and housing are sound | Replace the correct bulb and inspect its socket |
| Lens is cracked, mounting tabs are broken, or water is standing inside | Replace or professionally repair the complete assembly |
| A sealed LED section does not illuminate | Diagnose the connector and wiring, then replace the assembly if the LED module is not separately serviceable |
| Several rear-light functions fail at once | Check the connector, ground, fuse, and wiring before buying a lamp |
Check Your RAV4 Model Year
RAV4 rear-light access changes between generations. For example, Toyota’s 2007 RAV4 owner’s manual shows rear bulb access through a cargo-area cover, followed by removal of the appropriate bulb socket. You do not automatically remove the complete outer lamp for that bulb service.
Later models may secure the outer lamp with visible fasteners beside the liftgate opening and additional guide pins. The all-new 2026 RAV4 begins a redesigned sixth generation, so do not assume instructions for a 2019–2025 model apply to it. Check the Toyota manuals portal or model-specific service information before removing unfamiliar trim.
Confirm the Correct Replacement Part
Match the replacement by VIN whenever possible. Verify all of the following before opening the package:
- Model year and trim
- Gas, hybrid, or plug-in hybrid version where applicable
- Driver or passenger side
- Outer quarter-panel lamp or inner liftgate lamp
- Replaceable-bulb or sealed-LED design
- Connector shape and pin count
- Lens color and market specification
Toyota’s Genuine Parts portal can help you identify vehicle-specific parts. When choosing a non-OEM assembly in the United States, use a properly marked, vehicle-correct lamp from a reputable supplier. Federal Motor Vehicle Safety Standard No. 108 covers original and replacement lamps and associated equipment.
Pro Tip: Compare the new and old lamps side by side before installation. Check the mounting tabs, guide pins, connector, vents, gasket, bulb sockets, and lens shape. A small mismatch can create a loose fit or water leak.
Essential Tools Needed for Tail Light Replacement

Gather your tools before opening the liftgate. The exact fastener type varies, so inspect the lamp before selecting a socket.
- Plastic trim-removal tool
- Ratchet and vehicle-correct socket, commonly 10 mm on many removable outer lamps
- Phillips or flat-blade screwdriver if your access cover uses screws
- Flashlight
- Clean gloves
- Painter’s tape or a clean towel to protect painted edges
- Small nylon brush for light connector corrosion
- Replacement bulb, socket, gasket, or assembly confirmed for your RAV4
Use only the tools required by your RAV4’s actual fasteners. Removing unrelated 8 mm or 14 mm bolts can turn a simple lamp repair into unnecessary trim or body work.
Note: You normally do not need to disconnect the 12-volt battery for a basic bulb or lamp swap when the vehicle and lights are switched off. Follow the repair manual if your model specifies a different procedure.
Step-by-Step Guide to Removing the Old Tail Light
1. Prepare the Vehicle
Park on level ground, switch off the ignition and exterior lights, apply the parking brake, and open the liftgate. Remove loose cargo that could interfere with the side trim.
Place painter’s tape or a folded towel along the painted edge beside the lamp if the housing sits close to the body panel.
2. Locate the Access Point
Inspect the area beside and behind the failed lamp. Your RAV4 may use one of these arrangements:
- An interior cargo-area access cover with twist-out bulb sockets
- Visible screws or bolts beside the liftgate opening
- Interior trim that must be moved aside to reach retaining nuts
- A separate liftgate-mounted lamp with its own access panel
Remove only the trim and fasteners that directly retain the lamp or access cover. Keep the hardware in a small container.
3. Remove the Lamp Fasteners
Loosen the visible retaining screws, bolts, or nuts with the correct tool. Support the lamp with your free hand as the final fastener comes out.
If the fastener spins without loosening, stop. A hidden clip or damaged insert may need to be held from behind.
4. Release the Guide Pins
On a removable outer lamp, hold the housing with both hands and pull it straight rearward in the direction of its locating pins. Use steady, controlled pressure.
Do not twist the lamp outward against the body or pry directly on the lens. If it will not move, check for a missed fastener or hidden retaining tab.
5. Disconnect the Wiring
Support the loosened lamp so its weight does not hang from the wiring. Press the connector’s locking tab and pull on the connector body, not the wires.
If the connector is stuck, push it inward slightly, depress the lock again, and wiggle it gently. Inspect the terminals for green corrosion, heat damage, bent pins, or moisture.
6. Remove a Replaceable Bulb if Applicable
If you are changing only a bulb, rotate the correct socket in the direction shown in your owner’s manual, usually counterclockwise for removal. Pull the socket straight out.
Remove the bulb according to its base design. A wedge bulb normally pulls straight from the socket, while another design may require a slight push and turn. Match the number and wattage to the vehicle specification.
Do not force an LED replacement into a socket designed for an incandescent bulb. An incompatible retrofit can cause poor fit, incorrect light output, warning messages, or rapid turn-signal flashing.
How to Install Your New Tail Light Correctly
1. Inspect and Transfer Required Components
Compare the old and new assemblies. Transfer only the components required by the replacement part, such as bulb sockets, bulbs, vent tubes, clips, or a removable gasket.
Replace a torn, flattened, or displaced seal. Clean loose dirt from the body opening without pushing debris into the connector.
2. Install the Bulb or Connect the Harness
For a bulb repair, seat the new bulb fully in its socket. Insert the socket into the housing and rotate it until it locks.
For an assembly replacement, align the electrical connector and press it together until the locking tab clicks. Do not bend terminals or use the retaining lock to force a misaligned connector together.
3. Perform a Preliminary Test
Before fully fastening the lamp, support it safely and test the repaired function. This catches an incorrect bulb, loose socket, reversed non-polarity-tolerant LED, or disconnected harness before reassembly.
Switch the vehicle off again before securing the housing.
4. Align the Lamp
Line up every guide pin, locating tab, hook, and body grommet. Guide pins must enter their matching holes straight. Do not use the mounting bolts to pull a misaligned lamp into position.
Press evenly until the housing sits flush with the surrounding body panels. Check the gap along the liftgate and quarter panel before installing the fasteners.
5. Secure the Lamp
Start each screw, bolt, or nut by hand. Tighten the fasteners evenly with a small hand tool.
Do not overtighten. Tail-light housings and mounting tabs are plastic and can crack if the fastener is forced. Use the model-specific repair-manual torque when one is provided.
Reassembling the Trim and Cover After Tail Light Replacement
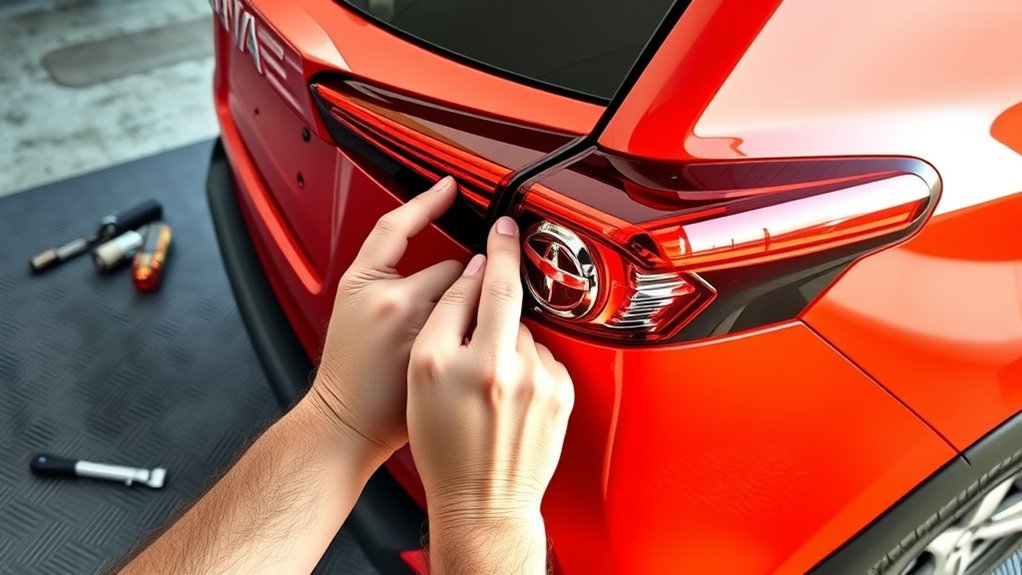
After the lamp is secure, reinstall any access cover, carpet, weather strip, or cargo-area trim you moved. Work slowly so hidden clips enter their matching holes instead of folding behind the panel.
Proper Alignment Techniques
Position each trim piece before pressing on it. Align the clips with their slots, then apply pressure directly over each clip until it seats.
Check that the weather strip lies flat and that no wiring, insulation, or carpet is trapped between the trim and body. Misplaced material can create a gap, rattle, or water path.
Run your hand around the repaired area. The trim should sit evenly without raised corners or loose sections.
Securing Trim Components
Reinstall the original clips and screws in their correct positions. Replace a clip if its legs are bent, missing, or no longer grip the panel.
Do not strike the trim with a metal tool. Firm hand pressure is normally enough when the clips are aligned correctly.
Reposition the cargo carpet and cover so they lie flat and do not press against the bulb sockets or wiring connector.
Final Checks for Tail Light Security and Functionality

Complete a physical inspection and a full lighting test before driving. One lamp housing may contain several separate functions, so testing only the repaired function is not enough.
Verify Fastener Tightness
Check that every removed fastener is installed and seated. The lamp should not rock, vibrate, or move when you press it gently.
Confirm that the housing is flush with the body and that each locating pin or tab remains engaged. Uneven gaps often indicate that a pin missed its grommet.
Do not continue tightening a fastener to correct poor alignment. Remove the lamp, realign the guides, and reinstall it.
Check Light Functionality
Use a helper or view the reflection in a garage door or wall. Test the lamps in a clear area with the parking brake applied.
| Function | Test | Expected Result |
|---|---|---|
| Tail or parking light | Switch on the parking lights | Steady illumination matching the opposite side |
| Brake light | Press the brake pedal | Bright, steady illumination without flickering |
| Turn signal | Activate the left or right signal | Normal flash rate matching the other side |
| Hazard lights | Switch on the hazard flashers | Both rear signals flash evenly |
| Reverse light | With a driver holding the brake pedal, select reverse briefly | White reverse lamp illuminates while the vehicle remains stationary |
Warning: Never stand directly behind the RAV4 during a reverse-light test. Keep the area clear, apply the parking brake, and have the driver maintain firm brake-pedal pressure.
Inspect Seals and Fit
Check the perimeter of the lamp for gaps. Confirm that the gasket or sealing boot has not folded, shifted, or been pinched during installation.
Light temporary fogging after rain or a car wash can result from temperature differences. Large droplets, recurring condensation, or standing water indicate a sealing, vent, lens, or housing problem that needs correction.
Make sure the lamp vents are present and unobstructed. Do not plug a factory vent with sealant.
Troubleshooting After Tail Light Replacement
The New Tail Light Does Not Work
Switch the vehicle off and recheck the connector and bulb socket. Confirm that the connector lock clicked and that no terminal was pushed backward into the plug.
For a replaceable bulb, confirm the bulb number and seating depth. If you installed an LED retrofit, rotate it 180 degrees only when the bulb manufacturer states that polarity matters and the socket allows safe reinsertion.
If several functions remain dark, inspect the fuse identified in the model-year owner’s manual. A good fuse with no power at the connector may indicate damaged wiring, a ground fault, or a control-module issue.
The Turn Signal Flashes Too Fast
A rapid flash rate often points to a failed bulb, poor socket contact, open circuit, or incompatible low-load LED retrofit. Test the original-specification bulb before adding resistors or modifying the wiring.
Load resistors create heat and must never be left loose against plastic trim, insulation, or wiring. A vehicle-compatible lighting solution is safer than an improvised resistor installation.
The Connector or Socket Shows Corrosion
Minor surface residue may be cleaned with an electrical-contact product approved for automotive connectors. Replace a socket that is melted, heavily corroded, cracked, or unable to hold the bulb securely.
Find and repair the moisture source before installing another bulb or socket. Otherwise, the new part may fail again.
The Fuse Blows Again
Stop replacing the fuse if it blows repeatedly. A recurring failure suggests a short circuit, damaged harness, incorrect bulb, pinched wire, or internal lamp fault.
Do not install a higher-amperage fuse. Have the circuit diagnosed by a qualified technician.
The Lamp Will Not Sit Flush
Remove the lamp and inspect every guide pin, grommet, locating tab, and gasket. A folded seal or misaligned pin can hold the housing away from the body.
Also compare the replacement with the original. An incorrect side, trim level, or lamp version may appear similar but use different mounting points.
Maintenance Tips for Your Tail Light Replacement
Check your exterior lights regularly because a failed rear bulb may not be visible from the driver’s seat. A monthly walk-around takes only a few minutes.
- Clean dirt and road film from the lenses with normal vehicle-wash products.
- Look for cracks, loose edges, missing fasteners, and changing panel gaps.
- Check for recurring condensation, droplets, or pooled water.
- Inspect exposed connectors and sockets whenever a bulb fails repeatedly.
- Use the bulb number and wattage listed for your model year.
- Keep the lamp vents open and the gasket correctly positioned.
Choose replacement parts by fit, compliance, sealing quality, connector design, warranty, and supplier support. Do not rely only on appearance or a broad claim that a part fits every RAV4.
When to Get Professional Help
Stop the DIY repair and contact a qualified technician or Toyota service department when:
- The lamp uses a sealed LED module that is not separately serviceable
- The wiring connector is melted or several terminals are corroded
- A fuse blows more than once
- The replacement lamp still does not receive power
- Body damage prevents the lamp from aligning
- Water returns after the gasket and housing have been replaced
- Interior trim contains equipment you cannot safely identify
- The repair requires splicing or control-module diagnosis
Related Guides
Frequently Asked Questions
Can I replace the Toyota RAV4 tail light assembly myself?
Yes, many RAV4 tail-light assemblies can be replaced with basic hand tools. First confirm the model year, lamp location, connector, and replacement part. Get professional help if the wiring is damaged, the lamp is a non-serviceable LED unit, or body damage prevents proper alignment.
Will AutoZone replace a tail light for you?
AutoZone states that it does not provide a standard brake-light replacement service. Store staff can help identify the correct bulb or assembly and may offer limited assistance depending on the store, staffing, weather, and vehicle access. Ask the local store before relying on installation help.
What year of RAV4 should I stay away from?
Tail-light replacement difficulty alone is not a sound reason to avoid a RAV4 model year. Procedures change by generation, and vehicle condition matters more than a broad warning. For a used RAV4, review its service history, arrange a pre-purchase inspection, and check the VIN through the NHTSA recall lookup.
How do you change a RAV4 rear-light bulb?
Open the liftgate and locate the model-specific access cover or lamp fasteners. Reach the correct bulb socket, rotate it to unlock, remove the old bulb, and install the exact replacement. Lock the socket back into the housing and test the light before reinstalling the trim.
Do all Toyota RAV4 tail lights use replaceable bulbs?
No. The available functions and service method vary by year, trim, and lamp position. Some functions use replaceable incandescent bulbs, while others are built into a sealed LED assembly. Confirm the design before ordering parts.
Can you replace only a cracked tail-light lens?
Toyota commonly supplies the lamp as an assembly rather than a separate outer lens. A glued-on replacement lens may be available from another supplier, but poor bonding can cause leaks and incorrect light output. Replacing the complete vehicle-correct assembly is usually the more dependable repair.
Conclusion
A successful Toyota RAV4 tail light replacement starts with identifying the model year and the failed part. Do not treat every RAV4 as though it uses the same two bolts, connector, bulb, or guide pins.
Work with the vehicle switched off, protect the paint, release the housing in the correct direction, and avoid using fasteners to force a misaligned lamp into place. Once installed, inspect the gasket and test every rear-light function. Stop and seek professional diagnosis if you find damaged wiring, repeated fuse failures, pooled water, or a failed sealed LED module.
Sources
- Toyota 2007 RAV4 Owner’s Manual — older-generation rear bulb access, bulb handling, and moisture guidance
- Toyota 2019 RAV4 Manuals and Warranties — model-year-specific owner information
- Toyota USA Newsroom: All-New 2026 RAV4 — confirmation of the redesigned sixth generation
- Toyota Genuine Parts — vehicle-specific replacement-parts guidance
- 49 CFR §571.108, Federal Motor Vehicle Safety Standard No. 108 — requirements covering original and replacement lamps
- AutoZone Brake-Light Replacement Guide — general bulb-replacement steps and store-service clarification
