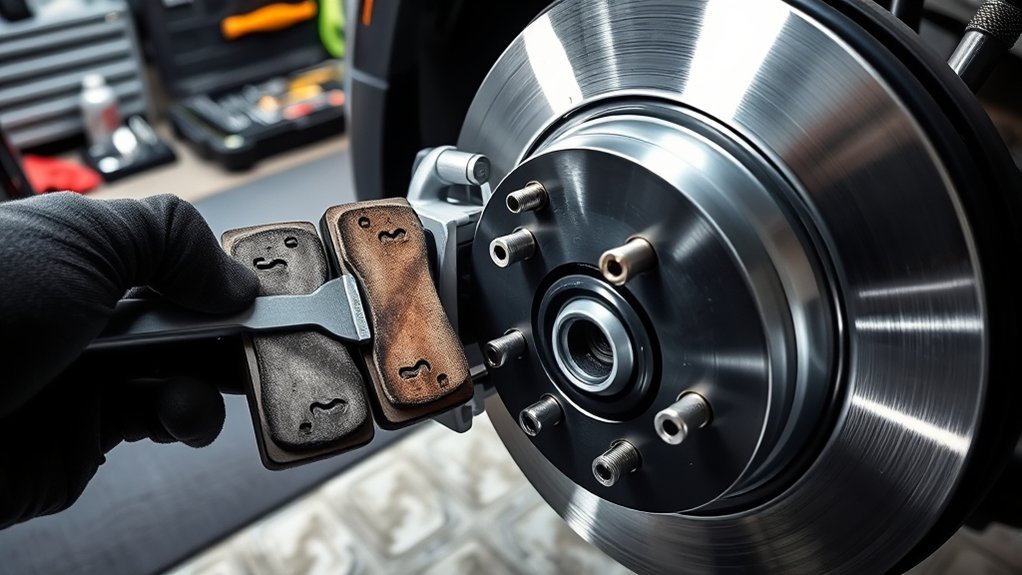
Replacing the rear brake pads on a Toyota RAV4 is manageable for an experienced DIYer, but the correct procedure depends on the model year. Most 2013–2018 RAV4 models use a conventional mechanical parking brake, while the redesigned 2019 RAV4 introduced a standard electronic parking brake. Confirm your exact brake system before retracting either rear caliper piston.
Last updated: July 13, 2026
Quick Answer
To replace Toyota RAV4 rear brake pads, safely support the vehicle, remove the caliper, inspect the rotor and hardware, retract the piston correctly, and install the new pads. A 2019-or-newer RAV4 with an electronic parking brake must enter rear-brake service mode before piston compression.
Key Takeaways
- Verify the model year, parking-brake type, brake package, and replacement-part fitment before starting.
- Do not force an electronic-parking-brake caliper piston inward without first activating the correct rear-brake pad replacement mode.
- Support the RAV4 with properly rated jack stands and never rely on a hydraulic jack alone.
- Keep grease, brake fluid, fingerprints, and other contamination away from the pad and rotor friction surfaces.
- Restore a firm pedal, inspect for leaks, normalize the parking brake, and complete a controlled low-speed test before normal driving.
At a Glance
| Time Required | About 2–4 hours for a first-time pads-and-rotors service |
| Difficulty | Intermediate; higher on electronic-parking-brake models |
| Tools Needed | Floor jack, jack stands, wheel chocks, torque wrench, sockets, piston compressor, caliper hanger, brake cleaner, brake grease, and an EPB-capable tool when required |
| Cost | Parts cost varies by model year, brake package, pad material, and whether rotors or calipers also need replacement |
Warning: Brakes are safety-critical. Stop if you cannot identify the parking-brake system, obtain the correct torque specifications, enter EPB service mode, support the vehicle safely, or restore a firm pedal. Have a qualified technician complete or inspect the repair.
Confirm Your RAV4 Model Year and Parking-Brake System
The original procedure is closest to a 2013–2018 RAV4. Toyota introduced a newly standard electronic parking brake on the redesigned 2019 RAV4, so the same piston-retraction method does not apply to every year. Toyota explains the 2019 change in its official 2019 RAV4 announcement.
| RAV4 configuration | What changes during rear brake service |
| Most 2013–2018 U.S. models | Mechanical parking brake with separate parking-brake shoes inside the rear rotor hat. The hydraulic caliper piston normally presses straight inward. |
| 2019 and many newer models | Electronic parking-brake motors are attached to the rear calipers. Activate the correct rear-brake pad replacement or service mode before compressing the pistons. |
| Hybrid or plug-in hybrid | Keep the vehicle completely off and out of READY mode. Do not touch orange high-voltage cables or hybrid components. Brake-control procedures may differ from gasoline models. |
Check the VIN, production date, rear-caliper design, and part catalog before buying pads or rotors. Do not rely only on a marketplace listing that combines 2013–2019 models. Use the exact Toyota owner’s manual and, for repair specifications, Toyota’s official Technical Information System.
Check your VIN for open safety campaigns through the NHTSA recall lookup before beginning major brake work.
Essential Tools for Rear Brake Pad Replacement
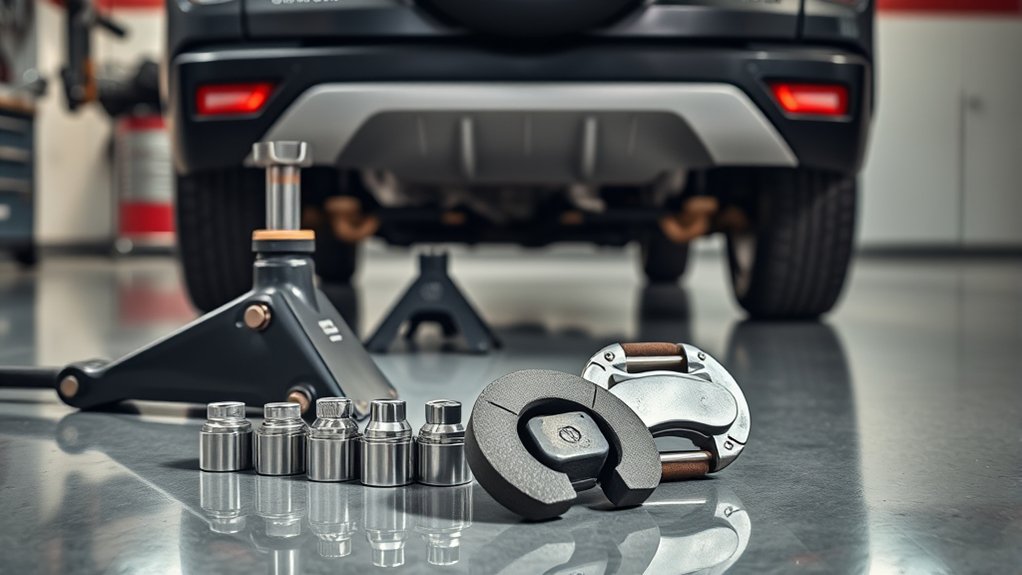
Gather all tools and parts before lifting the RAV4. Confirm that the pads, rotors, abutment hardware, and wear-indicator configuration match the parts removed from the vehicle.
- Model-specific rear brake pads and fitting hardware
- Rear rotors if the existing rotors fail inspection
- Floor jack, properly rated jack stands, and wheel chocks
- Lug socket, breaker bar, ratchet, and torque wrench
- Metric sockets and wrenches; 14 mm and 17 mm are common on many 2013–2018 assemblies but are not universal
- Caliper hanger, strong wire, or a suitable support hook
- Single-piston compressor or C-clamp for an applicable conventional piston
- EPB-capable scan tool or the exact Toyota service-mode procedure for an EPB-equipped RAV4
- Brake cleaner, clean lint-free towels, and a catch pan
- Silicone or synthetic brake lubricant approved for caliper slides and rubber brake components
- Wire brush for the hub and bracket contact areas
- Vernier caliper or micrometer for pad and rotor measurement
- M8 × 1.25 extraction bolts if the replacement rotor has matching threaded removal holes
- Safety glasses, chemical-resistant gloves, and a suitable dust-control method
A hammer and flathead screwdriver may help with limited cleaning or access tasks, but do not pry against the wheel hub, piston boot, brake hose, ABS wiring, or backing plate. Use a dead-blow hammer only on a rotor that will be discarded and only after confirming the parking brake is fully released.
Note: Do not blow brake dust away with compressed air. Avoid uncontrolled dry brushing. OSHA recommends methods that keep brake residue from becoming airborne, including appropriate wet-cleaning or HEPA-controlled procedures.
Preparing Your RAV4 for Brake Work
- Park on a hard, level surface. Shift into Park, turn the power system off, remove the key or keep the smart key away from the vehicle, and chock both sides of the front wheels.
- Identify the parking-brake system. On a conventional 2013–2018 setup, release the mechanical parking brake after the wheels are securely chocked. On an EPB-equipped model, activate the correct rear-brake pad replacement mode before disassembly.
- Loosen the rear lug nuts on the ground. Break them loose about one-quarter turn while the tire remains firmly planted. Do not loosen them with the wheel suspended.
- Lift at an approved point. Follow the model-year owner’s manual for the floor-jack and support locations.
- Lower the RAV4 onto jack stands. Confirm that the vehicle is stable before reaching beneath it or applying force to a fastener.
- Remove the wheel. Finish removing the lug nuts and move the wheel out of the work area.
- Inspect before disassembly. Check for brake-fluid leaks, torn boots, damaged hoses, uneven pad wear, loose wheel bearings, abnormal rotor scoring, and heat discoloration.
- Check the brake-fluid reservoir. Piston compression sends fluid back toward the reservoir. If someone previously topped it off while the pads were worn, the reservoir may overflow. Remove only enough excess fluid with a clean dedicated tool to keep the level below MAX.
Brake fluid damages paint. Cover nearby painted areas, clean spills immediately with water, and never reuse fluid removed from the reservoir.
Step-by-Step Guide to Removing Calipers and Rotors
Work on one rear wheel at a time so the assembled opposite side remains available as a reference. Photograph the pad hardware and wear-indicator position before removing anything.
Tools Required for Removal
The exact fastener sizes can vary. On many 2013–2018 RAV4 rear assemblies, the caliper slide bolts use a 14 mm head and the bracket bolts use a 17 mm head. Confirm the size before applying force and use six-point sockets where possible.
- Correct metric sockets and wrenches
- Breaker bar and torque wrench
- Caliper hanger
- Brake cleaner and catch pan
- Rotor extraction bolts when applicable
- Dead-blow hammer for a discarded seized rotor
Caliper Detachment Process
- Inspect the brake hose routing and note the position of each slider pin and boot.
- Remove the lower and upper caliper slide bolts. Hold the slider-pin flats with a wrench if the pin turns with the bolt.
- Lift the caliper away from the pads without pulling, twisting, or sharply bending the hose.
- Hang the caliper from the suspension with a caliper hook or strong wire. Never let it hang from the brake hose.
- Remove the old pads and note the location of each shim, wear indicator, and abutment clip.
- If replacing the rotor, remove the caliper-bracket bolts and lift the bracket away.
If the inner pad is much thinner than the outer pad, or one side of the vehicle is worn far more than the other, inspect for seized slider pins, a sticking piston, damaged boots, restricted hose flow, or parking-brake problems before installing new parts.
Rotor Replacement Steps
- Confirm the parking brake is released. On 2013–2018 models, the parking-brake shoes sit inside the rotor hat and can prevent removal.
- Mark the rotor orientation if it may be reused. This helps preserve its relationship to the hub during inspection.
- Try a controlled pull first. If the rotor does not move, inspect for threaded extraction holes.
- Use extraction bolts evenly. Thread matching M8 × 1.25 bolts into the rotor holes by hand and alternate between them in small increments. Stop if the rotor begins to cock sideways.
- Back off the parking-brake shoes if necessary. A wear ridge or tight shoe adjustment can hold the rotor. Use the service opening and the model-specific adjustment procedure rather than forcing the rotor over the shoes.
- Use controlled tapping only when needed. Tap between the wheel studs or around the rotor hat without striking studs, sensors, backing plates, or reusable friction surfaces.
If brake fluid is leaking from the caliper, hose, or connection, stop the repair. Replacing pads and rotors does not correct a hydraulic leak.
Inspect the Rotors, Calipers, and Hardware
Do not automatically reuse a rotor because it looks smooth. Clean enough surface rust to inspect it, then check both friction faces and the rotor hat.
- Measure rotor thickness at several evenly spaced points and compare the lowest reading with the minimum thickness marked on the rotor or listed in Toyota repair information.
- Replace a rotor with cracks, severe grooves, heavy scaling, deep rust pitting, blue heat spots, or thickness below specification.
- Measure runout if the vehicle had pedal pulsation or repeated uneven rotor wear.
- Inspect the caliper piston dust boot for cuts, folds, heat damage, or brake-fluid wetness.
- Verify that both slider pins move smoothly and that their boots seal correctly.
- Replace bent, heavily rusted, loose, or heat-damaged abutment clips.
- Inspect the flexible hose for cracking, swelling, abrasion, twisting, or wetness.
Rotors should normally be serviced in axle pairs so the left and right sides have comparable friction surfaces. Follow the brake-pad or rotor manufacturer’s instructions when machining or replacing a rotor.
Installing Rotors and Brake Pads: A Step-by-Step Guide
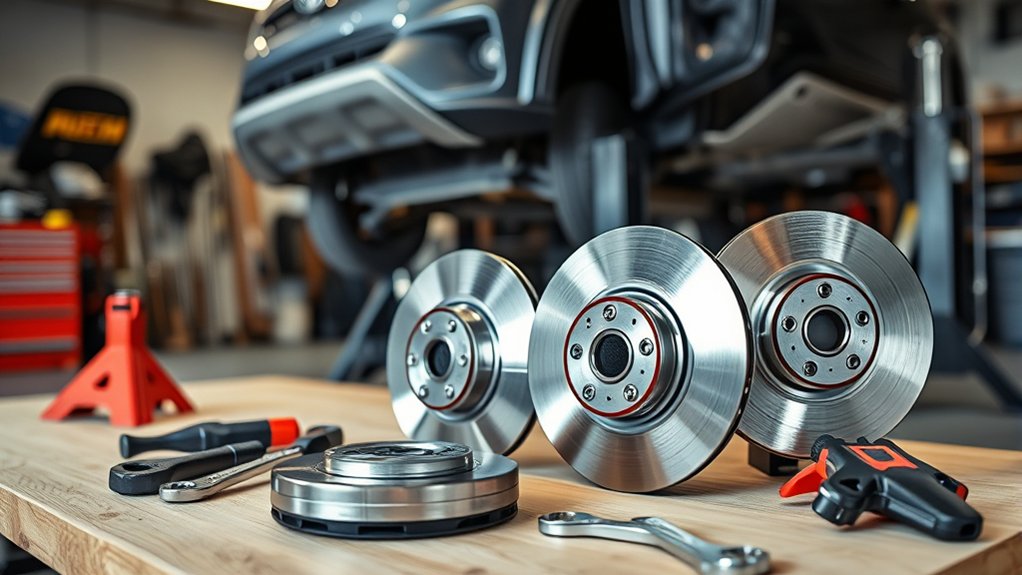
- Clean the new rotor. Spray both friction faces with brake cleaner and wipe them with a clean lint-free towel until no shipping oil or residue remains.
- Clean the hub face. Remove loose rust and debris without damaging the wheel studs. The rotor must sit flat against the hub.
- Install the rotor. Place it squarely over the studs. Temporarily install two lug nuts backward by hand to hold the rotor against the hub while assembling the brake.
- Reinstall the caliper bracket. Start the bolts by hand and tighten them to the exact model-year Toyota specification with a torque wrench.
- Install new abutment hardware. Seat each clip fully. A raised or misaligned clip can make a pad bind.
- Lubricate only approved contact points. Apply a very thin film of compatible brake lubricant to pad ears and specified metal-to-metal contact areas.
- Install the pads. Match the old pad orientation, shim position, and wear-indicator location. The friction material must face the rotor.
Pro Tip: Compare each new pad with the pad removed from the same position. Check overall shape, ears, shims, wear indicator, and backing-plate clearance before compressing the piston.
Never apply grease, anti-seize, or brake fluid to the pad friction material or rotor friction faces. Replace a contaminated pad rather than attempting to clean fluid or grease out of the friction material.
Effective Techniques for Caliper Reinstallation and Piston Compression
Piston Compression Techniques
For a conventional 2013–2018-style rear caliper:
- Confirm that the mechanical parking brake is released and the front wheels remain securely chocked.
- Place the old inner pad against the piston face.
- Position a C-clamp or piston compressor squarely over the pad and caliper body.
- Apply slow, even pressure while watching the piston boot and brake-fluid reservoir.
- Stop if the piston tilts, binds, leaks, or requires excessive force.
For an EPB-equipped 2019-or-newer rear caliper:
- Use an EPB-capable diagnostic tool or the exact Toyota procedure to activate rear-brake pad replacement mode.
- Confirm that the instrument panel or diagnostic tool indicates the mode was accepted and that the parking-brake mechanism has retracted.
- Turn the vehicle off as directed by the service procedure and do not operate the parking-brake switch during disassembly.
- Compress the hydraulic piston slowly with a suitable piston tool only after the electronic mechanism has retracted.
- Do not twist the piston, power the motor with improvised wiring, remove the actuator motor, or force the piston against the unretracted mechanism.
If an EPB piston was extended accidentally, a parking-brake malfunction appears, or the replacement mode will not activate, stop. The caliper may require diagnostic commands, code clearing, inspection, or replacement.
Caliper Alignment Tips
- Confirm that both pads sit flat in the abutment clips and slide without binding.
- Guide the caliper over the new pads without pinching the piston boot.
- Align the caliper with the slider pins and start both bolts by hand.
- Hold the slider-pin flats if required and tighten the slide bolts to the exact model-year specification.
- Confirm that the brake hose is not twisted and does not contact the wheel, spring, or suspension through its normal range of movement.
Slider Pin Maintenance
- Remove one slider pin at a time to avoid mixing pins that differ by position or design.
- Wipe away old lubricant and inspect the pin for scoring, corrosion, pitting, or bending.
- Inspect the rubber boot for tears, swelling, hardening, or poor sealing.
- Apply a light, even layer of silicone or synthetic lubricant specifically approved for brake-caliper slides and rubber components.
- Reinsert the pin and confirm smooth movement without trapped air forcing it back out.
Do not use petroleum grease, chassis grease, or an incompatible anti-seize compound inside a rubber slider-pin boot. An incompatible lubricant can swell or damage rubber components.
Proper Tire Installation After Brake Pad Replacement
- Remove any temporary lug nuts holding the rotor.
- Clean the wheel-to-rotor mounting surfaces so the wheel sits flat.
- Mount the wheel and start every lug nut by hand.
- Snug the lug nuts in a star pattern while the wheel is raised.
- Lower the vehicle until the tire contacts the ground without carrying the vehicle’s full weight.
- Tighten the lug nuts in a star pattern with a torque wrench. Many RAV4 owner’s manuals specify 76 ft-lb or 103 N·m, but use the value listed for your exact model year and wheel configuration.
- Fully lower the vehicle and remove the jack and stands.
| Step | Action | Tool |
| 1 | Seat the wheel against the rotor | Hands |
| 2 | Start all lug nuts by hand | None |
| 3 | Snug in a star pattern | Lug socket |
| 4 | Torque to the model-specific specification | Torque wrench |
| 5 | Confirm the wheel is flush with the rotor | Visual inspection |
Final Brake Checks Before Driving
- Restore hydraulic clearance. With the vehicle stationary, press the brake pedal slowly several times until it becomes firm. Do not move the RAV4 while the pedal travels unusually far.
- Normalize an EPB system. Follow the diagnostic tool or exact Toyota procedure to complete or close rear-brake pad replacement mode.
- Test the parking brake. Apply and release it while stationary. Confirm normal operation and verify that no parking-brake, ABS, brake, or stability-control warning remains.
- Check the brake-fluid level. Set it between MIN and MAX using only the brake-fluid type specified for the vehicle. Do not overfill.
- Inspect for leaks. Check both rear calipers, hoses, bleeders, and nearby surfaces while another person holds firm pedal pressure.
- Check wheel rotation. A small amount of pad contact is normal, but one wheel should not be locked or dramatically harder to rotate than the other.
- Complete a controlled test. At walking speed in a safe private area, verify normal pedal feel and stopping response before increasing speed.
- Bed the pads. Follow the pad manufacturer’s bedding procedure. Avoid repeated emergency-style stops unless required for safety.
A pad-and-rotor replacement does not normally require bleeding because the brake hose remains connected. Bleed the system if a hydraulic line was opened, the reservoir ran empty, air entered the system, or the pedal remains soft after the pads seat. Some hybrid brake systems require diagnostic-tool procedures for proper bleeding.
Don’t Make These Mistakes When Replacing Your Brake Pads
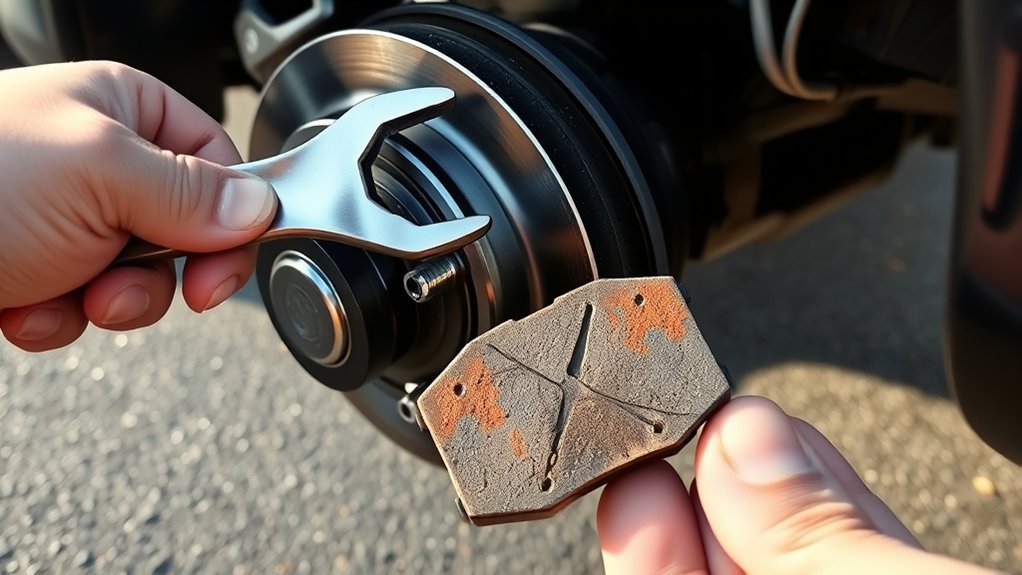
- Using the wrong procedure for the model year: A 2019-or-newer EPB caliper is not serviced exactly like a 2017 mechanical-parking-brake assembly.
- Supporting the vehicle with only a jack: Always lower the RAV4 onto properly rated stands before working around the wheel well.
- Forcing an EPB piston: Activate the correct replacement mode before mechanical compression.
- Letting the caliper hang from its hose: Support it with a hanger or wire.
- Ignoring brake-fluid rise: Monitor the reservoir while compressing both rear pistons.
- Reusing a rotor without measuring it: Confirm thickness, condition, and runout rather than judging only by appearance.
- Prying a stuck rotor carelessly: Release the parking-brake shoes and use extraction holes when available.
- Using the wrong grease: Use brake-specific lubricant compatible with rubber components.
- Greasing friction surfaces: Keep all lubricant away from pads and rotor faces.
- Guessing torque values: Socket size does not reveal the correct torque. Use exact Toyota repair information.
- Forgetting to pump the pedal: New pads leave extra piston clearance until the pedal is cycled.
- Skipping the final leak and warning-light check: Do not road-test a vehicle with a soft pedal, active brake warning, or fluid leak.
Importance of Regular Brake Maintenance and Inspection
Brake-pad life does not follow one universal mileage number. Stop-and-go traffic, towing, hills, road salt, infrequent driving, seized slides, and corrosion can change rear-pad and rotor life substantially.
Toyota maintenance schedules call for periodic visual inspection of brake pads, discs, lines, and related components. For example, the 2017 RAV4 Warranty and Maintenance Guide lists visual brake-pad and disc inspection at scheduled maintenance points rather than setting one mandatory replacement mileage.
Inspect the brakes promptly when you notice any of these symptoms:
- Squealing, scraping, grinding, or repeated clicking
- Longer stopping distance
- Pedal pulsation or steering-wheel vibration while braking
- A soft, sinking, or unusually low brake pedal
- The vehicle pulling during braking
- One rear wheel becoming much hotter than the other
- A burning smell or smoke near a wheel
- A brake, ABS, stability-control, or parking-brake warning
- Visible brake-fluid leakage
Stop driving and arrange professional service if the pedal sinks, brake fluid is leaking, a wheel is smoking, the vehicle pulls sharply, or a red brake warning remains on.
Sources
- Toyota: All-New 2019 RAV4 — confirms the redesigned model’s standard electronic parking brake.
- Toyota Warranty and Owner’s Manuals — model-specific operating, lifting, fluid, and wheel information.
- Toyota Technical Information System — factory repair procedures, torque values, and brake-control instructions.
- Toyota 2017 RAV4 Warranty and Maintenance Guide — scheduled brake inspection guidance.
- OSHA: Automotive Brake and Clutch Repair Work — brake-dust exposure and cleaning precautions.
- NHTSA Recall Lookup — VIN-based safety recall and campaign checks.
Related Guides
Frequently Asked Questions
How often should I replace my RAV4 rear brake pads?
Replace them according to measured remaining thickness, wear-indicator contact, damage, contamination, uneven wear, and braking symptoms. A fixed 30,000- or 70,000-mile rule is unreliable because driving conditions and caliper condition vary.
Can I reuse the old rotors with new brake pads?
You can reuse rotors only when they remain above minimum thickness and are free from severe scoring, cracks, deep corrosion, heat damage, and excessive runout. Measure both rotors and follow the pad manufacturer’s surface requirements.
What should I do if the caliper piston will not compress?
Stop applying force. Confirm the parking-brake type, verify that an EPB system is in rear-brake replacement mode, and inspect for corrosion, a cocked tool, a seized piston, or a damaged boot. Replace or professionally service a seized or leaking caliper.
Does a 2019-or-newer RAV4 need electronic parking-brake service mode?
An EPB-equipped RAV4 requires the applicable rear-brake pad replacement or maintenance mode before piston compression. Releasing the parking brake normally is not the same as retracting its internal service mechanism.
Do I need special tools for rear brake pad replacement?
You need safe lifting equipment, a torque wrench, metric hand tools, a caliper hanger, and a piston compressor. EPB-equipped models may also require a compatible diagnostic tool or the exact factory service-mode procedure.
Do I need to bleed the brakes after changing pads and rotors?
Not normally. The hydraulic system remains sealed during a standard pad-and-rotor replacement. Bleeding is required if a hose or bleeder was opened, the reservoir ran empty, air entered the system, or the pedal remains soft.
How can I tell if the rear brake pads are worn out?
Measure the friction material and inspect both the inner and outer pads. Squealing, grinding, increased stopping distance, uneven wear, a hot wheel, or a wear indicator touching the rotor also warrants immediate inspection.
Conclusion
A safe Toyota RAV4 rear brake pad replacement begins with identifying the exact parking-brake system. Conventional 2013–2018-style brakes and 2019-or-newer electronic-parking-brake systems require different preparation before piston compression.
Use properly rated stands, support the calipers, measure the rotors, lubricate only approved contact points, and torque every fastener from model-specific Toyota information. Before driving, restore a firm pedal, check the fluid and hoses for leaks, confirm normal parking-brake operation, clear all brake warnings, and complete a controlled low-speed test.
