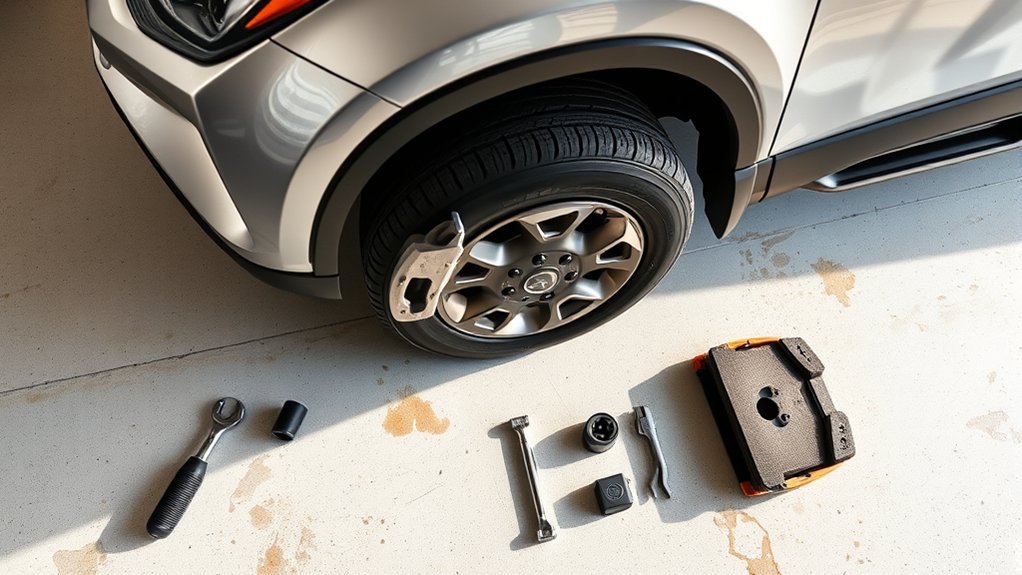
Replacing the front brake pads on a Toyota RAV4 is manageable for an experienced DIYer, but it is a safety-critical repair. Fastener sizes, torque values, pad orientation, lift points, and brake-system precautions can differ by model year and powertrain. Use this guide as a workflow, then confirm every vehicle-specific specification before beginning.
Quick Answer
To replace Toyota RAV4 front brake pads, support the vehicle at its approved lift points, remove both front wheels, retract each caliper piston with a proper tool, inspect the rotors and hardware, install the pads in the correct positions, torque every fastener to the model-specific specification, restore a firm pedal, and perform a controlled low-speed test.
Key Takeaways
- Verify your RAV4’s model year, powertrain, lift points, fastener specifications, and brake-pad orientation before taking anything apart.
- Support the vehicle with rated jack stands. Never work under a vehicle held only by a hydraulic or emergency jack.
- Use a brake piston tool rather than a screwdriver, and monitor the reservoir because its fluid level normally rises as the piston retracts.
- Keep brake lubricant away from the rotor and pad friction material. Apply it only where the vehicle or pad manufacturer allows.
- Torque wheel nuts in ft-lbf or N·m, not PSI, and restore a firm brake pedal before moving the vehicle.
At a Glance
| Time Required | About 1 to 2 hours for both front wheels, with extra time for corrosion, rotor work, or stuck hardware |
| Difficulty | Intermediate and safety-critical |
| Tools Needed | Wheel chocks, floor jack, jack stands, correct sockets, breaker bar, ratchet, calibrated torque wrench, piston spreader, caliper hanger, brake cleaner, and basic inspection tools |
| Cost | Varies by model year, pad type, required hardware, and whether the rotors or calipers also need service |
Warning: Brakes and vehicle lifting affect your immediate safety. Stop if you cannot identify the approved lift points, obtain the correct torque specifications, restore a firm pedal, or diagnose a leak, seized piston, damaged hose, warning light, or abnormal wheel heat. Have a qualified technician complete the repair.
Deal tip: Doing your own brakes? Our October Prime Day mechanics tool set deals cover CRAFTSMAN and GEARWRENCH sets, GEARWRENCH ratchets and a torque wrench for the final tightening.
Verify Your RAV4 Before Starting
Toyota has produced several RAV4 generations with different brake packages, wheel designs, powertrains, and fasteners. Do not assume that a socket size or torque value from another RAV4 applies to yours.
Confirm the model year, trim, drivetrain, powertrain, and replacement-part fitment. Use your VIN when ordering parts. Check the applicable documents through Toyota’s owner-manual library. For factory repair procedures and fastener specifications, consult Toyota Technical Information System.
Read the brake-pad manufacturer’s instructions as well. Some pads are directional, some use different inner and outer designs, and some require a particular bedding procedure.
- Replace the front pads as a complete axle set, not on only one wheel.
- Verify whether any mounting bolts are single-use or require a specified thread treatment.
- Confirm the minimum rotor thickness, maximum runout, and all fastener torque values.
- Keep the ignition off, and never press the brake pedal while a caliper is removed from the rotor.
- Follow any model-specific brake-control precautions listed in the repair manual.
Essential Tools and Materials for Replacing Front Brake Pads
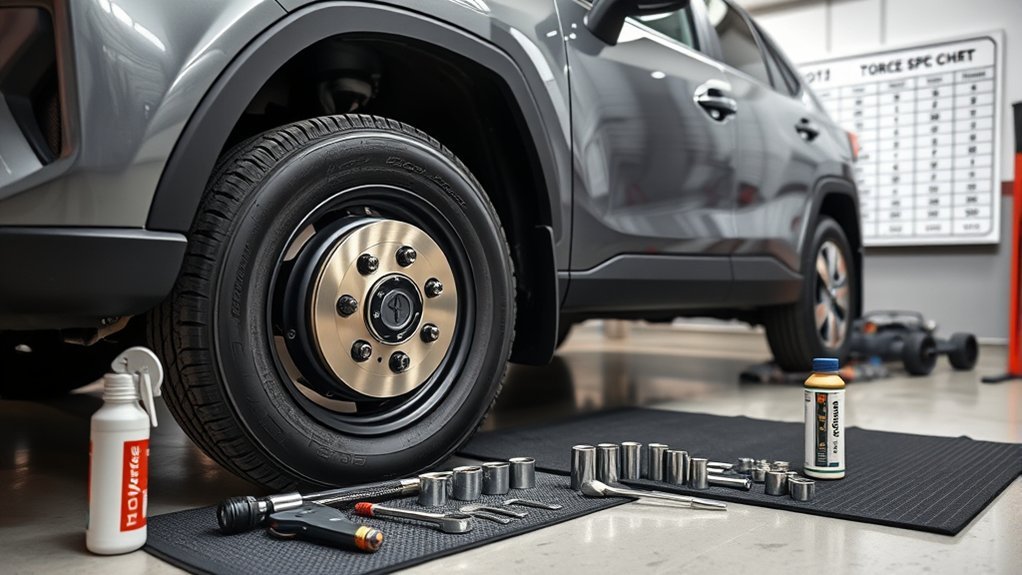
Gather all tools and replacement parts before lifting the vehicle. A torque wrench is for final tightening, not for loosening stubborn fasteners.
Tools and Safety Equipment
- Safety glasses and suitable protective gloves
- Wheel chocks
- Floor jack with enough capacity for the vehicle
- Two rated jack stands
- Correct wheel-nut, guide-pin, and bracket-bolt sockets
- Breaker bar and standard ratchet
- Calibrated torque wrench covering the required torque range
- Brake piston spreader or suitable caliper-piston tool
- Caliper hanger, strong wire hook, or suitable strap
- Drain pan or absorbent material for controlled cleaner runoff
- Flashlight and a small inspection mirror
- Micrometer and dial indicator if you are qualified to measure rotor thickness and runout
Parts and Cleaning Materials
- Correct front brake-pad set for the VIN and brake package
- New abutment clips or fitting hardware when supplied or required
- Brake cleaner approved for the components and work area
- Lint-free wipes
- Brake lubricant compatible with the caliper boots, slide pins, and pad hardware
- Correct brake fluid only if the verified procedure requires fluid to be added
Pro Tip: Photograph the original pads, clips, wear indicators, and caliper before disassembly. Work on one front side at a time so the assembled side remains available as an orientation reference.
Safely Lift Your Toyota RAV4 and Remove the Front Wheel
- Choose the work area. Park on a hard, flat, dry surface with enough lighting and ventilation. Shift into Park, turn the ignition off, remove the key or keep the smart key away from the vehicle, and apply the parking brake.
- Chock the rear wheels. Place appropriate chocks so the vehicle cannot roll in either direction.
- Check the reservoir. Clean dirt from around the brake-fluid reservoir cap. Note the current fluid level. Do not remove the cap merely to “release pressure.”
- Loosen the wheel nuts. With the tire still on the ground, loosen each front wheel nut about one-quarter turn using the correct socket and a breaker bar. Do not use the torque wrench for this step.
- Locate the approved lift point. Use the exact jack and support locations shown in the model-year owner or repair manual. Never choose a point because it appears to be near the middle of the vehicle.
- Lift and support the vehicle. Raise the front corner and position a rated jack stand at the approved support point. Lower the vehicle onto the stand while keeping the jack nearby as secondary support.
- Check stability. Confirm that the stand is seated squarely and the vehicle is stable before removing the wheel.
- Remove the wheel. Finish removing the wheel nuts, lift the wheel away, and place it flat where it cannot roll.
Note: Never place any part of your body beneath a vehicle supported only by a jack. An emergency jack supplied with the vehicle is intended for roadside wheel changes, not extended brake work.
Remove the Caliper and Old Brake Pads
Inspect the brake hose, caliper, rotor, and surrounding area before disassembly. Look for wet fluid, cracked rubber, damaged boots, uneven pad wear, or signs that one brake has been overheating.
- Confirm the fasteners. Identify the guide-pin bolts and any caliper-bracket bolts using the model-specific procedure. Do not assume they are 14 mm or 17 mm.
- Remove the required guide-pin bolts. Depending on the design, the caliper may pivot after one bolt is removed or lift away after both are removed. Hold the guide pin with the specified tool if it turns with the bolt.
- Support the caliper. Hang it from a solid suspension point with a caliper hook or strap. Do not twist the hose or allow the caliper to hang from it.
- Remove the old pads. Note which pad is inner and outer, where the wear indicator sits, and how every clip is positioned.
- Retract the piston slowly. Position an old pad against the piston and use a proper piston spreader or suitable clamp. Apply slow, even force while watching the reservoir level.
- Stop if the piston binds. A piston that will not retract smoothly may indicate corrosion, internal hose damage, an incorrect procedure, or a failed caliper.
- Remove the bracket only when necessary. A pads-only repair may not require bracket removal. Remove it when the verified procedure or rotor service requires access.
Never let the caliper’s weight pull on the flexible brake hose. Hose damage may not always be visible from the outside.
Clean and Inspect the Brake Components
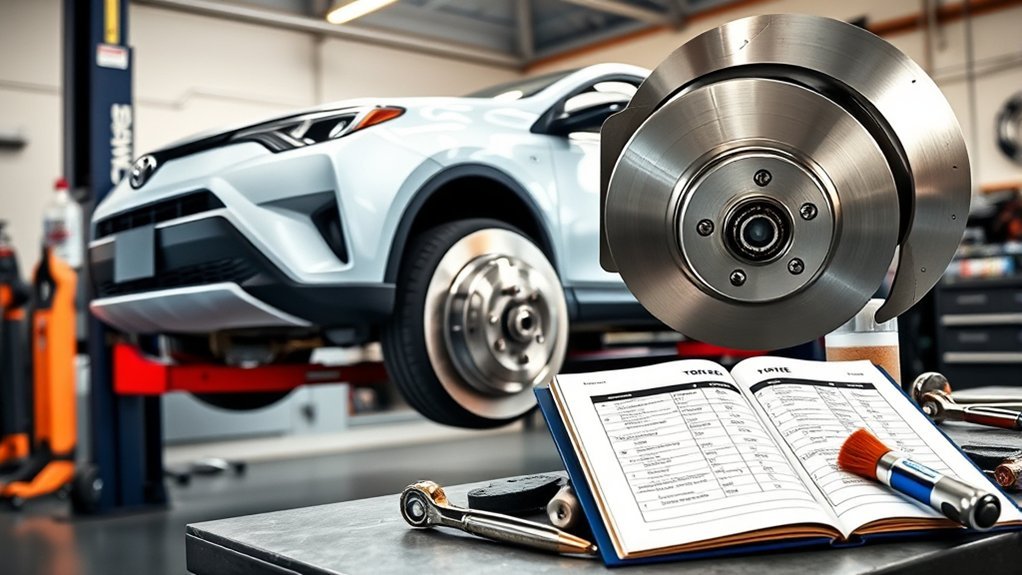
Warning: Do not clean brake dust with compressed air, a dry brush, or a dry rag. Some brake components may contain asbestos, and you cannot identify them by appearance. Follow EPA brake and clutch repair guidance and the brake-cleaner label.
Use controlled wet cleaning or an approved brake cleaner to remove loose debris without creating an airborne dust cloud. Collect contaminated runoff and used wipes according to local disposal requirements.
Inspect the Rotors
Check both rotor faces and the outer edge. Do not install new pads over a rotor that is unsafe or outside Toyota’s service limits.
- Measure rotor thickness at several points and compare it with the model-specific minimum.
- Check thickness variation and lateral runout when vibration or uneven wear is present.
- Look for deep scoring, cracks, severe corrosion, blue heat spots, or heavy glazing.
- Have the rotor replaced or professionally evaluated if you cannot measure it accurately.
- Never machine a rotor below its minimum permitted thickness.
Inspect the Caliper and Hardware
- Check the piston boot for tears, heat damage, and fluid seepage.
- Inspect the brake hose for cracks, bulges, abrasion, twists, and wetness.
- Confirm that guide pins move smoothly and that their boots seal correctly.
- Replace bent, heavily corroded, loose, or damaged fitting hardware.
- Investigate strongly uneven inner-to-outer or left-to-right pad wear before continuing.
Apply Lubricant Correctly
Use only a brake lubricant approved for the component. Apply a very thin film to the pad ears, hardware contact points, or guide pins only where Toyota or the pad manufacturer instructs.
- Do not put lubricant on the pad friction material.
- Do not put lubricant on either rotor face.
- Do not coat wheel studs, wheel nuts, or wheel-to-hub mating surfaces.
- Do not use petroleum grease on rubber parts unless the product is specifically approved.
- Do not apply copper grease, anti-seize, or threadlocker unless the exact repair instructions require it.
Install the New Front Brake Pads
- Compare the parts. Place the new pads beside the removed pads. Confirm their shape, thickness, backing plates, clips, sensor fittings, and inner or outer position.
- Install the fitting hardware. Fit new abutment clips in the same orientation as the originals. Make sure each clip is fully seated.
- Confirm pad direction. Follow any arrows, chamfer orientation, piston clips, or inner and outer markings supplied with the pads.
- Position the wear indicator. Place it in the location specified for that pad set and brake package.
- Install the pads. Slide them into the bracket without forcing or grinding them into position. They should move correctly at their contact points without excessive looseness.
- Fit the caliper. Guide the caliper over the new pads without damaging the piston boot. Do not force it if the piston is not fully retracted.
- Start bolts by hand. This reduces the chance of cross-threading.
- Tighten to specification. Use a calibrated torque wrench and the exact Toyota or replacement-component specification. Use new bolts or prescribed thread treatment only when required.
- Repeat on the other front wheel. Replace the pads on both sides of the front axle before testing the brakes.
Note: Do not press the brake pedal while either caliper is off the rotor. Doing so can push a piston out of its bore and release brake fluid.
Reinstall the Wheels and Test the Brakes
Reinstall Each Wheel and Torque It Correctly
- Confirm the wheel-to-hub mating surfaces are clean, dry, and free of trapped debris.
- Place the wheel on the hub and start every wheel nut by hand.
- Snug the nuts in a crisscross pattern without fully tightening them.
- Lower the vehicle until the tire contacts the ground and cannot rotate, but do not place the vehicle’s full weight on it yet.
- Torque the nuts in a crisscross pattern with a calibrated torque wrench.
- Use the exact value in your model-year manual. Many RAV4 manuals list 76 ft-lbf, or 103 N·m, but that must be verified for your vehicle. Never write or apply this value as 76 PSI.
- Lower the vehicle completely and remove the jack and wheel chocks when the repair is otherwise ready for testing.
Check the Brake-Fluid Level
Retracting the caliper pistons normally pushes fluid back toward the reservoir, causing its level to rise. Monitor the reservoir throughout the repair so it does not overflow.
After both calipers are installed, check the level on a level surface using the procedure in the owner’s manual. It should remain within the marked range. If the level is above the maximum mark, correct it with clean, dedicated equipment. Do not reuse removed fluid.
If the fluid remains below the minimum mark after the repair, inspect for a leak or another problem before adding anything. Use only the brake-fluid specification listed for your exact RAV4, and keep dirt, oil, water, and incompatible fluid out of the reservoir.
Restore the Brake Pedal Before Moving
- Confirm that both calipers, all bolts, both wheels, and the reservoir cap are secure.
- With the vehicle stationary, press the brake pedal repeatedly until the pads contact the rotors and the pedal becomes firm.
- Start the vehicle and verify that the assisted pedal feel is normal.
- Hold moderate pedal pressure and confirm that the pedal does not continue sinking.
- Inspect around both calipers, hoses, and the reservoir for leakage.
Warning: Do not drive if the pedal remains soft, sinks toward the floor, requires pumping to stop the vehicle, or is accompanied by a brake warning light or visible fluid leak.
Perform a Low-Speed Test and Bed the Pads
Begin in an open area away from traffic. Move only a short distance at low speed and apply the brakes gently. Confirm that the vehicle stops smoothly without pulling, grinding, severe vibration, or an abnormal pedal.
Increase speed gradually only after the first checks pass. Follow the bedding procedure supplied by the brake-pad manufacturer. Bedding requirements vary, so do not substitute a universal series of hard stops. Avoid unnecessary heavy braking until the prescribed procedure is complete, except when required for safety.
After the short test, park safely and check for fluid leaks, smoke, burning odors, unusual noises, or one front wheel becoming much hotter than the other.
Troubleshooting After Front Brake Pad Replacement
| Symptom | Possible Cause | What to Do |
|---|---|---|
| Soft or sinking pedal | Pads not seated, hydraulic leak, air in the system, or another brake fault | Do not drive. Recheck the installation and have the hydraulic system diagnosed. |
| Vehicle pulls while braking | Sticking piston or guide pin, contaminated pad, hose restriction, or unequal friction | Stop testing and inspect both front brakes. Replace contaminated friction parts. |
| Scraping, rattling, or clunking | Incorrect pad or clip position, loose hardware, contact with a dust shield, or a wrong part | Do not continue driving until the source is found and corrected. |
| Steering-wheel or pedal vibration | Rotor runout, thickness variation, rust between mating surfaces, or improper wheel installation | Measure the rotors, inspect mating surfaces, and verify wheel torque. |
| One wheel becomes very hot | Binding pad, seized guide pin, piston problem, or restricted hose | Park safely and let the brake cool. Do not touch the hot components or continue driving. |
| Brake warning light remains on | Low fluid, hydraulic fault, electronic brake fault, or another system issue | Follow the owner’s manual and have the system diagnosed before driving. |
Ongoing Brake Maintenance and Safety Checks
Brake pads do not have one reliable replacement mileage. Their service life depends on vehicle load, traffic, terrain, driving style, corrosion, pad material, and caliper condition.
Toyota’s 2025 RAV4 maintenance guide includes recurring visual brake inspections and a more detailed brake-pad thickness and disc-runout inspection at specified service points. Your own model-year guide remains the controlling schedule.
Schedule Regular Brake Inspections
Follow the maintenance schedule for your exact vehicle. Toyota’s 2025 RAV4 Warranty and Maintenance Guide, for example, includes visual brake inspections at recurring maintenance visits and more detailed measurement at specified intervals.
Inspect more often when the vehicle is used in heavy traffic, mountainous areas, severe winter conditions, for towing, or with frequent heavy loads.
- Measure pad material and compare it with Toyota’s service limit.
- Inspect rotors for scoring, corrosion, cracking, heat damage, and runout.
- Check hoses and calipers for leaks and damaged boots.
- Compare inner and outer pad wear on both front wheels.
- Investigate rapid or uneven wear instead of installing another pad set over the underlying problem.
Monitor Brake-Fluid Condition and Level
Check the reservoir on a level surface according to the owner’s manual. A gradual reduction can accompany normal pad wear because the pistons move outward. A sudden drop, a level below the minimum mark, or visible wetness requires inspection for a leak.
Do not judge fluid condition by color alone or perform a flush solely because it appears dark. Follow Toyota’s procedure and service recommendations, and prevent moisture or contamination from entering the reservoir.
Investigate Unusual Brake Noises
- Brief light squeal: May come from normal pad vibration, moisture, glazing, hardware, or a wear indicator. Inspect the system rather than assuming one cause.
- Grinding: Can indicate metal-to-metal contact or another serious mechanical problem. Stop driving and inspect immediately.
- Rattle or clunk: May indicate loose, missing, damaged, or incorrectly fitted hardware.
- Rhythmic scraping: May come from a rotor, shield, embedded debris, or a component installed in the wrong position.
Related Guides
Frequently Asked Questions
How often should Toyota RAV4 front brake pads be replaced?
Replace them when measurements, wear indicators, damage, contamination, or braking symptoms show that replacement is required. There is no dependable universal mileage. Follow your model-year Toyota inspection schedule and service limit.
Can I replace the brake pads without replacing the rotors?
Yes, when the rotors remain above minimum thickness and do not have unacceptable runout, thickness variation, cracks, severe scoring, heat damage, or corrosion. Measure them and compare the results with Toyota’s specifications.
What signs can indicate worn or faulty front brakes?
Possible signs include a wear-indicator sound, grinding, longer stopping distance, pulling, vibration, uneven pad thickness, a low reservoir level, fluid leakage, or a brake warning light. Each symptom requires inspection because it can have more than one cause.
Do I need to bleed the brakes after replacing the pads?
A routine pad-only replacement normally does not require bleeding when the hydraulic system remains sealed. Bleeding is required when the system is opened or air enters it. A soft or sinking pedal must be diagnosed before the vehicle is driven.
How can I tell whether the pads are installed correctly?
Confirm that the inner and outer pads, clips, wear indicators, directional markings, and shims match the instructions. The pads must sit correctly in the bracket, the caliper must fit without force, every fastener must be torqued, and the pedal must become firm before movement.
What are the correct RAV4 caliper and wheel-nut torque specifications?
The correct values depend on the model year and brake package. Many RAV4 owner manuals list 76 ft-lbf, or 103 N·m, for wheel nuts, but verify your manual. Obtain caliper and bracket specifications from the appropriate Toyota repair procedure.
Do I need to replace the pads on both front wheels?
Yes. Replace front brake pads as a complete axle set so both front wheels have matching friction material and wear condition. If one side is much more worn than the other, diagnose the caliper, guide pins, hose, and hardware before completing the repair.
Conclusion
A successful Toyota RAV4 front brake-pad replacement depends on more than fitting new friction material. You must support the vehicle correctly, inspect the rotors and calipers, prevent contamination, use the correct pad orientation, torque every fastener to the verified specification, and restore a firm pedal before moving.
Do not continue the repair when you find a leak, damaged hose, seized piston, severely worn rotor, persistent warning light, or unexplained uneven wear. Correcting the underlying fault is essential to safe and consistent braking.
Sources
- Toyota Owners: Manuals and Warranties — model-specific owner information, jack positioning, fluid specifications, and wheel procedures
- Toyota Technical Information System — factory repair procedures, service limits, and torque specifications
- 2025 Toyota RAV4 Warranty and Maintenance Guide — brake inspection and maintenance guidance
- Bosch Disc Brake Repair Guide — caliper support, piston resetting, pad orientation, lubrication, torque, and testing practices
- U.S. Environmental Protection Agency Brake and Clutch Repair Guidance — brake-dust exposure and controlled cleaning practices
