Replacing a CV axle on your Toyota Tacoma can stop clicking, vibration, grease leaks, and drivetrain stress before they turn into a bigger repair. The job is possible for an experienced DIYer, but it is not a “rush through it” repair. You need safe vehicle support, the correct replacement axle, model-specific torque specs, and a careful post-install check.
Quick Answer
To replace a Toyota Tacoma CV axle, confirm the axle fits your exact year, drivetrain, and side, safely raise and support the truck, remove the wheel and axle nut, free the steering knuckle enough to slide the axle out, inspect the seal, install the new axle fully, torque all hardware to factory specs, and test drive carefully.
Key Takeaways
- A clicking noise while turning, torn CV boot, grease spray, vibration, or binding can point to a worn Tacoma CV axle.
- Never work under a Tacoma supported only by a jack. Use rated jack stands on solid ground.
- Torque specs and small procedure details vary by model year, drivetrain, and hardware, so use Toyota service information for your truck.
- Inspect the axle seal, ABS wire, brake hose, and wheel-speed sensor before calling the job done.
- If the axle will not seat, leaks gear oil, or causes vibration after installation, stop driving and recheck the work.
At a Glance
| Time Required | Plan on 2 to 4 hours at home, especially if rust, stuck hardware, or cleanup slows the job. |
| Difficulty | Intermediate. You should be comfortable lifting a truck, removing suspension fasteners, and using a torque wrench. |
| Tools Needed | Floor jack, jack stands, wheel chocks, socket set, axle-nut socket, breaker bar, torque wrench, pry bar, rubber mallet, drain pan, gloves, eye protection, and factory torque specs. |
| Cost | Varies by model year, OEM or aftermarket axle choice, seal replacement, shop labor, and whether extra hardware is needed. |
Why CV Axle Replacement Matters for Your Tacoma
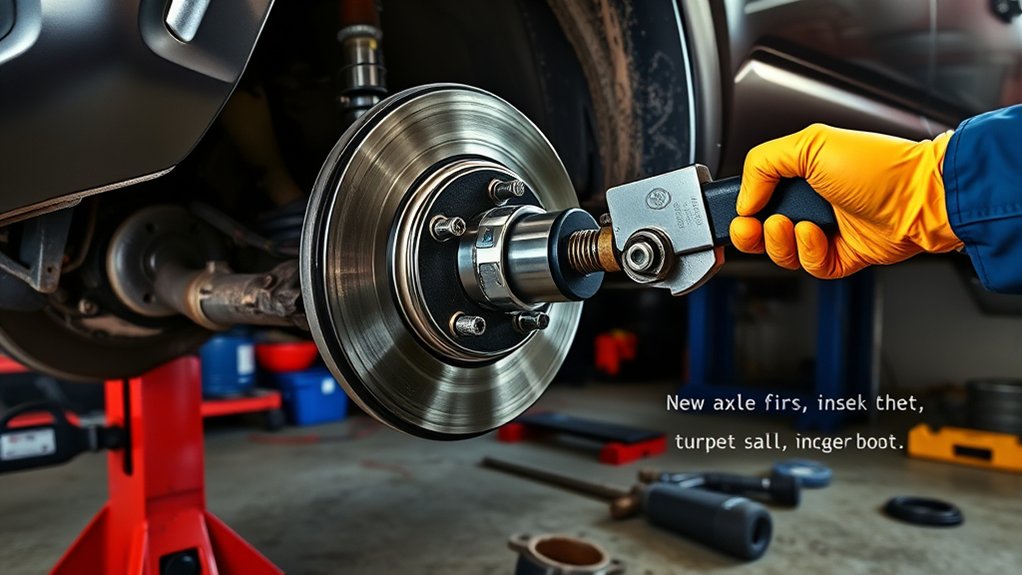
Your Tacoma’s front CV axles transfer power while the suspension moves and the wheels turn. When a CV boot tears, grease can escape and dirt can enter the joint. Once that happens, the joint can wear quickly, especially after mud, water crossings, snow, road salt, or off-road driving.
Common warning signs include a clicking noise during turns, grease splattered near the inner wheel or lower control arm, vibration under acceleration, clunking during direction changes, or a torn boot you can see during inspection. A small boot tear caught early may only need boot service, but a noisy, dry, loose, or contaminated joint usually points toward full axle replacement.
Before you start, check the correct information for your exact truck. Toyota’s owner resources are available through Toyota Manuals and Warranties, while model-specific repair procedures and wiring information are available through Toyota Technical Information System. You should also check your VIN or year/make/model through the NHTSA recall lookup before buying parts or doing drivetrain work.
Warning: Never crawl under a Tacoma supported only by a floor jack. Park on level ground, chock the wheels, use properly rated jack stands, and follow the lifting points in your owner’s manual. If you are unsure about lifting the truck or torquing suspension hardware, hire a qualified mechanic.
What Tools Do You Need for Replacing Your Axle?
Gather every tool before you loosen the axle nut. Stopping mid-job to find a socket or seal can leave the truck stuck on stands and increase the chance of mistakes.
Essential Tools Overview
- Floor jack and properly rated jack stands
- Wheel chocks
- Socket set and wrench set
- Correct axle-nut socket for your Tacoma
- Breaker bar for tight axle and suspension fasteners
- Torque wrench that covers the required torque range
- Pry bar for carefully releasing the inner axle from the differential
- Rubber mallet or dead-blow hammer
- Flathead screwdriver or pick for clips and boot-clamp cleanup
- Drain pan for possible gear oil loss
- Shop towels and brake cleaner for cleanup
- Paint marker or phone camera to mark and document parts before removal
Safety Equipment Requirements
Use eye protection, gloves, and closed-toe shoes. CV axle work can involve rust flakes, grease, gear oil, spring-loaded suspension movement, and heavy parts. Keep your face clear of the pry bar path, and do not pull on brake hoses or ABS sensor wires while moving the knuckle.
Pro Tip: If you are replacing one front axle because the boot failed, inspect the other side before ordering parts. Off-road use, age, and lift angles often wear both boots around the same time.
Before You Buy a Replacement CV Axle
Do not order a Tacoma CV axle based only on a photo or a broad model-year range. Confirm the exact fit before the truck comes apart.
- Match the year, engine, drivetrain, and trim: A 2WD, 4WD, manual-hub, automatic disconnecting differential, or newer-generation Tacoma may use different parts.
- Confirm the side: Left and right axles may differ.
- Use the VIN when possible: VIN matching helps avoid wrong axle length, spline count, or seal fit.
- Inspect the axle seal: If the differential seal is wet, hard, torn, or damaged during removal, replace it before installing the new axle.
- Check recalls and service campaigns: Use Toyota or NHTSA recall tools before doing drivetrain work.
- Plan for fluids: Some gear oil may escape when the axle leaves the differential, so confirm the correct fluid and fill procedure for your model.
Genuine Toyota parts can be searched by vehicle through the official Toyota Parts Center Online. High-quality aftermarket axles can work, but the fit, boot quality, and joint angle matter, especially on lifted or off-road Tacomas.
Step-by-Step CV Axle Replacement for Your Tacoma
The exact Tacoma CV axle replacement procedure depends on your year and drivetrain, so treat these steps as a practical overview. Use the factory repair manual or verified service data for torque values, fastener replacement rules, and any model-specific warnings.
- Park and secure the truck. Park on level ground, set the parking brake, chock the rear wheels, and loosen the front lug nuts slightly before raising the truck.
- Raise and support the Tacoma. Lift the front end using the correct lift point, then place the truck on jack stands. Shake the truck gently before removing the wheel to confirm it is stable.
- Remove the wheel. Set the wheel aside and keep the lug nuts together.
- Remove the axle nut hardware. Remove the dust cap, cotter pin or staked area if equipped, and axle nut. Do not reuse damaged locking hardware.
- Protect the ABS wire and brake hose. Before moving the knuckle, check where the ABS wire and brake hose run. Unclip brackets only if needed, and never let the knuckle hang from the hose.
- Free the knuckle enough to move the axle. Many Tacoma procedures allow access by removing lower spindle or ball-joint related fasteners instead of tearing down the entire front suspension. Only loosen what the service procedure requires.
- Push the outer axle through the hub. If it sticks, use controlled pressure and a soft-faced hammer. Do not mushroom the axle threads or damage the hub.
- Release the inner axle from the differential. Place a drain pan below the differential. Use a pry bar carefully at the correct point to pop the retaining clip free. Avoid prying against the axle seal surface.
- Inspect the old axle and seal. Look for torn boots, dry joints, spline damage, missing clips, gear oil leaks, or metal debris. Replace a questionable seal before installing the new axle.
- Compare the old and new axles. Check length, spline count, ABS tone ring or sensor area, retaining clip, boot position, and inboard/outboard ends. Do this before installation.
- Install the new axle. Support the axle level, slide the inner end into the differential, and push firmly until the retaining clip seats. You should not see a large gap at the differential.
- Reinstall the outer end through the hub. Guide the splines straight through the hub. Do not force the axle at an angle.
- Reassemble suspension hardware. Reinstall bolts, nuts, clips, and brackets in the correct order. Torque every fastener to the factory specification for your exact Tacoma.
- Refill or check differential fluid. If gear oil escaped, confirm the fluid level and use the correct fluid type for your model.
- Reinstall the wheel and lower the truck. Tighten lug nuts in a star pattern and torque them to the correct specification.
- Test before normal driving. Turn the steering from lock to lock, check for leaks, listen for clicking, confirm the ABS light stays off, and take a slow test drive before highway speeds.
Note: If your Tacoma has a lift kit, aftermarket control arms, or frequent off-road use, CV axle angles may be steeper than stock. That can shorten boot and joint life, so inspect the axle angle and boot clearance after installation.
Top Mistakes in CV Axle Replacement and How to Avoid Them
Most Tacoma CV axle replacement problems come from rushing, using the wrong part, or skipping final checks. Avoid these mistakes before they create leaks, warning lights, or another failed axle.
Ignoring Necessary Tools
Starting without the right tools can damage hardware and make the job unsafe. At minimum, have the correct axle-nut socket, breaker bar, torque wrench, pry bar, jack stands, drain pan, and factory torque specs ready before you begin.
- Do not use an impact wrench as your final tightening method.
- Do not guess torque values from another model year.
- Do not reuse bent cotter pins, damaged axle nuts, or questionable retaining clips.
Over-Disassembly Risks
Over-disassembly can turn a CV axle job into an alignment or suspension repair. You usually only need enough movement to slide the axle out of the hub and differential. Removing extra steering or suspension parts can disturb alignment, strain brake hoses, damage ball-joint boots, or create new noises.
Take photos before removing brackets and fasteners. If you disconnect any alignment-related parts, mark their position and schedule an alignment check after the repair.
Skipping Fluid Checks
When the axle leaves the front differential, gear oil can leak out. A low fluid level can damage the differential, and a nicked axle seal can keep leaking after the new axle is installed.
- Place a drain pan before pulling the axle.
- Inspect the axle seal lip and surrounding case.
- Check the differential fluid level after installation.
- Clean old oil from the case so a new leak is easy to spot.
Installing the Axle Without Confirming It Is Seated
A half-seated axle may leak, pop out, vibrate, or damage the splines. After you push the axle into the differential, confirm the retaining clip has locked in place. The axle should sit squarely with no obvious gap at the differential housing.
Forgetting the ABS Wire and Speed Sensor
The ABS wire and wheel-speed sensor sit near the same work area. Stretching, pinching, or leaving the wire unclipped can trigger an ABS light after the repair. Route the wire exactly as it was before and confirm all clips are secured.
How to Troubleshoot Problems After CV Axle Replacement?
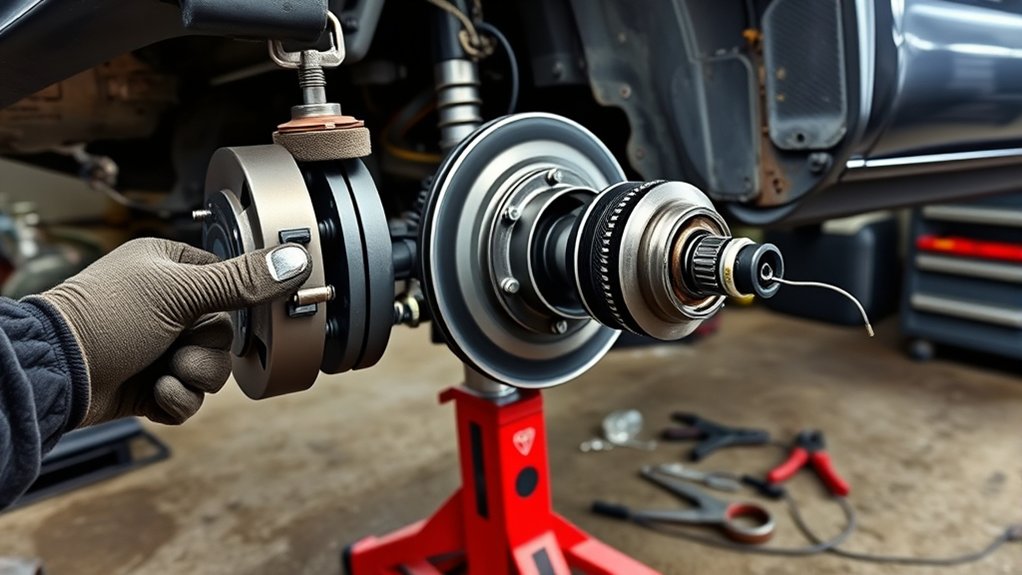
After replacing a CV axle, do not ignore new noises, warning lights, fluid leaks, or vibration. Recheck the work before driving normally.
| Problem | What to Check First | Likely Fix |
|---|---|---|
| ABS light stays on | Wheel-speed sensor, ABS wire routing, connector, and stored codes | Repair the wire or sensor issue, then clear codes with a scan tool. |
| Gear oil leak | Axle seal, axle seating depth, and differential fluid level | Reseat the axle or replace the damaged seal. |
| Clicking still happens | Axle fitment, opposite-side axle, hub, ball joints, and steering stops | Confirm the correct axle and inspect nearby front-end parts. |
| Vibration under acceleration | Axle length, inner joint seating, lift angle, wheel torque, and tire balance | Recheck installation and confirm the axle matches your truck. |
| Four-wheel-drive engagement issue | Front differential actuator wiring, connectors, axle seating, and related codes | Inspect wiring and scan the system before replacing more parts. |
If the truck pulls, the steering wheel sits off-center, or the tires begin wearing unevenly after the repair, schedule an alignment inspection. CV axle replacement alone does not always require alignment, but disturbed suspension or steering parts can change the result.
Tips for Maintaining Your CV Axles and Preventing Future Breakage
Good CV axle maintenance starts with regular boot inspection. Look behind the front wheels and around the lower control arms for grease spray, cracked rubber, loose clamps, or shiny wear marks where the boot rubs another part.
- Inspect after off-road trips: Mud, sticks, rocks, and brush can tear a boot or knock a clamp loose.
- Watch lifted suspension angles: Steeper CV angles can stress boots and joints faster than stock geometry.
- Fix boot damage early: A small tear can become a failed joint once grease escapes and dirt enters.
- Keep skid plates and splash shields secure: Loose protection can rub or trap debris near the axle.
- Listen during slow turns: Clicking under load often appears before total joint failure.
- Use parts that match your driving: A daily driver, lifted trail truck, and heavily loaded overlanding Tacoma may need different priorities.
A quiet new axle, dry seal area, centered steering feel, and no warning lights after a slow test drive are your best signs that the repair is on the right track.
Related Guides
Frequently Asked Questions
What should you not do when replacing a Tacoma CV axle?
Do not work under the truck with only a jack, do not force the axle at a sharp angle, do not pry against the axle seal surface, do not let the knuckle hang from the brake hose, and do not guess torque specs. Also avoid clearing an ABS light before inspecting the sensor wire and connector.
Can a CV axle be installed incorrectly?
Yes. A CV axle can be installed incorrectly if it is the wrong part, not fully seated in the differential, forced through the hub, torqued incorrectly, or installed with a damaged seal. A bad installation can cause leaks, vibration, clicking, ABS issues, or drivetrain damage.
What is the most common CV axle problem on a Toyota Tacoma?
The most common CV axle issue is usually boot damage. A torn or cracked boot lets grease escape and allows dirt, water, and grit into the joint. If caught early, the boot may be serviceable. If the joint clicks, binds, or vibrates, axle replacement is usually the safer repair.
How do I know if my CV axle is seated correctly?
The inner end should sit squarely in the differential with no obvious gap, and the retaining clip should lock the axle in place. After reassembly, check for gear oil leaks, clicking, vibration, and warning lights. If the axle slides back out easily, it may not be seated.
Do I need an alignment after replacing a Tacoma CV axle?
Usually, replacing the CV axle alone does not require an alignment if you do not disturb alignment-related parts. However, you should get an alignment check if the truck pulls, the steering wheel is off-center, you loosened adjustable suspension parts, or tire wear changes after the repair.
Should I replace the CV boot or the whole CV axle?
A boot-only repair may work if the boot just tore, the joint is still clean, and there is no clicking or vibration. Replace the whole axle if the joint ran dry, made noise, has play, binds, or was contaminated with dirt or water.
Conclusion
A Toyota Tacoma CV axle replacement can restore smooth power delivery and prevent a torn boot from becoming a bigger drivetrain problem. The key is preparation: match the part to your exact truck, support the vehicle safely, protect the ABS wire and brake hose, inspect the axle seal, and torque every fastener to factory specs.
After installation, take the final checks seriously. A dry seal area, no clicking, no vibration, normal four-wheel-drive operation, and no ABS warning light all matter. If anything feels wrong, recheck the axle seating and nearby components before you keep driving.
Sources
- Toyota Manuals and Warranties — owner manuals, warranty information, and model-specific Toyota owner resources.
- Toyota Technical Information System — Toyota service support source for repair manuals, service bulletins, wiring diagrams, and diagnostic information.
- Toyota Parts Center Online — official Toyota parts lookup by vehicle, VIN, or part information.
- NHTSA Recall Lookup — vehicle recall, investigation, complaint, and manufacturer communication lookup by VIN or vehicle details.