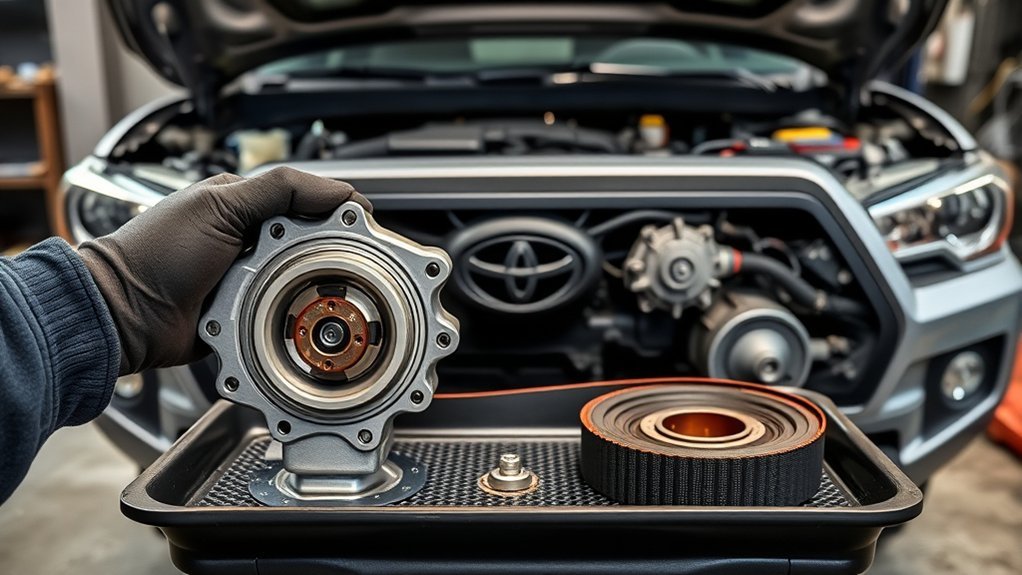
Toyota Tacoma water pump replacement is not one universal job. The correct procedure depends on the engine: some pumps are serviced externally, while the 5VZ-FE 3.4L V6 procedure requires timing-belt removal. Diagnose the leak or bearing problem first, identify the engine, and use the matching Toyota repair procedure before removing parts.
Last updated: September 19, 2026 — revised with engine-layout cautions, Toyota water-pump leak diagnostic guidance, internal cooling-system links, and schema/compliance fixes.
Affiliate disclosure: This page may contain affiliate links. If you buy through an eligible link, we may earn a commission at no extra cost to you.
Quick Answer
To replace a Toyota Tacoma water pump, first identify the engine and confirm whether the pump is timing-belt-driven or externally serviced. With the engine completely cold, drain the coolant, remove only the components listed for that engine, install the correct new gasket or O-ring, torque fasteners to Toyota’s exact specification, refill with the approved coolant, bleed trapped air, and verify that the repair stays dry after a full heat cycle.
Key Takeaways
- Verify the model year, engine code, pump location, coolant type, and torque specifications before starting.
- Never open the cooling system while the engine is hot or pressurized.
- Coolant leakage and overheating can have causes other than a failed water pump, so inspect the complete cooling system.
- On Tacoma applications covered by Toyota T-SB-0103-20 Rev1, dry coolant residue can be a temporary leak trace; active wet residue or drips and abnormal pump-bearing play are stronger replacement indicators.
- Use a new gasket or O-ring and apply sealant only where the engine-specific procedure requires it.
- Finish with proper bleeding, a leak inspection, a full cool-down, and a final coolant-level check.
At a Glance
| Time Required | Several hours for an accessible external pump; substantially longer if timing components or additional accessories must be removed |
| Difficulty | Intermediate to advanced, depending on the engine |
| Tools Needed | Socket and wrench set, correctly ranged torque wrench, drain pan, hose-clamp pliers, fan-holding tool when required, pick, plastic scraper, funnel, protective gloves, and eye protection |
| Cost | Varies by engine, pump brand, coolant capacity, related parts, local labor rate, and whether timing-system service is required |
Warning: Work only on a completely cold engine. Hot, pressurized coolant can cause severe burns. Many antifreeze products contain ethylene glycol, which can cause serious illness if swallowed. Wear gloves and eye protection, control every spill, and keep coolant away from children and animals.
Confirm Your Tacoma’s Engine and Water-Pump Layout
Before buying parts or loosening a bolt, record the model year, engine code, drivetrain, and VIN. You can usually find the engine information on the underhood emissions label, registration documents, or a VIN-based parts catalog.
Use the Toyota manuals portal and the Toyota Technical Information System to find information that applies to your exact truck.
Which Tacoma Water-Pump Procedure Applies?
| Verified engine example | What changes the job | Use this article as |
|---|---|---|
| 5VZ-FE 3.4L V6 | Toyota service information requires timing-belt removal before water-pump removal. | Diagnosis, preparation, sealing, refill, and post-repair checklist only. Follow the engine-specific timing procedure for disassembly and reassembly. |
| 2TR-FE 2.7L | Service information for 2005 applications shows an externally serviced pump after generator and belt-tensioner removal. | General workflow only; verify the exact fasteners, torque values, coolant, and bleed procedure for your model year. |
| 1GR-FE 4.0L V6 | Service information for early second-generation applications shows additional removal of the water inlet, idlers, generator, belt tensioner, and separation of the A/C compressor before pump removal. | General workflow only; do not copy another engine’s bolt count or torque values. |
The sequence below is therefore a general workflow, not a universal Tacoma repair manual. It is closest to externally serviced mechanical pumps. If your engine uses a timing-belt-driven pump, a newer cooling-system layout, or a procedure that calls for additional support or special tools, stop and follow the exact Toyota service information.
Note: The 5VZ-FE 3.4L V6 is a clear example where water-pump service requires timing-belt removal. Stop before disassembly if the procedure calls for timing alignment, special holding tools, or engine-support equipment that you do not have.
Identifying Signs of Water Pump Failure in Your Toyota Tacoma
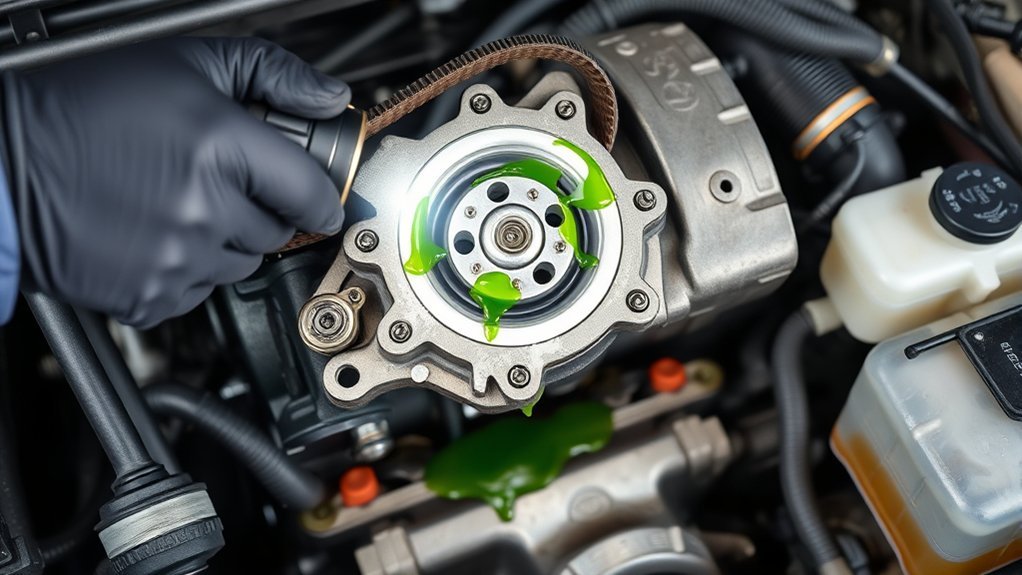
A failing water pump can reduce coolant circulation or allow coolant to escape. Common warning signs include:
- Coolant collecting below the front of the engine
- Wet residue, staining, or crust near the pump or its weep opening
- A grinding, rumbling, or whining noise near the pump bearing
- Pulley movement or wobble
- Repeated coolant loss
- An increasing or unstable temperature reading
- Steam or a coolant odor from the engine compartment
These symptoms do not prove that the pump has failed. A hose, radiator, thermostat housing, radiator cap, fan clutch, heater circuit, head gasket, or another component can create similar symptoms.
Does Dry Coolant Residue Mean the Water Pump Is Bad?
Not always. For Tacoma applications covered by Toyota T-SB-0103-20 Rev1, Toyota distinguishes a temporary leak trace from an active leak. Dry coolant residue by itself can remain after a small temporary discharge at the mechanical seal, while wet residue or drips indicate an active leak. Toyota’s diagnostic flow also calls for replacement when the pump pulley or bearing has excessive free play or does not turn smoothly.
Clean old residue before deciding that a new leak is present. If the area becomes wet again, coolant level drops, or the bearing feels loose or rough, use the model-year repair manual to confirm replacement.
Confirm the Problem Before Replacement
Inspect the system with the engine cold. Look around the pump, hose joints, radiator seams, thermostat housing, reservoir, and underbody for the highest point showing fresh coolant.
Check the pump pulley for looseness only when the engine is off, the key is removed, and the fan cannot start. A cooling-system pressure test can help locate a slow external leak, but never exceed the pressure listed for the vehicle or pressure cap.
If the engine has overheated severely, test for additional damage before replacing the pump. Installing a pump will not correct a leaking head gasket, blocked radiator, failed fan, or damaged cylinder head. For a broader diagnostic sequence, see the Toyota Tacoma overheating troubleshooting guide and the Tacoma coolant-leak guide.
Essential Tools and Parts for Water Pump Replacement
Gather all tools and replacement parts before draining the cooling system. The exact socket sizes and special tools depend on the engine.
Recommended Tools
- Metric socket and wrench set
- Ratchet, extensions, and suitable breaker bar
- Torque wrench covering the required specifications
- Fan-clutch holding tool or two-wrench arrangement when specified
- Hose-clamp pliers
- Trim-clip tool and screwdrivers
- Drain pan with enough capacity for the cooling system
- Pick for removing O-rings without scratching their grooves
- Plastic gasket scraper
- Lint-free towels and approved surface cleaner
- Spill-resistant funnel or cooling-system filling tool
- Cooling-system pressure tester, when available
- Protective gloves and safety glasses
Parts and Supplies
- VIN-correct water pump
- New pump gasket, molded seal, or O-ring supplied for the application
- Correct Toyota-approved coolant or equivalent meeting the listed specification
- Distilled or deionized water only when mixing a concentrate
- Sealant only if the service procedure or pump instructions require it
- Replacement hoses, clamps, thermostat, belt, or fan components that fail inspection
Pro Tip: Photograph the belt routing, hose locations, electrical connectors, brackets, and fastener positions before removal. Push each bolt through a labeled piece of cardboard so different lengths return to their original holes.
Draining Coolant: A Safe Step-by-Step Process
Park on a level surface, set the parking brake, switch off the ignition, and allow the engine to become completely cold. Disconnect the negative battery cable if the repair procedure requires it or if your tools could contact an electrical terminal.
Locate the Drain Point
Place a wide drain pan beneath the radiator. Open the cooling system only after confirming that the upper radiator hose is cool and soft rather than hot and pressurized.
Depending on the vehicle, coolant may be drained through the radiator drain valve, a lower radiator hose, or additional engine drain points. Use the method listed in the repair procedure. Removing a skid plate may provide safer access and better control of the fluid.
Attach a suitable hose to the drain fitting when possible. This helps direct coolant into the pan instead of onto the frame, suspension, or floor.
Control and Store the Used Coolant
- Open the drain slowly to control the flow.
- Move the drain pan as needed when the flow changes.
- Capture coolant released from each disconnected hose.
- Transfer used coolant into a clean, sealed, clearly labeled container.
- Clean spills immediately and prevent access by children or animals.
Do not pour coolant onto the ground, into a storm drain, or into household plumbing. Follow the EPA’s household hazardous-waste guidance and contact your local waste, recycling, or environmental agency for an approved collection location.
Removing the Fan, Belt, and Hoses
The following sequence applies only when these components block access to an externally mounted pump. Follow the model-specific order if your service information differs.
Prepare the Work Area
Remove the upper air duct, engine cover, or splash panel when required. Release trim clips with a trim tool instead of forcing them with a large screwdriver.
Disconnect any electrical connector that blocks access, such as a throttle-position sensor connector on applicable engines. Press the connector lock rather than pulling on the wires.
Remove the Fan and Drive Belt
Keep your hands away from the fan whenever the battery is connected. On a mechanical-fan system, use the specified holding tool or wrench arrangement to loosen the fan fasteners without damaging their corners.
If the fan and shroud must come out together, support both components while removing the shroud fasteners. Avoid striking the radiator fins with the fan blades.
Record the serpentine-belt routing before releasing tension. Rotate the tensioner only in the specified direction, remove the belt, and allow the tensioner to return slowly.
Inspect the belt for cracks, missing ribs, glazing, edge damage, or coolant saturation. Replace a damaged or contaminated belt rather than reinstalling it.
Disconnect the Cooling Hoses
Use hose-clamp pliers to move spring clamps away from each connection. Twist a stuck hose gently to break the seal before pulling it from the fitting. Do not pry against a plastic neck.
Inspect every hose you remove for swelling, cracking, oil contamination, hardened ends, soft spots, or abrasion. The number and routing of bypass hoses vary by engine, so replace hoses by condition and application rather than assuming every Tacoma has the same set.
Detaching the Thermostat Housing and Water Inlet
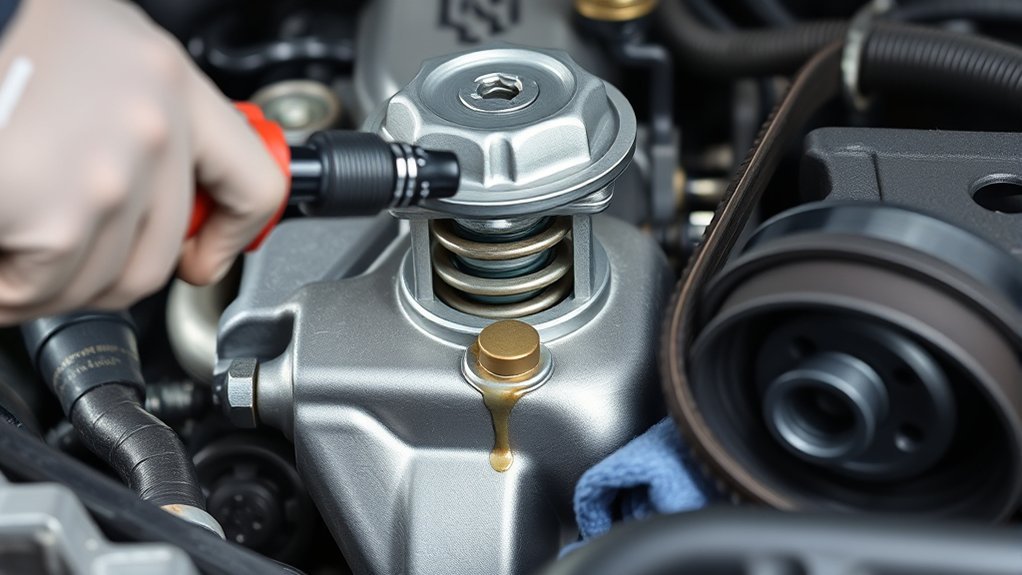
Remove the thermostat housing, water inlet, or connecting neck only when the engine-specific procedure requires it. Support plastic housings carefully because aged plastic can crack under uneven force.
Loosen the fasteners in stages and record each position. Different-length bolts may be used in nearby holes, and installing a long bolt in the wrong location can damage threads or an internal component.
After removing the housing, inspect the thermostat, sealing groove, mating face, and O-ring. Replace a flattened, cut, hardened, swollen, or distorted seal.
If a neck is stuck to an O-ring, move it gently from side to side. Do not drive a screwdriver between precision sealing surfaces.
Removing a Stuck Water Pump Without Causing Damage
Confirm that every pump fastener, bracket, hose, and hidden connection has been removed before applying force. A pump that will not move may still have a concealed bolt.
Use designated casting tabs or gentle side-to-side movement to release the old seal. Do not strike the pump hard enough to crack the surrounding housing, and do not pry against an aluminum sealing surface.
Once the pump is free, compare it with the replacement. Check the mounting pattern, impeller depth, pulley or hub position, hose connections, sensor openings, and sealing design.
Inspect the removed pump for bearing roughness, looseness, seal leakage, corrosion, or impeller damage. This can help confirm whether the pump caused the original problem.
Preparing the Sealing Surface and New Water Pump
Remove the old gasket or seal material without gouging the mating surface. A plastic scraper is safer than a sharp metal blade on soft aluminum.
If the service information permits a fine nonwoven cleaning pad, control the debris and keep abrasive material out of coolant passages and bearings. Wipe the area with an approved cleaner and lint-free cloth.
Remove the old O-ring with a pick, taking care not to scratch the groove. Lightly lubricate a new O-ring only with the substance specified by the pump or vehicle manufacturer.
Dry-fit the new pump before applying any sealant. Make sure the pump sits flat and that every hole aligns without force.
Do not coat a molded rubber gasket or O-ring with silicone unless the instructions specifically require it. Excess sealant can squeeze into the cooling system, while the wrong sealant can prevent the gasket from seating correctly.
Apply thread sealant to a bolt only when Toyota’s engine-specific procedure identifies that bolt as entering a coolant passage. Clean the threads first and use the specified sealant sparingly.
Using the Correct Water-Pump Torque Specifications
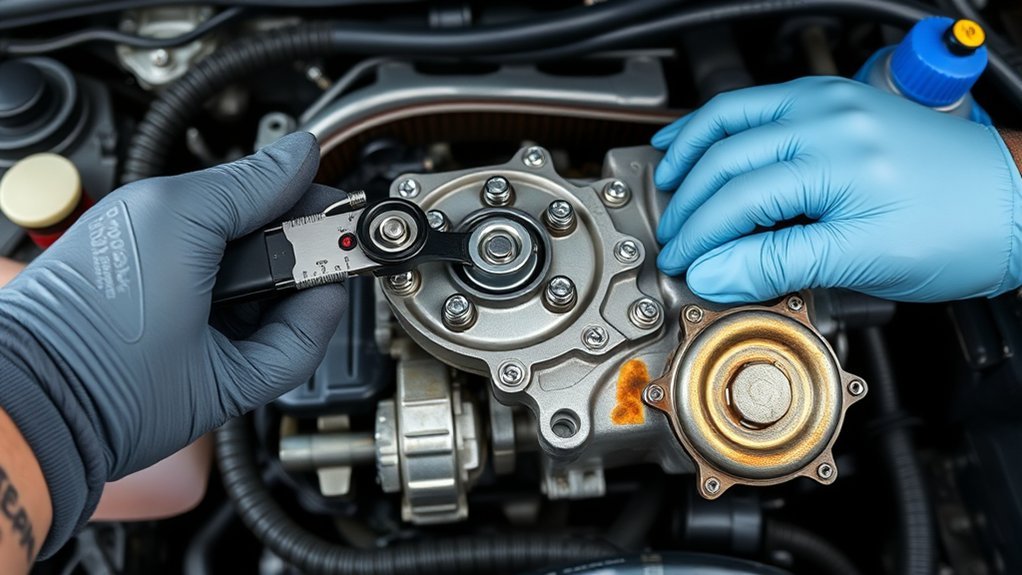
Water-pump torque values are not universal across Toyota Tacoma engines. A reference to a “10 mm bolt” or “12 mm bolt” may describe the wrench size rather than the fastener’s thread diameter, so it is not enough information for selecting a torque value.
Use the exact torque value, tightening sequence, and sealant instruction listed for your Tacoma’s model year and engine. Guessing by feel can strip threads, distort a housing, or create a coolant leak.
- Start every fastener by hand to prevent cross-threading.
- Confirm that each bolt is in its original location.
- Snug the fasteners gradually in an even pattern.
- Use a torque wrench that operates accurately within the required range.
- Follow any staged tightening or sequence listed in the repair procedure.
- Do not add lubricant or thread compound unless the specification assumes it.
Reassembling Components After Water Pump Installation
After the pump is secured, reinstall the water inlet, thermostat housing, hoses, brackets, and electrical connectors in the reverse order specified for the engine.
Seat each hose fully against its stop and return the clamp to its original sealing area. Replace a clamp that is badly corroded, distorted, or unable to maintain tension.
Route the drive belt exactly as shown in the routing diagram. Confirm that every rib sits inside its matching pulley groove before releasing the tensioner.
If the fan and shroud were removed together, lower them into position without contacting the radiator. Start the fan fasteners by hand and tighten them with the specified tool and torque procedure. Do not use a “calibrated wrist” as a substitute for a torque wrench.
Before filling the system, verify that:
- The radiator drain is closed.
- All hoses and clamps are installed.
- Every electrical connector is secure.
- No tools or rags remain near the belts or fan.
- The belt is centered on every pulley.
- The fan rotates without contacting the shroud.
How to Fill Coolant and Bleed the System
Use the coolant formulation listed for your model year and engine. Do not choose coolant only by color because different products can use similar colors. If the specification is unclear, review the Toyota Tacoma coolant types and colors guide before refilling.
Use the Correct Coolant Concentration
Read the container before adding water. Premixed coolant is already diluted and normally should not receive additional water. If the approved coolant is a concentrate, mix it with distilled or deionized water in the ratio specified for the vehicle and climate.
Do not mix incompatible coolant formulations. If the existing coolant is contaminated, unknown, or chemically incompatible with the replacement, follow an approved flushing procedure before the final fill.
Bleed Trapped Air Safely
- Begin with the engine cold and the vehicle positioned as directed by the repair procedure.
- Fill the radiator or designated fill point slowly.
- Fill the overflow or expansion reservoir to the cold-level mark.
- Set the cabin heater as required by the vehicle’s bleeding procedure.
- Start the engine only after checking for tools, leaks, and unsecured components.
- Monitor the coolant level, heater output, temperature gauge, and visible air bubbles.
- Add coolant slowly as the level falls, but keep hands, clothing, and tools away from moving belts and the fan.
- Install the pressure cap according to the service procedure.
Warning: Shut the engine off immediately if the temperature rises abnormally, coolant erupts from the fill point, the belt moves out of alignment, the fan contacts the shroud, or a significant leak appears. Never remove a pressure cap from a hot system.
Post-Installation Checks
Inspect the pump seam, drain fitting, thermostat housing, hose connections, and coolant passages while the engine warms. Confirm that the heater produces stable heat and that the temperature remains normal.
When appropriate, perform a cooling-system pressure test after the engine has cooled. Do not exceed the specified test pressure.
After a complete heat cycle:
- Allow the engine to become fully cold.
- Recheck the radiator and reservoir levels.
- Inspect beneath the truck for fresh coolant.
- Look for dried coolant residue around the new pump and hose joints.
- Check the belt’s position and condition.
- Verify that no connector, bracket, shield, or trim clip was left loose.
Reinspect the repair after the next few drives. A small trapped-air pocket may lower the cold reservoir level, but repeated coolant loss indicates an unresolved leak or another cooling-system problem.
Troubleshooting After Water Pump Replacement
Coolant Still Leaks From the Pump Area
Possible causes include a pinched O-ring, damaged gasket, scratched surface, misplaced bolt, incorrect sealant, loose hose, cracked housing, or leak from a nearby component. Clean the area and identify the highest fresh wet point before disassembling it again.
Temperature Rises or Heater Output Changes
Air may remain trapped in the system, but do not assume bleeding is the only problem. Check coolant level, thermostat operation, fan performance, radiator flow, belt routing, cap condition, and signs of combustion gas entering the cooling system.
A New Noise Appears
Stop the engine and inspect belt alignment, pulley position, fan clearance, tensioner condition, and pump fit. A belt installed one groove off can damage the belt and nearby components.
Frequently Asked Questions
What are the main parts of an automotive water pump?
Most pumps include a housing, impeller, shaft or hub, bearings, and a mechanical seal. The installation may also use a gasket, molded seal, or O-ring. There is no universal rule that every Tacoma water pump has exactly seven major parts.
How much does it cost to replace a Toyota Tacoma water pump?
The total depends on the model year, engine, pump location, part quality, coolant capacity, labor rate, corrosion, and related repairs. A pump that requires timing-component removal generally costs more to replace than an accessible external pump. Request a written VIN-based quote for an accurate figure.
Does the Tacoma model year or engine change the replacement procedure?
Yes. Tacoma engines use different accessory arrangements, pump locations, fasteners, seals, coolant capacities, and bleeding procedures. Identify the engine and consult the correct Toyota repair information before beginning.
How many hours does water-pump replacement take?
An accessible external pump may take an experienced technician or well-equipped DIYer several hours. A pump behind a timing cover can take substantially longer. Rust, broken fasteners, limited access, and related maintenance can extend the job.
Should the timing belt be replaced with the water pump?
If your engine’s pump requires timing-belt removal, compare the belt’s age and mileage with Toyota’s maintenance guidance. Replacing due timing components during the same repair can avoid repeating much of the labor. This does not apply to engines whose pumps are outside the timing system.
Can you drive a Tacoma with a leaking water pump?
Driving with an active coolant leak or overheating condition can cause severe engine damage. Shut the engine off if the temperature rises, steam appears, or coolant loss is significant. Arrange a tow when the truck cannot maintain a safe coolant level and normal temperature.
Does dried coolant residue mean the Tacoma water pump must be replaced?
Not necessarily. On Tacoma applications covered by Toyota T-SB-0103-20 Rev1, dry residue can remain after a temporary seal discharge. Toyota’s diagnostic guidance distinguishes that from wet residue or drips from an active leak. Confirm the current condition and check the pump bearing before replacing the pump.
Conclusion
A successful Toyota Tacoma water-pump replacement begins with identifying the exact engine, confirming the fault, and following the correct repair procedure. Work only on a cold system, capture the coolant safely, protect every sealing surface, and use model-specific torque values rather than generic numbers.
After installation, refill the system with the correct coolant, remove trapped air, inspect for leaks, and recheck the level after the engine has cooled completely. If pump failure is not confirmed, diagnose the coolant leak or overheating condition before replacing parts. Stop and seek professional help if the procedure involves unfamiliar timing work, severe overheating, damaged threads, or a leak that you cannot identify confidently.
Sources
- Toyota Manuals and Warranties — vehicle-specific owner documentation and maintenance information
- Toyota Technical Information System — model- and engine-specific repair procedures and specifications
- Toyota T-SB-0103-20 Rev1: Water Pump Leak Inspection and Diagnostic Tips — distinguishes temporary dry residue from active leakage and provides replacement decision guidance for covered Toyota models
- CDC/ATSDR: Ethylene Glycol — antifreeze exposure, health effects, and safe handling
- U.S. EPA: Household Hazardous Waste — safe storage and disposal guidance for hazardous household fluids
