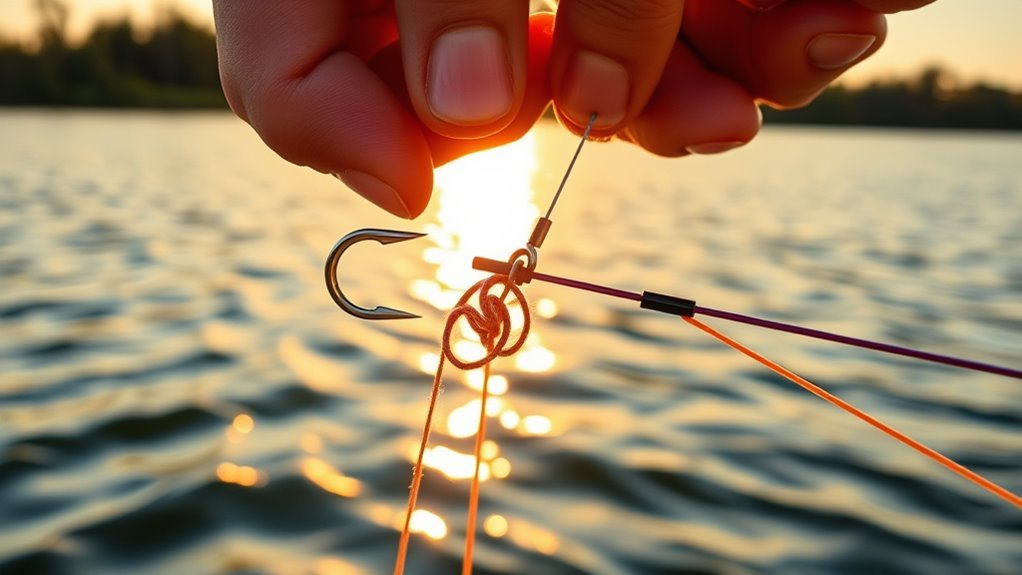
The Improved Clinch Knot is one of the most useful fishing knots for attaching line to hooks, lures, clips, and swivels. To tie it well, pass the tag end through the hook eye, make five to seven neat wraps around the standing line, pass the tag end back through the loop near the eye, tuck it through the final loop, moisten the knot, pull it tight, and trim the tag end. When tied cleanly, it gives you a compact, dependable connection for many freshwater and light saltwater setups.
Quick Answer
To tie an Improved Clinch Knot, thread the line through the hook eye, wrap the tag end around the standing line five to seven times, pass it back through the small loop near the eye, then through the larger loop you just created. Moisten the knot, pull it tight, and trim the tag end.
Key Takeaways
- The Improved Clinch Knot works best for attaching monofilament or fluorocarbon line to hooks, lures, and swivels.
- Use five to seven neat wraps, depending on line diameter, and keep the wraps from crossing over each other.
- Always moisten the knot before tightening to reduce friction and protect the line.
- After tightening, pull-test the knot before fishing so you can catch slippage before you cast.
At a Glance
| Time Required | About 30 to 60 seconds once practiced |
| Difficulty | Easy to moderate for beginners |
| Tools Needed | Fishing line, hook or lure, scissors or line cutters, and water or saliva for lubrication |
| Best Use | Hooks, lures, snaps, and swivels on lighter to medium fishing lines |
Importance of the Improved Clinch Knot
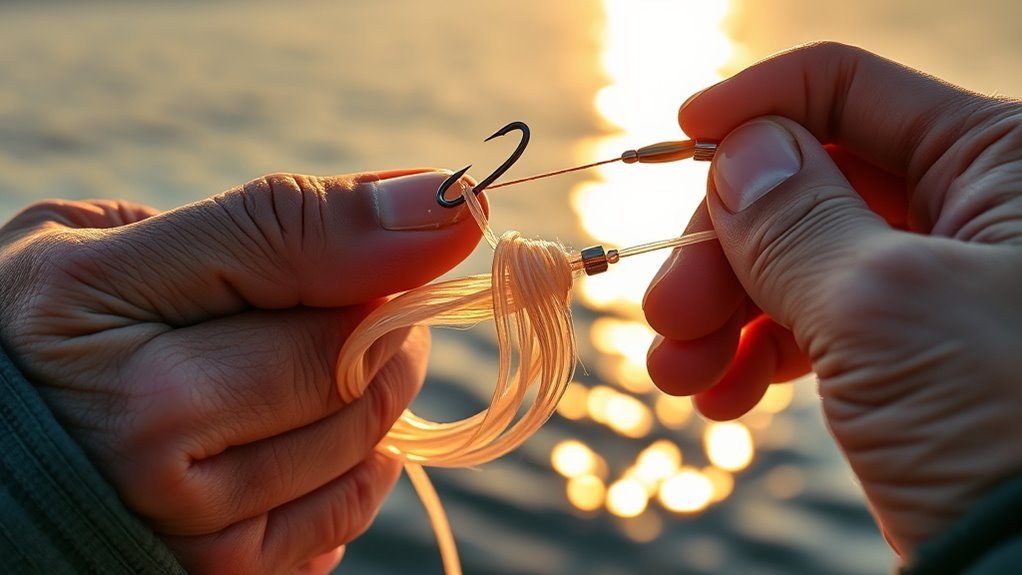
When you’re out on the water, the strength of your connections can make all the difference in your catch. The Improved Clinch Knot helps you securely attach your line to hooks, lures, snaps, and swivels without creating a bulky knot that interferes with the bait or lure action.
Anglers like this knot because it is compact, quick to learn, and dependable when tied correctly. It works especially well with common monofilament and fluorocarbon lines used for bass, panfish, trout, walleye, redfish, snapper, and many other species.
The “improved” part comes from the extra tuck through the final loop before tightening. That extra step helps the knot seat more securely and reduces the chance of slipping compared with a basic clinch knot.
Tying the Improved Clinch Knot correctly matters because a sloppy knot can weaken your line, even if the line itself is strong. Clean wraps, lubrication, steady tightening, and a final pull-test all help protect the connection before you make a cast.
Warning: Never trust a knot that looks burned, kinked, loose, or crossed over. Cut it off and retie it before fishing, especially after a snag, hard hookset, or strong fish.
Materials Needed for Tying the Knot
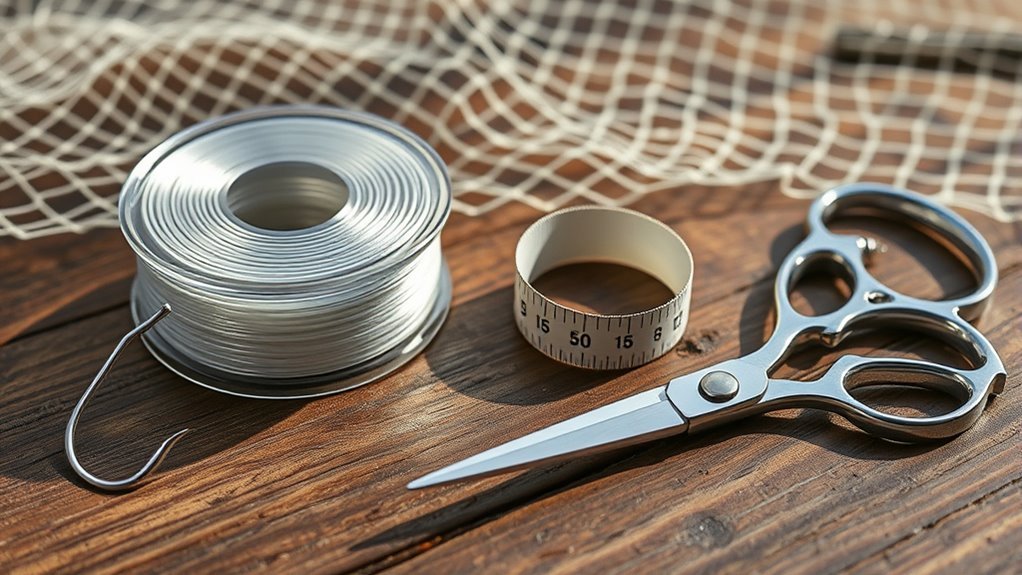
To successfully tie the Improved Clinch Knot, you only need a few basic materials. Having them ready makes the process faster and helps you create a cleaner, stronger knot.
- A length of fishing line, ideally monofilament or fluorocarbon for most Improved Clinch Knot applications.
- A hook, lure, snap, or swivel with a smooth, undamaged eye.
- A pair of scissors, nippers, or line cutters to trim the tag end cleanly.
- Water or saliva to lubricate the knot before you tighten it.
- Brightly colored practice line if you are learning the knot for the first time.
Before you start tying, check the hook eye or lure eye for sharp edges, rust, or rough spots. A damaged eye can cut or weaken the line no matter how well you tie the knot.
Step-by-Step Tying Instructions
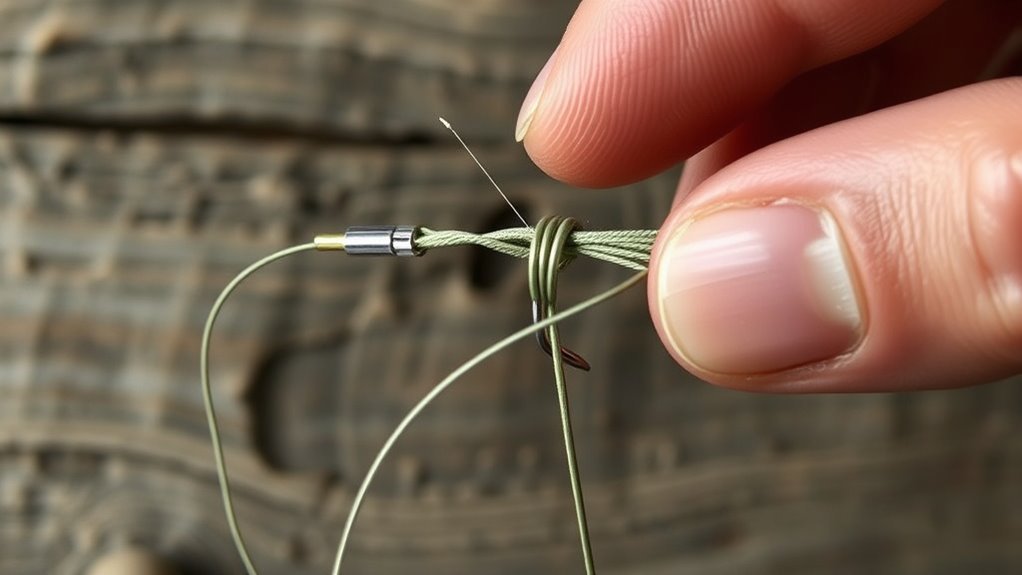
To tie the Improved Clinch Knot, start by preparing enough tag end so you can make neat wraps without rushing. A longer tag end gives beginners more control.
Next, use a clean wrapping technique. Most anglers use five to seven turns around the standing line. Thicker line usually needs fewer wraps, while thinner line can handle more wraps.
Finally, finish the knot by passing the tag end through the correct loops, moistening the line, tightening it slowly, and trimming the excess.
Preparing the Line
Choosing the right line is essential for successful fishing, so you should start with fresh line that has no nicks, flat spots, or sun damage. Old or damaged line can fail even when the knot is tied correctly.
Follow these steps to prepare your line effectively:
- Run the tag end of the line through the eye of the hook, lure, snap, or swivel.
- Leave about 6 to 12 inches of tag end so you have enough line to wrap and tuck.
- Hold the hook or lure steady with one hand and keep light tension on the standing line.
- Make sure the line passes cleanly through the eye without twisting around the hook shank.
Wrapping Technique
As you prepare to tie the knot, focus on the wrapping technique because the wraps form the knot’s gripping structure. Start by passing the tag end through the eye of the hook, leaving a 6 to 12-inch tag end. Next, wrap the tag end around the standing line five to seven complete turns.
Keep the wraps close together but not stacked on top of each other. Crossed or bunched wraps can keep the knot from seating evenly, which may reduce strength.
After completing the wraps, pass the tag end back through the small loop next to the eye of the hook. Then pass the tag end through the larger loop you just created. This final pass is what separates the Improved Clinch Knot from the basic clinch knot.
| Step | Action |
|---|---|
| 1 | Pass tag end through the hook’s eye |
| 2 | Wrap tag end around the standing line five to seven times |
| 3 | Pass tag end through the loop near the hook eye |
| 4 | Pass tag end through the larger loop you created |
| 5 | Moisten, tighten, pull-test, and trim |
Finalizing the Knot
Once you’ve completed the initial wrapping of the tag end around the standing line, it’s time to finalize the knot. Pass the tag end back through the loop formed in front of the hook eye. Then run it through the larger loop created by that pass.
Moisten the knot with saliva or water to reduce friction. This step helps the wraps slide into place without scraping or heating the line.
To complete the knot, pull the standing line firmly while guiding the wraps down toward the hook eye. Hold the tag end lightly until the knot starts to seat, then pull the standing line and tag end in opposite directions to snug everything down.
Finally, trim the tag end close to the knot, but do not cut into the knot itself. Leave a tiny tag, especially when using stiffer fluorocarbon or when fishing around heavy cover.
- Pass the tag end through the loop near the eye.
- Run the tag end through the larger loop.
- Moisten the knot before tightening.
- Pull slowly so the wraps seat evenly.
- Trim the tag end after the knot is fully tight.
Pro Tip: After trimming, pull firmly on the standing line and hook or lure. If the knot slips, curls, or clicks loose, cut it off and retie it.
Tips for Effective Knot Tying
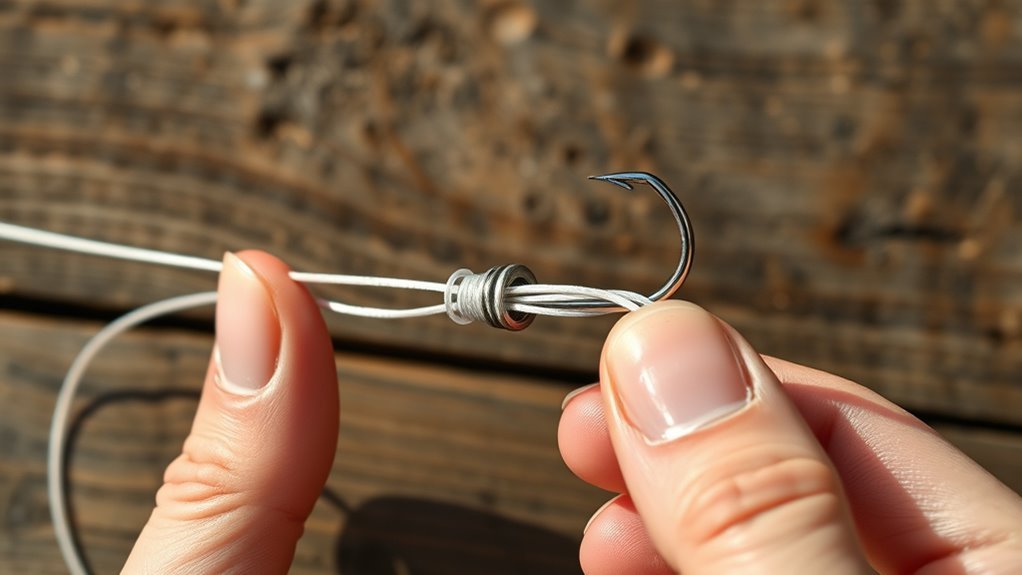
To guarantee your knots are reliable and strong, always begin with fresh line. Older line can hold hidden weaknesses from sunlight, abrasion, heat, or repeated stretching.
Using brightly colored line during practice can make each step easier to see. It also helps you notice when your wraps cross, bunch up, or twist in the wrong direction.
Using brightly colored line can simplify knot tying, making each step clearer and reinforcing the strength of your knot structure.
When wrapping the line, keep each turn neat and evenly spaced. Do not rush the wraps. A clean spiral tightens more smoothly and gives the knot a better chance of seating correctly.
Before tightening the knot, moisten the line with saliva or water to reduce friction. After securing the knot, trim the tag end with sharp cutters so the line does not snag on weeds, guides, or netting.
Understanding Knot Structure and Tightening
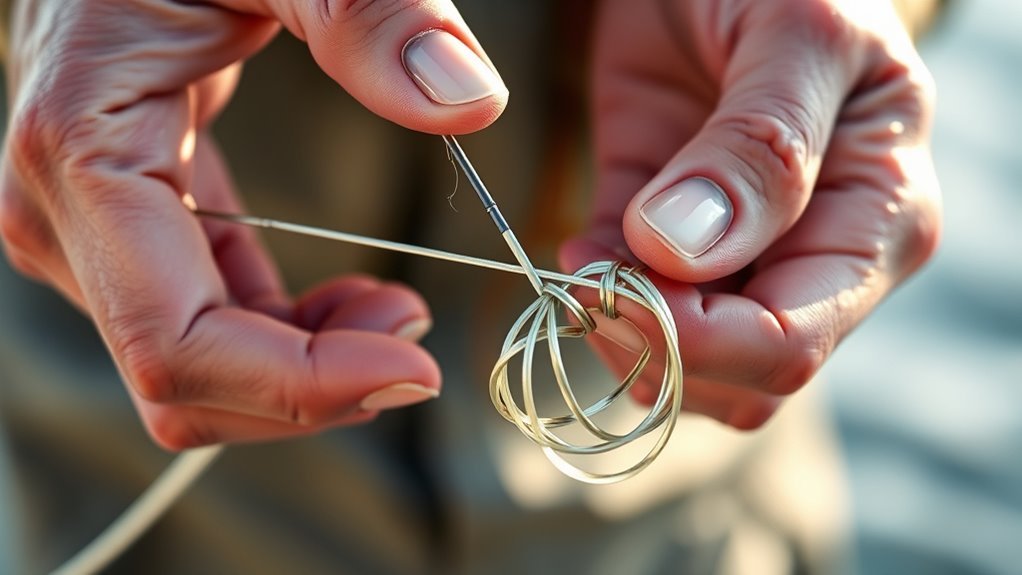
When you tighten the Improved Clinch Knot, the wraps compress around the standing line and help grip the line near the hook eye. This grip creates the connection that keeps your hook or lure attached under pressure.
Applying lubrication, like saliva or water, minimizes friction and helps the wraps slide into position. A dry knot can heat, scrape, or weaken the line as it tightens.
This combination of clean wraps, steady tension, and reduced friction creates a stable knot that is easier to trust when a fish pulls hard.
Lubrication and Knot Performance
Although many anglers overlook it, lubrication plays a crucial role in knot performance during tightening. When you add water or saliva, it reduces friction and helps prevent damage to the line.
As you tighten the knot, the wraps slide down and seat against the hook eye. If the wraps stick, cross, or burn into the line, the knot may lose strength before you ever make a cast.
- Improves the chance of a clean, seated knot
- Reduces friction during tightening
- Helps protect monofilament and fluorocarbon from surface damage
- Supports a secure attachment to the hook, lure, or swivel
Tension Redistribution Mechanism
Effective knot tying depends on understanding how the knot handles tension. The Improved Clinch Knot uses a series of wrapped turns that grip the standing line as pressure increases.
When you pull the standing line, the wraps tighten and press against each other. A neat spiral helps spread pressure more evenly through the knot instead of forcing all the strain onto one sharp bend.
The final tuck through the larger loop adds extra security and helps the knot resist slipping when a fish surges, jumps, or changes direction.
Advantages of Using the Improved Clinch Knot
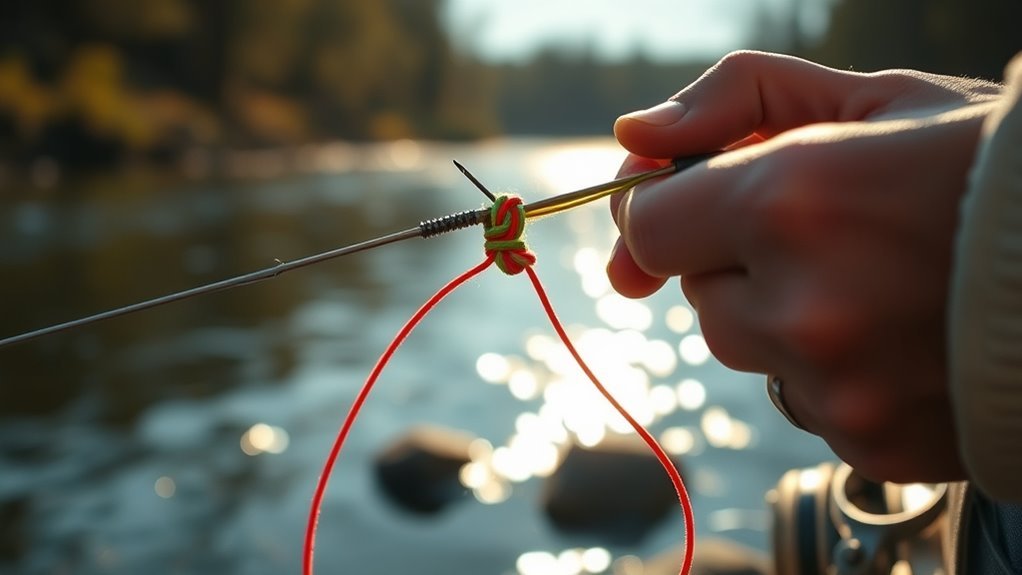
The Improved Clinch Knot offers several advantages that make it a top choice for anglers. It is small, strong when tied correctly, and easy to remember after a little practice.
This knot’s versatility allows you to use it with many hooks, lures, clips, and swivels. It is especially helpful when you need a fast terminal knot while fishing from the bank, boat, kayak, or pier.
- The extra final tuck adds security compared with the basic clinch knot.
- The compact shape passes cleanly through weeds and light cover.
- It is easy to tie with cold hands once you practice the steps.
- It works well for many freshwater and light saltwater fishing situations.
- It is beginner-friendly but still useful for experienced anglers.
Common Mistakes to Avoid
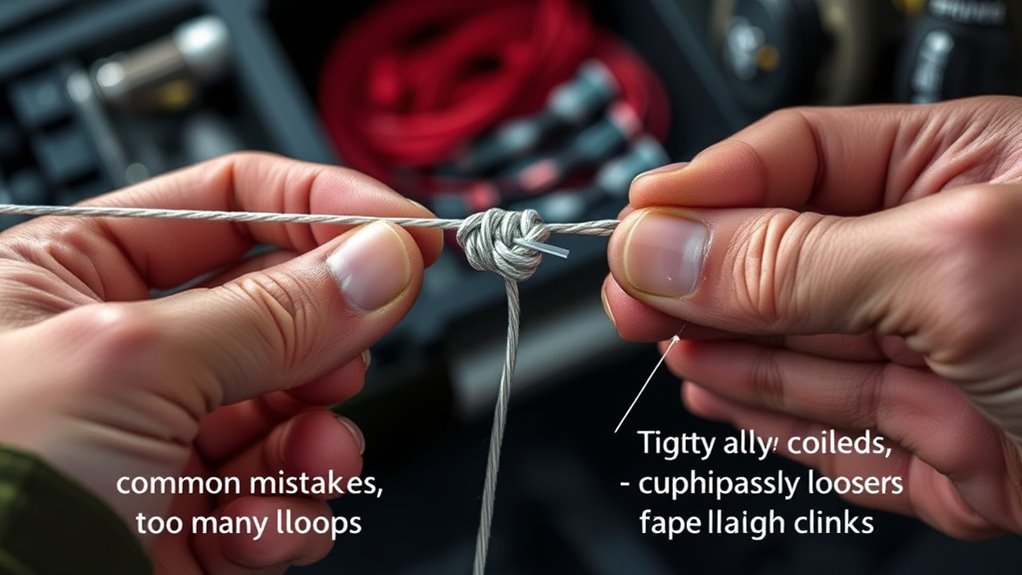
When tying the Improved Clinch Knot, small mistakes can seriously reduce reliability. The most common problems include too few wraps, dry tightening, crossed wraps, and trimming the tag end too close.
Being aware of these mistakes helps you build a stronger, cleaner connection every time you retie.
Insufficient Turns Made
Insufficient turns made while tying the Improved Clinch Knot can compromise its strength and reliability. To securely attach your fishing line, make at least five complete wraps around the standing line in most situations.
Using too few wraps can lead to slippage, especially when battling strong fish, setting the hook hard, or fishing in current. Thin line often benefits from six or seven wraps, while thicker line may seat better with five clean wraps.
- Confirm a minimum of five complete wraps.
- Use neat, side-by-side wraps instead of crossed wraps.
- Verify your knot’s integrity before fishing.
- Remember, clean wraps matter more than rushed extra turns.
Neglecting Lubrication Use
Neglecting to moisten the line before tightening the Improved Clinch Knot can compromise its strength. When you skip lubrication, like saliva or water, you increase friction, which can damage the line as the knot tightens.
Proper lubrication helps the knot slide smoothly during tightening, giving it a better chance of seating correctly. Without it, inner strands may become scraped, kinked, or weakened.
Without this vital step, the wrapped turns may not redistribute pressure evenly, increasing the risk of knot failure under strain from a fish.
Remember, using lubrication not only supports knot strength but also helps protect your fishing line from unnecessary wear during the tying process.
Crossed or Bunched Wraps
Crossed wraps are another common problem. If one wrap overlaps another, the knot may tighten unevenly and create a weak pressure point.
Before you cinch the knot, look at the wraps. They should form a clean spiral around the standing line. If they look messy, loosen the knot and guide the wraps into place before pulling tight.
Trimming the Tag End Too Close
Trimming the tag end too close can also cause trouble, especially with stiffer line. If the knot slips slightly under load, a tag end that is cut flush may pull through.
Leave a small tag after trimming. It should be short enough to avoid snagging but long enough to give the knot a small safety margin.
Comparison With Other Fishing Knots
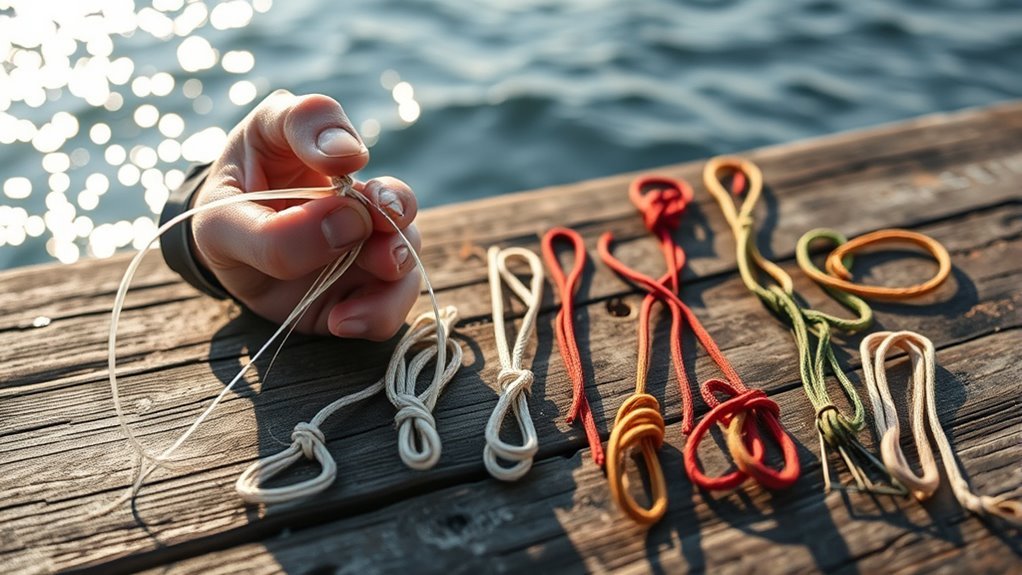
While many fishing knots serve specific purposes, the Improved Clinch Knot stands out for its reliability and simplicity, particularly for securing hooks and lures.
It is best viewed as a terminal tackle knot. That means its main job is attaching one line to one eye, such as a hook eye, lure eye, snap, or swivel.
- Unlike the Bowline, the Improved Clinch Knot is not designed to create a fixed loop.
- Unlike the Clove Hitch, it is better suited for securing fishing line to terminal tackle.
- Unlike the Figure 8 Knot, it is designed for direct hook, lure, or swivel attachment.
- Unlike the Double Fisherman’s Knot, it does not join two separate lines together.
- Unlike loop knots, it keeps the connection tight to the eye instead of allowing extra lure swing.
In essence, the Improved Clinch Knot is your best bet when you want a quick, compact, and dependable way to attach line to terminal tackle.
| Knot | Best Use | Why Choose It |
|---|---|---|
| Improved Clinch Knot | Attaching line to hooks, lures, and swivels | Compact, easy to learn, and dependable when tied correctly |
| Palomar Knot | Hooks and lures when the eye has enough room for doubled line | Simple and strong, but can be harder with large lures or small eyes |
| Loop Knot | Lures that need freer movement | Allows more lure action than a tight-to-eye knot |
| Double Fisherman’s Knot | Joining two lines together | Better for line-to-line connections than terminal tackle |
Applications in Freshwater and Saltwater Fishing
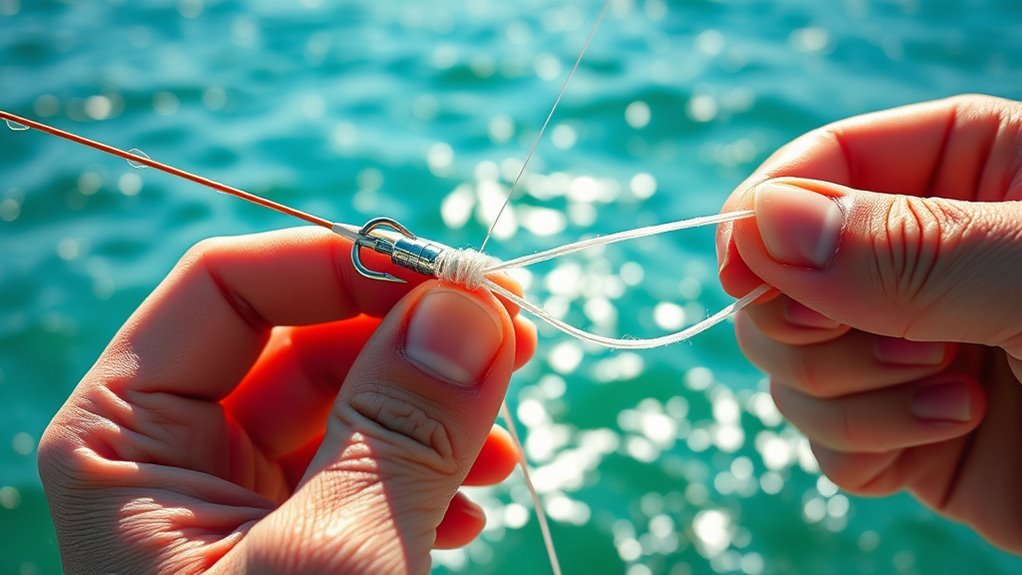
When you’re out fishing, the Improved Clinch Knot proves useful in both freshwater and saltwater environments. This knot’s versatility makes it a dependable option for securing hooks, lures, and swivels across many common fishing setups.
In freshwater, you can use it for bass, trout, panfish, walleye, perch, and similar species. It works well with small hooks, crankbaits, inline spinners, jigs, snaps, and swivels.
In light saltwater fishing, it can help with rigs for species such as speckled trout, flounder, redfish, snapper, and other inshore fish when your line and tackle are a good match.
The knot is popular because you can tie it quickly after changing lures or re-rigging. That matters when fish are actively feeding and you do not want to waste time with a complicated connection.
For very heavy line, large offshore tackle, wire leaders, or braided line, another knot may be a better choice. Braided line can be slick, and heavy leaders may not seat as neatly with an Improved Clinch Knot.
Note: If you use braided main line, check your knot choice carefully. Many anglers prefer knots such as the Palomar for braid because braid can slip in some clinch-style knots.
Final Touches and Maintenance of the Knot
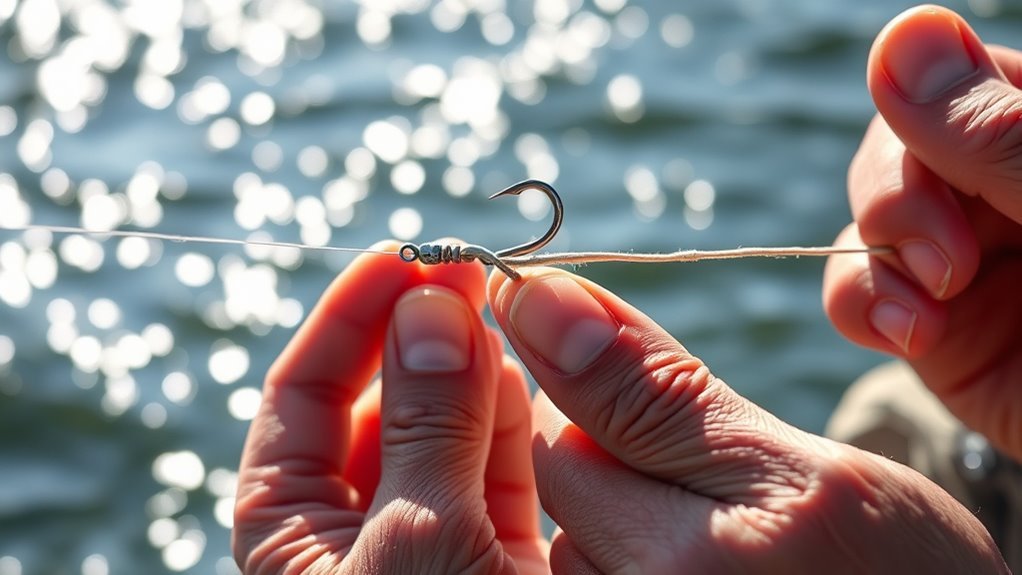
Proper maintenance of the Improved Clinch Knot is essential for keeping your setup reliable during fishing. A knot that looked fine at the start of the day may weaken after abrasion, snags, hard hooksets, or repeated fish catches.
Follow these steps to keep your knot secure and functional:
- Always moisten the knot with saliva or water before pulling tight. This reduces friction and helps prevent line damage.
- After tying, trim the tag end close to the knot while leaving a tiny safety margin.
- Pull the standing line steadily away from the hook or swivel to confirm the knot is properly seated.
- Check your knots after catching fish, dragging through rocks, pulling through weeds, or breaking free from a snag.
- If the line looks cloudy, flattened, frayed, or kinked near the knot, cut it off and retie with fresh line.
A few seconds of inspection can save your best fish of the day. Make knot checking part of your normal fishing rhythm, especially before casting expensive lures or fishing around cover.
Frequently Asked Questions
How do you tie an Improved Clinch Knot for fishing?
Thread the line through the hook eye, wrap the tag end around the standing line five to seven times, pass the tag end through the small loop near the eye, then pass it through the larger loop. Moisten the knot, pull it tight, and trim the tag end.
When should you use an Improved Clinch Knot?
Use an Improved Clinch Knot when attaching monofilament or fluorocarbon line to hooks, lures, snaps, or swivels. It is a strong everyday choice for many freshwater and light saltwater setups.
What are common mistakes when tying a clinch knot?
Common mistakes include making too few wraps, crossing the wraps, tightening the knot dry, failing to seat the knot fully, and trimming the tag end too close. Any of these can weaken the connection.
Is the Improved Clinch Knot good for fluorocarbon?
Yes, the Improved Clinch Knot can work well with fluorocarbon when tied carefully. Because fluorocarbon can be stiff, moisten the knot, tighten it slowly, and pull-test it before fishing.
Can you use the Improved Clinch Knot with braided line?
You can try it with braid, but braid is slick and may slip in clinch-style knots. Many anglers prefer a Palomar Knot or another braid-friendly knot when tying braid directly to terminal tackle.
How many wraps should an Improved Clinch Knot have?
Most anglers use five to seven wraps. Use about five wraps for thicker line and six or seven wraps for thinner line. More important than the number is keeping the wraps neat and tightening the knot correctly.
Conclusion
Mastering the Improved Clinch Knot gives you a dependable way to connect your line to hooks, lures, snaps, and swivels. By practicing the steps, avoiding common mistakes, and understanding how the wraps seat under tension, you can build a cleaner and more reliable fishing knot.
Whether you’re casting in freshwater or fishing light saltwater tackle, a well-tied knot can make the difference between landing a fish and losing it. Moisten the line, tighten the knot slowly, trim it cleanly, and pull-test it before you fish with confidence.