If you fish often, you’ll want to master the Palomar knot because it is simple, strong, and quick to tie at the water. You double the line, pass the loop through the hook or lure eye, tie a loose overhand knot, pass the hook through the loop, then wet and tighten everything evenly. Once you learn the rhythm, you can tie a clean Palomar knot with mono, fluorocarbon, or braid in seconds.
Quick Answer
To tie a Palomar knot, double 6–8 inches of line, pass the loop through the hook eye, tie a loose overhand knot, pass the hook or lure through the loop, wet the knot, then pull the main line and tag end evenly. Trim the tag after the knot seats tightly.
Key Takeaways
- The Palomar knot is a strong, beginner-friendly fishing knot for hooks, swivels, clips, and many lures.
- Keep the doubled line parallel, wet the knot before tightening, and pull with steady pressure instead of jerking.
- Use a slightly longer tag end with braided line because slick braid can slip if trimmed too short.
- Choose another knot when a lure is too bulky to pass cleanly through the Palomar loop.
At a Glance
| Time Required | 30–60 seconds once practiced |
| Difficulty | Easy |
| Tools Needed | Fishing line, hook or lure, water or saliva for lubrication, scissors or line cutters |
| Cost | No added cost if you already have line and tackle |
Why the Palomar Knot Is a Must-Know for Anglers
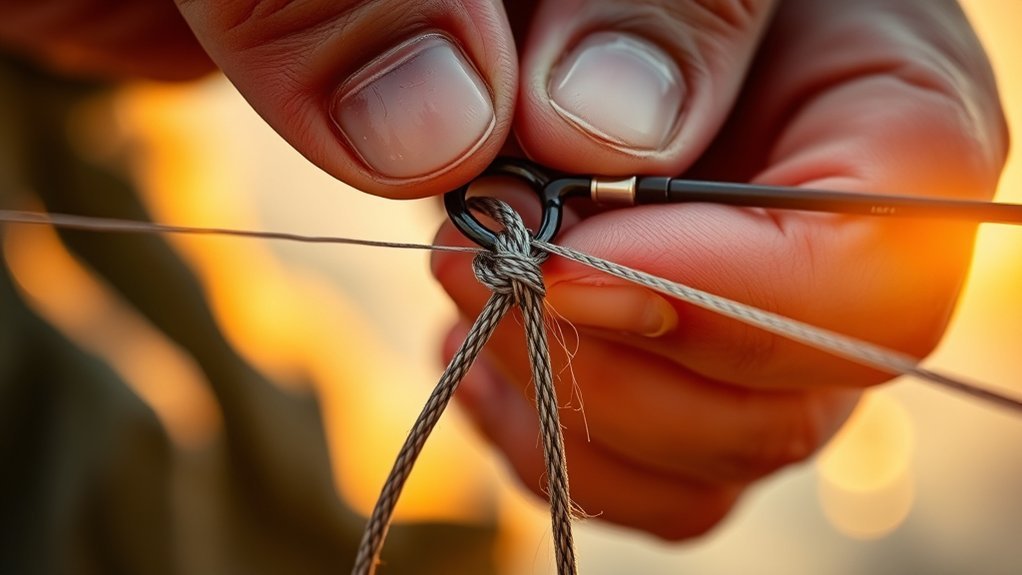
Strength matters when a fish surges, shakes, or turns near cover. The Palomar knot is popular because it uses a doubled line at the hook eye and seats into a compact, secure knot when you tighten it correctly.
Strength matters: a clean Palomar knot keeps a strong connection between your line and hook, which helps prevent avoidable break-offs.
You’ll rely on the Palomar knot because it gives you dependable holding power without a complicated tying process. That matters when you need to retie fast, your hands are cold, or the bite window is short.
Use it with hooks, swivels, snaps, clips, and many compact lures. Its doubled-line design helps resist slippage, especially when you dress the knot neatly and tighten it with even pressure.
The knot also works with monofilament, fluorocarbon, and braided line. The exact strength depends on line brand, line diameter, knot quality, and whether the line gets damaged during tightening.
Practice it before you need it. A knot tied calmly at home is easier to repeat on the bank, pier, kayak, or boat when fish are active and you do not want to waste time.
Essential Gear and Line Types for the Palomar Knot
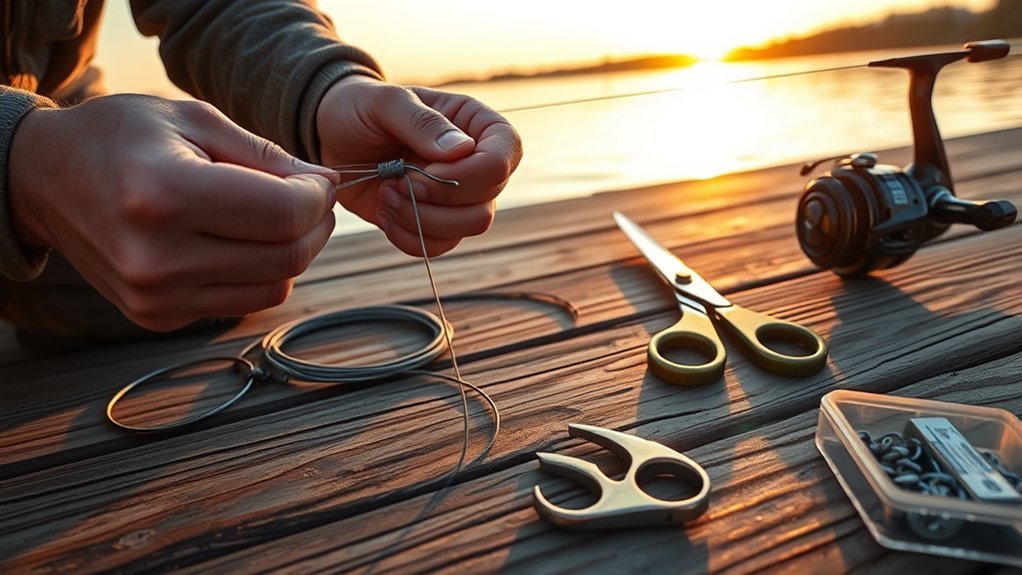
You do not need a large kit to tie the Palomar knot. You need your line, a hook or lure, a small amount of moisture, and sharp cutters for a clean tag end.
The knot works with monofilament, fluorocarbon, and braided lines, but each line type behaves a little differently. Mono is forgiving, fluoro can kink if overheated, and braid can slip if the tag end is too short.
Before you tie, check the hook eye or lure eye for rough edges. A burred eye can weaken the line no matter how well you tie the knot.
Line Types Compatibility
Though it works well across monofilament, fluorocarbon, and braided lines, the Palomar knot often shines with braided and slick-finish lines because the doubled-line structure grips well when seated properly.
With monofilament, the knot usually cinches smoothly because mono stretches and handles friction better than many stiffer lines. Still, you should wet the knot and tighten it slowly to protect the line.
With fluorocarbon, take extra care. Fluoro can become damaged by heat or sharp bends, so keep the strands parallel, avoid crossing them, and lubricate the knot before you pull it tight.
With braid, leave a longer tag end than you would with mono. Braided line has little stretch and a slick surface, so a little extra tag helps guard against slippage after hard hooksets.
Practice the same tying motion with all three line types. That muscle memory gives you better control and keeps your knot quality consistent when conditions change.
Essential Tying Tools
A small kit makes tying the Palomar knot faster and more reliable. Bring sharp scissors or line cutters to trim the tag end, and use a hook, swivel, or lure for practice.
Work with about 6–8 inches of doubled line so you have enough slack to form the knot. If you are tying a large lure, use more line because the lure must pass through the loop before you tighten.
Keep your tools organized so you can retie without digging through a tackle bag. A small pair of line cutters on a retractor can save time when the bite is active.
With braided lines, use cutters that can slice braid cleanly. Dull scissors can fray the tag end and make the finished knot look messy.
While forming the knot, maintain parallel lines and avoid crossed strands. Crossed strands can create abrasion points and make the knot seat unevenly.
The 5-Step Method to Tie the Palomar Knot
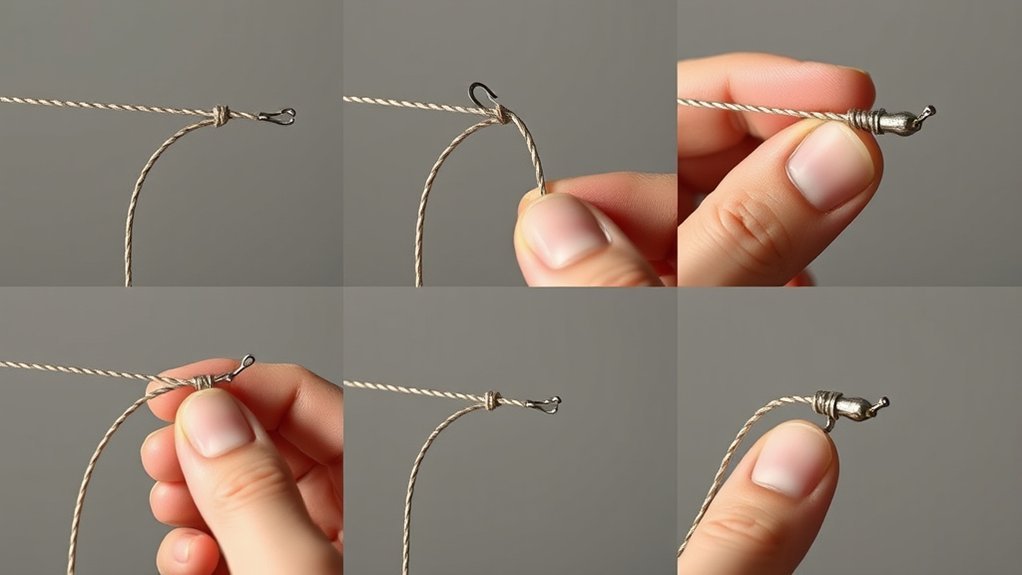
Start by preparing and doubling 6–8 inches of line. Then thread the doubled loop through the hook or lure eye so you have a loop to work with.
Form a loose overhand knot with that doubled line, pass the hook or lure back through the large loop, wet the knot, and pull the tag end and main line evenly to tighten.
Trim the tag end to about 1/8–1/4 inch and give the knot a firm test pull before you fish it.
Prepare and Double Line
Step 1: pull out enough line to work comfortably. For most hooks and small lures, 6–8 inches of doubled line is enough. For larger lures, use more line so the lure can pass through the loop.
Fold the line back on itself to create a loop. Hold the two strands together and pass the looped end through the hook or lure eye.
You’re preparing the Palomar by creating a strong foundation. Feed the doubled line through the eye so both strands sit parallel, with no twists around the eye.
Keep the strands aligned as you form a loose overhand knot. Do not cinch it yet. The knot must stay open so the hook or lure can pass through the loop.
Before you tighten, check that both strands still run cleanly beside each other. This simple check helps the knot seat smoothly later.
Thread and Form Knot
Because you are working with doubled line and a loop, keep your movements deliberate. Pass 6–8 inches of doubled line through the hook or lure eye, then make a loose overhand knot with a large enough loop.
Next, pass the hook, swivel, or lure through that loop. This is the step that gives the Palomar its signature structure.
Hold both strands and the hook while you work. Maintain light tension so the loop stays open and the hook does not twist the line.
Guide the hook fully through the loop before tightening. If only part of the lure passes through or the loop catches on a treble hook, stop and reset the knot.
Keep the overhand knot loose until the hook is through. Then snug slowly and evenly to align the strands without twists.
Wet, Tighten, Trim
Once the hook is through the loop and the overhand knot is still loose, wetting, tightening, and trimming will lock the knot and help prevent slippage.
Wet the knot thoroughly with water or saliva to reduce friction. Lubrication helps the line slide into place instead of burning, kinking, or weakening as it tightens.
Pull the tag end and main line slowly and evenly. Keep the hook aligned and the lines parallel. You’ll feel the knot compress around the eye as it seats.
Do not jerk the knot tight. Controlled tension lets the strands cinch uniformly and helps preserve line strength.
Once snug, apply a final firm pull to set the knot. Then trim the tag end to about 1/8–1/4 inch. Use the longer end of that range for braid.
Pro Tip: After trimming, pull hard on the standing line once more. If the tag end creeps, the knot did not seat correctly and you should retie it.
The Improved Double Palomar Knot: When and How to Use It
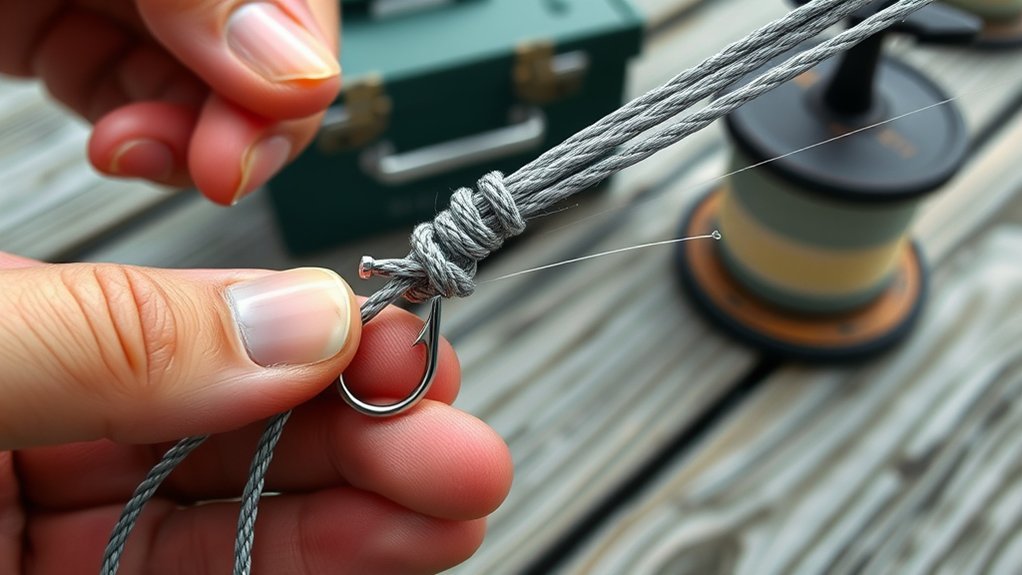
When you need extra security, especially with thin braided line, you may use an Improved or Double Palomar variation. This version adds extra contact by making an additional pass or wrap before the knot is seated.
Use it when a standard Palomar feels marginal, when braid is very slick, or when you are tying to a compact hook, swivel, or snap. Avoid forcing this variation onto bulky lures if the loop becomes hard to manage.
The basic idea stays the same: double the line, pass the loop through the eye, form a loose overhand knot, pass the hook or lure through the loop, wet the knot, and tighten evenly.
For the double version, keep the doubled strands neat and make sure the added wrap does not cross or bunch. A messy double Palomar can be weaker than a clean standard Palomar.
You’ll prefer this knot when you want reliable control over your rigging and need extra resistance to slipping with braided and thin lines.
Tie it deliberately and inspect the wraps for neatness before you cast.
- Best for thin braided lines and small-diameter mono
- Useful when attaching heavier hooks, swivels, clips, or compact lures
- Helps reduce slippage when tied neatly and tightened evenly
Practice it until your hands form the motion naturally. The goal is not to make the knot more complicated; it is to make the connection more dependable when your line calls for it.
Note: Knot names can vary by angler and region. When someone says “double Palomar,” ask what exact tying steps they use before copying it.
Expert Tips to Ensure a Perfect Palomar Knot Every Time
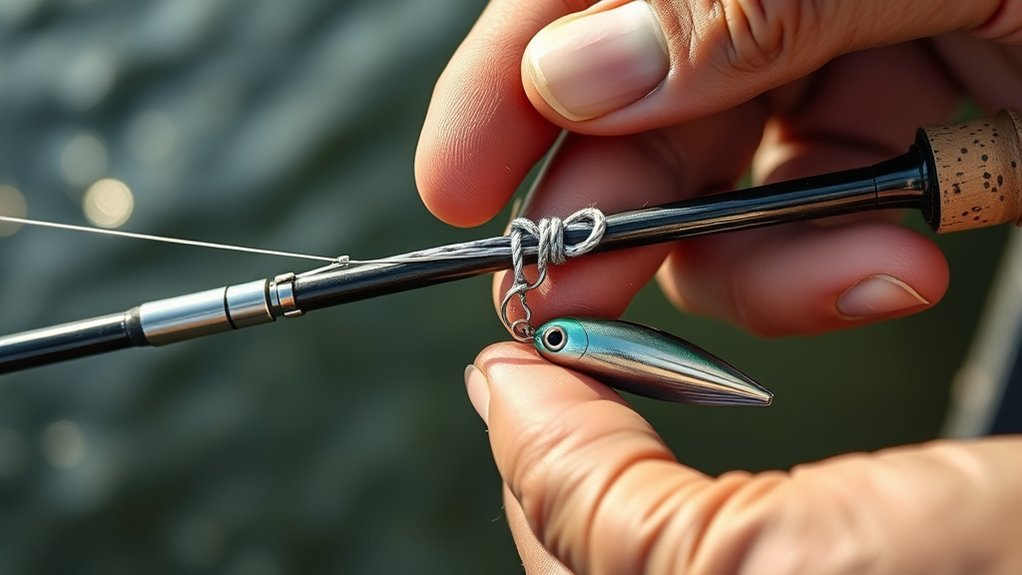
Having mastered the basic Palomar and the improved variation, focus on a few habits that make the knot perform at its best every time.
Wet the knot before you cinch it. That lubrication reduces friction and helps the line seat cleanly around the eye.
Wet the knot before tightening. Lubrication reduces friction, protects the line, and helps the Palomar seat cleanly.
Keep steady pressure as you tighten. Do not jerk the line. A sudden pull can cause the strands to cross or bite into each other unevenly.
Maintain the doubled lines parallel through every step. Crossed strands raise abrasion risk, especially with fluorocarbon.
When using braid, leave a longer tag of at least 1/8 inch. Many anglers leave closer to 1/4 inch with slick braid for added confidence.
Make sure the hook point faces away from the standing line while you form and dress the knot. This helps prevent the hook point from nicking the line.
Check the finished knot by pulling the standing line firmly. A properly seated Palomar should look compact, centered, and smooth.
Practice these habits until they become automatic. Good technique frees you from doubt and makes each cast more reliable.
Common Palomar Knot Mistakes and How to Avoid Them
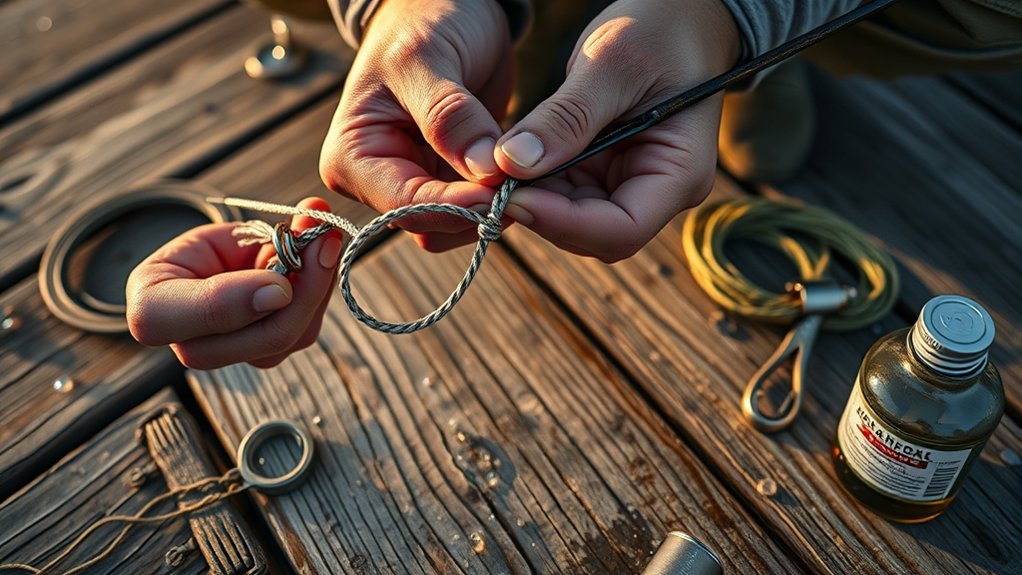
Mistakes with the Palomar knot are usually simple to spot and easy to fix if you slow down and check the knot before fishing it.
Always wet the knot before you tighten it. That reduces friction and protects the line from heat damage during cinching.
Keep the doubled line parallel while you form the overhand knot and pass the loop over the hook or lure. Crossed strands create weak spots and can make the knot fail under pressure.
Do not jerk the knot tight. Apply steady pressure so the knot seats properly without slipping.
Trim the tag end to about 1/8 inch for mono or fluoro. Use a little more tag with braid. Do not trim so close that the tag can slip back into the knot.
Be mindful when you pass bulky lures through the loop. If the lure is too large, has several treble hooks, or tangles the loop, choose another knot to preserve strength.
- Wet the knot before tightening.
- Keep the doubled line parallel and avoid crossing.
- Use steady tension instead of a hard jerk.
- Trim the tag end neatly, but do not trim it too short.
- Choose another knot when a bulky lure cannot pass cleanly through the loop.
Warning: Never fish a Palomar knot that looks twisted, burned, frayed, or loose. Cut it off and retie before the next cast.
How the Palomar Knot Performs With Mono, Fluoro, and Braid
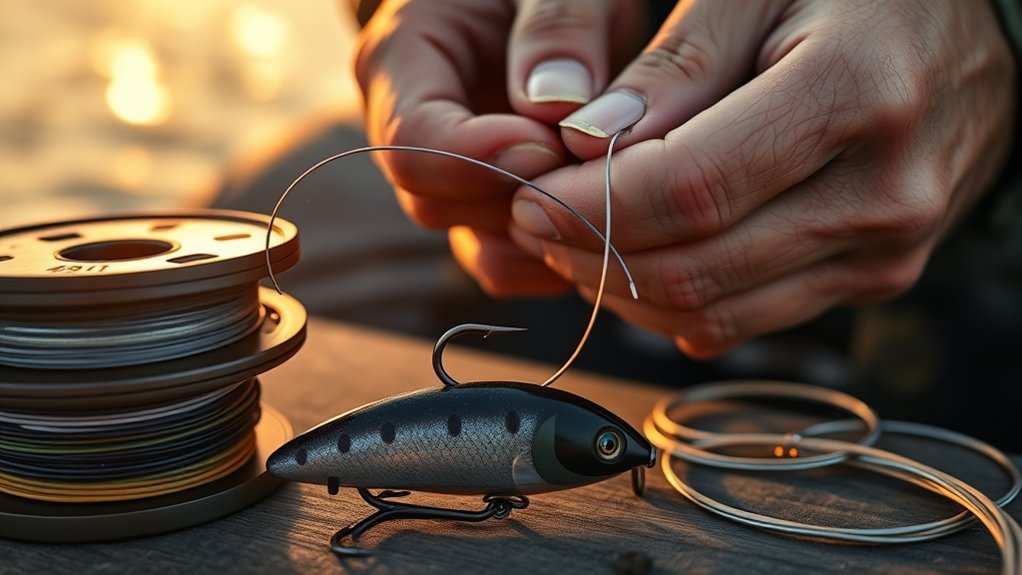
Choose the Palomar and you’ll get consistent, high-strength performance across mono, fluorocarbon, and braided lines when you tie it correctly. In many informal knot tests, a clean Palomar ranks among the stronger common fishing knots, but exact strength retention varies by line type, line diameter, wetting, and tying technique.
The original article estimated 85–90% strength retention for monofilament, 85–95% for fluorocarbon, and 90–95% for braid. Treat those numbers as general ranges, not guarantees. Your actual result depends on how cleanly you tie and seat the knot.
| Line Type | Typical Strength Retention | Tip |
|---|---|---|
| Monofilament | 85–90% | Double-check the loop size |
| Fluorocarbon | 85–95% | Lubricate before tightening |
| Braid | 90–95% | Use a longer tag end |
With mono, the knot is forgiving and easy to seat. With fluorocarbon, slow tightening matters more because the line can kink or weaken if it heats up. With braid, the knot holds well when dressed cleanly, but a short tag end can create slippage.
This knot gives you versatility and freedom from weak connections. Practice until you can form the loop, pass it over the hook, and cinch smoothly every time.
Comparing the Palomar Knot to Other Popular Fishing Knots
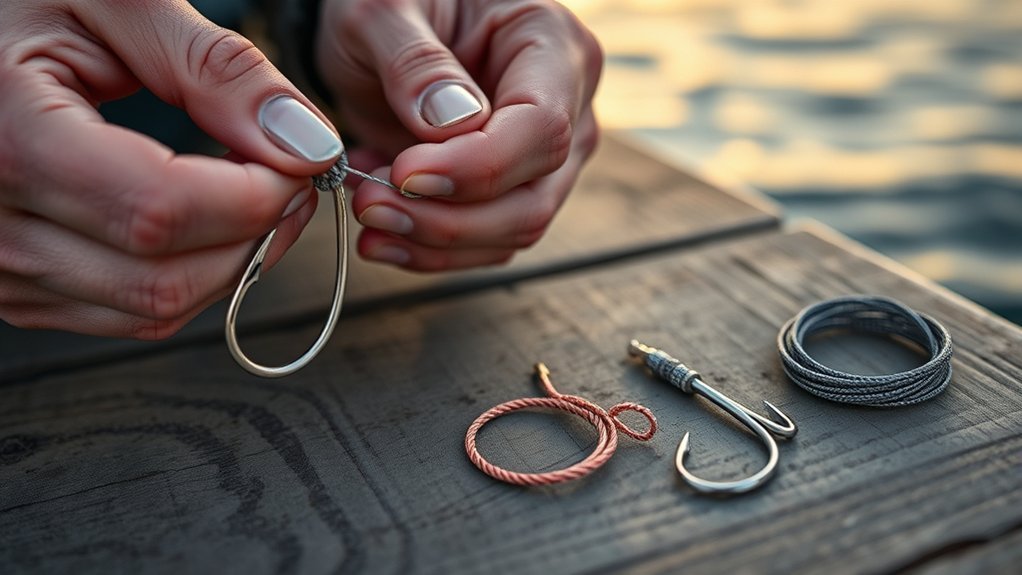
When you compare knots, focus first on strength, reliability, and fit for the tackle you are using. The Palomar is excellent for many hooks, swivels, snaps, and compact lures.
Use Palomar for braided lines and many heavy-duty connections where a strong, simple knot matters. Use a Uni Knot, Improved Clinch, or loop knot when the situation calls for a different presentation or easier tying around bulky tackle.
Practice tying the Palomar so you can rely on it under pressure, but do not force it into every situation.
Strength and Reliability
The Palomar knot is widely respected because it is strong, compact, and easy to repeat. Those traits make it one of the most reliable choices for anglers who want a fast connection without many wraps.
It holds up especially well with braided lines when you leave a sensible tag end. It also works with fluorocarbon, but you need to lubricate and tighten it carefully to avoid line damage.
You’ll tie confidently when the knot seats neatly against the eye and the doubled strands do not cross. Compared with many wrap-style knots, the Palomar has fewer steps and fewer chances to lose track of the tag end.
Compared to the Uni Knot, the Palomar is usually faster for hooks and swivels. Compared to the Improved Clinch, it can offer a stronger and cleaner connection with braid. Still, knot choice should match your line, lure size, and tying comfort.
- Strong, compact connection for hooks and swivels
- High confidence with braid when tied correctly
- Simple steps that are easy to repeat under pressure
Best Line Applications
Although many knots work in specific situations, the Palomar knot stands out for anglers who want simple tying and dependable strength with common fishing lines.
You’ll choose the Palomar knot when you want a clean connection with braided line, monofilament, or fluorocarbon. The steps are direct: double the line, pass the loop through the eye, tie a loose overhand knot, pass the hook or lure through the loop, then wet and cinch.
Use a Uni Knot for many leader connections and situations where you want a versatile wrap knot. Use an Improved Clinch for light mono when you prefer a smaller knot and the line is easy to handle.
Use a loop knot when you want extra lure action, especially with small jigs, plugs, or flies that benefit from more freedom of movement.
Prefer the Palomar for hooks, swivels, snaps, and compact hardware. Master this knot to reduce gear failures and retie with confidence.
Troubleshooting: Signs Your Palomar Knot Needs Retying
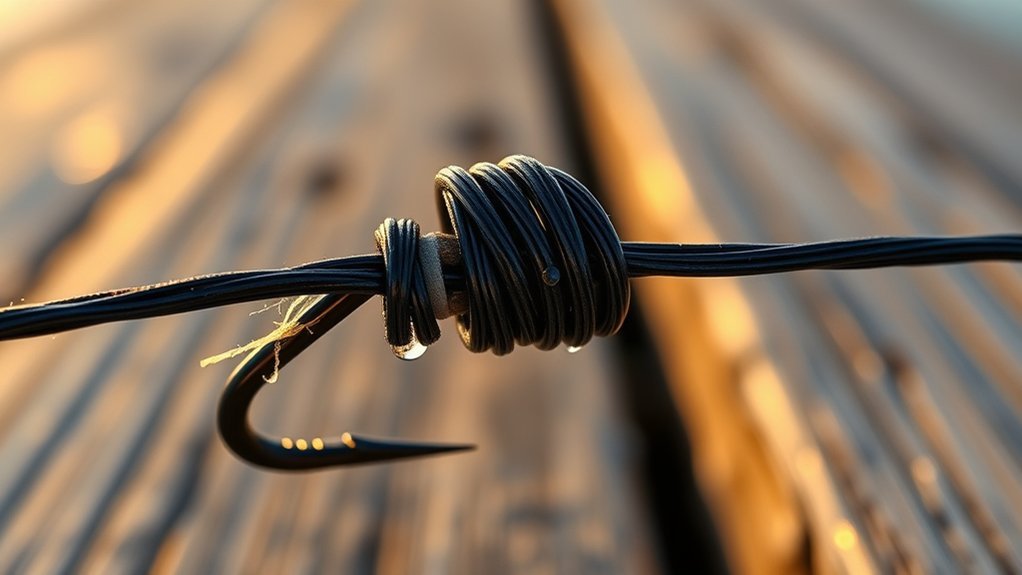
If your line slips or feels loose after a catch, retie the Palomar knot immediately to restore dependable strength. You want freedom from failure, so inspect the knot right away.
Look for fraying or abrasion near the knot. Damaged fibers mean reduced holding power and require retying.
After a hard fight, snag, dock rub, rock contact, or weeds wrapped around the lure, check the knot’s integrity. Stress can loosen turns or hide small damage near the eye.
A knot that looks twisted or crossed will not sit correctly and may fail under load. Retie it so the strands run cleanly and the knot compresses evenly.
When you change tackle or switch line type, retie the Palomar knot to match the new line behavior and lure size.
Regular checks keep you independent on the water and reduce unexpected breakoffs.
- Inspect for slipping, looseness, or visible fiber damage.
- Recheck after heavy fights, snags, rocks, docks, or weeds.
- Retie whenever line type or tackle changes.
- Cut back a few inches of line if the area above the knot feels rough.
Practical Scenarios: When to Choose the Palomar Knot
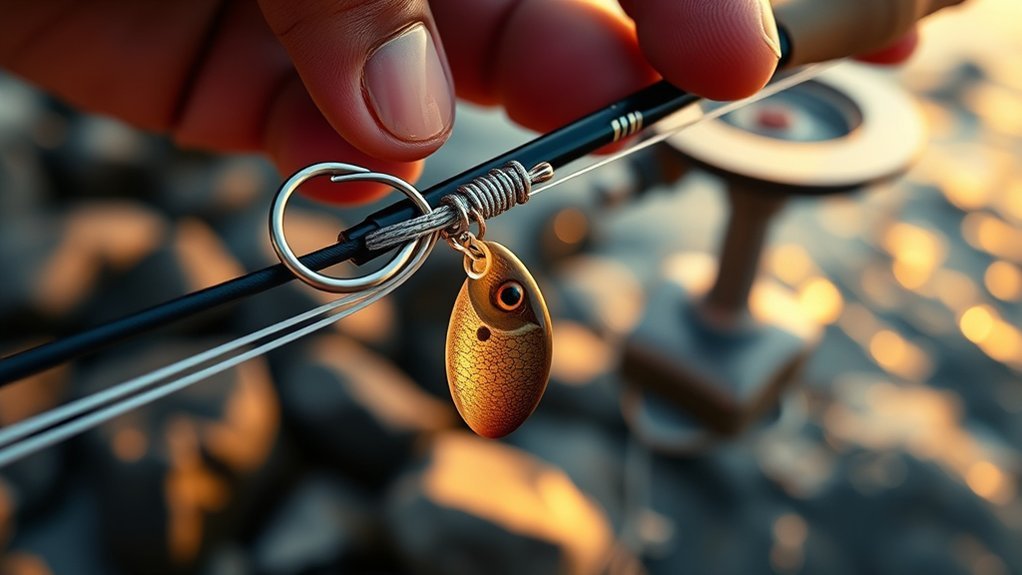
When you need a quick, rock-solid connection, especially with braided line or compact terminal tackle, reach for the Palomar knot.
Choose the Palomar knot when you’re rigging hooks for bass, panfish, catfish, walleye, trout, or inshore species. It also works well for tying to swivels, clips, snaps, jigheads, and many small to medium lures.
If you fish braided line, use this knot routinely. It handles slick finishes well when tied cleanly and finished with a longer tag end.
When you’re after a personal best, tie a fresh Palomar knot to reduce the chance of failure during a long fight. A fresh, clean knot gives you more confidence when a fish runs, jumps, or digs near cover.
It also works well with monofilament and fluorocarbon, so carry it as your go-to knot for versatility.
Practice tying it quickly so you can change rigs on the water and stay free from delay.
In short: when you want dependable hookups, rapid rigging, and confidence against hard-pulling fish, use the Palomar knot.
When Not to Use the Palomar Knot
The Palomar knot is excellent, but it is not perfect for every rig. Avoid it when the hook, plug, spoon, or lure is too bulky to pass through the loop cleanly.
Large crankbaits, multi-hook lures, umbrella rigs, and some saltwater plugs can snag the loop while you pass the lure through. If the loop twists around a treble hook or split ring, the knot may seat poorly.
You may also choose another knot when you want more lure movement. A loop knot can give small jigs, flies, and plugs a freer action than a tight Palomar connection.
For line-to-line connections, the Palomar is not the right choice. Use a knot designed for joining lines, such as a Uni-to-Uni, Blood Knot, Alberto Knot, or FG Knot, depending on your line sizes and fishing style.
Palomar Knot Checklist Before You Cast
Before you cast, take five seconds to inspect the finished knot. That short pause can prevent a lost fish and a lost lure.
- The knot sits tight against the hook, swivel, or lure eye.
- The doubled strands are not crossed, twisted, or bunched.
- The knot was wetted before tightening.
- The tag end is trimmed neatly, but not too short.
- The line above the knot is smooth, not frayed or cloudy.
- The hook eye, split ring, or lure eye has no sharp burrs.
If anything looks wrong, retie. A fresh knot costs only a few seconds, but a weak knot can cost your best fish of the day.
Frequently Asked Questions
How do you tie a Palomar knot step by step?
Double 6–8 inches of line, pass the loop through the eye, make a loose overhand knot, pass the hook or lure through the loop, wet the knot, then pull the main line and tag end evenly. Once the knot seats tightly, trim the tag end.
Why do Palomar knots fail?
Palomar knots usually fail because the line was not wetted, the doubled strands crossed, the knot was jerked tight, the tag end was trimmed too short, or a bulky lure twisted the loop during tying. Frayed line near the knot can also cause failure.
Is the Palomar knot good for beginners?
Yes. The Palomar knot is one of the best knots for beginners because the steps are simple and easy to remember. Practice with a large hook and thicker line first, then move to smaller hooks and lighter line once your hands learn the motion.
Is a Palomar knot stronger than a Fisherman’s knot?
In many fishing situations, a well-tied Palomar knot is considered stronger and more reliable than a basic Fisherman’s knot, especially with braided line. However, the strongest knot is the one you can tie correctly and repeat consistently.
Can you use a Palomar knot with fluorocarbon?
Yes, you can use a Palomar knot with fluorocarbon. Wet the knot well, keep the strands parallel, and tighten slowly. Fluorocarbon can weaken if it overheats or kinks, so clean technique matters.
How much tag end should you leave on a Palomar knot?
For monofilament and fluorocarbon, leave about 1/8 inch after trimming. For braid, leave closer to 1/4 inch because braided line is slicker and can slip if trimmed too close.
Conclusion
You’ll want the Palomar knot in your go-to fishing toolkit because it is simple, strong, and fast. Practice the five basic steps until you can tie them without thinking: double the line, pass the loop through the eye, tie a loose overhand knot, pass the hook through the loop, then wet and tighten evenly.
Use the double Palomar when you need extra grip with thin braid or small-diameter line. Use another knot when a lure is too bulky to pass through the loop cleanly.
Before every cast, check that the knot is wet, snug, centered, and trimmed correctly. That small habit helps you avoid break-offs and fish with more confidence.
Sources
- Animated Knots: Palomar Knot — step-by-step tying sequence and knot structure.
- NetKnots: Palomar Knot — Palomar knot use cases and tying guidance.
- Berkley Fishing Line Knots — general fishing knot guidance and line-tying education.