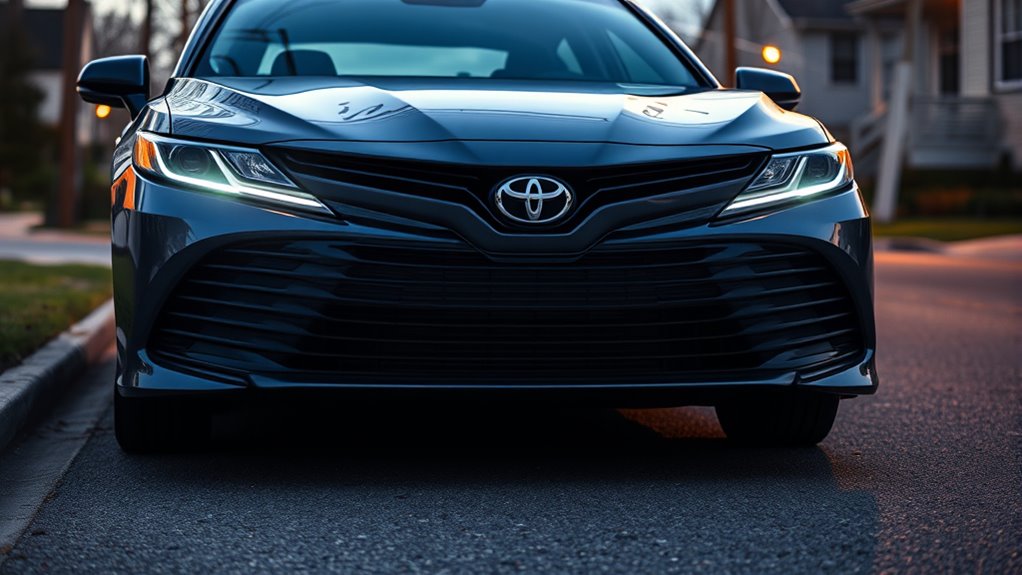
A 2025 Toyota Camry with headlights aimed too low can signal a problem with the adjuster, mount, or a damaged linkage inside the housing. In some cases, the issue comes from the wrong part being installed or from a broken adjustment screw. Temporary fixes may hold only briefly. The better approach is to inspect the components, verify fitment, and align the beam correctly before night driving becomes a concern.
Why Is The Camry Headlight Sitting Too Low?
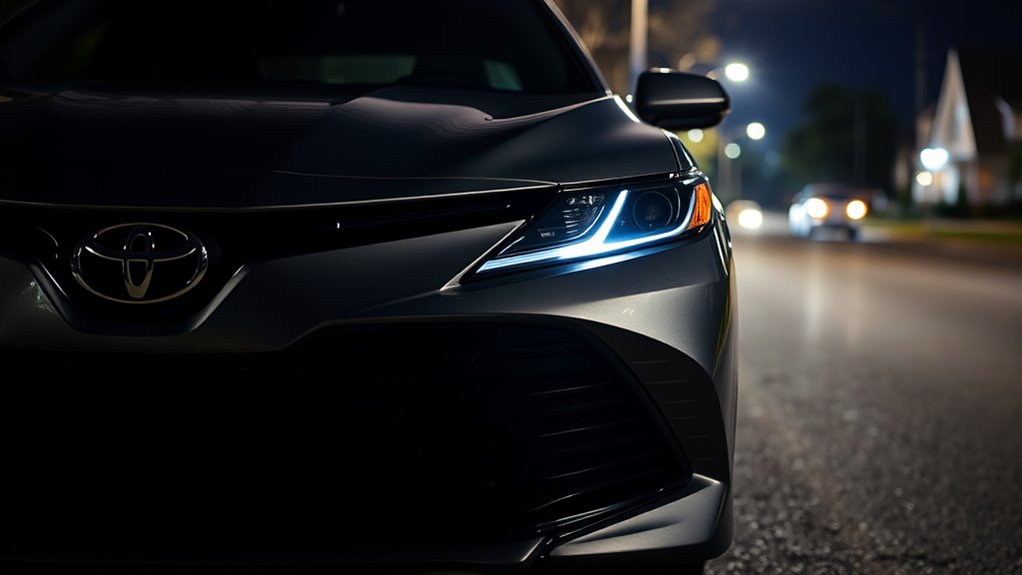
A Camry headlight sitting too low is often caused by a cracked or separated adjustment mechanism that no longer holds the lamp in the correct position. When this internal part fails, the beam drops and stays below the intended line.
If the adjustment screw has already been turned fully with no change, the mechanism may be stripped or damaged rather than merely out of range. Compatibility matters as well; two different, US and Japanese models can use different headlight designs or adjustment features, which can alter lamp height.
Temporary fixes such as shims or superglue may raise the unit briefly, but they do not restore full function if the underlying structure is broken. A careful inspection of the housing for cracks and correct screw use remains essential.
Clear diagnosis supports practical repair, preserves visibility, and helps keep drivers from accepting a compromised setup.
Check The Adjuster And Mounts
The headlight adjustment screw should be confirmed as the correct one before any changes are made, since turning the wrong screw can be ineffective.
The mounts and adjuster mechanism should then be inspected for cracks or separations that could prevent proper alignment.
If the screw turns without changing the beam, a stripped nut or damaged adjuster may be limiting function.
Adjuster Screw Check
Turning the adjuster screw fully should produce a visible change in headlight position; if it does not, the screw may be stripped or the adjustment mechanism may be damaged.
With the correct adjustment tools, the technician can verify whether headlight alignment responds as expected and rule out common issues quickly.
- Confirm the manual lists the proper screw for vertical aim.
- Turn the screw through its range and observe movement.
- If no change appears, use a shim only as a temporary aid while troubleshooting.
The mount should also be inspected for cracks or looseness that interrupt adjustment.
When replacement parts are needed, salvage yards and owner forums may offer compatibility guidance, including parts from other markets.
Mount Cracks Inspection
Inspection should continue at the headlight mount and adjuster linkage, since cracks or separations in these parts can stop the beam from moving correctly. A damaged mount can block headlight maintenance from producing a higher beam, even when adjustment techniques are applied correctly.
The correct screw must be identified before turning, because the wrong fastener may leave the lamp unchanged. If the plastic connection is split, the assembly may not hold position, reducing visibility improvement and limiting safe nighttime travel.
Temporary adhesive repairs, such as superglue, are usually unreliable and often fail under vibration. Replacing the full mount is generally the more durable solution.
Before buying parts, verify compatibility between U.S. and Japanese models, as fit differences can prevent proper installation and restoration of alignment.
Find The Cracked Adjustment Link
A cracked adjustment link in a Toyota Camry headlight assembly can keep the beam from aligning properly, often causing one headlight to sit too low. Careful inspection of the mechanism is needed because visible cracks or separations can weaken headlight functionality and limit adjustment techniques. A detached, objective look helps identify the fault before choosing repair options.
- Check the link, pivot points, and mounting tabs for fracture lines.
- Compare both headlights for uneven movement or resistance during adjustment.
- Confirm model fitment before ordering parts, since US and Japanese assemblies may differ.
If the link is cracked beyond simple reinforcement, replacement is usually the practical path. Compatible parts may be found through reliable sources such as eBay, but the match should be verified first.
Salvage yards can also reveal visual differences between assemblies and help confirm whether a replacement part will fit without compromising alignment or beam control.
Try A Temporary Headlight Fix
When a 2025 Toyota Camry headlight sits too low, a temporary shim can sometimes raise the unit enough to improve alignment until a permanent repair is available. This approach works best after checking for a cracked or separated adjustment mechanism, since damage there can block movement.
Careful shim installation tips matter: place the material evenly, confirm the housing sits securely, and test the beam pattern before driving. If the adjustment screws turn without changing aim, the issue may involve a stripped nut or the wrong fastener, not simple misalignment.
Place shims evenly, secure the housing, and test the beam pattern before driving.
Temporary adhesive solutions, including superglue, have shown limited reliability in community reports, so they are not ideal for lasting control. Quick alignment methods should prioritize stability and repeatable positioning over speed.
Where suitable, compatible US-market salvage parts may provide a short-term path to restore function while preserving practical freedom from unsafe glare or poor visibility.
Replace The Broken Headlight Part
If the 2025 Toyota Camry headlight remains aimed low and the adjustment screw no longer changes its position, a broken or cracked adjustment mechanism is a likely cause and usually calls for part replacement.
In adjustment mechanism troubleshooting, the housing should be inspected for cracks, stripped threads, or separated mounts.
- Review visible damage on the headlight assembly and surrounding bracket.
- Compare headlight replacement options, including a low-cost mechanism part found online, often around $28.
- Make assembly compatibility checks before buying, since fit and lens details may vary by model version.
Temporary fixes such as superglue or shimming may hold briefly, but they rarely restore full function.
Replacing the damaged part gives the system a better chance to move freely and hold aim.
For drivers seeking practical freedom from dim road coverage, a clean replacement is usually the most direct path.
Do US And Japan Camry Headlights Fit?
US and Japan Camry headlights are not always directly interchangeable because lens design and mounting details can differ.
Even when the housings appear similar, alignment features and adjustment mechanisms may vary between versions.
Matching the correct model year and part number remains important before any replacement is attempted.
US Vs Japan Fit
Although some replacement headlights from U.S.-market Camrys may physically fit Japanese models, compatibility is not guaranteed and can vary by year, trim, and specific lamp design.
eBay listings often specify U.S.-made vehicle fitment, and salvage-yard experience suggests that even where mounting points align, visual differences such as lens clarity or styling may affect appearance.
Headlight compatibility should be confirmed with part numbers and direct inspection before purchase, because market-to-market swaps can differ in ways that matter.
- Verify the exact OEM part number.
- Compare housing shape and connector layout.
- Check for visual differences that could alter performance impact.
Community reports show some successful swaps, but results depend on the vehicle’s configuration.
Careful verification preserves freedom of choice and reduces costly mismatch.
Lens And Mount Differences
Lens and mounting differences can affect whether U.S. and Japanese Camry headlights are truly interchangeable, even when the housings appear similar.
Reports on the 2025 Toyota Camry note lens clarity concerns between regional models, with possible effects on beam output and road visibility.
Salvage-yard observations suggest that a U.S. unit may bolt into a Japanese car, yet design variations in lens shape, internal reflectors, and aiming points can still alter performance.
Aftermarket compatibility is also uneven, because many listings specify U.S.-market fitment only.
Some owners have corrected alignment with makeshift repairs, but those fixes do not guarantee proper function.
For reliable results, part numbers and detailed specifications should be checked before sourcing across regions, so drivers can choose fitment with confidence and autonomy.
Align The Beam And Test It
To align the headlight beam, the vehicle should be parked on a level surface about 25 feet from a wall or garage door, with the headlight height matched to the wall’s center. This setup supports fair beam calibration methods and a clear headlight brightness comparison before any change is made. A measured mark at the beam’s original height gives a practical reference.
- Measure the beam height from the ground and mark that level on the wall.
- Turn the adjustment screws on the headlight assembly until the top of the beam meets the mark.
- Drive at night and complete a driving visibility assessment to confirm usable light without glare for oncoming traffic.
If the beam still seems low or uneven, the process may require another pass. Periodic rechecks help preserve safe output, especially after repairs or work on the headlight assembly.
Consistent alignment allows drivers to move with greater confidence and less dependence on guesswork.
Frequently Asked Questions
Why Does It Seem Like My Headlights Are Pointing Down?
It seems the headlights are pointing down because of headlight alignment issues, often caused by improper factory aiming, worn mounts, or damaged adjusters.
Beam pattern adjustments may be limited if screws are stripped or the housing is cracked. Some models also differ in lens design, affecting aim.
These problems can create nighttime visibility concerns, reducing road illumination. A careful inspection and proper realignment or replacement usually restores safer beam direction.
What Are Some Common Headlight Problems With Toyota Camry?
Common Toyota Camry headlight problems include headlight alignment issues, cracked housings, stripped adjusters, and connector separation that prevents proper aiming.
Some owners also face electrical system concerns such as weak grounds or faulty wiring.
When servicing, bulb replacement tips include checking socket condition, matching bulb type, and verifying both sides illuminate evenly.
Compatibility differences between U.S. and Japanese models can also cause fit and beam pattern problems.
How Should Headlights Be Pointed?
Headlights should be pointed so the beam centers slightly below the headlight height, usually about 2 inches lower at 25 feet from a wall.
This headlight alignment tips approach improves nighttime visibility while reducing glare for other drivers.
Most vehicles allow adjusting beams with screws in the engine bay or headlight housing.
Alignment should be checked after repairs, suspension changes, or collisions to preserve safe, reliable road use.
How to Fix Headlight Aim Too Low?
The fix for headlight aim too low begins with headlight alignment techniques: inspect and turn the adjustment screws with common adjustment tools.
If the screws reach their limit, the mechanism may be stripped, or the wrong screw may be engaged.
Next, inspect for cracks, separated housings, or damaged mounting points.
Then consider adjusting headlight brackets or using a temporary shim.
Replacement parts may be needed if repairs fail.
Conclusion
To summarize, a 2025 Toyota Camry with headlights aimed too low usually has an adjuster, mount, or compatibility problem rather than a simple setting issue. Temporary fixes may help briefly, but damaged parts should be replaced for a reliable result. After repairs, the beam should be aligned at 25 feet and checked again. With careful inspection and proper adjustment, the lights can return to the straight and narrow, improving night visibility and safety.

