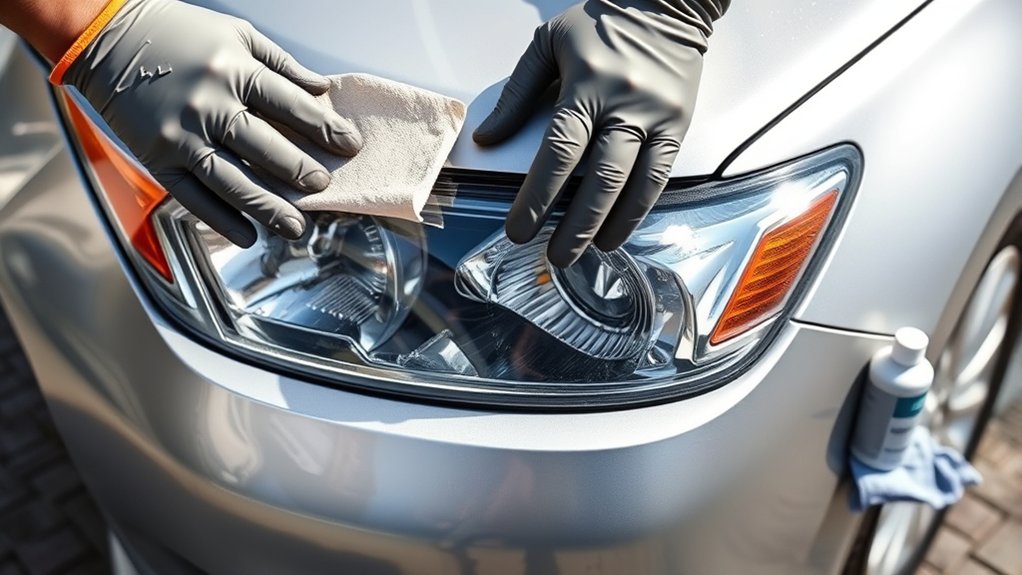
Cloudy or yellow Toyota Camry headlights are usually caused by deterioration of the outer protective layer on the plastic lens. A careful restoration can improve their appearance and may improve usable light output, but the process must match the condition of the lens. The safest approach is to diagnose the damage, use the least aggressive abrasive that works, polish the surface, and finish with a headlight-safe UV-resistant coating.
Last updated: September 22, 2026 — rechecked against current AAA research, 49 CFR 571.108, Sylvania restoration guidance, and headlight-protection-film guidance.
Quick Answer
To restore cloudy Toyota Camry headlights, confirm the haze is on the outside, clean and mask the lens, wet-sand only as aggressively as its condition requires, refine it with finer grits, polish the plastic, and apply a UV-resistant headlight coating. Replace assemblies that are cracked, internally damaged, or still produce a poor beam afterward.
Key Takeaways
- Make sure the cloudiness is on the outside of the lens before sanding. Sanding cannot repair internal condensation, reflector damage, cracks, or electrical problems.
- Start with the least aggressive method that will remove the oxidation. Do not automatically begin with 600-grit sandpaper.
- Keep the lens and wet/dry paper wet, remove the scratch pattern from each previous grit, and avoid overheating the plastic while polishing.
- A headlight-safe UV-resistant coating is the essential final step. Paint protection film is an optional additional layer.
- Restoration can improve light output, but it may not return an aged assembly to new OEM performance.
At a Glance
| Time Required | Product-dependent. Some complete kits advertise about 30 minutes, while heavily oxidized lenses that need multi-stage sanding can take longer. Add the coating manufacturer’s required cure time. |
| Difficulty | Moderate |
| Tools Needed | Car-wash soap, microfiber towels, painter’s tape, spray bottle, wet/dry sandpaper or a restoration kit, plastic polish, applicator pad or low-speed polisher, gloves, eye protection, and a UV-resistant headlight coating |
| Cost | Varies by kit and supplies; check the current price before buying. A matched kit may reduce the need to purchase abrasives, polish, and coating separately. |
Why Cloudy Toyota Camry Headlights Matter
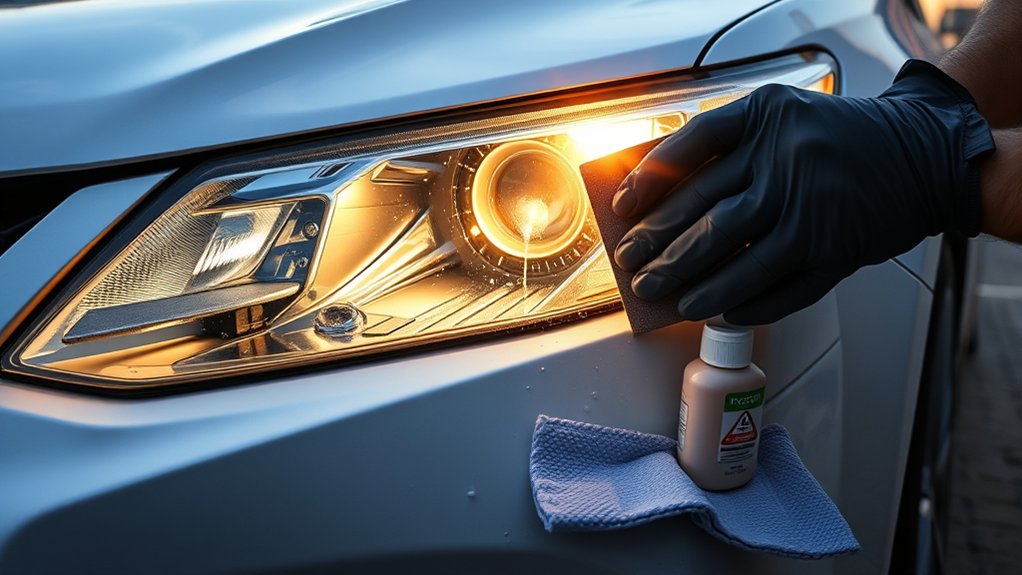
Most modern headlight lenses are made from impact-resistant polycarbonate plastic with a protective surface coating. Sun exposure, road grit, weather, chemicals, and repeated washing can gradually damage that coating. The lens may then become yellow, rough, or cloudy, causing light to scatter instead of passing cleanly through the optical system.
A limited 2018 AAA laboratory study of deteriorated headlamp assemblies tested headlights from two popular sedans approximately 11 years old. On low beam, the deteriorated assemblies produced only 22% of the light output measured from new OEM assemblies. Professional and DIY restoration returned output to approximately 70% of new-headlamp output in that study. Those figures describe AAA’s specific test sample; they are not universal percentages for every cloudy Toyota Camry headlight.
AAA’s test shows why restoration can be worthwhile when exterior lens deterioration is the real problem, but it also shows why a restored aging assembly should not automatically be treated as equivalent to a new OEM headlamp.
Clearer lenses can improve appearance and may improve road illumination, but exterior restoration cannot correct a weak bulb, damaged reflector, failed projector, wiring problem, or incorrect headlight aim. Federal Motor Vehicle Safety Standard No. 108 establishes requirements for original and replacement lamps, reflective devices, and associated equipment. State inspection and in-use requirements are separate and can vary by jurisdiction.
Check Whether Headlight Restoration Will Work
Before buying sandpaper or polish, determine where the cloudiness is located and whether the assembly is structurally sound.
- Exterior oxidation: The outer surface feels rough or chalky, and the haze remains when the dry lens is wiped clean. This is the type of damage a restoration can usually improve.
- Internal condensation: Droplets, mist, or water streaks appear behind the lens and may change with temperature or weather. The housing, vent, seal, or rear cover needs diagnosis; sanding the outside will not solve it.
- Crazing or deep cracks: Fine cracks appear inside the plastic rather than only on the surface. Sanding may improve the appearance slightly but cannot restore severely fractured material.
- Reflector or projector damage: The lens may look clear while the beam remains weak, uneven, or scattered. The internal optical parts may require repair or assembly replacement.
- Bulb, electrical, or aiming issue: One side may be dimmer, the beam may point too low, or both lights may remain weak after the lenses are cleaned. Inspect the bulb, connector, charging voltage, and aim before blaming the lens alone. If a serviceable bulb is suspect, see the Toyota Camry headlight bulb replacement guide. For beam direction, use the Toyota Camry headlight aiming guide.
Restoration Decision Guide by Lens Condition
| What You See | Best First Step | When Restoration Is Not Enough |
|---|---|---|
| Light surface haze; lens still feels smooth | Try a plastic-safe headlight polish or the mild first step of a matched restoration system before sanding. | Investigate the bulb, optics, wiring, and aim if the lens clears but the beam remains poor. |
| Moderate yellowing or rough exterior oxidation | Use the restoration kit’s specified abrasive progression or begin with a suitably fine wet/dry abrasive. | Stop if cracks, deep crazing, delamination, or internal damage becomes apparent. |
| Severe, rough exterior oxidation | A coarser starting abrasive may be needed, but only when the lens condition and product directions support it. | Replace or seek professional repair if correcting the lens would require excessive material removal. |
| Droplets, mist, or water behind the lens | Diagnose the housing, vent, rear cover, seals, or cracks. | Exterior sanding will not correct an internal moisture problem. |
| Clear lens but weak, uneven, or badly aimed beam | Inspect the bulb or light source, wiring, voltage, reflector/projector, and aim. | Do not keep sanding a clear lens to solve an optical or electrical fault. |
Warning: This procedure is intended for an exterior polycarbonate headlight lens. Do not sand a glass lens. Work with the lights switched off and cool, protect nearby paint and trim, wear eye protection and gloves, and use coatings only with the ventilation and personal protective equipment stated on their labels.
Tools and Materials
- Mild automotive wash soap and clean water
- Several clean microfiber towels
- Automotive painter’s tape
- Plastic sheeting, masking paper, or towels to protect surrounding panels
- Spray bottle filled with clean water
- A complete headlight-restoration kit or automotive wet/dry sandpaper in appropriate grits
- Plastic-safe headlight polish
- Foam or microfiber applicator pad
- Variable-speed drill or rotary tool with a suitable polishing pad, if desired
- Headlight-safe UV-resistant coating or sealant
- Nitrile gloves and safety glasses
- Optional pre-cut, optically clear headlight paint protection film
Note: A matched restoration kit is often easier than combining unrelated products. For example, the official Sylvania restoration system uses surface preparation, sanding and polishing, followed by a UV-blocking clear coat. Always follow the directions supplied with the specific system you use.
Can You Restore Cloudy Camry Headlights Without Sanding?
Sometimes. If the lens has only light exterior haze, still feels smooth, and has no deep yellowing or rough oxidation, start with a plastic-safe headlight polish or the mild restoration step supplied by a matched kit. This avoids removing more material than necessary.
If polishing does not produce an even clear surface, or the lens has a rough and visibly deteriorated outer layer, use the abrasive sequence specified by the restoration system. The goal is not to sand every cloudy headlight automatically; it is to remove the failed surface layer with the least aggressive process that works and then restore UV protection.
How to Restore Cloudy Toyota Camry Headlights
1. Wash and Inspect the Lenses
Wash the headlights and surrounding body panels with automotive soap and water. Remove bugs, wax, road film, and loose dirt. Dry the area with a clean microfiber towel, then inspect the lens under bright, even light.
If the lens is only lightly hazy and still feels smooth, try a plastic headlight polish before sanding. Sanding removes material and should be reserved for oxidation that polishing alone cannot correct.
2. Mask the Paint and Trim
Apply several overlapping layers of automotive painter’s tape around the complete perimeter of each headlight. Cover nearby painted surfaces, chrome, rubber, and textured trim. Opening the hood may provide better access to the top edge, but protect any exposed painted lip.
Do not rely on one narrow strip of tape. Wet sandpaper and polishing pads can quickly cut through thin masking if they repeatedly touch the same edge.
3. Select the Starting Abrasive
Use the least aggressive abrasive that can remove the failed surface layer:
- Light haze: Begin with plastic polish or the mild abrasive supplied in the restoration kit.
- Moderate yellowing or oxidation: Begin around 1000 or 1500 grit, unless the kit specifies a different starting step.
- Severe, rough oxidation: A coarser abrasive may be required. Use 600 grit only when the lens is badly deteriorated and the product directions support that starting grit.
When uncertain, begin with a finer grit. You can move to a coarser grit if it does not remove the oxidation, but unnecessary coarse sanding creates deeper scratches that must be removed later.
4. Wet-Sand the Oxidized Layer
Soak the wet/dry paper if its manufacturer recommends it. Spray the lens and paper generously with water, then sand with light, even pressure. Work across the entire lens rather than concentrating on one yellow patch.
Keep the surface wet and rinse away residue frequently. The runoff may initially appear yellow or cloudy as the deteriorated layer is removed. Continue only until the lens has a consistent matte appearance and the remaining oxidation is even across the surface.
Avoid sanding sharp edges longer than the broad center of the lens. Edges are easier to thin or damage.
5. Refine the Surface With Finer Grits
Progress through increasingly fine abrasives according to the kit directions. A common sequence after a coarse correction is 1000, 2000, and 3000 grit, but the exact sequence varies by product and by the condition of the lens.
Change the direction of your strokes at each stage. For example, sand horizontally with one grit and vertically with the next. The changing pattern makes it easier to see whether you have removed the scratches left by the previous grit.
Rinse the lens and inspect it before moving on. Deep lines from the previous paper should not remain. Skipping that inspection can leave scratches that polish cannot remove efficiently.
Pro Tip: The lens should look uniformly frosted after the final sanding stage. Shiny islands, yellow edges, or isolated deep scratches usually mean the previous stage was incomplete. Correct them before polishing instead of trying to hide them with coating.
6. Polish the Headlight Lens
Apply a plastic-safe polishing compound to a clean foam, microfiber, or wool pad. Hand polishing is slower but gives a beginner more control. A variable-speed drill or rotary tool can work faster, but use a low speed, light-to-moderate pressure, and overlapping passes.
Keep the pad moving. Do not hold a powered pad in one place, and stop if the lens becomes noticeably warm. Excess heat can distort or damage polycarbonate plastic.
Polish a small section at a time until the sanding haze clears. Wipe away residue with a clean microfiber towel and inspect the lens from several angles. Repeat the polishing step if fine sanding marks remain.
7. Apply UV-Resistant Protection
Sanding and polishing expose fresh plastic and remove any remaining failed factory coating. The restored lens therefore needs a dedicated UV-resistant headlight coating or sealant.
Prepare the lens exactly as the coating manufacturer directs. Some systems require a supplied cleaning wipe or surface activator, while others require a residue-free, dry surface. Apply the specified number of passes and avoid repeatedly brushing over material that has begun to set.
Allow the coating to cure for the full period stated on the label. Protect it from rain, washing, dust, and touching during that time. Do not substitute a general-purpose household coating or an unidentified clear spray for a product labeled as compatible with polycarbonate headlight lenses.
Apply Paint Protection Film for Longer Protection
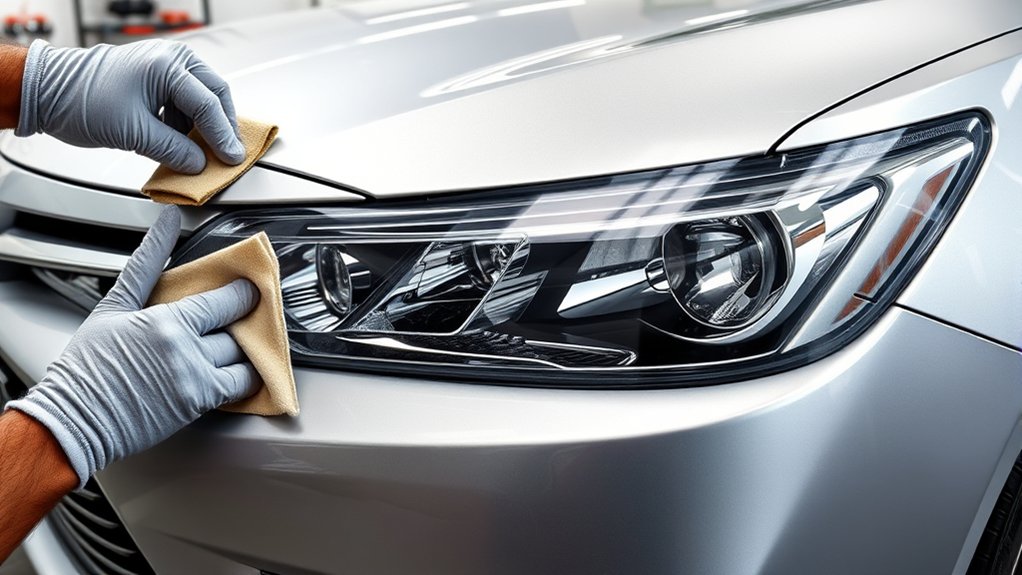
Paint protection film can provide an additional barrier against stone chips, road abrasion, insects, ultraviolet exposure, and environmental contamination. It is optional and should be applied only after the restoration coating has completed its required cure period. For a manufacturer example, XPEL offers dedicated headlight protection film designed for lighting surfaces.
Choose an optically clear film specifically approved for headlight lenses. A pre-cut Toyota Camry kit reduces the need to trim film near the lens or painted bodywork. Confirm that the kit matches the Camry model year and headlight shape.
Follow the film manufacturer’s directions for surface preparation, slip solution, tack solution, stretching, squeegee pressure, edge treatment, and cure time. These details are not interchangeable between products.
- Do not cut directly against the headlight lens or painted bumper.
- Do not apply heat unless the film instructions specifically require it.
- Do not trap polish, coating residue, lint, or dirt beneath the film.
- Do not use PPF to hide incomplete sanding or polishing.
- Check lifted edges after the film has cured and follow the manufacturer’s correction procedure.
Troubleshooting Headlight Restoration Problems
| Problem | Likely Cause | What to Do |
|---|---|---|
| Patchy haze remains | The oxidation or previous scratch pattern was not removed evenly. | Return to the least aggressive grit that corrects the uneven area, then repeat every finer stage. |
| Deep straight scratches are visible | The next grit was used before the coarser scratches were fully refined. | Step back one grit and sand evenly until the deeper lines disappear. |
| Swirls appear after polishing | The pad is dirty, the compound has dried, or the tool speed is too high. | Clean or replace the pad, use fresh plastic polish, reduce speed, and work with lighter pressure. |
| The new coating has streaks | The surface was contaminated, the coating was overworked, or conditions were outside the product limits. | Allow it to cure and use only the coating manufacturer’s removal and reapplication procedure. |
| Cloudiness returns quickly | UV protection was omitted, applied incorrectly, or has failed; the haze may also be internal. | Inspect both surfaces, verify the coating condition, and diagnose housing moisture if fog is behind the lens. |
| The lens is clear but the beam is weak | The bulb, reflector, projector, wiring, voltage, or aim may be faulty. | Inspect the lighting system and headlight aim rather than repeating exterior sanding. |
When to Replace the Headlight Assembly
Restoration is most useful when the damage is limited to the outside surface of an otherwise sound lens. Consider replacing or professionally repairing the assembly when you find:
- Deep cracks, severe crazing, holes, or melted plastic
- Water pooling inside the housing
- A failed seal that continues to admit moisture
- A burned, peeling, or corroded reflector
- A damaged projector lens or shutter
- Broken mounting tabs that prevent secure installation or proper aiming
- A badly delaminated lens that remains cloudy after controlled sanding
- A beam pattern that remains weak, scattered, or glaring after the lens, bulb, and aim are checked
Replacement may also be the better choice when a heavily deteriorated assembly would require removing too much lens material. After replacing an assembly or completing major lighting work, check the headlight aim according to the appropriate service procedure. For Camry-specific next steps, see how to aim Toyota Camry headlights properly.
How to Maintain Your Headlights After Restoration
Once the coating or film has fully cured, gentle maintenance can slow renewed oxidation and prevent unnecessary scratches. Wash the headlights with automotive soap, clean water, and a soft wash mitt or microfiber towel. Remove insects and road film before they harden.
Avoid abrasive household cleaners, Magic Erasers, scouring pads, harsh solvents, and repeated polishing. Abrasive cleaning can thin or remove the protective coating that keeps the plastic clear.
| Action | Benefit |
|---|---|
| Clean with mild automotive soap | Removes dirt, insects, and road film without intentionally abrading the coating |
| Inspect the UV coating or film regularly | Helps identify peeling, edge lift, chips, or renewed oxidation before it spreads |
| Park in a garage or shaded area when practical | Reduces prolonged ultraviolet and weather exposure |
| Remove bird droppings and chemicals promptly | Limits staining and chemical damage to the protective surface |
| Reapply protection only as directed | Avoids incompatible product layers and preserves optical clarity |
Sources
- AAA — Headlamp Lens Deterioration — laboratory findings on deterioration, light-output loss, restoration performance, replacement, and headlight aiming.
- Electronic Code of Federal Regulations — 49 CFR 571.108 — federal scope and purpose of lighting requirements for original and replacement equipment.
- Sylvania — Official Headlight Restoration Kit Information — manufacturer example of a preparation, sand-and-polish, and UV-block clear-coat restoration system.
- XPEL — Headlight Protection Film — manufacturer information on dedicated film for protecting headlight surfaces from abrasion, chips, UV exposure, and environmental contamination.
Frequently Asked Questions
How do you defog Toyota Camry headlights?
First determine whether the fog is outside or inside the assembly. Exterior oxidation can often be corrected by cleaning, controlled wet-sanding, polishing, and applying a UV-resistant coating. Condensation or droplets inside the housing require diagnosis of the vent, rear cover, seal, crack, or housing damage instead of exterior sanding.
Can cloudy headlights be restored?
Yes, exterior yellowing and surface oxidation can often be improved substantially. The result depends on the depth of the damage, the remaining lens condition, the restoration method, and the quality of the UV protection applied afterward. Deep cracks, internal damage, severe crazing, or a failed reflector may require assembly replacement.
Can you restore cloudy headlights without sanding?
Sometimes. Light exterior haze on a smooth lens may respond to a plastic-safe headlight polish or the mild first step of a matched restoration system. If the lens remains yellow, rough, or uneven, use the abrasive process specified by the restoration kit rather than repeatedly polishing the surface.
Will a Magic Eraser clean dull headlights?
A Magic Eraser may remove some surface grime because melamine foam is abrasive, but it is not a controlled headlight-restoration system. It can leave fine scratches, does not progressively refine the surface, and provides no UV protection. Use a product designed for polycarbonate headlight lenses instead.
Does WD-40 work on cloudy headlights?
WD-40 may make a cloudy surface appear temporarily darker or shinier by wetting it, but it does not provide a complete oxidation-removal and UV-protection process. It should not replace sanding when needed, plastic polish, or a headlight-safe UV coating.
How long does a headlight restoration last?
There is no universal lifespan. Durability depends on surface preparation, the coating or film used, sun exposure, climate, washing methods, and whether the lens has deeper damage. An unprotected polished lens can oxidize again quickly, while a correctly applied UV-resistant system should last considerably longer according to its product conditions and warranty.
Can toothpaste restore a cloudy headlight?
Toothpaste contains mild abrasives and may temporarily improve very light surface haze, but it is inconsistent, difficult to refine evenly, and does not replace the protective UV coating. It is not a durable solution for significant oxidation.
Can you spray automotive clear coat on headlights?
Use only a coating specifically identified as compatible with polycarbonate headlight lenses and follow its preparation, application, safety, and cure instructions. General-purpose or unidentified automotive clear coats may contain incompatible solvents, create optical distortion, yellow, peel, or require protective equipment beyond a typical DIY workspace.
How can you tell whether headlight fog is inside or outside?
Clean and dry the outside surface, then inspect the lens from several angles. Exterior oxidation usually feels rough or chalky and remains fixed in place. Internal moisture appears as droplets, mist, or streaks behind the lens and may change as temperature and humidity change.
Conclusion
Restoring cloudy Toyota Camry headlights can improve their appearance and may recover a meaningful amount of usable light when exterior oxidation is the main problem. The key is to diagnose the lens first, avoid unnecessarily coarse sanding, remove each scratch pattern completely, polish without overheating the plastic, and finish with a compatible UV-resistant coating. If the lens is cracked, the housing contains moisture, the internal optics are damaged, or the beam remains poor, repair or replacement is safer than repeated exterior sanding. If the lens becomes clear but lighting performance is still poor, diagnose the bulb or light source and headlight aim instead of removing more lens material.
