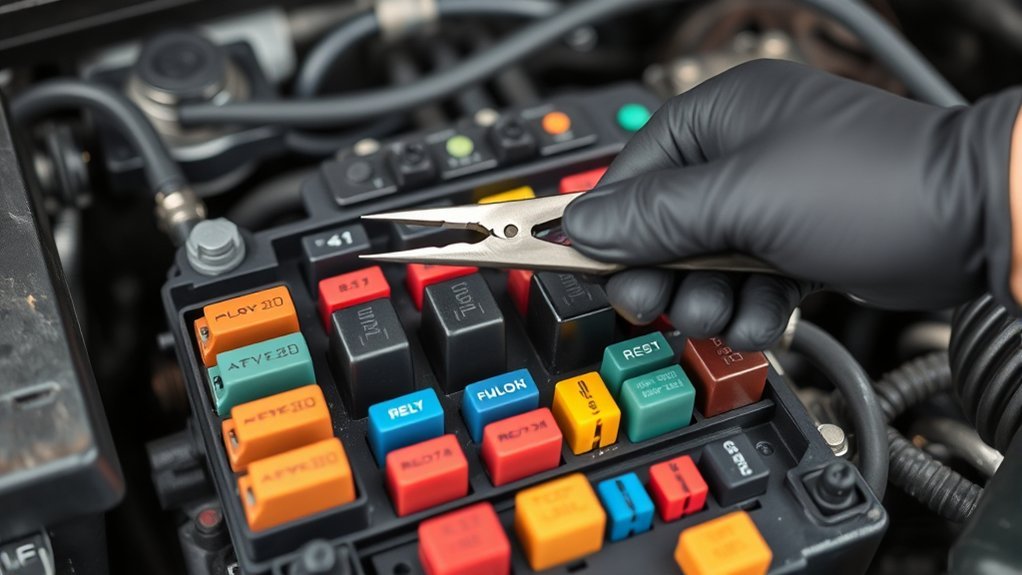
Your Toyota Tacoma’s headlight relay location depends on the model year, trim, headlamp type, and electrical design. Many trucks place headlight fuses and some lighting relays in the engine-compartment fuse and relay box. Other Tacomas use an integration relay, body ECU, or headlight control module instead of separate, removable high- and low-beam relays. Always confirm the layout on the fuse-box cover or in the manual for your exact truck before removing parts.
Last updated: July 13, 2026.
Quick Answer
Start with the under-hood fuse and relay box, then match its lid diagram to labels such as HEAD, H-LP, DIM, H-LP HI, or H-LP LO. Do not assume every Tacoma has two removable beam relays. Confirm the exact year’s layout in Toyota’s owner information or factory wiring diagram before testing or swapping anything.
Key Takeaways
- Tacoma headlight relay and fuse layouts vary by model year, so the fuse-box lid and year-specific manual are your first references.
- A single failed headlamp usually points to a bulb, LED module, fuse, connector, or ground before it points to a shared relay.
- Only swap relays when the printed part number, terminal layout, and electrical rating match exactly.
- Never bridge relay-socket terminals with loose wire, paper clips, or pins. A wrong connection can damage wiring or electronic control modules.
- Stop driving at night if both low beams fail and arrange a safe inspection before using the truck again.
At a Glance
| Time Required | 15 to 30 minutes for basic checks |
| Difficulty | Beginner for visual checks; intermediate for electrical testing |
| Tools Needed | Flashlight, fuse puller, owner’s manual, and a digital multimeter for advanced checks |
| Cost | Usually no cost for inspection; replacement cost varies by fuse, relay, bulb, LED module, or wiring fault |
Warning: Headlamps are safety equipment. Federal lighting rules are intended to provide roadway illumination and make vehicles visible. If both low beams are out, do not rely on high beams as a normal substitute because they can glare other drivers. Park safely and repair the fault before driving at night.
Understanding the Role of Relays in Tacoma’s Lighting System
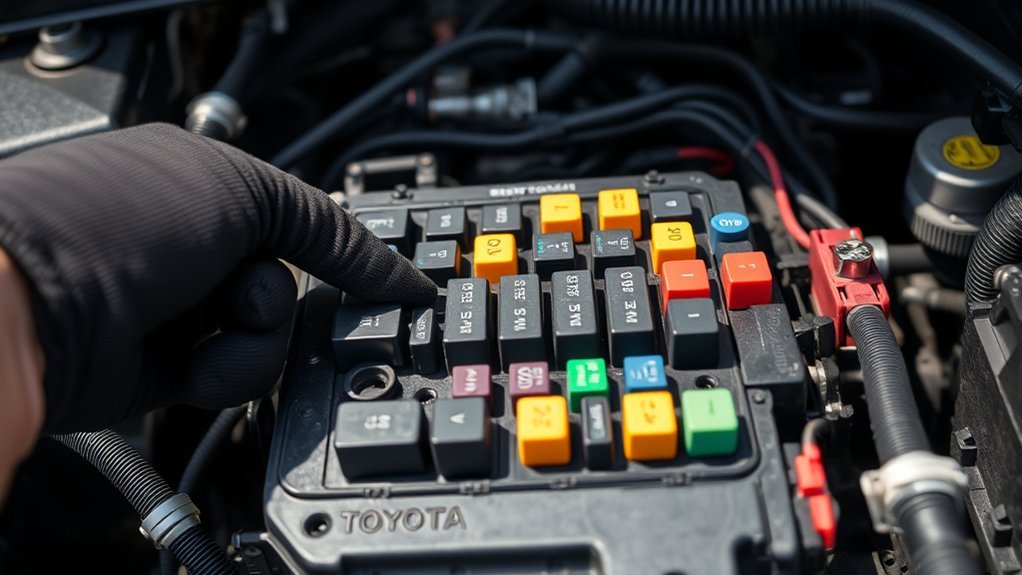
A conventional headlight relay works as an electrically controlled switch. A low-current control circuit energizes the relay, and the relay closes a higher-current circuit that powers the lamps. This design reduces the electrical load carried through the dashboard switch.
However, not every Tacoma uses a separate removable relay for each beam. Depending on the year and equipment, the headlight switch may send a request to a body ECU, integration relay, headlight control ECU, or another module. That module then controls the lamps directly or through an internal relay.
This difference matters during diagnosis. If the fuse-box cover does not list a removable high- or low-beam relay, do not assume the label is hidden. Your truck may use an integrated control device that requires a wiring diagram, scan-tool data, and module-level testing.
How to Identify High and Low Beam Relays
Begin with the diagram printed inside the engine-compartment fuse-box cover. Compare every label with the lighting section in your exact model year’s Toyota owner information. Common abbreviations may include HEAD, H-LP, DIM, H-LP HI, H-LP LO, LH, and RH, but Toyota does not use one universal label set across all Tacoma years.
Relay Location Overview
The under-hood fuse and relay box is the first place to inspect on many Tacomas. It is generally near one side of the engine compartment and has a removable cover with a component map. Your truck may also have an interior fuse panel that protects switch, ECU, or control-side circuits.
Do not use descriptions such as “driver side near the passenger footwell” without checking the truck. That phrase mixes two different areas and can send you to the wrong fuse panel.
- Park on a level surface and switch off the headlights and ignition.
- Remove the key or keep the smart key away from the truck.
- Open the under-hood fuse-box cover without forcing the locking tabs.
- Read the lid diagram and compare it with the owner’s manual.
- Photograph the layout before removing any fuse or relay.
Relay Functionality Comparison
A removable high-beam relay and low-beam relay may look alike, but appearance alone does not prove they are interchangeable. Check the complete printed part number, voltage rating, terminal count, and terminal diagram. A relay with a suppression diode or resistor may be electrically different even when the housing fits the socket.
| Component | What It Does | Typical Check |
|---|---|---|
| Headlight fuse | Protects a lamp or lighting circuit from excess current | Inspect and test continuity; replace only with the same amperage |
| Removable relay | Switches lamp power when the control circuit energizes it | Confirm part number and test with a meter or a verified identical relay |
| Body ECU or integration relay | Processes the switch request and controls lighting outputs | Use the factory wiring diagram, scan data, and voltage tests |
| LED control module | Drives an LED headlamp assembly on equipped models | Check power, ground, connectors, codes, and service procedures |
Pro Tip: Test the easiest shared points first. When one lamp is out, compare the working side with the failed side. When both lamps fail in the same mode, focus on shared fuses, control inputs, relays, modules, and grounds.
Where to Find High Beam and Low Beam Relays
There is no single high- and low-beam relay location that covers every Toyota Tacoma. The correct location is the one shown for your model year and VIN configuration. The under-hood junction block is usually the best starting point, but some lighting-control parts may be built into a junction block or ECU and may not be individually replaceable.
Relay Location Details
Use this order to find the correct component without guessing:
- Check the fuse-box lid. Look for a headlamp, dimmer, high-beam, or low-beam label.
- Check the owner’s manual. Review both engine-compartment and interior fuse-panel diagrams.
- Use factory service information. Toyota’s Technical Information System provides repair manuals and wiring diagrams for North American Toyota vehicles.
- Match the truck’s equipment. Halogen, projector, LED, automatic high beam, and trim differences can change the circuit.
- Use the VIN when ordering parts. A relay that fits physically may still be wrong electrically.
Relay Functions Explained
The high-beam circuit powers the upper beam used for longer-distance illumination. The low-beam circuit provides forward lighting while limiting glare for oncoming and preceding traffic. Some Tacoma systems also coordinate daytime running lights, automatic high beams, flash-to-pass, and automatic headlamp functions.
Because these functions can share switches, modules, grounds, or power feeds, a headlight symptom does not automatically identify a failed relay. Diagnosis should follow the circuit path instead of replacing parts by trial and error.
Troubleshooting Relay Issues
Start by describing the symptom precisely. Note whether one lamp or both lamps fail, whether the problem affects high beam, low beam, or both, and whether the blue high-beam indicator works. Also test flash-to-pass and automatic lighting functions when equipped.
| Symptom | Likely First Checks |
|---|---|
| One low beam is out | Bulb or LED unit, side-specific fuse, connector, wiring, and ground |
| Both low beams are out, but high beams work | Low-beam fuse or power feed, relay if equipped, switch request, body ECU, or shared wiring |
| Both high beams are out, but low beams work | High-beam fuses, dimmer switch input, relay or control module, and shared wiring |
| Lights flicker over bumps | Loose connector, overheated socket, poor ground, damaged wiring, bulb filament, or relay fit |
| Relay clicks but lamps stay off | Load-side fuse, relay contacts, open wiring, connectors, grounds, or lamp assemblies |
| No relay click and no lamps | Control-side fuse, combination switch, body ECU request, wiring, or an integrated relay design |
Common Relay Problems and Their Solutions
Relay failures are possible, but they are not the only cause of Tacoma headlight trouble. Heat, loose terminals, water entry, wiring damage, worn bulbs, failed LED electronics, corroded grounds, and blown fuses can create similar symptoms.
| Problem | Symptoms | Correct Response |
|---|---|---|
| Worn or burned relay contacts | Intermittent lights, voltage drop, heat, or no output | Verify the circuit, then replace with the exact specified relay |
| Loose relay or socket terminals | Flicker, heat marks, or operation that changes when the relay moves | Inspect the socket; repair damaged terminals rather than forcing the relay tighter |
| Blown headlight fuse | One or more lamps stop working | Replace with the same amperage only; diagnose a repeated failure for a short circuit |
| Corroded connector or ground | Dim light, flicker, heat, or uneven brightness | Clean or repair the connection using the correct terminal-service procedure |
| Body ECU or LED-module fault | Multiple lighting functions fail or diagnostic codes are stored | Use factory diagnostics and a compatible scan tool before replacing a module |
Relays do not have a universal five- to seven-year replacement schedule. Replace one only after testing shows a fault or when Toyota service information directs replacement.
How to Easily Remove and Replace Relays
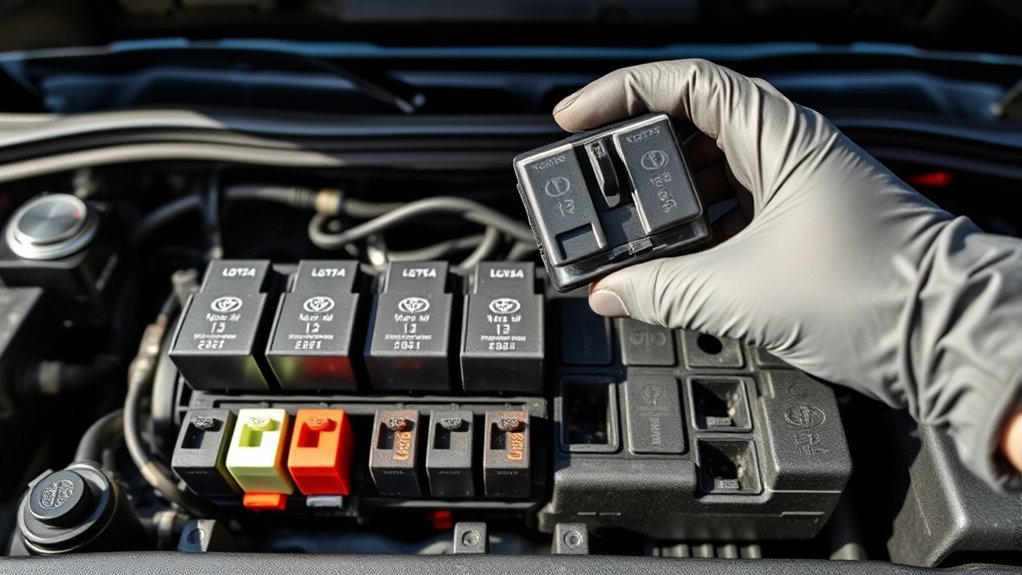
Remove a relay only after you have identified it with the lid diagram and confirmed that it is a removable service part. Work with dry hands and keep metal jewelry and tools away from exposed power terminals.
- Switch everything off. Turn off the headlamps and ignition, remove the key, and let the electrical system settle.
- Document the position. Take a clear photo of the relay and nearby components.
- Grip the relay body. Use a relay puller or your fingers. Do not pull on a removable plastic cap or pry against nearby wiring.
- Pull straight upward. A gentle side-to-side motion can help, but avoid twisting hard enough to spread socket terminals.
- Inspect the relay and socket. Look for melting, darkened terminals, corrosion, looseness, or water entry.
- Install the correct replacement. Match the complete part number and terminal diagram, then press it straight into the socket until fully seated.
- Retest every lighting mode. Check low beam, high beam, flash-to-pass, daytime running lights, and automatic functions when equipped.
Note: If the socket is melted or a terminal is loose, replacing only the relay will not solve the underlying resistance and heat problem. The connector or junction block may need professional repair.
Maintaining Relays for Vehicle Safety
Headlight relays usually need inspection, not scheduled replacement. Keep the fuse-box cover installed, repair broken cover seals or latches, and investigate any sign of water, corrosion, overheating, or repeated fuse failure.
Do not coat relay blades with a thick layer of dielectric grease. Grease can interfere with inspection and may not be appropriate for every terminal design. Use terminal treatments only when the manufacturer’s repair procedure calls for them.
After any repair, confirm that both beams work at full brightness and that no warning message or diagnostic trouble code remains. Headlamp aim should also be checked if a lamp assembly was removed or replaced.
How to Swap Relays for Diagnosis
Swapping relays can be useful only when both relays are confirmed identical. Match the complete printed part number, terminal diagram, and rating. Avoid borrowing a relay from a safety-critical system such as the starter, engine control, fuel pump, ABS, or cooling fan just to test the headlights.
- Confirm that the suspected relay is removable and that the comparison relay is truly identical.
- Switch off the ignition and all electrical loads.
- Mark or photograph both original locations.
- Swap the relays without bending the blades.
- Test the headlight function once.
- Return both relays to their original locations after the test.
If the symptom follows the relay, the relay is suspect. If the symptom stays with the same circuit, inspect the fuse, socket, power feed, ground, switch input, wiring, lamp, or control module.
Using Pins for Quick Lighting Fixes
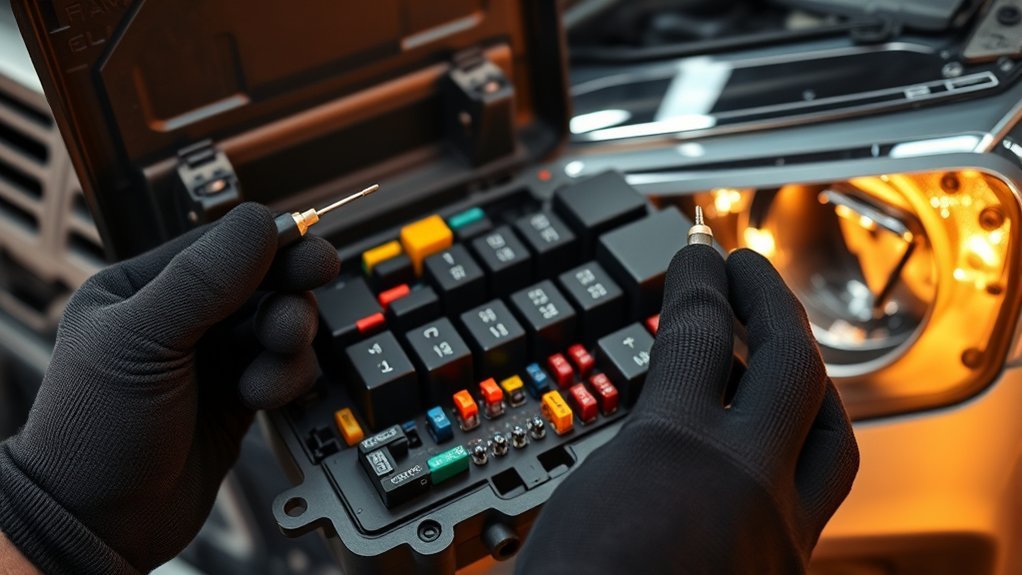
Do not bridge relay-socket terminals with loose pins, paper clips, or unfused wire. A relay socket can contain constant battery power, switched power, module-controlled grounds, or signal circuits. Connecting the wrong terminals can create a short circuit, damage a body ECU, melt wiring, or start a fire.
A spark is not proof that a headlight circuit is healthy. It is evidence that current flowed through a connection that may be unsafe or incorrect.
A safer electrical test uses the year-specific wiring diagram, a digital multimeter, and fused test equipment. Verify the socket’s power feed, control signal, output, and ground according to the circuit diagram. If you cannot identify the terminals confidently, stop and use a qualified technician.
Tips for Preventing Relay Damage During Maintenance
- Use the correct diagram. Confirm the component before touching it.
- Keep the circuit off. Remove the key and switch off the lamps before pulling a relay.
- Use the right puller. Pull from the solid relay body rather than a fragile cap.
- Do not force a replacement. A relay that does not seat easily may have the wrong terminal pattern.
- Keep the box dry. Reinstall the cover and make sure every latch closes.
- Use the correct fuse rating. A higher-amperage fuse can allow wiring damage instead of protecting the circuit.
- Investigate heat damage. Discoloration or melting usually indicates resistance, overload, or a loose terminal.
Step-by-Step Tacoma Headlight Diagnosis
- Confirm the complaint. Test low beam, high beam, flash-to-pass, automatic lights, and the high-beam indicator.
- Compare left and right. A one-sided failure often narrows the fault to that lamp, fuse, connector, wiring, or ground.
- Inspect the lamp assembly. Check the bulb, LED unit, connector, moisture, heat damage, and visible wiring.
- Test the related fuses. Use a meter or test light correctly, and replace a fuse only with the specified amperage.
- Identify the control design. Determine whether the truck has a removable relay or an integrated module.
- Test or swap only an exact relay match. Do not rely on housing size or color.
- Use the wiring diagram for voltage checks. Check power, ground, control, and output at the correct terminals.
- Scan for codes when modules are involved. Automatic high-beam, LED, and body-control faults may store diagnostic information.
- Repair the cause. Correct loose terminals, corrosion, damaged wiring, failed lamps, or control faults rather than replacing unrelated parts.
- Verify the repair. Test every headlight mode and inspect for heat or flicker after several minutes.
When to Get Professional Help
Arrange professional diagnosis when both low beams fail, fuses blow repeatedly, the fuse box shows melting, water has entered the junction block, or the truck uses an integrated relay or LED control module. You should also stop if the wiring diagram does not match the physical layout or if a module-controlled circuit requires scan-tool commands.
Toyota’s factory Technical Information System includes repair manuals and wiring diagrams. A Toyota dealer or qualified independent repair shop can use that information to test the circuit without risking expensive module damage.
Sources
- Toyota Manuals and Warranties — model-year owner information and fuse-panel references.
- Toyota Technical Information System — factory repair manuals, wiring diagrams, service bulletins, and diagnostics.
- 49 CFR 571.108, Lamps and Associated Equipment — federal headlighting scope and safety purpose.
- Toyota Safety Recall and Service Campaign Lookup — VIN-based Toyota campaign information.
- NHTSA Recall Lookup — recalls, investigations, complaints, and manufacturer communications.
Frequently Asked Questions
Where is the headlight relay on a Toyota Tacoma?
Check the under-hood fuse and relay box first, then match the lid diagram to your model year’s manual. Some Tacomas have removable lighting relays, while others use an integration relay, body ECU, or headlight control module. The exact year and headlamp type determine the correct answer.
Can I swap the high- and low-beam relays?
Only when both are removable and the complete part number, terminal diagram, voltage rating, and electrical design match exactly. Do not assume two relays are interchangeable because they have the same size or color.
Why is only one Tacoma headlight not working?
A one-sided failure usually points to the bulb or LED unit, a side-specific fuse, a connector, wiring, or a ground. A shared relay is less likely when the lamp on the other side works normally.
What Is the Most Common Problem With a Toyota Tacoma?
No single problem applies to every Tacoma year, engine, trim, and mileage. For a headlight complaint, start with bulbs or LED units, fuses, connectors, and grounds before blaming a relay. For broader concerns, check the truck’s VIN through Toyota and NHTSA recall tools.
Why Is My Toyota Tacoma Not Turning On?
A no-start condition is usually separate from a headlight relay problem. Check battery charge, battery terminals, the Park or Neutral position, starting-system fuses, the starter circuit, and immobilizer warnings. Use model-specific service information if the cause is not obvious.
What Year Was the Worst Year for Toyota Tacoma?
A universal “worst year” label is not reliable because complaint patterns, maintenance, mileage, and specific defects differ. Review recalls, investigations, service campaigns, and inspection results for the exact year and VIN instead of relying on one blanket ranking.
How Do You Reset the Fuel Pump on a Toyota Tacoma?
Toyota does not provide one universal fuel-pump reset procedure for every Tacoma. Disconnecting the battery is not a dependable fuel-system repair. Check the EFI and ignition fuses, diagnostic codes, fuel-pump control circuit, and year-specific repair manual when the engine does not receive fuel.
Conclusion
Your Tacoma’s headlight relay location cannot be identified safely from a generic description alone. Start with the under-hood fuse-box diagram, confirm the model year and headlamp type, and use Toyota’s factory information when the circuit includes an integration relay, body ECU, or LED module. Check bulbs, fuses, connectors, wiring, and grounds before replacing a relay.
Use an exact-match relay for any swap or replacement, and never bridge unknown socket terminals with loose pins. Careful, model-specific diagnosis protects the wiring, control modules, and the lighting system you depend on for safe night driving.

