
Is it possible for drone footage to truly elevate your storytelling? Yes, but cinematic results come from more than flying high and pressing record. The right camera settings, careful flight planning, smooth stick control, strong composition, and thoughtful editing can transform ordinary aerial clips into polished scenes that feel intentional, emotional, and professional.
Quick Answer
To shoot cinematic drone footage, set your drone to 4K, use 24fps or 30fps, follow the 180-degree shutter rule, keep ISO low, use ND filters in bright light, fly with slow controlled movements, plan each shot around a story, and finish with subtle color correction, grading, and stabilization.
Key Takeaways
- Cinematic drone footage depends on smooth movement, strong framing, natural motion blur, and a clear visual story.
- Use 4K resolution, 24fps or 30fps, low ISO, manual exposure, and ND filters when bright light makes your shutter speed too fast.
- Plan reveal shots, orbit shots, pullbacks, push-ins, and fly-up-tilt-down shots before takeoff so your footage feels intentional.
- Edit carefully with color correction, light color grading, music, pacing, and stabilization instead of relying on heavy effects.
- Always fly legally and safely, especially near airports, people, vehicles, property, and controlled airspace.
At a Glance
| Time Required | 15 to 30 minutes for setup and flight planning, plus editing time after the shoot |
| Difficulty | Beginner to intermediate |
| Tools Needed | Drone, charged batteries, microSD card, ND filters, flight app, and video editing software |
| Cost | Free if you already own a drone and editing software; optional ND filters and extra batteries may add cost |
What Makes Drone Footage Cinematic

While capturing breathtaking landscapes or intimate moments, what truly elevates drone footage to a cinematic level lies in its technical execution and artistic vision. Smooth, controlled motion is essential because it creates a fluid feel that draws viewers into the scene. Strong framing also improves your composition, guiding the eye and making each shot feel purposeful.
Utilizing a cohesive color palette adds an emotional layer, making the visuals resonate more deeply with your audience. Incorporating slow-paced shots enriches the viewing experience, allowing viewers to soak in the atmosphere. Techniques like reveal and orbit shots maintain dynamic engagement by gradually disclosing your subject and holding interest.
Finally, following professional camera practices, such as the 180-degree shutter rule and capturing in 4K resolution when available, helps preserve detail and natural motion. By mastering these elements, you transform simple drone footage into a cinematic sequence that leaves a lasting impression.
Step 1: Set Your Drone Camera for Cinematic Quality

To achieve cinematic quality in your drone footage, you’ll need to set your camera with precision and intent.
Start by selecting 4K resolution if your drone supports it. This gives you more detail and extra flexibility when cropping or stabilizing footage during editing. For a classic cinematic feel, set your frame rate to 24fps. If you want slightly smoother motion for travel, real estate, or social media videos, 30fps can also work well.
Remember the 180-degree shutter rule: set your shutter speed at about double your frame rate. For 24fps, use around 1/50 second. For 30fps, use around 1/60 second. This creates natural motion blur and avoids footage that looks too sharp or jittery.
In bright conditions, equip your drone with ND filters ranging from ND4 to ND16, or stronger filters when sunlight is harsh. ND filters help control exposure without forcing your shutter speed too high.
Keep your ISO low, ideally at 100, to minimize noise in your shots. Use manual exposure when possible so brightness does not shift suddenly during one continuous clip.
Finally, choose a flat color profile if your drone offers one. A flat profile gives you more flexibility to adjust contrast, saturation, and color during post-production. With these settings, you’ll lay a strong foundation for stunning cinematic drone footage that captivates your audience.
Pro Tip: Save your favorite camera settings as a checklist before every flight. Confirm resolution, frame rate, shutter speed, ISO, white balance, focus, storage space, and battery level before takeoff.
[Amazon Products Picked for You]

【3 Pack Drone Filter Set】 Compatible with DJI Mini 4K, Mini 2 SE, Mini SE, Mini 2, Mavic Mini and Fly More Combos, this circular polarizing neutral density drone filter set elevates your aerial photography and videography to a professional level. Each lens filter quickly snaps onto the camera and locks into place with a hook for secure attachment during flights

MINI 4K/MAVIC MINI/MAVIC MINI 2/MINI SE/MINI 2 SE LENS FILTERS: This lens filters accessories set features sharp AGC glass made in Germany with excellent grinding process, good physical and chemical properties, which is specifically designed for the DJI Mini 4K/Mavic Mini/Mavic Mini 2/Mini SE/Mini 2 SE camera.
Step 2: Use Smooth, Controlled Movements
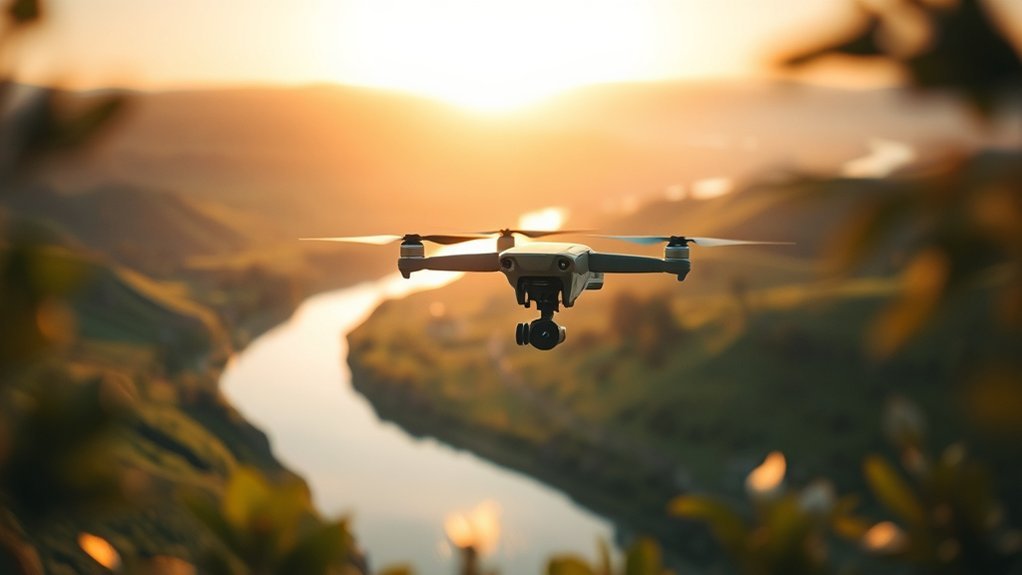
With your drone camera set for cinematic quality, the next step is mastering your movements in the air. Smooth, stable, and deliberate maneuvers are vital for creating footage that engages your audience. Avoid abrupt motions that can lead to jarring visuals. Instead, ease into turns and climbs by gradually adjusting the control sticks. This subtle approach enhances your control and helps create a seamless viewing experience.
Consider combining movements, such as flying forward while slowly ascending, to add depth and dynamism to your shots. You can also fly sideways while gently panning the camera to create a more layered scene.
Utilize tripod or cine mode on your drone for smoother motion and improved framing, especially when filming close to a subject. Planning your flight path in advance is essential because it creates a natural flow that enhances the cinematic quality of your shots.
For better control, start recording a few seconds before the movement begins and keep recording for a few seconds after it ends. Those extra seconds make editing easier and help you cut between clips without feeling rushed.
Warning: Smooth footage should never come at the expense of safety. Keep visual line of sight, avoid flying over people when rules prohibit it, stay clear of obstacles, and check local airspace restrictions before launching.
[Amazon Products Picked for You]
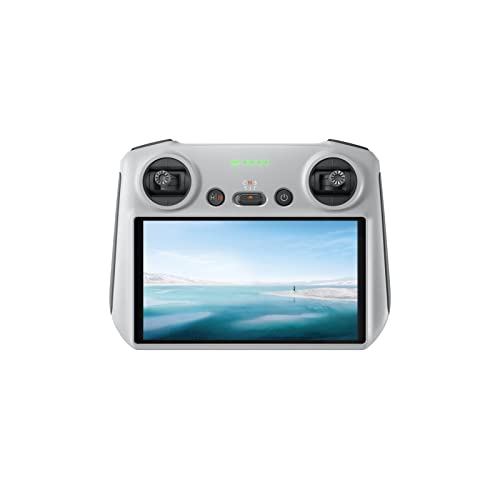
Lightweight Body - With a built-in antenna and weighing just 390 grams, DJI RC offers improved performance and ultimate convenience while flying.
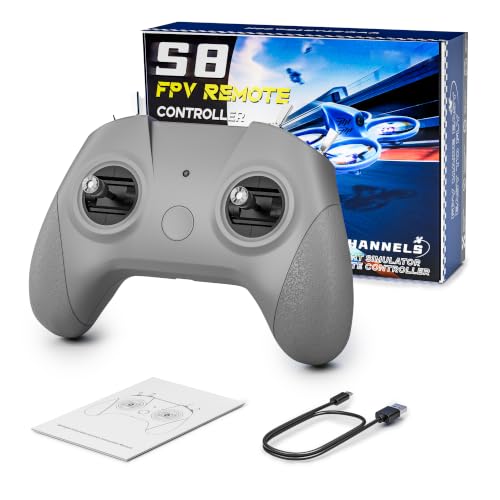
【Real FPV Training Feel】The FLYDrone S8 Pro simulator controller is designed for beginner FPV pilots who want to practice before flying a real drone. The Mode 2 layout and non-centering throttle help build throttle control, stick coordination, and real FPV muscle memory in simulator training

The holder secures your mobile device, allowing you to view high-definition camera feed in real-time via the DJI Fly app on your mobile device.
Step 3: Master Cinematic Angles and Shot Types

Mastering cinematic angles and shot types is essential for elevating your drone footage to new heights. By experimenting with different techniques, you can create engaging and visually stunning sequences that captivate your audience.
Elevate your drone footage by mastering cinematic angles and experimenting with techniques that support clear visual storytelling.
Here are a few shot types to contemplate:
- Reveal Shots: Gradually uncover subjects to build suspense and keep viewers engaged.
- Orbit Shots: Circle around subjects while keeping them centered for a dynamic experience.
- Pullback Shots: Reveal more of the environment, adding context and depth to your storytelling.
You can also use push-in shots to create intimacy, drawing the viewer closer to the subject, or tilt reveals to introduce new elements and enhance visual interest.
Each of these angles offers unique advantages, so don’t hesitate to experiment. The more you practice, the better your drone footage will become, allowing you to tell compelling stories through the skies.
Step 4: Plan Your Flight With Storytelling in Mind
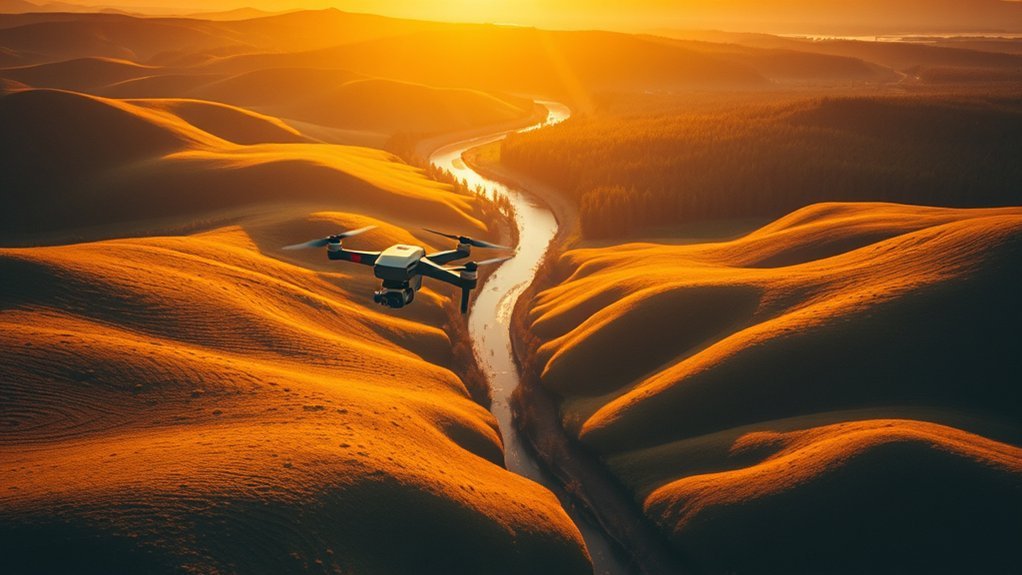
To create compelling drone footage, start by defining your narrative arc. This sets the foundation for your flight path and helps each clip connect to the next.
Identify key visual elements that will draw your audience in and evoke the emotions you want to convey. These could include a coastline, building, road, mountain ridge, person, vehicle, landmark, or dramatic change in light.
As you plan your shots, think about how each angle and movement can enhance the storytelling experience, making every frame count.
Define Your Narrative Arc
As you commence planning your flight, it’s crucial to weave a compelling narrative arc that guides your audience through an emotional journey. By structuring your footage with a clear beginning, middle, and end, you’ll engage viewers effectively.
Here’s how to enhance your storytelling:
- Highlight a central subject or event to anchor your narrative and ensure each shot contributes meaningfully.
- Utilize cinematic techniques like reveal shots or pullback shots to introduce new elements and build tension.
- Consider pacing; opt for slower shots to evoke reflection or quicker movements to inject excitement.
Planning your flight path with these storytelling elements in mind will create seamless transitions, immersing your audience in a cohesive and enthralling experience.
Identify Key Visual Elements
When you’re planning your drone flight, it’s essential to pinpoint the key visual elements that will elevate your storytelling.
Think about the emotional tone and message you want to convey, as this shapes your shot selection, angles, and pacing. Use reveal shots to gradually disclose subjects, building narrative tension and engaging viewers.
Orbit shots can add depth, creating a dynamic perspective that enhances immersion. Incorporate movements like pullbacks and push-ins to evoke specific feelings and maintain visual interest.
Don’t forget to pre-plan your flight path; smooth transitions between shots create a cohesive storytelling flow that resonates deeply.
Consider Audience Emotions
While planning your flight, it’s essential to contemplate how your shots will resonate emotionally with your audience. Storyboarding your shots can help visualize this emotional journey, enhancing your narrative.
Consider these techniques to deepen viewer engagement:
- Dynamic Movements: Use reveal or orbit shots to build suspense and gradually disclose your subject.
- Varying Altitudes: Incorporate different perspectives to create depth, pulling your audience into the story.
- Emotional Beats: Align shots with key moments. Slow pullbacks during poignant scenes can amplify emotional impact.
Additionally, consistency in color grading reinforces the tone, creating a cohesive experience.
Step 5: Post-Processing for Cinematic Results
To achieve cinematic results, post-processing is where your drone footage truly comes to life. Start with color correction, adjusting exposure, contrast, and white balance so your visuals appear natural and inviting.
Next, immerse yourself in color grading. This is your chance to enhance the mood of each shot. Applying LUTs or making manual adjustments can greatly elevate the overall aesthetic.
Dive into color grading to transform the mood of your shots with subtle LUTs and manual tweaks for a stronger visual impact.
Keep it subtle, though. Over-processing can detract from authenticity and disengage viewers. Skin tones, skies, water, and greenery can look unnatural if saturation or contrast goes too far.
Use stabilization tools in your editing software to smooth out any jitters, preserving the cinematic quality of your shots. Be careful not to employ heavy stabilization that crops or distorts the image; you want to maintain the original footage’s integrity.
Pay close attention to pacing. Cut each shot before it becomes repetitive, and match your edits to the rhythm of the music or narration. Add ambient sound, soft transitions, and clean titles only where they support the story.
5 Best Simple Easy Cinematic Drone Shots
Cinematic drone shots can transform ordinary scenes into breathtaking visuals, and mastering a few simple techniques can elevate your footage considerably.
Here are some of the best easy cinematic shots you can start with:
- Pull-Away Shot: Hover in front of your subject, smoothly pushing up and pulling back. This creates a fascinating perspective shift when executed with slow, controlled movements.
- Point of Interest (POI) Shot: Utilize your drone’s intelligent flight mode to circle around your subject, keeping it in focus with minimal effort. This method ensures high-quality footage effortlessly.
- Fly-Up-Tilt-Down Shot: Ascend while tilting the camera downwards, adjusting the gimbal pitch speed to around 10 for a smooth, cinematic reveal.
- Push-In Shot: Start wide, then fly slowly toward your subject. This creates focus, intimacy, and anticipation.
- Tracking Shot: Fly parallel to a moving subject while keeping a safe distance. This works well for roads, boats, cyclists, landscapes, and real estate walkthroughs.
Practice each move in an open area before using it on an important shoot. Once you feel confident, combine two simple moves, such as a forward push with a slow climb, to create more advanced footage without making the shot difficult to control.
[Amazon Products Picked for You]
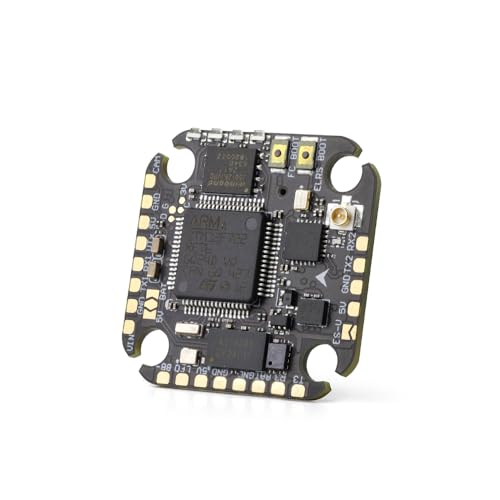
Minimal integration: The flight control comes with an onboard ELRS 2.4G rece iver, and an external rece iver is also available. The 4g ultra-featherweight design greatly saves installation space, and the small fuselage can be installed without pressure

8S Burst Output: 8S burst output with ultra-fast response delivers explosive power and rock-solid control for aggressive freestyle or racing. Demanding pilots get instant throttle response and high-current handling

Common Drone Footage Mistakes to Avoid
Even good drone footage can lose its cinematic feel when a few basic mistakes creep in. The most common issue is flying too fast. Fast movement can look exciting in the moment, but it often feels shaky, rushed, and difficult to edit.
Another mistake is relying on automatic settings in changing light. Auto exposure and auto white balance can shift during a shot, causing brightness or color changes that distract viewers. When possible, lock your exposure and white balance before recording.
Avoid overusing dramatic transitions, speed ramps, and heavy color grades. These effects can work in small doses, but they should support the story rather than hide weak footage.
Finally, do not record every shot from the same height. Mix low, medium, and high perspectives to create visual variety. A drone is not cinematic simply because it is high in the sky. It becomes cinematic when height, movement, light, and story work together.
Note: The best cinematic drone clips often look simple. A slow, well-composed shot with good light usually feels more professional than a complicated move with poor timing.
Pre-Flight Checklist for Better Cinematic Results
Before you fly, take a few minutes to prepare your drone, camera, and shot plan. This small habit can prevent missed shots, shaky footage, and unsafe flight decisions.
- Check the weather: Avoid strong wind, rain, fog, and harsh midday light when possible.
- Confirm airspace rules: Check whether you need authorization or should avoid the location entirely.
- Inspect your drone: Look at propellers, batteries, gimbal movement, sensors, firmware status, and storage space.
- Set your camera: Choose resolution, frame rate, shutter speed, ISO, white balance, and color profile before takeoff.
- Clean the lens: Dust, fingerprints, or moisture can ruin otherwise strong footage.
- Plan your first three shots: Decide on your opening shot, main subject shot, and closing shot before launching.
- Watch the light: Golden hour and blue hour often create softer shadows, richer color, and more dramatic scenes.
Additional Resources
Releasing the full potential of your drone footage requires not just practice but also the right resources. Immerse yourself in a course that offers ten easy-to-build movements, elevating your cinematic game. Each maneuver is designed to enhance quality, making your shots more engaging.
You’ll also find a dedicated section on mastering gimbal settings, essential for achieving that buttery-smooth video you crave. The course emphasizes practical applications, ensuring you capture high-quality footage in every scenario.
Focus on mastering four critical joystick movements: thrust, yaw, pitch, and roll. These will drastically improve your control and execution.
Additionally, you’ll gain insights into ideal camera settings, like using a flat color profile and keeping a low ISO for greater post-processing flexibility. With these resources at your fingertips, you’ll not only shoot better but also bring your creative vision to life.
Get ready to transform your drone footage into stunning cinematic experiences!
Related Guides
Frequently Asked Questions
How do you take cinematic drone shots?
To capture cinematic drone shots, set your camera to 4K when available, choose 24fps or 30fps, use a shutter speed close to double your frame rate, fly with smooth movements, master different angles, and post-process with careful color correction, grading, pacing, and stabilization.
What is the 180-degree rule for drones?
The 180-degree rule for drones means setting your shutter speed to about double your frame rate. If you film at 24fps, use about 1/50 second. If you film at 30fps, use about 1/60 second. This creates natural motion blur and smoother-looking footage.
What is the 1 1 rule for drones?
Some drone pilots use the phrase “1 1 rule” to describe staying at least 1 mile from airports and below 400 feet. However, drone rules can vary by country, location, airspace, drone weight, and flight purpose. Always check the current rules for your area before flying.
How much do people pay for drone shots?
People often pay anywhere from basic entry-level rates to higher professional day rates depending on the project’s complexity, location, licensing needs, editing time, and the operator’s experience. Simple real estate or social clips usually cost less than commercial, travel, construction, or cinematic brand work.
Do you need ND filters for cinematic drone footage?
You do not always need ND filters, but they help a lot in bright light. ND filters reduce the light entering the camera, which lets you keep a slower shutter speed and create more natural motion blur without overexposing the image.
What drone movements look most cinematic?
Slow pullbacks, push-ins, reveal shots, orbit shots, tracking shots, and fly-up-tilt-down shots often look cinematic because they add depth, movement, and story. The key is to fly slowly and keep the subject framed with intention.
Conclusion
In your quest for enchanting cinematic drone shots, remember that precision and planning pave the path to stronger footage. With your camera set, smooth movements mastered, and storytelling woven into every flight, you’ll move beyond ordinary aerial clips.
Embrace the artistry of angles, letting light and landscape work together in harmony. As you edit, polish your footage with care instead of overloading it with effects. When your settings, movements, story, and post-processing all support the same vision, you can create breathtaking visuals that resonate.
So, soar with purpose and let your creativity take flight, crafting stunning stories from the skies.
