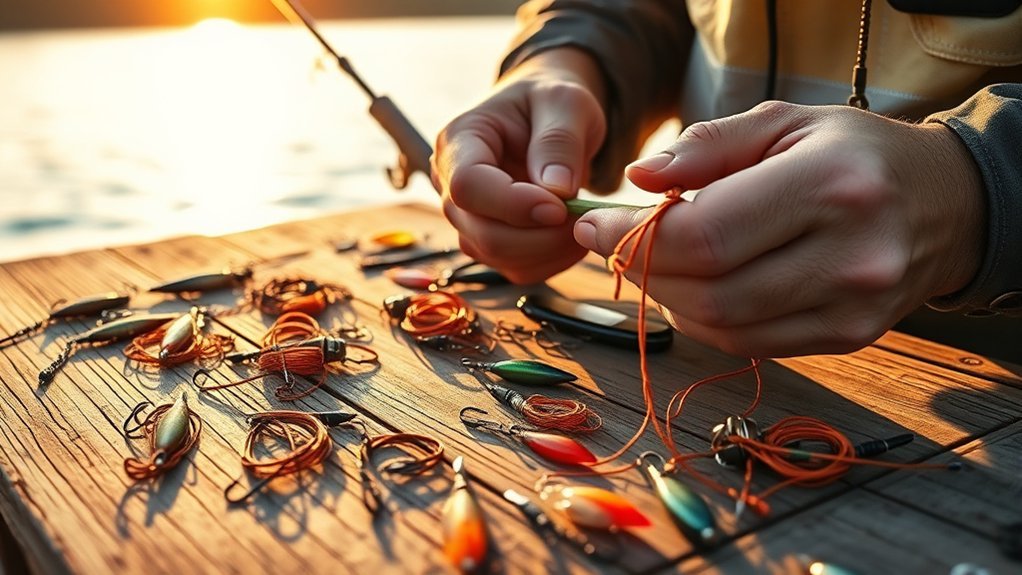
Have you ever wondered why some anglers consistently bring home a hefty catch while others struggle? Understanding fishing rig types helps you present bait at the right depth, reduce snags, and match your setup to the fish you want to catch. Each rig serves a specific purpose, from simple bobber fishing to bottom fishing, weedless soft-plastic fishing, deep-water presentations, and baitfish catching. By learning the basic parts, knots, and setup steps, you can fish with more confidence and make better decisions on the water.
Quick Answer
The best fishing rig depends on where the fish are feeding. Use a bobber rig for suspended bait, a sliding sinker rig for bottom fishing, a Texas rig for weeds and cover, a Carolina rig for deeper water, a 3-way rig for current, and a Sabiki rig for catching baitfish.
Key Takeaways
- A fishing rig is the full setup of line, hook, weight, leader, bait, and accessories used to present bait naturally.
- Match your rig to the depth, current, cover, bottom type, bait, and target species.
- Use simple rigs first, such as the basic bobber rig or sliding sinker rig, before trying more advanced setups.
- Small adjustments to hook size, sinker weight, bobber depth, and leader length can make a big difference.
- Always check your knots, line condition, hook sharpness, and local fishing regulations before you fish.
At a Glance
| Time Required | 5 to 15 minutes per rig once you know the steps |
| Difficulty | Beginner to intermediate, depending on the rig |
| Tools Needed | Fishing line, hooks, sinkers, bobbers, swivels, leader material, bait, scissors or line cutters, and pliers |
| Cost | Usually low, since most basic rigs use inexpensive terminal tackle |
Understanding Fishing Rigs and Their Importance
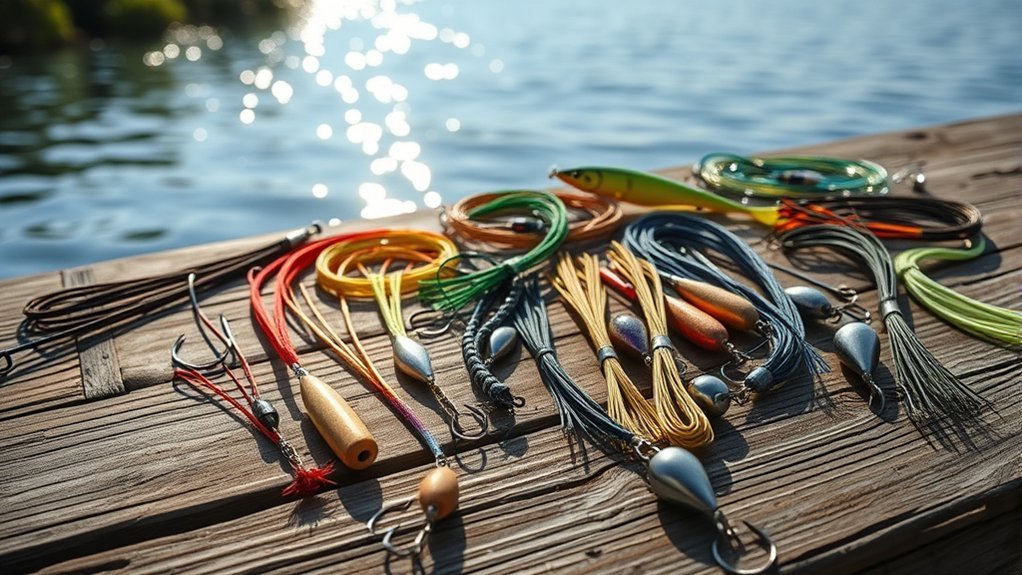
While you might think fishing is all about patience and luck, understanding fishing rigs can greatly improve your chances of a successful catch.
A fishing rig is the full setup that presents bait or a lure to fish. It usually combines your main line, hook, sinker, leader, swivel, bobber, lure, bait, or other small pieces of terminal tackle.
Fishing rigs help you control where your bait sits in the water. That matters because fish may feed near the surface, along weed edges, close to rocks, near the bottom, or in moving current.
By grasping the purpose of different rigs, you can choose a setup based on your target species, the environmental conditions, and how the fish are likely feeding that day.
The effectiveness of a fishing rig directly impacts bait presentation. A good rig keeps your bait at a useful depth or location, which better matches fish behavior and feeding patterns.
Familiarizing yourself with rig components like swivels, leaders, hooks, bobbers, and sinkers is important for building durable rigs that hold up in different fishing environments.
Mastering the assembly and use of several basic rigs improves your catch efficiency and overall fishing success, whether you’re a new angler or already comfortable with a rod and reel.
Note: The “best” rig is not always the most complicated one. A simple bobber rig or sliding sinker rig often catches more fish than an advanced setup used in the wrong place.
Essential Components of a Fishing Rig
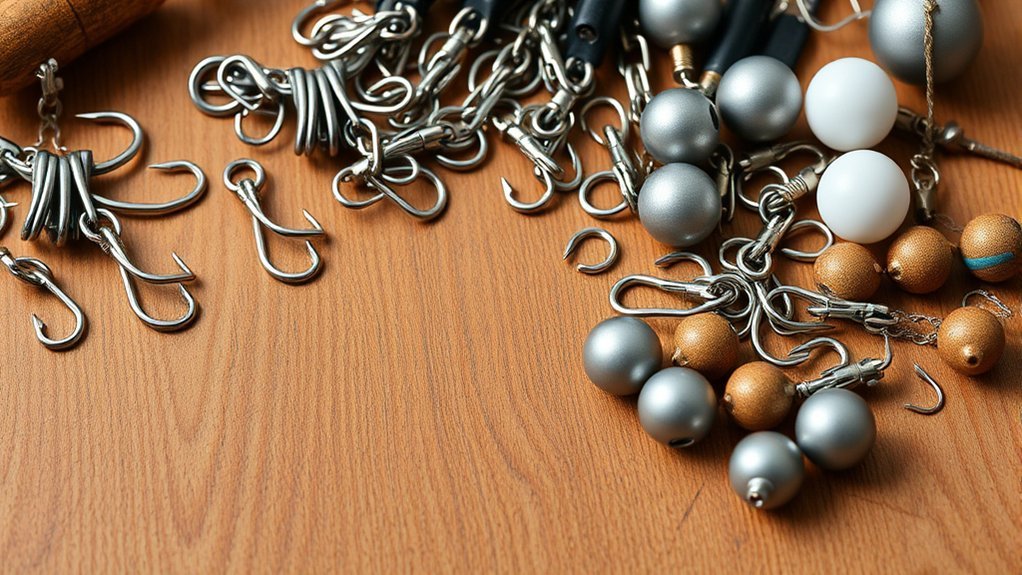
Understanding the various components of a fishing rig can greatly enhance your fishing experience. A typical rig includes hooks, sinkers, and bait, all working together to attract fish effectively.
Hooks come in many sizes and styles, allowing you to target specific species and bait sizes. A hook that is too large can look unnatural, while a hook that is too small may not hold a larger fish well.
Sinkers, such as egg sinkers, bank sinkers, bullet weights, or split shots, influence your rig’s performance by adjusting weight and sinking rate. They help you cast farther, reach deeper water, hold bottom, or move bait through current.
Hooks vary in size and style for targeting species, while sinkers adjust weight and sinking rates for better performance in different water conditions.
Swivels are important in many setups because they reduce line twist and create a clean connection between the main line and leader. Barrel swivels work well for many beginner rigs, while 3-way swivels help create current-friendly setups.
Leaders are short line sections attached to the main line. They can provide abrasion resistance, reduce visibility near the bait, and improve bait presentation, which can make a significant difference in your catch rate.
Bobbers or corks serve as bite indicators while keeping your bait suspended at your desired depth. Fixed bobbers are simple, while slip bobbers work better when you need to fish deeper water without making casting awkward.
Bait also matters. Live bait, cut bait, soft plastics, artificial lures, dough bait, and prepared bait all work better on certain rigs. Match the bait to both the fish and the rig design.
| Component | Main Purpose | Beginner Tip |
|---|---|---|
| Hook | Holds bait and catches the fish | Match hook size to bait size, not just fish size |
| Sinker | Adds weight and controls depth | Use the lightest weight that still keeps control |
| Swivel | Reduces line twist and connects sections | Tie clean knots and test them before casting |
| Leader | Improves presentation and abrasion resistance | Use shorter leaders around heavy cover |
| Bobber | Suspends bait and shows bites | Set depth so bait sits near active fish |
| Bait or Lure | Attracts fish to strike | Keep bait natural and avoid overcrowding the hook |
Types of Fishing Rigs Explained
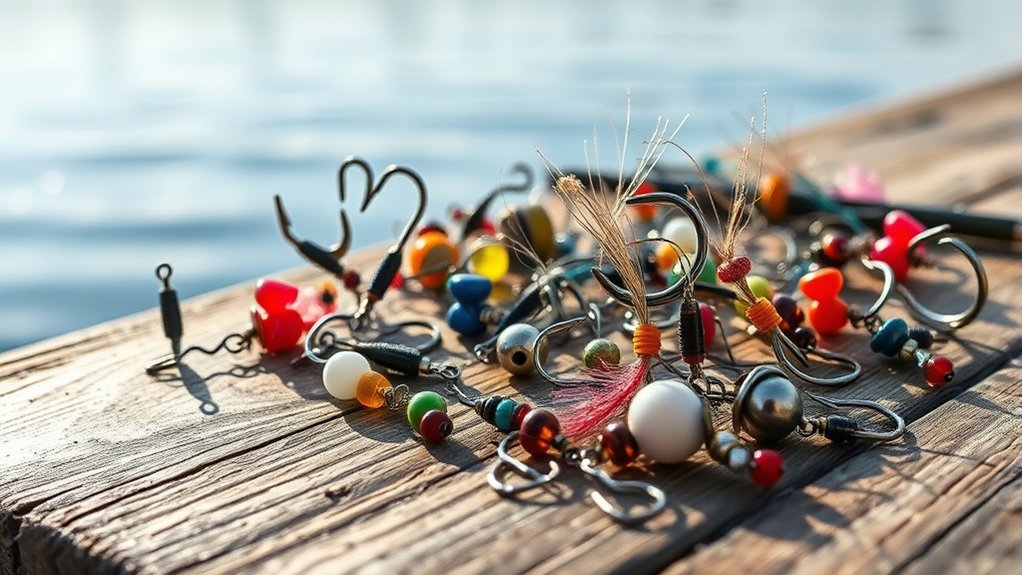
When you choose the right fishing rig, you greatly boost your chances of landing the target species. Each rig serves a specific purpose, matching your fishing technique with the environment and species behavior.
For still fishing, the Basic Bobber Rig suspends bait at a desired depth. It works well for panfish, trout, small bass, perch, and other fish that feed above the bottom.
The Sliding Sinker Rig excels in bottom fishing because it allows your bait to rest near the bottom while the fish can pick it up with less resistance. Many anglers use it for catfish, flounder, carp, drum, and other bottom-feeding fish.
If you’re heading into deeper water or fishing around bottom structure, the Carolina Rig helps keep your soft plastic or bait moving above the bottom. It is especially useful when fish are spread out and you need to cover water slowly.
For those fishing in currents, the 3-Way Rig offers controlled bait movement and keeps bait near the strike zone. It is useful from boats, piers, riverbanks, bridges, and jetties.
Two-Hook Bottom Rigs provide versatility and let you present two baits at once. They can help you learn which bait or depth fish prefer, but you should use them carefully around heavy cover because extra hooks can snag more easily.
The Texas Rig is perfect for presenting soft plastics in shallow water, vegetation, brush, docks, and other snaggy areas. Its weedless design helps the lure slide through cover with fewer hangups.
The Sabiki Rig is designed for catching baitfish. It uses several small hooks with flashy or colorful attractors and works best when fished vertically.
Choose wisely for a successful outing, and do not be afraid to adjust your rig if the fish are not responding.
| Rig Type | Best Use | Common Target Fish | Beginner Difficulty |
|---|---|---|---|
| Basic Bobber Rig | Suspending bait at a set depth | Panfish, trout, perch, small bass | Easy |
| Sliding Sinker Rig | Bottom fishing with less resistance | Catfish, flounder, carp, drum | Easy |
| Texas Rig | Weedless soft-plastic fishing | Bass, pickerel, pike in cover | Easy to moderate |
| Carolina Rig | Deep water and bottom structure | Bass, walleye, redfish, flounder | Moderate |
| 3-Way Rig | Current, drifting, and deeper presentations | Catfish, walleye, striped bass, saltwater species | Moderate |
| Sabiki Rig | Catching baitfish vertically | Sardines, mackerel, herring, shad, pinfish | Easy, but tangles easily |
[Amazon Products Picked for You]
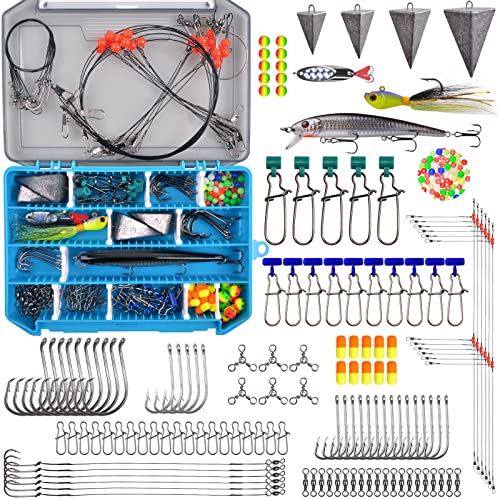
【Surf Fishing Kit】Includes almost everything you need for saltwater fishing, from fishing lures to terminal tackle like fishing weights, fishing hooks swivels and beads etc.

【Essential Fishing Tackle Kit】- PLUSINNO's high-quality bait provides beginners with a variety of options, capable of catching nearly any type of fish, from bass to trout. This versatile starter tackle box with tackle include Texas, Carolina, Florida, Split Shot, No Sinker, Jig Head, and Wacky rigs, totaling 7 types of lure rigs. It's the latest fishing gear for 2024, Whether you're targeting bass or other freshwater fish, this 137-piece baits set in a convenient box has everything you need.

【Essential Fishing Tackle Kit】- PLUSINNO's high-quality bait provides beginners with a variety of options, capable of catching nearly any type of fish, from bass to trout. This versatile starter tackle box with tackle include Texas, Carolina, Florida, Split Shot, No Sinker, Jig Head, and Wacky rigs, totaling 7 types of lure rigs. It's the latest fishing gear for 2025, Whether you're targeting bass or other freshwater fish, this 137-piece baits set in a convenient box has everything you need.
How to Choose the Right Fishing Rig
Choosing the right fishing rig starts with five simple questions: where are the fish, how deep is the water, how strong is the current, what cover is nearby, and what bait are you using?
If fish are feeding near the surface or mid-depth, a bobber rig can keep bait in front of them. If fish are feeding on the bottom, a sliding sinker rig, Carolina rig, 3-way rig, or bottom rig usually makes more sense.
In weeds, brush, wood, or grass, use a Texas rig or another weedless presentation. In open water, you can use exposed hooks more freely because there is less structure to snag.
Current changes everything. Stronger current often requires more weight, shorter leaders, and a more stable rig. Calm water usually allows lighter weights and more natural bait movement.
Target species also matters. Panfish often need small hooks and light line. Catfish may need stronger hooks, heavier leaders, and durable bait. Bass often respond well to soft plastics on Texas rigs or Carolina rigs.
Pro Tip: Change one thing at a time when fishing slows down. Adjust depth first, then weight, bait size, leader length, or location. This helps you learn what actually triggered more bites.
[Amazon Products Picked for You]
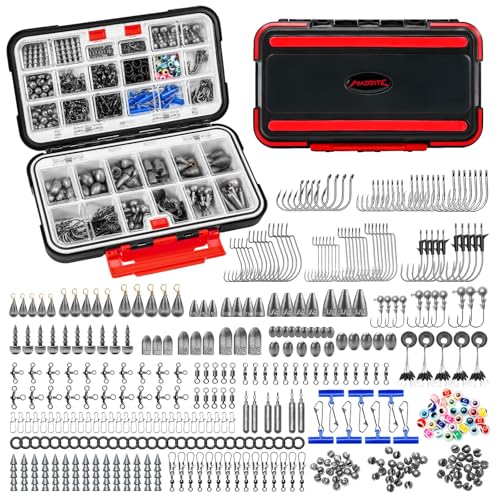
Endorsed by Fishing Expert for Freshwater Excellence: The MadBite by KastKing 400-Piece Freshwater Terminal Tackle Kit features custom rig combinations personally recommended by Al Noraker, a fishing industry veteran with over 50 years of experience, former President of KastKing, and former VP of Product Development at Eagle Claw. Whether you're a beginner or a seasoned fisherman, you'll find the selection and performance of this kit ideal for any freshwater outing

【Complete Fishing Tackle Kit】- PLUSINNO 397pcs fishing gear is loaded with 12 fishing rigs for fishing enthusiasts and beginners. It collects nearly all fishing accessories including Fishing Hooks, Round Jig Heads, Round Split Shot, Egg Sinker, Dipsey Swivel Sinker, Drop Shot Weights, Bullet Weights, Nail Weights, Neko Sinkers, Fishing Snap, 4 kinds of different Fishing Swivels, Fishing Sinker Slider, Fish Eye Beads, Wacky Rings and Bobber Stops
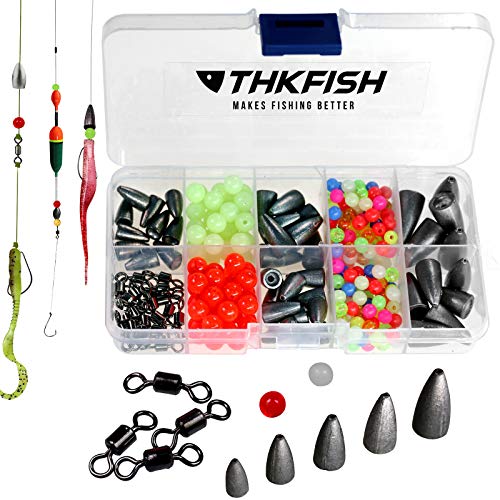
BULLET-WEIGHT MAKES FISHING BETTER: Bullet Fishing Weights are great for Texas and Carolina Rigs which are simple to setup and fast to use. Increasing the chance of catching large bass.The differences between the Carolina rig and the Texas rig mentioned following can help you determine when you should use each one. Wonderful fishing Tool for Angler!
Step-by-Step Guide to Tying a Basic Bobber Rig
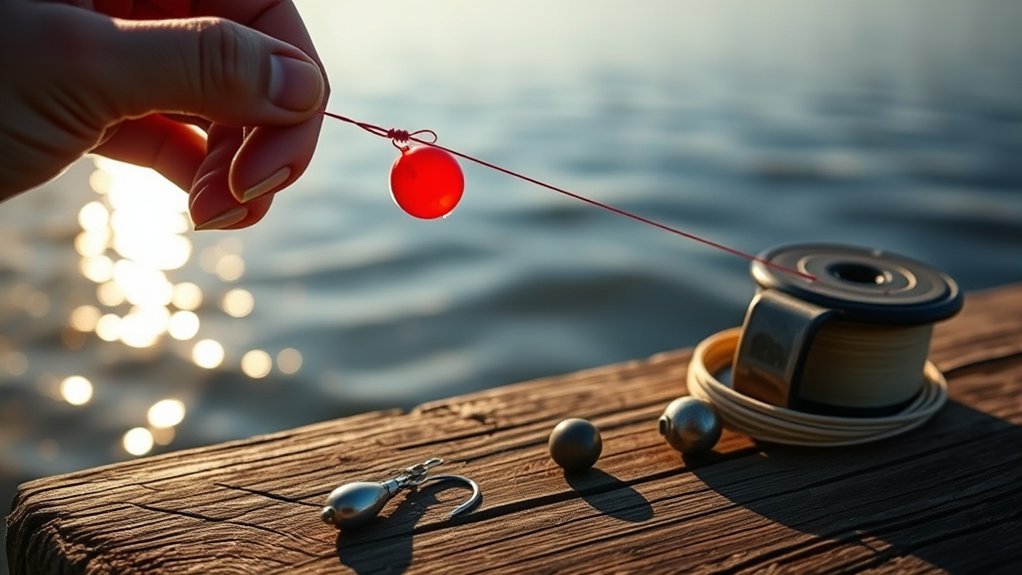
To tie a basic bobber rig, you’ll need a few essential materials and tools at your disposal.
Following a straightforward sequence of steps will help make your rig effective and ready for fishing.
You can use this rig from a bank, dock, boat, pond edge, creek, lake, or calm river area. It is one of the easiest rigs for beginners because the bobber shows bites clearly.
Plus, you’ll learn a few valuable tips that can improve your success on the water.
[Amazon Products Picked for You]
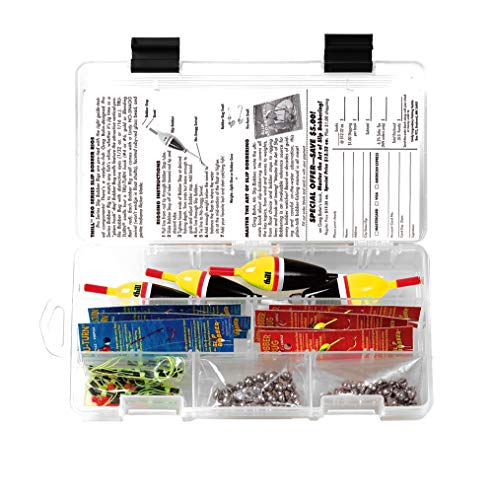
Pre-tied slip float rigs with the right components
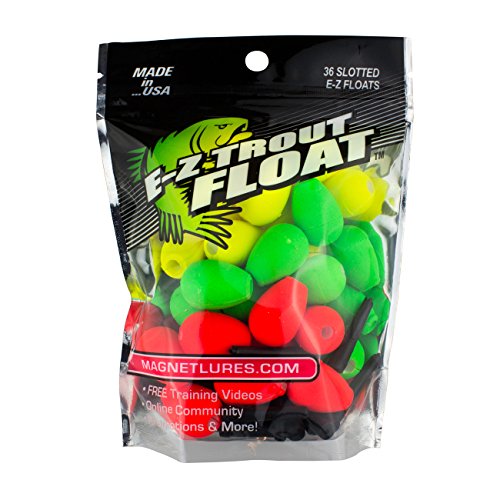
THE BEST QUALITY: The Trout Magnet E-Z Trout Floats are the ORIGINAL slotted float designed for trout and panfish! These are the perfect bobbers for floating small jigs (1/16th oz or less) or live baits . It's the perfect addition to your tackle box!

Bright Color: Fishing bobbers with bright colors are obvious to pompano. Some shapes of fishing floats with 2 colors are more attractive. Also the bright color will catch your eyes and make it easier to know the situations in the water.
Required Materials and Tools
Gathering the right materials and tools is essential for crafting a successful Basic Bobber Rig, as it directly impacts your fishing experience.
Start with quality fishing line, preferably monofilament, for its durability, stretch, and flexibility. You’ll need a selection of hooks, making sure you choose the right size for your bait.
Split shot sinkers are vital. Place them 6 to 12 inches above the hook to provide the necessary weight for casting and bait presentation.
A bobber or cork is key for visibility. Attach it 3 to 4 feet above the hook as a starting point. Adjust that distance based on water depth and where fish are feeding.
Consider a cork bobber or slip bobber when you want more depth control. Fixed bobbers work well in shallow water, but slip bobbers are easier to cast when you fish deeper.
Having these materials ready sets you up for a productive day on the water.
Step-by-Step Instructions
Creating a Basic Bobber Rig involves a series of straightforward steps that help make your setup effective and ready for a successful fishing trip.
Start by tying a hook to the end of your fishing line using an improved clinch knot, making sure you create a secure connection.
Next, add split shot sinkers about 6 to 12 inches above the hook to control the sink rate of your bait.
Clip a circle bobber onto the line 3 to 4 feet above the hook, adjusting its height according to the water depth for ideal bait presentation.
For flexibility, consider using cork bobbers. Slide them onto the line before tying the hook if the bobber design requires it.
Bait the hook so the bait looks natural and does not block the hook point. Worms, minnows, crickets, corn, dough bait, and small prepared baits can all work, depending on the fish you target.
Regularly check and adjust the bobber placement and sinker weight to maintain an effective fishing setup.
Tips for Success
After setting up your Basic Bobber Rig, fine-tuning your approach can greatly enhance your fishing experience. Here are some tips to maximize your success:
| Tip | Details | Result |
|---|---|---|
| Use Improved Clinch Knot | Guarantees a secure connection to the hook. | Reduces lost fish. |
| Adjust Bobber Height | Modify based on water depth for proper bait presentation. | Attracts more bites. |
| Choose Cork Bobber | Opt for a cork bobber for easy adjustments. | Simplifies depth changes. |
| Add Split Shot Sinkers | Position them 6-12 inches above the hook. | Helps bait sink effectively. |
| Monitor Bobber Movement | Watch for subtle movements that indicate bites. | Increases hook-up rates. |
Do not set the hook on every tiny twitch. Small fish, wind, waves, and current can all move the bobber. Wait for the bobber to dip, slide sideways, rise strangely, or move with steady pressure.
Setting Up a Sliding Sinker Rig for Bottom Fishing
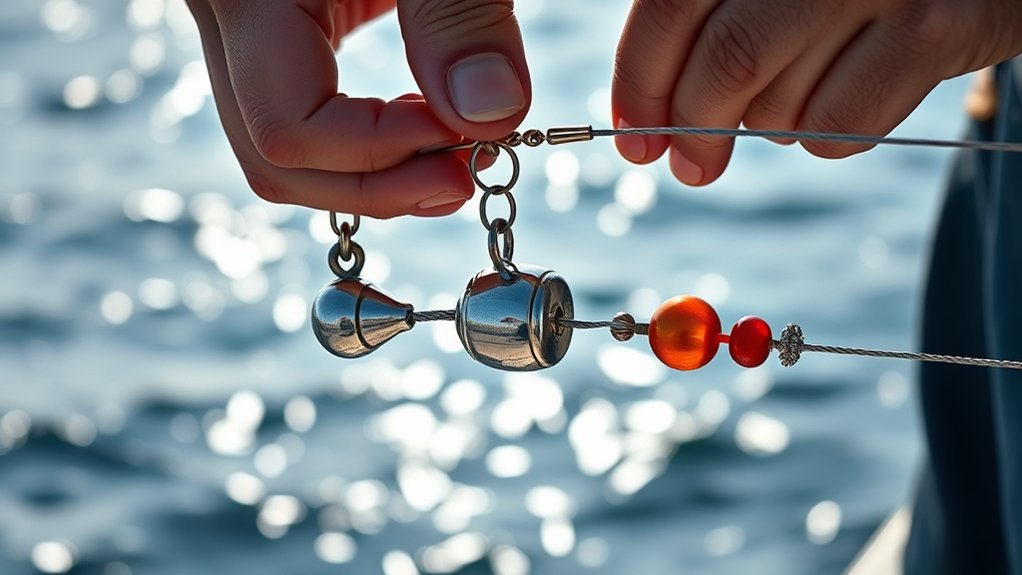
To set up a sliding sinker rig for bottom fishing, you’ll need specific components like an egg sinker, swivel, leader line, and hook tailored to your target species.
Start assembling the rig by threading the line through the sinker, tying off the swivel, and attaching the leader with a secure knot.
This rig design optimizes your bait’s positioning, enhancing your chances of attracting bottom-dwelling fish while minimizing resistance during bites.
The sliding sinker rig works well because the sinker can rest on or near the bottom while the fish moves with the bait. That can feel more natural than a fixed weight, especially when fish are cautious.
Required Components and Gear
Setting up a sliding sinker rig for bottom fishing requires specific components and gear to help improve effectiveness and success. First, you’ll need an egg sinker that threads easily onto your main line, allowing it to slide freely. Tie a barrel swivel to the end of your main line using an improved clinch knot to prevent the sinker from slipping past. Attach a 6-12 inch leader line to the swivel’s other eye, followed by a hook suitable for your target species. Don’t forget to securely bait the hook with either live or artificial bait.
| Component | Description |
|---|---|
| Egg Sinker | Allows sliding for bottom fishing |
| Barrel Swivel | Prevents sinker from slipping past |
| Leader Line | Connects hook to barrel swivel |
Step-by-Step Assembly Process
When you’re ready to assemble a sliding sinker rig for bottom fishing, begin by threading your main fishing line through the egg sinker, making sure it can slide freely.
Next, tie a swivel at the end of the line using an improved clinch knot. This helps prevent twisting and provides a secure connection for the leader.
Attach a 6-12 inch leader line to the other eye of the swivel, placing the bait closer to the fishing area while helping reduce snagging.
Secure a hook or artificial bait to the end of the leader line with another improved clinch knot for a strong connection.
Finally, adjust the sinker’s weight based on current and depth. Choose heavier sinkers in stronger currents or deeper water, and lighter sinkers when fish are cautious or the water is calm.
Tips for Effective Fishing
While you might be enthusiastic to cast your line, understanding a few key tips can greatly enhance your success with a sliding sinker rig for bottom fishing.
Follow these guidelines to improve your fishing experience:
- Choose the Right Sinker: Opt for an egg sinker that allows for smooth movement along the line.
- Proper Knot Technique: Use an improved clinch knot when attaching your hook or bait to help create a secure connection.
- Leader Length Matters: Keep your leader line between 6-12 inches to position your bait effectively near the bottom.
- Monitor Your Line: Stay alert for any line movement, as this can indicate a potential bite from bottom-dwelling species like catfish or flounder.
Keep the line lightly tensioned after your cast. Too much slack can hide bites, but too much tension can pull bait unnaturally or move your sinker out of place.
How to Create a Texas Rig for Weedless Fishing
To create a Texas rig for weedless fishing, start by threading a bullet sinker onto your fishing line, allowing it to slide down to a position about 2-3 feet above where you’ll tie your hook.
Next, tie a worm hook to the end of the line using an improved clinch knot, making sure the knot is secure enough to handle the weight and resistance of the fish.
Choose a soft plastic bait, like a worm or creature bait, and insert the hook point through the head. Bring the hook point out, slide the bait up the hook shank, rotate the bait, and bury the hook point lightly back into the body of the lure for a weedless presentation.
This rig excels in heavy cover, letting your bait navigate through weeds, grass, brush, laydowns, docks, and other snaggy areas without hanging up as often.
Finally, adjust the weight of your bullet sinker based on water depth and current conditions. Use lighter weights in shallow areas and heavier ones for deeper water, wind, thick vegetation, or faster presentations.
You can also peg the bullet weight with a stopper when fishing thick grass or heavy cover. Leaving the weight unpegged can create a more natural fall in open cover.
Pro Tip: Keep soft plastics straight on the hook. A twisted worm or creature bait spins, looks unnatural, and can create line twist.
Building a Carolina Rig for Deep Water
To build an effective Carolina rig for deep water, you’ll need essential components like a heavy sinker, a bead, a barrel swivel, a leader line, and a hook.
Start by assembling these parts in a step-by-step process, making sure each connection is secure to enhance your bait’s presentation.
This rig not only allows for better depth control but also minimizes resistance, making it more appealing to fish.
A Carolina rig is useful when fish are holding near the bottom but still want bait or soft plastics moving just above rocks, grass, shell beds, points, ledges, or flats.
Essential Components Needed
Building a Carolina rig for deep water requires understanding the essential components that contribute to its effectiveness. Each element plays a vital role in your rig’s performance, helping you attract fish efficiently.
- Heavy Slip Sinker: Choose a weight between 1/2 to 1 ounce for many freshwater uses, or heavier when depth and current demand it.
- Bead: Place a bead after the sinker to protect your knot from wear and add a small clicking sound when the sinker moves.
- Barrel Swivel: Tie this securely to the end of your main line, allowing for easy leader changes while helping prevent line twist.
- Offset Shank Wide Gap Hook: Select a size between 2/0 and 4/0 based on your bait type, helping improve presentation and hook-up rates.
These components work together to create an effective deep-water fishing rig.
Step-by-Step Rig Assembly
Assembling a Carolina rig for deep water fishing is a straightforward process that helps make your setup both robust and efficient.
Start by sliding a heavy sinker, typically 1-3 ounces depending on the current and fishing style, onto your main line, followed by a bead to protect the knot from the sinker.
Next, tie a barrel swivel to the end of the main line using an improved clinch knot for a secure connection.
Attach a 14-18 inch leader line to the other eye of the swivel, making sure it can handle the fish and cover you expect to face. Many anglers adjust leader length longer in clear, open water and shorter around cover.
Use an offset shank wide gap hook, tying it to the leader line with another improved clinch knot, and finally, securely attach your chosen bait for a natural presentation.
How to Fish a Carolina Rig
Cast the Carolina rig past the area you want to fish, then let it sink to the bottom. Keep your rod tip low and slowly drag the rig with short pulls.
Pause often. Many bites happen when the bait stops and settles behind the sinker. If you feel a tap, steady pressure, or unusual heaviness, reel down and set the hook with a firm sweep.
A Carolina rig works best when you stay in contact with the bottom. If you cannot feel the sinker ticking along, increase the weight slightly or slow your retrieve.
Techniques for Rigging a 3-Way Fishing Rig
Setting up a 3-way fishing rig can greatly enhance your fishing experience, especially in currents or deeper water. Follow these techniques for ideal rigging:
- Attach a Barrel Swivel: Tie a barrel swivel to the end of your main line using an improved clinch knot to create a strong connection.
- Leader Line Setup: Connect a 14- to 18-inch leader line to the second eye of the barrel swivel. Tie your hook to the end of this leader with the same improved clinch knot.
- Add a Sinker: From the third eye of the barrel swivel, run a short line, usually 6-12 inches, to a sinker, keeping your bait off the bottom.
- Adjust Sinker Weight: Experiment with different sinker weights based on water depth and current strength for effective bait presentation.
This rig allows bait to hover in the strike zone, minimizing resistance and maximizing your chances of a catch.
Use a lighter dropper line for the sinker when fishing rocky bottoms. If the sinker snags, the lighter dropper may break first, helping you save the rest of the rig.
A 3-way rig works well with live bait, cut bait, plugs, soft plastics, and some trolling setups. Keep your leader short enough to reduce tangles but long enough to give bait natural movement.
Using a Sabiki Rig for Catching Baitfish
When targeting baitfish like sardines and mackerel, using a Sabiki rig can greatly increase your catch rate. This rig features multiple small hooks, typically 4 to 10, attached to a single line and often dressed with small colorful attractants to draw fish in.
You’ll want to fish it vertically, dropping it to your desired depth and jigging lightly to imitate the movement of smaller baitfish.
To enhance your success, keep the line tight and maintain a steady retrieve. This prevents tangling and helps your hooks stay in the ideal water column.
Sabiki rigs work well in both saltwater and freshwater environments, giving you versatility in targeting various baitfish species.
| Key Features | Tips for Use |
|---|---|
| Multiple hooks | Keep line tight |
| Colorful attractants | Fish vertically |
| Effective in various waters | Avoid heavy structure |
Because Sabiki rigs have many small hooks, handle them carefully. Keep the rig organized, avoid swinging it around other people, and store unused rigs in their package or a rig holder.
Warning: Multi-hook rigs can injure hands, pets, and nearby anglers if handled carelessly. Check local rules before using them because hook limits can vary by location and species.
Common Rigging Mistakes to Avoid
Even a good rig can fail if you make small setup mistakes. Beginners often lose fish because of weak knots, dull hooks, too much weight, poor bait placement, or a rig that does not match the water.
- Using too much weight: Heavy sinkers can make bait look unnatural and may cause fish to drop it quickly.
- Choosing the wrong hook size: Oversized hooks can scare fish, while undersized hooks may bend or miss hooksets.
- Ignoring line damage: Abraded line can break during a fight, especially near rocks, docks, shells, or wood.
- Setting bobbers too shallow or too deep: Bait must sit where fish are actually feeding.
- Making leaders too long around cover: Long leaders can wrap around weeds, brush, and rocks.
- Forgetting to sharpen or replace hooks: Dull hooks reduce hook-up rates and can cost you fish.
Check your rig after every snag, missed bite, or landed fish. A few seconds of inspection can prevent the next cast from failing.
Tips for Effective Rigging and Fishing Success
Mastering the art of rigging can greatly elevate your fishing success. To make sure you’re rigging effectively, keep these tips in mind:
- Inspect Your Line: Always check that your fishing line is strong and free of knots, nicks, or abrasions. A compromised line can lead to lost catches.
- Match Your Rig: Choose your rig type based on the target species and conditions. For deep water, opt for a Carolina rig; for shallow cover, go with a Texas rig.
- Use the Right Knot: Tie the improved clinch knot for securing hooks and lures. It’s reliable and simple, making it perfect for beginners.
- Adjust Components: Regularly check your rig’s components like sinker weight and hook size. Adjust them according to water conditions and fish behavior for optimum results.
Keep your tackle organized so you can change rigs quickly. A small box with hooks, split shots, swivels, bobbers, bullet weights, beads, and a few pre-tied leaders can save time during a short bite window.
Also pay attention to local rules. Size limits, bait restrictions, hook limits, seasonal closures, and protected species can change by location, water body, and fish species.
Note: If you are fishing a new lake, river, pier, or coastal area, check the local fishing regulations before you rig up. Legal hook numbers, bait types, and harvest rules are not the same everywhere.
Troubleshooting Your Fishing Rig
If your rig is not catching fish, do not assume the whole setup is wrong. Start with the most likely problems and make small changes.
| Problem | Likely Cause | Quick Fix |
|---|---|---|
| Bait keeps snagging | Too much exposed hook or too long a leader | Use a Texas rig, shorten the leader, or reduce weight |
| No bites | Wrong depth, bait, or location | Change depth first, then bait size or rig type |
| Fish steal bait | Hook is too large or bait is too loose | Use a smaller hook and thread bait more securely |
| Line twists often | Spinning bait or lure | Add a swivel and rig bait straighter |
| Fish come off | Dull hook, weak hookset, or wrong hook size | Sharpen or replace hooks and match hook size to bait |
| Rig tangles during casting | Leader is too long or casting motion is too hard | Shorten the leader and use smoother casts |
Frequently Asked Questions
What fishing rig is best for beginners?
The best fishing rig for beginners is usually the basic bobber rig. It is easy to set up, shows bites clearly, and uses simple components. It also teaches you how depth, bait movement, and hook placement affect your results.
How do you rig a fishing hook step by step?
Select the right hook size, pass the line through the hook eye, tie an improved clinch knot or another trusted fishing knot, moisten the knot, pull it tight, trim the tag end, then add bait so the hook point stays clear enough to catch fish.
How do you rig a fishing line for beginners?
For a beginner setup, tie a hook to the end of the line, add a split shot 6 to 12 inches above the hook, then attach a bobber above that. Set the bobber depth based on where fish are feeding, bait the hook, and check the line for damage before casting.
How do you know what fishing rig to use?
Choose a fishing rig by looking at the target species, depth, current, cover, bottom type, and bait. Use a bobber rig for suspended bait, a sliding sinker rig for bottom fishing, a Texas rig for heavy cover, and a Carolina rig for deeper bottom presentations.
What is the easiest knot for fishing rigs?
The improved clinch knot is one of the easiest and most common knots for beginners. It works well for tying hooks, swivels, and many lures. Always moisten the knot before tightening it and test it with a steady pull.
Should the sinker go above or below the hook?
It depends on the rig. On a bobber rig, split shot usually goes above the hook. On a sliding sinker rig, the sinker slides above the swivel and leader. On a 3-way rig, the sinker hangs below the swivel on a short dropper line.
Conclusion
Mastering these fishing rigs is like having a reliable set of tools in your tackle box. Each rig is built for specific conditions and target species, helping improve your chances of a successful catch.
Start with simple setups like the bobber rig and sliding sinker rig, then practice the Texas rig, Carolina rig, 3-way rig, and Sabiki rig as your confidence grows.
By practicing the techniques in this guide, you’ll improve your skills, make smarter adjustments, and feel more prepared on the water. Remember, the right rig can turn an ordinary fishing trip into an extraordinary adventure. So, gear up and get ready to reel in those big ones!
Sources
- Take Me Fishing — Fishing Tackle — supports basic tackle terms, rig components, and beginner fishing setup concepts
- Take Me Fishing — How to Tie Fishing Knots — supports beginner knot guidance and hook-tying basics
- BoatUS Foundation — Navigation Rules — supports safe boating awareness when fishing from a boat
- U.S. Fish & Wildlife Service — Fishing — supports the importance of fishing access, conservation, and regulation awareness