Last updated: September 22, 2026
To find underwater structure for fishing, start with a contour or bathymetric map, identify sharp depth changes and distinctive shapes, confirm those features with sonar when available, save precise waypoints, and then fish the most promising edge from more than one angle. Focus first on places where structure, cover, forage, and access to another depth zone overlap.
Quick Answer
To find underwater structure for fishing, study contour lines for points, humps, saddles, channels, ridges, and sharp breaks. Mark the best-looking transitions, verify their actual depth and bottom features with sonar when possible, and prioritize spots that also have forage, cover, current, wind exposure, or nearby access to another depth zone.
Key Takeaways
- Structure is the shape of the bottom; cover includes objects or vegetation fish can hold beside, beneath, or within.
- Tight contour lines usually indicate a steeper depth change, while wider spacing indicates a gentler slope or flatter bottom.
- High-value targets often combine a useful depth change with forage, cover, current, wind, or nearby access to another depth zone.
- Treat map depths as a starting point and use sonar, current water-level information, and repeated passes to verify what is actually there.
- Save precise waypoints for edges, tops, bases, hard spots, bait schools, and actual bites instead of marking only the general area.
At a Glance
| Time Required | 15–30 minutes for initial map study, followed by on-water passes or shore observations to verify each spot |
| Difficulty | Beginner to intermediate |
| Tools Needed | Contour or bathymetric map, GPS or mapping app, and sonar or a fish finder when available; marker buoys or saved waypoints are also useful |
| Cost | Free if suitable maps and electronics are already available; chart, app, and electronics costs vary |
Why Underwater Structure Matters for Consistent Fishing

Underwater structure is the shape of the bottom: points, humps, ridges, channels, ledges, saddles, flats, and other changes in topography. These features help you divide a large lake, river, reservoir, or coastal area into smaller places that are practical to investigate.
Cover is different. Vegetation, brush, timber, dock pilings, and similar objects can give fish shade, concealment, current protection, or an ambush position. Rocks can be part of the bottom structure or function as cover depending on how the term is being used.
Fish do not spread evenly across most water. Their location changes with species, forage, temperature, dissolved oxygen, spawning stage, current, wind, light, water clarity, and available habitat. A contour feature becomes more useful when one or more of those factors gives fish a reason to use it.
Use contour maps to narrow your search, then verify the feature before spending too much time fishing it. A promising point with bait on one edge is a stronger clue than a point that merely looks attractive on a map.
Use the map to choose where to investigate. Use sonar, visible clues, and actual bites to decide where to keep fishing.
This map-first approach is especially useful on large reservoirs. If you are still learning how these waters differ from ponds or natural lakes, see the reservoir fishing basics guide.
Key Structure Terms Every Angler Should Know

Start with a clear distinction: structure describes the shape or topography of the bottom, while cover describes objects or vegetation associated with that bottom.
A break is an abrupt change or transition worth investigating. Depending on how anglers use the term, that may be a depth change, a transition from mud to gravel, the edge of vegetation, a brush line, or another noticeable change.
In this guide, a breakline primarily means a line or zone where depth changes noticeably. On a contour map, a steep break normally appears where contour lines bunch closer together.
A channel is a submerged riverbed, creek bed, ditch, or drainage route. In reservoirs, old creek and river channels can create recognizable depressions, bends, intersections, and edges.
A point is a projection of land or underwater bottom that extends toward deeper water. A point bar is the submerged continuation of that feature.
A hump is a raised bottom feature surrounded by deeper water. On a contour map, it commonly appears as a closed set of contour lines whose depths become shallower toward the center.
A saddle is a lower area connecting two higher underwater features. It can create a natural travel route between humps, islands, ridges, or points.
A reef or ridge is an elevated hard-bottom feature. Its fishing value depends on its depth, shape, bottom material, nearby forage, current or wind exposure, and connection to other habitat.
Do not assign universal numbers to “shallow” and “deep.” Ten feet may be deep in one pond and extremely shallow in another fishery. Interpret depth relative to the waterbody, target species, season, temperature, oxygen, clarity, and available habitat.
Note: Structure tells you how the bottom is shaped. Cover tells you what fish can hold beside, beneath, or within. A strong spot often combines both, such as a brush pile on the edge of a point or vegetation beside a channel drop.
Reading Contour Maps and Navionics for Structure Detection

Before looking for fishing spots, check the map legend, depth units, contour interval, chart source, and any available survey or update information. A map with closely spaced depth intervals can reveal small ledges and subtle changes that a coarse chart may not show.
Then read contour density. Closely spaced contour lines indicate that depth changes rapidly over a short horizontal distance. Wider spacing indicates a gentler slope or comparatively flat bottom. Garmin describes the same relationship in its nautical-chart guidance.
Mark likely breaklines, points, humps, saddles, channel swings, intersections, and isolated high spots. Use those marks to plan passes, casts, drifts, or trolling routes rather than crossing open water randomly.
Maps are a search tool, not a guarantee. Actual depth can differ because of survey quality, reservoir drawdown, changing water levels, sediment, vegetation, or user-generated mapping. Garmin’s current Quickdraw documentation specifically notes accuracy limitations for third-party generated maps and provides depth-offset settings for changing water levels.
Map Accuracy Rule: Treat the contour map as your hypothesis. Confirm the actual depth and feature position with sonar, current water-level information, or careful shore-based observation before relying on a waypoint for navigation or fishing.
Common Contour Patterns to Recognize
| Contour pattern | What it usually represents | Where to check first |
|---|---|---|
| Tightly packed lines | Steep slope, ledge, or drop | Changes where the steep section meets a flatter area |
| Finger-shaped contours extending from shore | Point or submerged extension of a point | Tip, sides, first major break, and nearby cover |
| Closed contours becoming shallower inward | Hump or submerged high spot | Crown, steepest edge, saddle, and side facing wind or current |
| Depression or winding slot through a flat | Creek or river channel | Bends, intersections, swings, and places where the channel touches another feature |
| Low gap between two high areas | Saddle | Narrowest connection and nearby edge |
| Wide-spaced lines ending beside tight lines | Flat-to-break transition | The changeover zone rather than the middle of the uniform flat |
Interpreting Contour Density
Contour density tells you how quickly depth changes. Tight clusters reveal rapid depth shifts, while wider spacing indicates a gradual slope or flatter bottom.
Pay special attention to places where the pattern changes. A long steep break may be less interesting than one small section where the contours flatten, turn, intersect another feature, or touch a hard spot or weed edge.
Mark those distinct changes before launching. Your initial plan should include approach angle, expected depth, the part of the structure you want to scan first, and at least one backup location.
Identifying Breaklines Precisely
On contour maps, steep depth breaklines usually appear where several contour lines are packed into a short horizontal distance. Do not stop at identifying the entire drop. Look for the most distinctive part of it.
Check where the break changes direction, touches a flat, intersects a channel, reaches a point or hump, or meets vegetation or hard bottom. Those intersections give you more information than an isolated straight drop.
Save separate waypoints for the top, base, turn, hard spot, cover, bait school, or exact place where a bite occurs. Over time, those precise points can reveal patterns tied to water level, season, wind, current, and fish position.
Navionics Layer Integration
Navionics-style mapping can add more context than basic contour lines alone. Depending on your region, device, chart product, and subscription, available features may include detailed bathymetry, relief shading, satellite imagery, sonar imagery, depth-range highlighting, saved markers, and live contour creation.
Garmin’s current Navionics Boating app documentation lists chart-overlay combinations, relief shading, satellite imagery, sonar imagery, markers, and SonarChart Live among available features, although availability varies.
Use these layers for different jobs. Contours show the shape and depth change. Relief shading can make large-scale bottom shape easier to recognize. Satellite imagery is useful for shoreline context. Sonar imagery, where available, can add clues about bottom transitions.
Use GPS markers to preserve useful observations. Names such as “rock edge 18 ft,” “bait outside weedline,” or “channel turn bite” are more useful later than generic names such as “Spot 1.”
Identifying Breaks, Breaklines, and Migration Routes

Do not assume every species follows one fixed deep-to-shallow migration rule. Instead, use structure to identify likely routes between feeding areas, resting areas, spawning habitat, current seams, cover, and different depth zones.
Depending on the species and season, fish may move along channel edges, points, weedlines, saddles, creek arms, or offshore features. Water temperature, dissolved oxygen, forage location, spawning stage, current, wind, clarity, and light can all change which part of the route is active.
| Structure type | Fishing clue |
|---|---|
| Point bar | Depth transition connecting zones |
| Rock reef | Hard-bottom edge, forage, current or wind exposure |
| Underwater hump | Isolated high spot with crown and surrounding break |
Trace each feature on the map, then use sonar or direct observation to identify which part currently has bait, fish, cover, current, or another positive clue.
Recognizing and Prioritizing Food Source Areas

Structure becomes more valuable when forage is nearby. Instead of ranking every attractive contour equally, look for evidence of baitfish, insects, crayfish, panfish, current-carried food, or other forage relevant to the species you are targeting.
Potential examples include protected warming flats, healthy weed edges, rock near channels, creek mouths, current seams, hard-bottom patches, and cover beside a depth transition. Which one matters most depends on the fishery.
On the water, rank locations by observable evidence: bait density, fish marks, active birds where relevant, healthy vegetation, bottom transitions, current, wind exposure, temperature or oxygen conditions, and nearby depth options.
A feature that combines several useful clues deserves more time than an attractive contour with no visible life around it.
Mapping Specific Structure Types: Points, Humps, Reefs, and Ridges
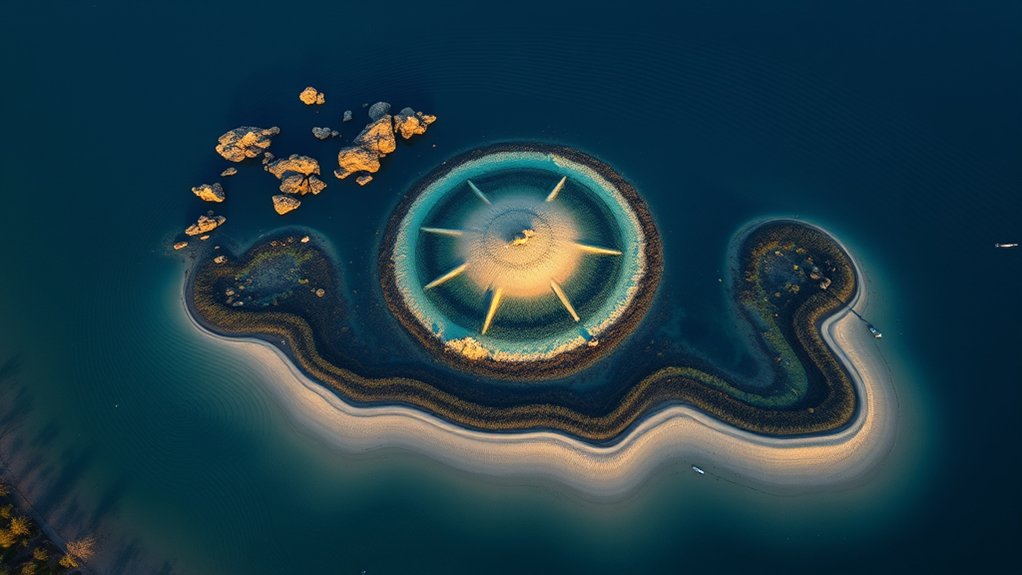
When you map points, focus on their shape, slope, direction, nearby channel or basin, and connection between shallow and deep water. A long point with one abrupt turn or hard edge can require a different approach from a short, steep point.
Use your sonar and contour maps to pinpoint bars, tips, saddles, hard spots, weed edges, channel connections, and other changes within the larger feature.
Identifying Point Bars
A point bar is the underwater continuation of a point. On a contour map, its lines usually extend outward from the shoreline before turning or dropping toward deeper water.
Do not automatically fish the entire point. Check the tip, each side, the first major break, isolated cover, nearby channel connection, and any place where the contour spacing changes abruptly.
If wind or current crosses the feature, compare the exposed and protected sides. If sonar shows bait or fish off one edge, reposition so your presentation stays in that depth band longer.
- Trace the point from shore toward deeper water.
- Mark turns, steep sections, hard spots, cover, and channel connections.
- Fish the most promising edge from multiple angles before abandoning it.
Mapping Underwater Humps
Underwater humps normally appear as closed contour shapes surrounded by deeper water. Record the depth of the crown, the depth at the base, the steepest side, any saddle, and any cover or hard-bottom transition.
Use sonar to verify the exact perimeter because the real feature may not match the mapped contour perfectly. Scan across it from more than one direction before assuming you know its shape.
Then compare the crown with the edges. Fish may use the top, suspend beside it, hold on the first break, or relate to a small piece of cover rather than the entire hump.
Locating Rock Ridges
Rock ridges are elongated high areas that can connect or parallel channels, basin edges, islands, or other structure. Their shape makes them useful search targets because you can follow an edge instead of fishing an undefined open area.
Trace the ridge and mark places where it narrows, widens, turns, intersects another contour feature, or changes bottom composition.
- Mark the crown, both edges, and the steepest break.
- Record the productive depth whenever bait or fish appears.
- Check connections to channels, saddles, flats, and nearby cover.
Once you receive a bite, repeat the same depth, edge, direction, and presentation before changing everything at once.
Creating Detailed Sounding-Based Maps Step by Step
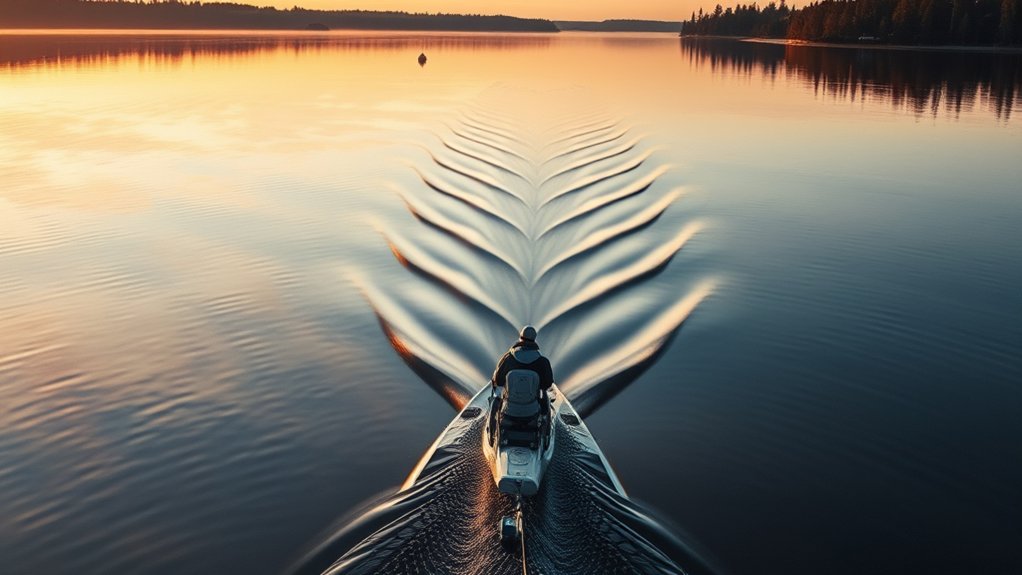
Start by studying contour charts to identify a manageable set of likely targets such as humps, drop-offs, saddles, channel bends, hard-bottom spots, and weed edges.
Then take targeted soundings rather than scanning the entire lake without a plan. Record actual depth, feature shape, bottom hardness, cover, bait, fish marks, and GPS position. If water level changes substantially between trips, record that too so depths from different days are not compared blindly.
If your electronics support custom contour mapping, use repeated passes to build a more detailed picture of the area. Garmin’s Quickdraw documentation, for example, describes creating contours from sonar depth and GPS-position data.
A useful waypoint records what you found, not just where you found it.
After fishing, compare catches with your saved observations. Update inaccurate outlines, add overlooked cover, and keep the depth, presentation, and environmental clues associated with actual bites.
How to Find Underwater Structure for Fishing: 6-Step Process
- Pick one area: Choose a bay, point, reef, channel bend, hump, or weed edge instead of trying to understand the whole lake at once.
- Study the contours: Mark tight contour clusters, points, saddles, humps, channels, turns, and flat-to-break transitions.
- Verify the feature: Make controlled sonar passes when available, or use shore-based depth and visual clues to check the mapped shape.
- Save precise waypoints: Mark the top, base, edge, hard spot, cover, bait school, and exact bite locations separately.
- Fish different angles: Cast, troll, drift, or hold position so the bait spends maximum time at the depth and edge where fish are showing.
- Record the pattern: Note depth, lure or bait, presentation speed, water level, weather, season, forage, and fish activity so you can test the same pattern again.
Pro Tip: Name waypoints with useful details. “Point 1” tells you little later; “rock edge 16 ft + bait” immediately tells you what made the location worth saving.
Fishing Strategies by Breakline Depth and Presentation
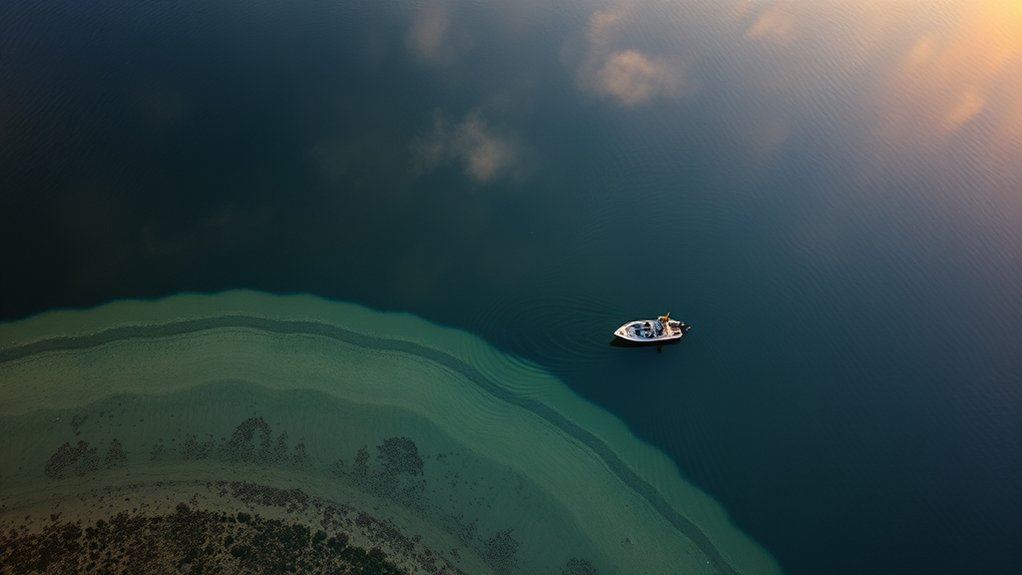
Once you find a productive breakline, match the presentation to the depth where fish or forage are actually positioned. If fish are close to the bottom, keep the bait near that layer. If they suspend above the break, running underneath them may be less effective than keeping the lure at their level.
Use sonar, catches, line angle, lure dive characteristics, and bottom contact to estimate where your bait is traveling. Your target species and local regulations should determine which lure, bait, or rig you use.
Light can influence positioning, but it is only one factor. Fish may move shallower, deeper, tighter to cover, or into open water depending on species, forage, temperature, oxygen, clarity, wind, current, and fishing pressure.
- For shallow breaks, choose a presentation that can follow the edge without constantly digging far below it.
- For mid-depth breaks, use a lure or rig that lets you maintain repeatable depth and contact with the key zone.
- For deeper breaks, favor presentations you can control accurately at depth and monitor carefully for bottom or suspended fish.
Change one variable at a time—depth, speed, angle, lure size, or presentation—so a bite teaches you something repeatable.
Areas to Avoid and How to Assess Low-Potential Water
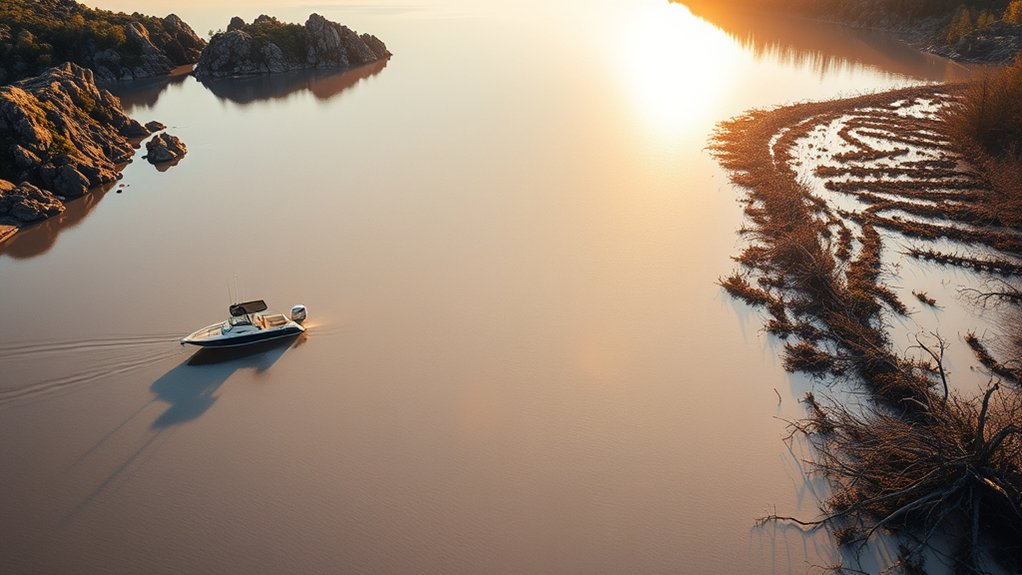
For a structure-focused search, lower the priority of areas that show uniform depth, little bottom change, no useful cover, and no visible forage or fish activity.
A dramatic drop is not automatically productive. If repeated passes show no bait, fish, cover, hard-bottom change, current interaction, or other useful clue, move to another feature and compare.
Likewise, a large uniform weedbed may be less efficient to search than its irregular edges, holes, points, inside turns, or places where the vegetation meets a depth change.
This is a prioritization method, not a rule that open or uniform water cannot hold fish. Suspended and pelagic species may relate primarily to forage, temperature, current, or open-water conditions instead of obvious bottom structure.
Use the clues relevant to your target species and keep a record of areas that repeatedly show life even when the bottom looks simple.
Warning: Do not stare at electronics while running at speed. Slow down before reading sonar, checking maps, or saving waypoints, especially near shallow humps, timber, rocks, docks, or boat traffic. Do not anchor in marked navigation channels, and follow local boating and navigation rules.
Translating Maps Into Practical Trolling, Casting, and Anchoring Plans
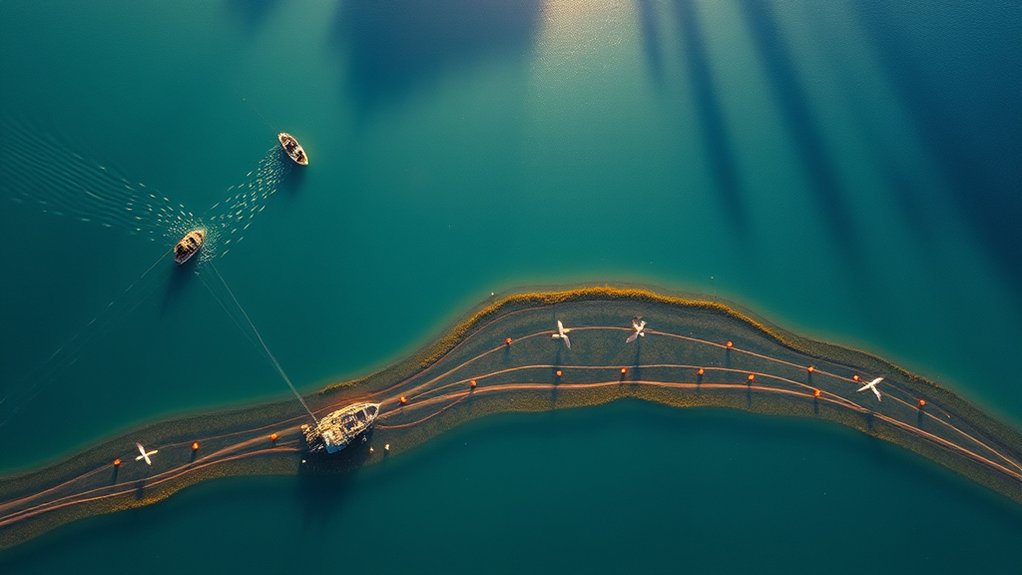
Once you know the shape of a feature, use it to control boat position and presentation. The goal is to keep your bait in the useful zone longer instead of repeatedly crossing it at random.
For casting, mark precise targets such as the crown of a hump, a turn in a channel edge, an isolated rock patch, a saddle, a weed point, or the steepest side of a point.
For trolling, build routes that follow a useful contour or repeatedly cross a known transition. For a full explanation of the technique itself, see what trolling is and how it works.
Depth-Specific Trolling Routes
Mark the productive breakline and run parallel to it when that keeps your lure in the target depth. If fish are concentrated at one small turn or end of the structure, shorten the route instead of trolling the entire contour.
- Match lure depth, weight, line length, and speed to the target depth.
- Repeat the exact depth and route after a strike before making large changes.
- If bait is present but bites are absent, change one variable at a time—speed, lure size, depth, direction, or presentation.
Record the combination that produces fish so you can reproduce it on a similar feature.
Precise Casting Targets
Use contour lines to choose where the cast should travel, not simply where it should land. A cast that follows an edge may keep the lure in the target depth longer than a cast that crosses the contour at a right angle.
Position the boat or yourself so your presentation reaches the crown, break, cover, or depth band you actually intend to fish.
If one angle produces a bite, repeat it before moving. Current, wind, sunlight, cover orientation, and forage movement can make one side of the same structure more active than another.
Anchor-Positioning for Structure
If anchoring is safe and legal, hold the boat far enough from the target that you can work the useful depth without sitting directly on top of the fish or drifting across the structure.
On a bar or point, a position slightly deeper than the target may let you work from the shallower section toward the break. In current, account for swing, anchor scope, hazards, and other boat traffic.
Never anchor in a marked navigation channel. Where anchoring is unsuitable, use controlled drifting, a trolling motor, or another safe method of holding position.
- Identify the exact section of structure you want to cover.
- Position safely so the cast or drift crosses that section at the intended depth.
- Change angle only after giving the productive-looking zone a fair test.
Using Sonar to Confirm Structure and Fish
A contour map tells you where a feature is expected to be. Sonar helps determine what is actually beneath or beside the boat.
Traditional 2D sonar is useful for depth, bottom returns, bait, and fish targets. Down-looking imaging can provide a more detailed picture of structure, vegetation, and fish directly beneath the boat. Side-looking imaging can search a wider area to either side, making it useful for finding isolated rock, timber, brush, edges, and other features without driving directly over every target.
That general division matches current manufacturer guidance. Lowrance’s sonar guide describes DownScan for viewing fish and underwater structure beneath the boat and SideScan for searching larger areas, while Humminbird’s Down Imaging guide describes high-frequency imaging of structure, vegetation, and fish.
Idle or move slowly enough for your equipment to produce a useful picture. Cross the feature from more than one direction and compare the mapped contour with the actual bottom, cover, bait, and fish marks.
Do not treat every fish mark as an active target. The strongest pattern appears when the map, sonar or direct observation, forage, and actual bites point to the same part of the structure.
How to Find Underwater Structure Without a Boat or Fish Finder
You can still identify useful structure from shore. Start with a contour or bathymetric map and look for places where points, channels, drop-offs, creek mouths, narrows, or deeper water come within casting range.
Next, read the visible shoreline. A point extending into the lake, a steep bluff, riprap, a bridge, a creek mouth, an outside bend, exposed rock, or a change in bank composition may continue beneath the surface. Satellite imagery can help identify shoreline shape and visible shallow features, but it does not replace an underwater depth chart.
Once you arrive, fan-cast at different angles and note how long a weighted lure or sinker takes to reach bottom, where it begins contacting rock or vegetation, and where the bottom suddenly rises or falls. A castable sonar or an underwater drone for fishing can add depth and bottom detail, but both are optional.
Save the landmarks or GPS positions associated with useful depth changes and bites. Even without a boat, repeated observations can turn an unknown bank into a practical structure map.
Seasonal Structure Patterns to Watch
Structure changes in value throughout the year, but no single seasonal pattern fits every species or waterbody. Use these patterns as starting points, then adjust for local water temperature, dissolved oxygen, spawning stage, forage, current, clarity, weather, and water level.
In spring, many freshwater species move toward spawning or warming areas. Protected flats, bays, points, creek arms, ditches, and nearby first breaks can become useful staging locations.
During summer, some fish use deeper weed edges, offshore humps, main-lake points, channels, shade, current, or other areas that offer suitable temperature and oxygen. Others remain shallow where cover and forage remain favorable.
In fall, follow the forage rather than assuming a fixed depth. Creek arms, wind-affected points, channel swings, flats, and nearby breaks may become useful when bait concentrates there.
During cold-water periods, some fish become more concentrated around stable depth, channels, basin edges, steep breaks, or vertical structure, while others remain shallower. Slow presentations can be useful for less-active fish, but species and local conditions should control the decision.
Common Mistakes When Fishing Underwater Structure
The first mistake is fishing a feature only because it looks attractive on a map. A point, hump, or ledge still needs a current reason for fish to use it.
The second is scanning or fishing only one angle. A small hard spot or piece of cover may disappear from the sonar view when approached from the wrong direction.
The third is ignoring boat position and lure path. A lure can cross the best section too quickly even when the cast appears accurate.
The fourth is saving vague waypoints. Mark the exact useful edge, turn, piece of cover, bait school, or bite instead of the center of a large feature.
The fifth is treating mapped depth as permanent. Reservoir drawdown, changing lake levels, sediment, vegetation, and map quality can shift the relationship between the chart and the water you are fishing.
Frequently Asked Questions
How do you find structure for fishing?
Use a contour or bathymetric map to locate points, humps, saddles, channels, ridges, ledges, and other depth changes. Mark the best transitions, then verify their depth, bottom type, cover, bait, and fish activity with sonar or direct observation before spending much time there.
What do close contour lines mean on a fishing map?
Closely spaced contour lines indicate that depth changes quickly over a short horizontal distance, so the bottom is relatively steep. Widely spaced lines indicate a gentler slope or flatter bottom.
How do you find underwater humps on a lake map?
Look for closed contour lines surrounded by deeper water, with the labeled depths becoming shallower toward the center. Mark the crown, steepest side, surrounding break, nearby saddle, and any connection to a point or channel, then verify the feature on the water.
Can you find underwater structure without a boat or fish finder?
Yes. Use contour maps to find accessible points, drop-offs, channels, creek mouths, narrows, and deeper water near shore. Combine the map with visible shoreline shape, satellite imagery, repeated fan-casting, bottom-contact clues, GPS marks, and an optional castable sonar.
Are fishing contour maps accurate?
They are useful planning tools, but accuracy varies with the survey, contour interval, mapping source, water-level changes, sediment, vegetation, and user-generated data. Treat mapped depth as a starting point and verify important features with current water-level information, sonar, or direct observation.
How do you use Google Maps to find fishing spots?
Use satellite imagery to scout shoreline points, creek mouths, bridges, riprap, docks, visible vegetation, access areas, and other surface clues. Satellite imagery is useful for shoreline context, but use a contour or bathymetric map when you need reliable underwater depth information.
What is the difference between structure and cover?
Structure is the shape of the bottom, including points, humps, channels, ridges, ledges, and drop-offs. Cover includes objects or vegetation associated with the bottom, such as weeds, brush, timber, docks, and similar fish-holding objects. Many productive spots combine structure and cover.
Conclusion
Finding underwater structure becomes much easier when you follow the same order every trip: study the map, recognize the contour pattern, verify the feature, mark the exact useful part, fish it from more than one angle, and record what produces.
Do not chase every dramatic contour. Prioritize places where the feature also has forage, cover, current, wind, a bottom transition, or access to another useful depth zone. Treat mapped depths as estimates until current conditions confirm them.
Over time, your own waypoints and catch notes become more valuable than a map full of generic spots because they show exactly which parts of a structure produced under specific conditions.