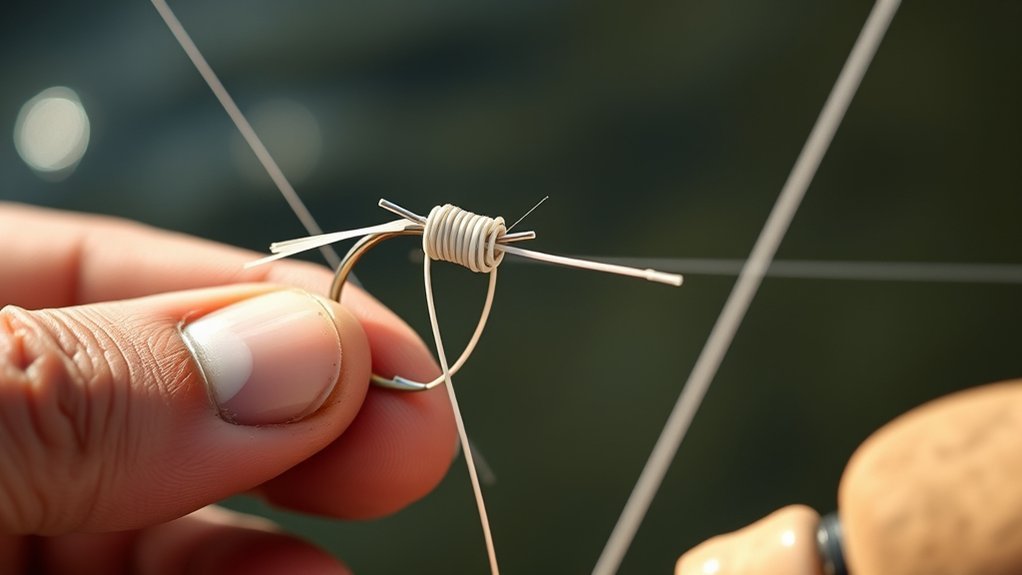
A Snell Knot secures the line or leader around the hook shank instead of relying only on a knot tied at the eye. That in-line pull is why anglers use it for live or cut bait, many circle-hook rigs, straight-shank flipping hooks, and tandem leaders. This guide uses a uni-style Snell: thread the line from the hook-point side, make 5 to 7 clean wraps for a standard setup, moisten the line, cinch slowly, and pull-test the finished knot before fishing.
Last updated: September 21, 2026 — tying method, wrap guidance, hook orientation, troubleshooting, and schema reviewed.
Quick Answer
For the uni-style Snell shown here, pass the line through the hook eye from the hook-point side, form a loop along the shank, and make about 5 to 7 neat wraps for a standard setup. Pass the tag end through the loop, moisten the line, then tighten slowly while keeping the coils side by side. The exact wrap count can vary with line diameter, hook design, and material, so inspect and pull-test the knot before fishing.
Key Takeaways
- A Snell Knot grips the hook shank and keeps the leader’s pull closely aligned with the hook.
- It is especially useful with bait rigs, many circle hooks, straight-shank flipping hooks, tandem rigs, and applications where controlled hook orientation matters.
- For the uni-style method in this guide, 5 to 7 wraps is a practical starting range; heavier, thinner, or slicker line may require adjustment.
- Clean wraps, correct hook-eye orientation, slow tightening, and a firm pull test matter more than simply adding extra turns.
- A Snell is not automatically stronger than every eye-tied knot; choose it primarily when its shank-aligned pull suits your hook and fishing method.
At a Glance
| Method Shown | Uni-style Snell |
| Time Required | About 1 to 3 minutes once practiced |
| Difficulty | Beginner to moderate |
| Tools Needed | Hook, leader or fishing line, scissors or line clippers, and water for moistening the knot |
| Best Uses | Bait rigs, many circle hooks, straight-shank flipping hooks, tandem rigs, and applications where shank alignment matters |
What the Snell Knot Does and Why It Matters
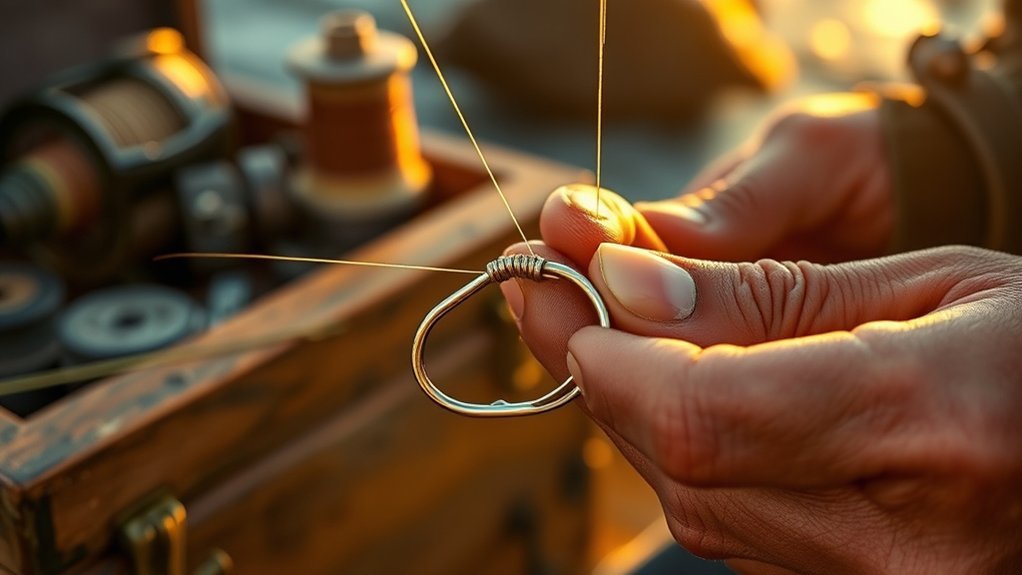
A Snell Knot differs from common terminal knots because the leader is secured around the hook shank rather than depending only on a compact knot at the eye. This keeps the direction of pull closely aligned with the shank and can help preserve the intended hook orientation.
Snelling also works with hooks that do not have a conventional eye, including spade-end or other eyeless designs. On modern eyed hooks, anglers commonly use Snells for bait fishing, circle-hook rigs, tandem rigs, and straight-shank flipping or punching hooks.
Outdoor Life’s Snell Knot guide emphasizes live and cut bait as core applications and shows how the shank-aligned connection differs from an ordinary eye knot.
There is not one universal Snell tying sequence. Traditional Snells, uni-style Snells, and other variations can route the tag end and wraps differently. The important rule is to follow one complete method rather than combining steps from separate versions.
A properly tied Snell should have neat, adjacent coils, no visible line damage, and no movement when you apply firm, steady pressure. Those checks are more useful than assuming every Snell is automatically stronger than every eye-tied knot.
When and Why to Use a Snell Knot
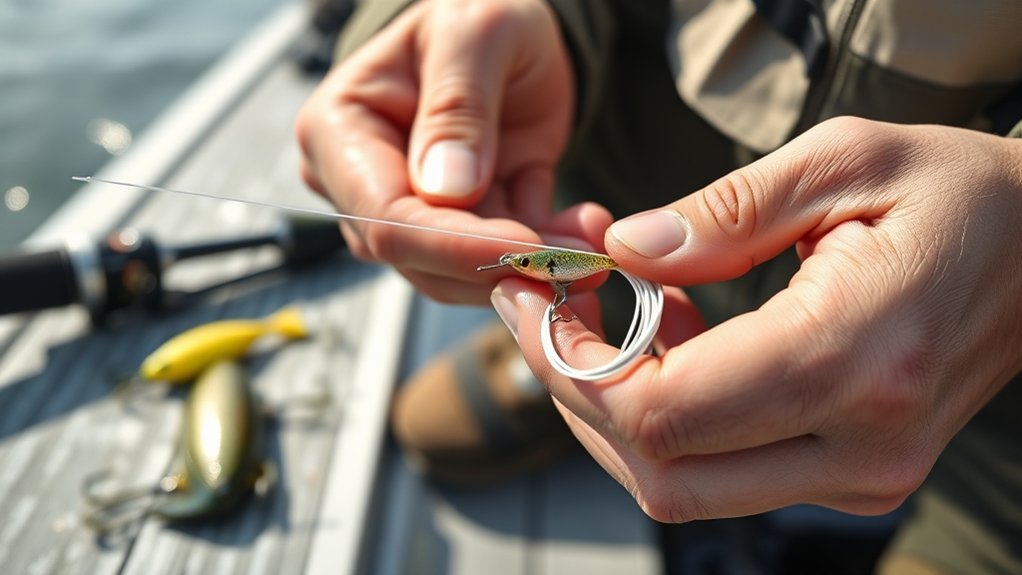
Use a Snell Knot when you want the leader’s pull closely aligned with the hook shank. Common applications include live or cut bait, many circle-hook rigs, tandem bait rigs, and straight-shank hooks used for flipping or punching heavy vegetation.
For circle hooks, orientation deserves extra attention. The uni-style method in this guide starts with the line entering the eye from the hook-point side. That detail is also emphasized in circle-hook Snell guidance from experienced saltwater anglers. Sport Fishing’s Snell guide discusses both orientation and the fact that several valid Snell methods exist.
- Use a Snell when a bait hook, circle hook, or straight-shank hook benefits from controlled alignment with the leader.
- Use a uni-style Snell on an appropriate closed-eye straight-shank hook for flipping or punching when you want the knot positioned along the shank rather than exposed directly at the eye.
- Use a Snell when building leaders or tandem rigs where keeping hooks aligned with the leader is useful.
A Snell is a specialized connection, not an automatic upgrade for every hook or lure. Choose it because its geometry fits the rig, not because of an unsupported assumption that it is always the strongest knot.
Note: A Snell is usually unnecessary for crankbaits, spoons, plugs, and other lures that are designed to move freely from an eye, split ring, snap, or loop-style connection. Use the terminal knot that matches the lure and line.
Snell Knot vs Eye-Tied Knots: Which Should You Use?
A Snell and an eye-tied knot solve different rigging problems. Use this comparison before choosing a connection.
| Connection | Where It Grips | Best Fit | Main Trade-Off |
|---|---|---|---|
| Snell Knot | Hook shank | Bait rigs, many circle hooks, straight-shank flipping hooks, tandem rigs | More orientation-sensitive and usually slower to tie |
| Palomar, Uni, or Improved Clinch | Hook or lure eye | General hook, swivel, and lure connections | Does not create the same shank-aligned connection |
| Loop-style knot | Eye with a free loop | Applications where extra lure or bait movement is wanted | Less rigid control of hook orientation |
If you are still learning terminal knots, the knot-tying practice guide covers several general-purpose alternatives that complement the Snell.
[Amazon Products Picked for You]

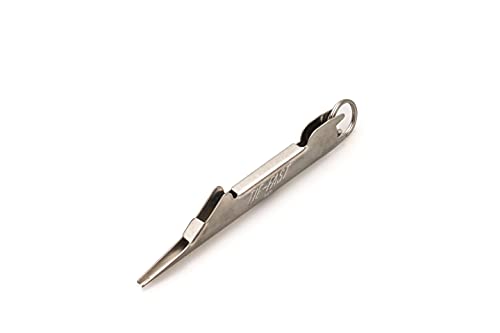
Suitable size. The length of the line tie hook is 3.94 inches and the weight is 10g. It is small and convenient, easy to carry, making it an ideal addition to your fishing tools or fly fishing gear.
Easy Fast Safe Sure

Serviceable to Use: our 2-in-1 fly fishing nail knot tool is made of quality stainless steel, with beautiful gold and smooth appearance, not easy to break or rust, not easy to corrode or deform, offering a long service time and providing you with a satisfying using experience
How to Tie a Uni-Style Snell Knot Step by Step
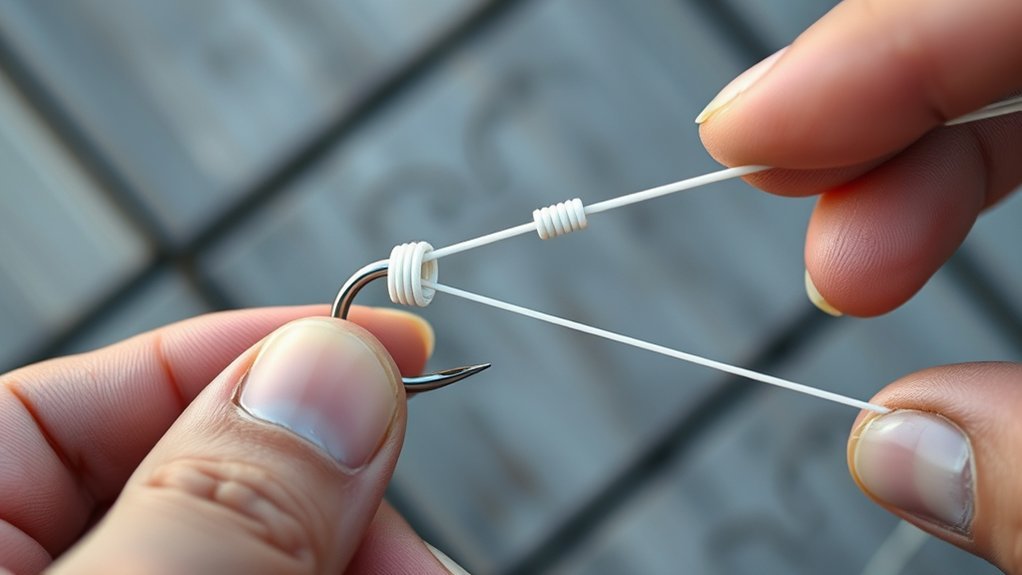
This tutorial uses a uni-style Snell similar to the version commonly used with straight-shank hooks. Other Snells use different line paths, so complete these steps as one method rather than mixing them with a traditional Snell.
Step 1: Thread the hook eye. Pass the tag end through the hook eye from the same side as the hook point. Leave enough tag line to form the loop and complete the wraps.
Step 2: Form the working loop. Run the tag end alongside the hook shank, then bend it back to create a large loop. Pinch the loop and line against the shank so they cannot move while you begin wrapping.
Step 3: Make the wraps. Wrap the tag end around the hook shank and the line lying against it. For a standard setup, start with about 5 to 7 neat wraps, working toward the hook eye. Keep every turn side by side instead of crossing or stacking the coils.
Step 4: Lock and seat the Snell. Feed the tag end through the loop. Moisten the line with water, hold the coils in position, and pull the standing line slowly so the loop closes and the wraps seat together near the eye. Snug the tag end, trim the excess, then pull-test the completed Snell with steady pressure.
Tackle Warehouse’s straight-shank Snell tutorial likewise emphasizes entering the hook eye from the front, keeping the wraps even, and adjusting wrap count to the line and application.
| Step | Action | Check Before Continuing |
|---|---|---|
| 1 | Pass line through the eye from the hook-point side | Working line lies correctly along the shank |
| 2 | Form and pinch a large loop | Loop stays open and controlled |
| 3 | Make about 5 to 7 adjacent wraps | No crossed or stacked coils |
| 4 | Pass tag through loop, moisten, cinch, trim, and test | Snell stays seated under steady pressure |
Pro Tip: Watch the coils while tightening. If one wrap jumps over another, the line kinks, or the knot starts to bunch unevenly, cut it off and retie instead of trying to force it into position.
Snell Knot Variations and Troubleshooting Tips
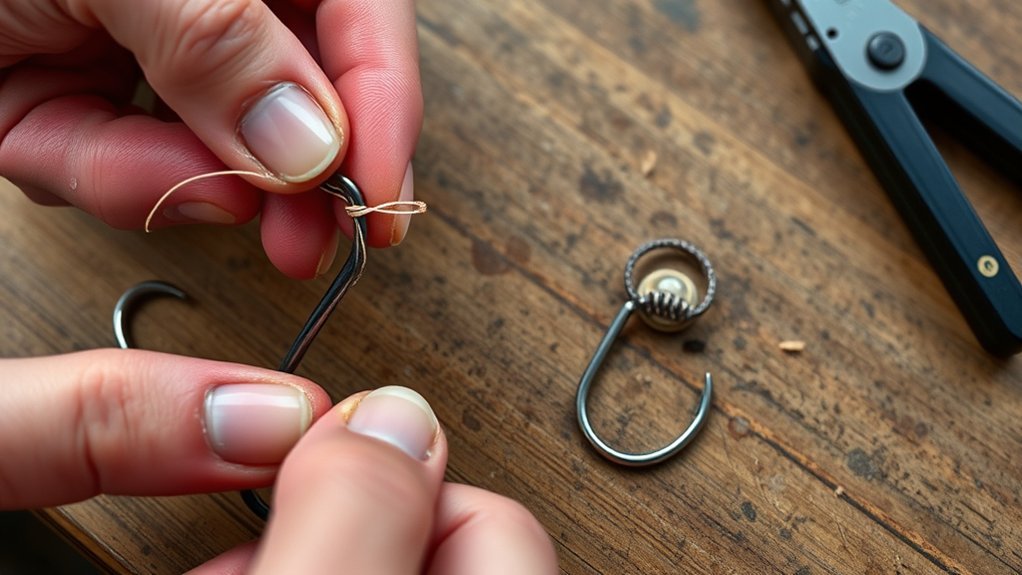
There are several valid ways to snell a hook. Common versions include the uni-style Snell, traditional Snell, Easy Snell, and double-hook or tandem Snell. They all secure the leader around the shank, but the exact line path and wrapping motion can differ.
The uni-style method is useful when its loop-and-wrap movement feels familiar. Traditional Snells are common on bait leaders, while tandem Snells let you position two hooks along one leader for longer baits or multi-hook presentations.
The most important troubleshooting rule is consistency: choose one method and follow its complete sequence. Do not take the eye direction from one tutorial, the wrapping direction from another, and the finishing step from a third.
- Check the wraps: Coils should sit beside one another without crossing, gaps, or loose turns.
- Check the hook eye: Inspect it for rough edges, an open gap, or damage that could cut or trap the leader. A properly closed eye is especially important with thin braid.
- Check the line path: Make sure the standing line leaves the finished Snell in the intended direction for the hook and tying method.
- Check for friction damage: A cloudy, kinked, curled, flattened, or visibly burned section of mono or fluorocarbon is a reason to retie.
- Pull-test the knot: Apply firm, steady pressure before fishing. Do not snap-test a bare hook toward your hands or face.
Practice the same version repeatedly until you can control the loop and coils without rushing. Consistent tying is more valuable than being able to name several Snell variations but mixing their steps.
Warning: Do not fish a Snell with crossed wraps, visible line damage, a rough hook eye, or a leader that slips during the pull test. Cut it off and retie.
Common Snell Knot Mistakes to Avoid
Most Snell problems come from tying errors rather than from the basic idea of the knot. A finished Snell can look compact while still having incorrect orientation, crossed coils, or damaged line.
Do not mix different Snell methods. Traditional and uni-style versions may form and finish their wraps differently. Follow one complete set of instructions from start to finish.
Do not stack wraps. Overlapping coils can create uneven pressure and make the finished knot harder to inspect. Guide each turn beside the previous one.
Do not cinch dry or too quickly. Moisten mono or fluorocarbon before the final tightening and use steady pressure so the coils can settle without unnecessary friction.
Do not assume more wraps always mean more security. Thick leader can become bulky with too many turns, while thin or slick line may benefit from additional wraps. Start with the method’s normal range and adjust only when the hook and line require it.
Do not ignore the hook eye. A sharp edge, incomplete closure, or burr can damage the leader even when the wrapping itself is correct.
Gear Choices and Practical Applications
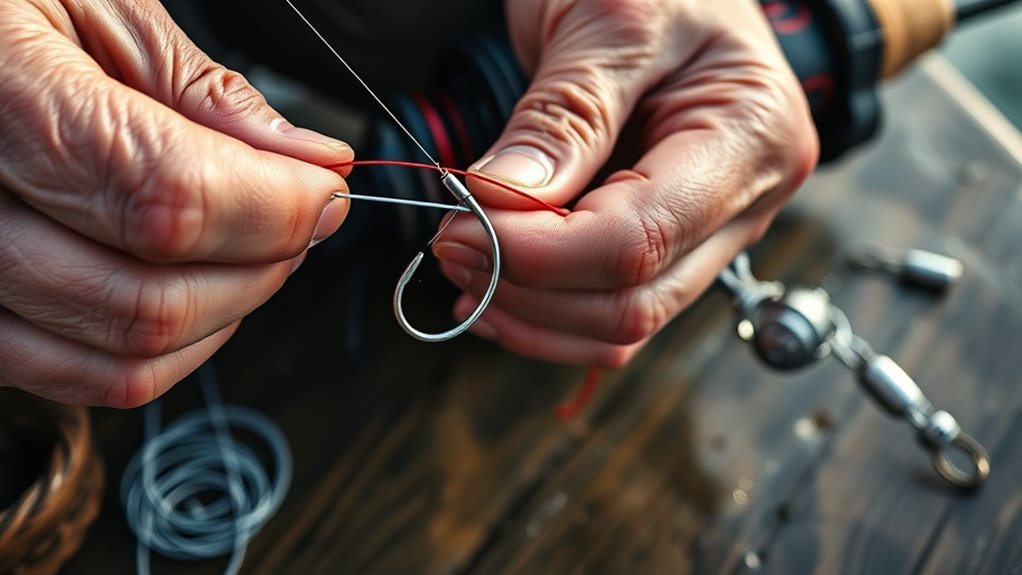
Match the hook and leader to the rig instead of choosing them only because you plan to tie a Snell. Straight-shank flipping hooks, bait hooks, octopus-style hooks, and many circle hooks can work well, but eye geometry and the manufacturer’s intended rigging still matter.
For bait leaders, monofilament and fluorocarbon are common choices because their stiffness and diameter can help the wraps sit predictably along the shank. Fluorocarbon should be moistened and cinched carefully because a poorly seated knot can kink or damage stiff leader material.
For flipping or punching heavy cover, braid is commonly paired with a heavy-duty straight-shank hook. Braid is thin and slick, so use a method and hook eye that hold it securely, keep the coils neat, and pull-test the knot before fishing.
In open-water or finesse situations, the Snell may not offer an advantage over a simpler eye knot. Match the connection to the bait’s movement, hook design, cover, line, and target species rather than using the same knot everywhere.
[Amazon Products Picked for You]

Hyper Carbon Steel Wire (HCS) is 25% stronger & 30% harder than other traditional High Carbon Steel wires

【Sharp and Durable】 FishTrip baitholder Worm hooks are made of high carbon steel, which have higher strength and better corrosion resistance. The fishing hooks have sharp points and two barbs, which can prevent worms from falling off while having strong penetrating power. Suitable for freshwater and saltwater

Dual Barbed: Equipped with a dual-barbed bait keeper, the flipping hook can prevent soft bait from sliding off the hook, and extend the life span of your soft plastics.
What Lines and Hooks Work Best With a Snell Knot?
The Snell works with monofilament, fluorocarbon, and braid, but each material behaves differently while the wraps are being formed and tightened.
| Line | Tying Behavior | Practical Guidance |
|---|---|---|
| Monofilament | Generally flexible and easy to seat | Moisten, tighten slowly, and inspect for flattened or damaged coils |
| Fluorocarbon | Often stiffer, especially in heavier leader sizes | Keep wraps clean and use controlled pressure to avoid kinks or friction damage |
| Braid | Thin and comparatively slick | A few additional wraps may be appropriate for the chosen method; use a suitable closed-eye hook and pull-test carefully |
If fluorocarbon is your main concern, the fluorocarbon fishing-knot guide explains additional knot-selection and cinching considerations.
For hooks, Snells are commonly used with bait hooks, straight-shank hooks, octopus-style hooks, and many circle hooks. Match hook size to the bait and presentation, and inspect both the hook eye and point before rigging.
[Amazon Products Picked for You]

√ Quick Safe Easy - Suitable for anglers of all ages and experience - Never lose a fish from a faulty knot! Ideal for cold weather conditions, numb or arthritic fingers to the hands. Great to any tackle box!

Everybody Can Tie Their Own Tackle Safely: Prevent fish hook injuries by covering the sharp barb on the fishing hook when tying fishing tackle. Great fishing gift for beginner anglers who are learning to tie their own tackle

Quick Knot Tying: This fishing line hook knot tying tool helps simplify hook and line connection, supports faster knotting for fishing hooks, and increases tension strength between hook and wire for more secure tackle setup
Frequently Asked Questions
How do you tie a Snell Knot step by step?
For the uni-style Snell in this guide, pass the line through the hook eye from the hook-point side, form a loop beside the shank, make about 5 to 7 neat wraps toward the eye, pass the tag end through the loop, moisten the line, and tighten slowly. Trim the tag and pull-test the finished knot.
What is a Snell Knot used for?
A Snell Knot is used when you want the leader secured around the hook shank and the pull closely aligned with that shank. Common applications include bait rigs, many circle hooks, straight-shank flipping hooks, and tandem leaders.
How many wraps should you use for a Snell Knot?
There is no single wrap count for every Snell variation and line. For the uni-style method shown here, 5 to 7 wraps is a practical starting range for a standard setup. Thicker leader may need fewer turns, while thin or slick line may require more. The finished wraps should seat cleanly and remain secure during a firm pull test.
Does the direction through the hook eye matter when tying a Snell?
Yes. For the uni-style method shown here, feed the line through the eye from the hook-point side so the finished pull follows the intended orientation. Hook designs vary, so follow any specific rigging instructions supplied for your hook.
How do you rig up a Snell rig?
Tie the hook to the leader with the appropriate Snell, trim and test the knot, then connect the leader to the rest of the rig through the main line, swivel, weight, or additional hook required by your presentation. Tandem rigs can place a second snelled hook farther along the same leader.
Is a Snell Knot stronger than a clinch knot?
Not in every combination of hook, line, and tying method. A Snell grips the shank while a clinch-style knot attaches at the eye, so they also behave differently under load. Choose a Snell when its shank alignment benefits the rig rather than assuming it will always have greater breaking strength.
Can you use a Snell Knot with fluorocarbon?
Yes. Keep the fluorocarbon wraps even, moisten them before the final cinch, and tighten slowly. If the leader becomes kinked, cloudy, flattened, or visibly damaged while tightening, cut it off and retie.
Can you tie a Snell Knot with braided line?
Yes, some Snell methods are commonly used with braid, particularly on heavy-cover straight-shank hooks. Because braid is thin and slick, the method may require additional wraps and a properly closed hook eye. Always pull-test the completed connection before fishing.
Conclusion
A Snell Knot is most useful when you want a hook connection that grips the shank and keeps the leader’s pull closely aligned with it. It is a strong practical option for many bait rigs, circle-hook setups, straight-shank flipping hooks, and tandem leaders, but it is not the right connection for every lure or hook.
For the uni-style Snell in this guide, start with about 5 to 7 clean wraps, enter the hook eye from the intended side, moisten the line, tighten slowly, and inspect every coil. Practice on the same hook-and-line combination you actually fish, then use a steady pull test before casting. If the knot slips, crosses, kinks the leader, or looks damaged, retie it.