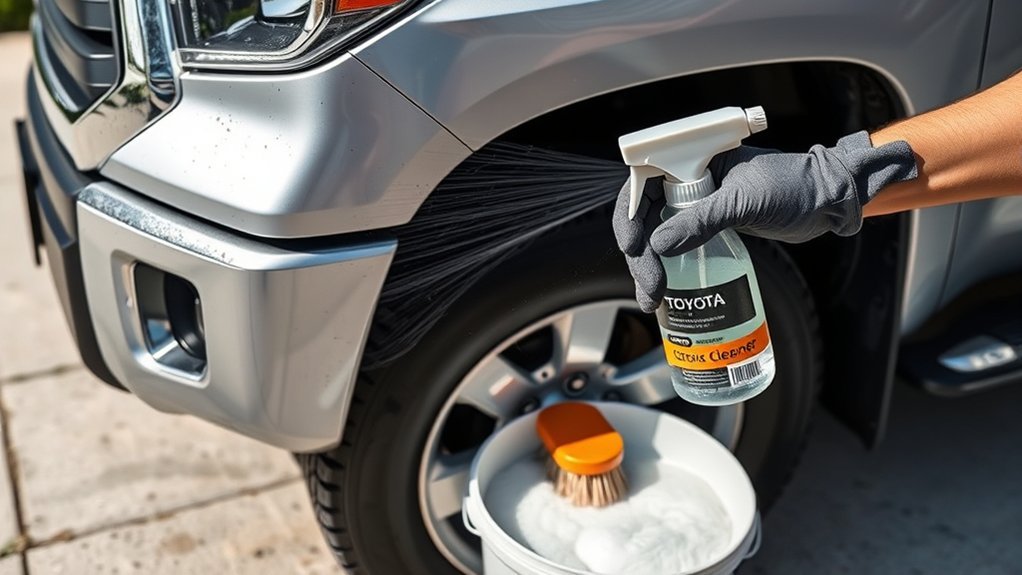
Road tar and dried bugs can cling tightly to your Toyota Tundra, especially around the front bumper, grille, mirrors, rocker panels, wheel arches, and lower doors. You can remove them without aggressively scrubbing the clear coat, but you need the right product, a cool surface, clean microfiber towels, and enough time for the contamination to soften.
Last updated: July 12, 2026
Quick Answer
To remove road tar and bugs safely, wash the area first, work on cool paint, and use a consumer-labeled automotive bug-and-tar remover with clean microfiber towels. Let the product work only as directed, never let it dry, wash away the residue, and restore wax or sealant afterward.
Key Takeaways
- Start with a consumer automotive bug-and-tar remover rather than an untested household solvent.
- Wash off loose grit before touching the paint, then use light pressure and a clean microfiber towel.
- Never let a remover dry on the surface, and follow its exact label directions for dwell time.
- Patch-test WD-40 before limited use because it may soften wax coatings and can damage some clear plastics.
- Reapply paint protection after cleaning if the remover weakens or strips the existing wax or sealant.
At a Glance
| Time Required | About 20–45 minutes, depending on buildup |
| Difficulty | Easy, with careful product selection |
| Tools Needed | Car-wash supplies, automotive bug-and-tar remover, microfiber towels, gloves, and paint protection |
| Cost | Usually low; it depends on the remover and protection products you already own |
Warning: Do not use gasoline, paint thinner, acetone, strong degreasers, abrasive pads, razor blades, or household scouring products on automotive paint. Keep aerosol products away from cigarettes, sparks, flames, hot surfaces, and electrical work. Use them outdoors or with strong ventilation.
Understanding the Impact of Road Tar on Your Toyota Tundra
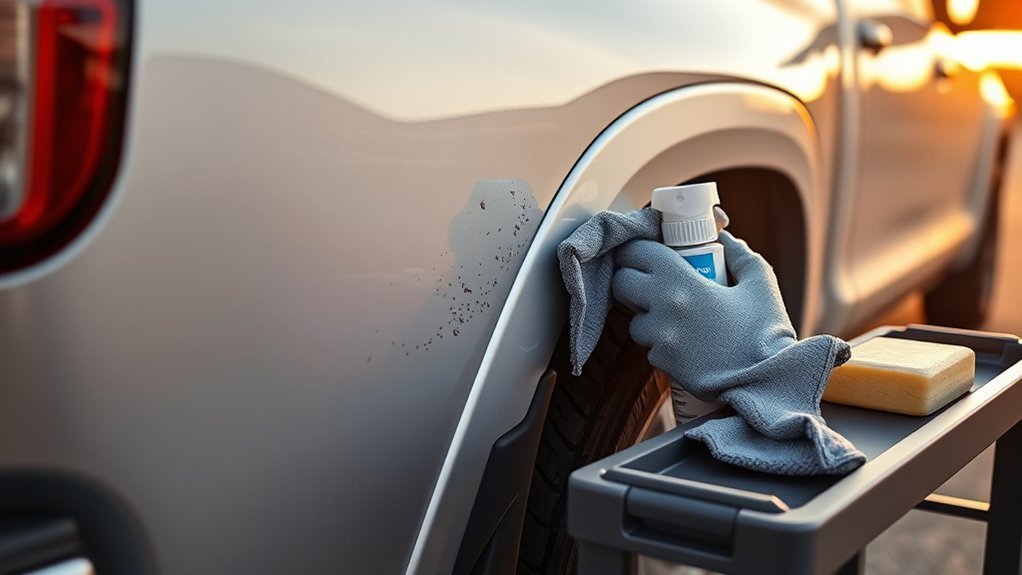
Road tar is an oily asphalt residue that can splash onto your Tundra when you drive through construction zones, recently treated roads, or softened pavement. You will usually see it as small black or brown dots on lower body panels, behind the wheels, and near the rocker panels.
Fresh tar may wipe away after the correct cleaner softens it. Older deposits can become harder and may collect dust and grit. The greatest paint risk often comes from scraping or repeatedly rubbing that grit across the clear coat rather than from the spot alone.
Bug residue behaves differently. It contains organic material that can dry firmly onto the bumper, hood edge, mirrors, windshield, grille, and headlights. You should soften the residue before wiping so you do not grind dried particles over the finish.
Note: Before applying any chemical, identify the surface. Gloss paint, matte paint, vinyl wraps, paint-protection film, chrome, unpainted plastic, and clear headlight lenses may require different products. Check the cleaner label and your model-year Toyota owner’s manual.
Essential Supplies for Tar and Bug Removal
Gather your supplies before you begin so the cleaner does not remain on the surface while you search for another towel or rinse source.
- pH-balanced automotive wash soap: Use it to remove loose dirt before spot treatment and to wash away cleaner residue afterward.
- Consumer automotive bug-and-tar remover: Choose a product labeled for the exact exterior surface you plan to clean.
- Several clean microfiber towels: Use separate towels for washing, removal, and final drying.
- Microfiber wash mitt or soft automotive sponge: Avoid household scrubbers and stiff brushes on paint.
- Water supply: Keep clean rinse water available throughout the job.
- Nitrile or chemical-resistant gloves: Wear them when the product label or safety sheet recommends skin protection.
- Wax, sealant, or compatible maintenance spray: Use it after cleaning if the treatment weakens the existing protection.
Avoid using one dirty towel for every panel. Tar can transfer to the towel and smear onto clean paint. Fold each microfiber towel into sections and switch to a clean side as soon as you see dark residue.
[Amazon Products Picked for You]

SO EASY TO GET RESULTS (CWS_104_16SW) - Add this car wash bug remover to a wash bucket or foam cannon for maximum coverage; rinse easily without streaking or residue

Cleans bugs, tar and bird droppings

Cleans And Removed Bug, Tar/Asphalt, Bird Droppings, Tree Sap, Brake Dust, Gum, Sling and Stickers
Comprehensive Guide to Effective Tar Removal Methods
The safest method is usually the least aggressive product that is clearly labeled for your Tundra’s surface. The following comparison places the options in a practical order.
| Method | Best Use | Important Cautions |
|---|---|---|
| Consumer automotive bug-and-tar remover | Preferred first choice for tar, road film, and bug residue on approved surfaces | Follow the exact label, patch-test, and never allow it to dry |
| Water-based bug remover | Organic bug residue on paint, glass, grilles, and approved plastics | Some formulas can weaken wax or sealant; restrictions may apply to wraps |
| WD-40 Multi-Use Product | Limited fallback spot treatment on patch-tested, cured gloss paint | May soften wax coatings; avoid clear plastic lenses, matte finishes, wraps, and unapproved surfaces |
| Household solvents and food products | Not recommended as a routine automotive method | Compatibility and residue are unpredictable, and stronger solvents may damage the finish |
[Amazon Products Picked for You]

POWERFUL PRE WASH (CLDSPRAY101): Fast acting aerosol breaks down stuck-on bug splatter, tree sap, and tar residue on bumpers and mirrors so your wash mitt glides with less scrubbing.

Bug Remover for Cleaning the Bug and Insects off your Cars.

FAST ACTING TAR AND SAP REMOVAL: Breaks down tar, tree sap, and asphalt residue in 30 to 60 seconds; spray on, allow to penetrate, and wipe clean without aggressive scrubbing
Safe Standard Tar-Removal Process
- Park in shade and let the panel cool. Do not apply cleaner to hot paint.
- Rinse and wash the area. Remove sand, dust, and loose road film before touching the tar spots.
- Dry the panel. This makes the remaining contamination easier to identify.
- Patch-test the remover. Use a hidden area and inspect it for staining, hazing, swelling, or gloss changes.
- Apply the product as directed. Treat only a manageable section and use the label’s dwell time.
- Wipe with light pressure. Use a clean microfiber section and turn the towel as it collects residue.
- Repeat instead of scrubbing. A second controlled application is safer than forceful rubbing.
- Wash and rinse the panel again. Remove dissolved tar and chemical residue.
- Inspect and protect. Dry the area, check it under good lighting, and renew wax or sealant if needed.
Pro Tip: Work from the clean upper sections toward the dirtier lower panels. Keep towels used around wheel arches and rocker panels separate from towels used on the hood or doors.
Step-by-Step Guide to Using WD-40® for Tar Removal
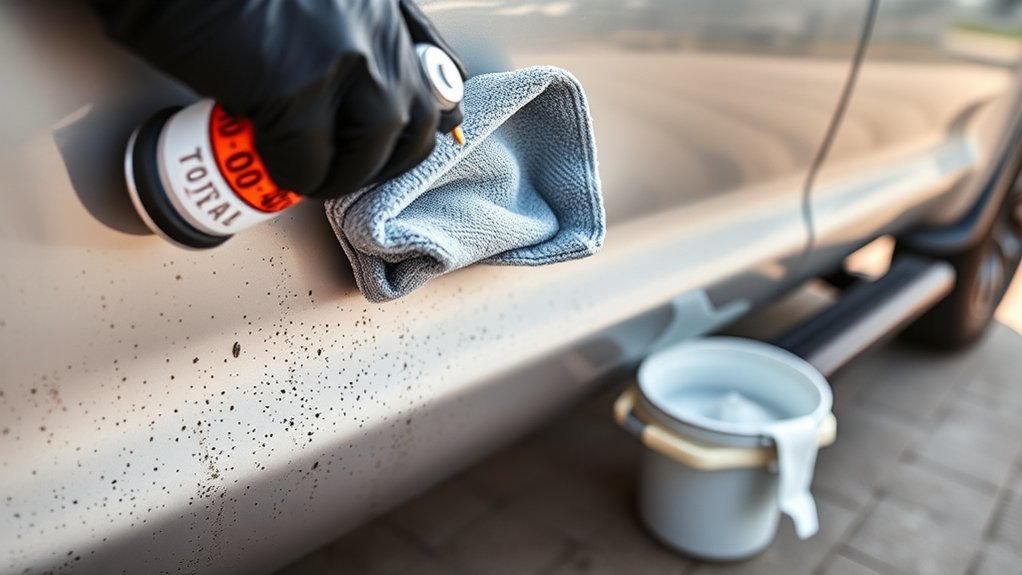
A consumer-labeled automotive tar remover should be your first choice. WD-40 Multi-Use Product is not a dedicated automotive paint-care product, but some owners use a small amount as a fallback for isolated oily residue. Its technical data sheet says wax polishes and some wax coatings may soften, and it advises testing surfaces first.
[Amazon Products Picked for You]

Fast-Acting Bug & Tar Removal: Quickly neutralizes acidic bug splatter and bird droppings on contact while breaking down tar, sap and road grime

Heavy-Duty Cleaning Power: Quickly softens and breaks down stubborn road tar, tree sap, bird droppings, adhesive residue, road grime, and other tough contaminants for easier removal

Removes - Bumper stickers, gum, bird droppings, tree sap, spray paint, brake dust and asphalt, parking violation stickers and more!
Proper Application Techniques
- Confirm that you are treating cured, glossy automotive paint rather than a wrap, matte finish, plastic lens, or freshly repaired panel.
- Move the Tundra outdoors or into a highly ventilated work area away from every ignition source.
- Wash, rinse, and dry the spot so grit is not trapped beneath your towel.
- Patch-test a tiny hidden area and allow enough time to check for a finish change.
- Apply a small amount to a microfiber towel rather than flooding the entire panel with overspray.
- Gently dab or wipe the tar spot. Allow only enough contact time for the residue to soften, and do not leave the product soaking for 10–30 minutes.
- Use a fresh section of towel to lift the residue. Repeat cautiously if needed instead of pressing harder.
- Immediately wash the treated area with automotive soap, rinse thoroughly, and dry it.
- Restore wax or sealant if water behavior or gloss suggests that the previous protection was weakened.
Safety Considerations While Cleaning
| Safety Measure | What to Do |
|---|---|
| Ventilation | Use the aerosol outdoors or in a well-ventilated area and avoid breathing the mist or vapor. |
| Fire prevention | Keep it away from smoking, flames, sparks, hot surfaces, pilot lights, and electrical work. |
| Skin and eye protection | Spray away from your face, avoid prolonged skin contact, and wear suitable gloves when contact is likely. |
| Surface protection | Patch-test first and keep the product away from unapproved plastics, wraps, matte finishes, and delicate coatings. |
| Storage | Protect the pressurized can from sunlight and heat, and keep it out of children’s reach. |
Review the current WD-40 Safety Data Sheet and the instructions printed on your exact can before use.
Best Practices for Gentle Bug Removal to Protect Paint
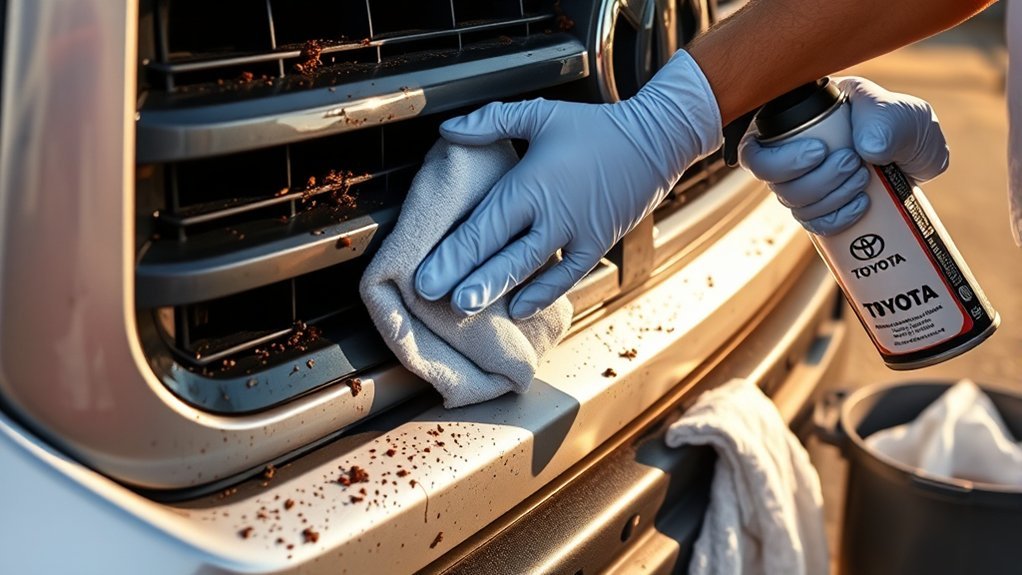
Bug residue should be softened before it is wiped. A water-based automotive bug remover is generally better suited to organic contamination than an oily tar solvent. Products differ, so confirm that the formula is approved for paint, glass, grilles, chrome, and plastic before using it across several materials.
- Work on a cool surface in the shade.
- Rinse the area to remove loose dust and grit.
- Wash the panel with automotive soap and rinse it.
- Apply the bug remover according to its label.
- Keep the product wet during its permitted dwell time and never let it dry.
- Gently wipe or wash the softened residue with clean microfiber.
- Rinse thoroughly and inspect the surface before repeating the treatment.
- Dry the area and restore protection if the cleaner has weakened the existing wax or sealant.
For a heavily dried spot, place a clean, product-dampened microfiber towel over the contamination briefly rather than scrubbing it. Remove the towel before the cleaner begins to dry, then wipe with light pressure.
Do not use a rough kitchen sponge, melamine foam, stiff brush, fingernail, razor blade, or dry towel on painted panels. These methods can leave scratches or dull patches even if they remove the bug residue.
Tips for Post-Treatment Care of Your Vehicle
After the contamination is gone, remove every trace of cleaner and inspect the finish. Solvent-based tar products and strong bug removers may reduce the performance of wax or sealant, even when they do not visibly damage the paint.
Regular Wax Application
Apply fresh wax, sealant, or a compatible maintenance product when the treated area no longer beads or sheds water like the surrounding paint. Follow the protection product’s instructions rather than using one fixed schedule for every vehicle.
A ceramic-coated Tundra may require a coating-compatible topper instead of conventional wax. Check the coating installer’s care instructions before applying another product over it.
Thorough Cleaning Routine
Wash the entire affected panel with pH-balanced automotive soap after spot treatment. This removes oily residue that could attract dust, smear during drying, or interfere with fresh paint protection.
Rinse around trim edges, emblems, panel gaps, door seams, and wheel-arch lips. Cleaner can collect in these areas and run onto the paint later.
Inspect for Damage
Dry the panel and inspect it from more than one angle under bright, indirect light. Look for:
- Remaining black or brown tar dots
- Bug outlines or discoloration
- Hazing or loss of gloss
- Fine scratches caused by earlier scrubbing
- Swelling, staining, or changes in plastic trim
- Weak water beading compared with nearby paint
If the contamination is gone but a visible outline remains, the issue may be staining, etching, or clear-coat damage rather than removable residue. Additional solvent may make the problem worse. Stop and have the finish evaluated before attempting polishing or paint correction.
How to Prevent Future Tar Buildup
You cannot prevent every tar spot or bug strike, but you can make cleanup easier by keeping the finish clean and protected.
- Wash soon after roadwork exposure: Inspect the lower doors, rocker panels, wheel arches, bumper, and tailgate after driving through construction areas.
- Remove bugs after long highway trips: Fresh residue usually requires less wiping than residue that has dried repeatedly in the sun.
- Maintain paint protection: Wax, sealant, coating, or paint-protection film can provide a sacrificial surface that is easier to clean.
- Use suitable mudflaps: They may reduce some material thrown from the tires onto lower panels, though they will not stop every tar spot.
- Keep quick-cleaning supplies available: Store clean microfiber towels and a surface-approved cleaner in your garage rather than leaving chemical aerosols inside a hot truck.
- Work on cool panels: Shade helps stop cleaning products from drying too quickly during removal.
Common Mistakes to Avoid in Tar Removal
- Wiping before washing: Loose grit can scratch the clear coat when dragged across the panel.
- Using one towel for the entire truck: A contaminated towel can spread tar and abrasive particles.
- Scrubbing harder when the product fails: Repeat a safe treatment or change to a suitable product instead.
- Using a universal dwell time: Follow the exact cleaner label because formulas differ.
- Letting cleaner dry: Work in small sections and rinse before drying begins.
- Assuming every exterior surface is the same: Paint, wraps, PPF, lenses, textured plastic, and matte finishes need different care.
- Applying household solvents without approval: Rubbing alcohol, mineral spirits, acetone, and similar products can affect coatings, trim, adhesives, or repaired paint.
- Skipping the final wash: Residue may smear, attract dirt, or interfere with paint protection.
- Waxing over contamination: Confirm that every spot is gone before sealing the surface.
When DIY Isn’t Enough: Considering Professional Help?
Stop the DIY process when repeated label-compliant treatments do not lift the contamination or when the surface begins to change. More pressure and stronger chemicals can turn a small cleaning problem into a repair.
| Situation | Recommended Help | Why |
|---|---|---|
| Large areas of heavy tar | Professional exterior decontamination | Reduces repeated rubbing and uncontrolled solvent use |
| Hazing, swirls, or scratches | Paint inspection and correction | The remaining defect may be in the clear coat rather than on it |
| Matte paint, wrap, or PPF | Installer or finish specialist | Ordinary polish and solvent methods may permanently change the appearance |
| Recently repainted panel | Body shop that completed the repair | Fresh paint may have special curing and product restrictions |
| Discolored or damaged plastic lens | Detailer, body shop, or replacement assessment | Additional solvent may worsen crazing, clouding, or staining |
Related Guides
Frequently Asked Questions
What will dissolve road tar without hurting automotive paint?
Use a consumer automotive bug-and-tar remover that specifically lists cured automotive paint as an approved surface. Patch-test it, follow its label, wipe with clean microfiber, and wash away all residue afterward.
Will WD-40 remove road tar?
It may soften some oily tar residue, but it is not the preferred first choice for paint care. Its technical data warns that it may soften wax coatings and affect certain clear plastics. Patch-test a small area, use the minimum amount, avoid extended soaking, and wash the panel immediately afterward.
What is the safest tar-removal technique?
Wash off loose grit, dry the panel, patch-test a paint-approved tar remover, and treat one small section at a time. Let the cleaner work for the label-specified period, wipe lightly with microfiber, repeat if needed, then wash and protect the area.
Will rubbing alcohol remove road tar?
Do not treat rubbing alcohol as a universal tar remover. Concentration and surface compatibility vary, and it may affect wax, coatings, trim, adhesives, wraps, or repaired paint. Use it only when the vehicle or finish manufacturer specifically approves it for that surface.
Can I use a clay bar on road tar?
Remove the bulk of the tar with a suitable chemical cleaner first. Pulling large sticky deposits across the paint with clay can spread contamination or cause marring. If bonded residue remains, use properly lubricated automotive clay only when its instructions permit it.
Can bug-and-tar remover strip wax or damage a coating?
Some formulas can weaken wax, sealant, or other non-permanent protection. Check the cleaner and coating instructions, use the least aggressive suitable product, and restore protection after cleaning when needed.
Conclusion
You can safely remove most road tar and bug residue from your Toyota Tundra by working on a cool, prewashed surface and using a cleaner approved for the exact finish. Give the product time to soften the contamination according to its label, but never let it dry or replace chemical action with aggressive scrubbing.
Use WD-40 only as a limited, patch-tested fallback on an appropriate surface, not as the default method. Finish by washing away all residue, inspecting the clear coat, and restoring any wax or sealant weakened during cleaning. Stop and seek professional help if you see hazing, etching, scratches, plastic damage, or a stain that no longer behaves like surface contamination.
Sources
- Toyota Manuals and Warranties — model-year owner’s manuals and Toyota-specific care guidance.
- Turtle Wax Bug & Tar Remover — manufacturer instructions covering washing, spot treatment, microfiber removal, and renewed protection.
- Adam’s Bug Remover — manufacturer guidance for cool-surface use, exterior compatibility, protection loss, and finish restrictions.
- WD-40 Multi-Use Product Technical Data Sheet — surface compatibility, wax-softening caution, plastic cautions, and patch-testing guidance.
- WD-40 Multi-Use Product Safety Data Sheet — flammability, ventilation, handling, skin, eye, and storage precautions.