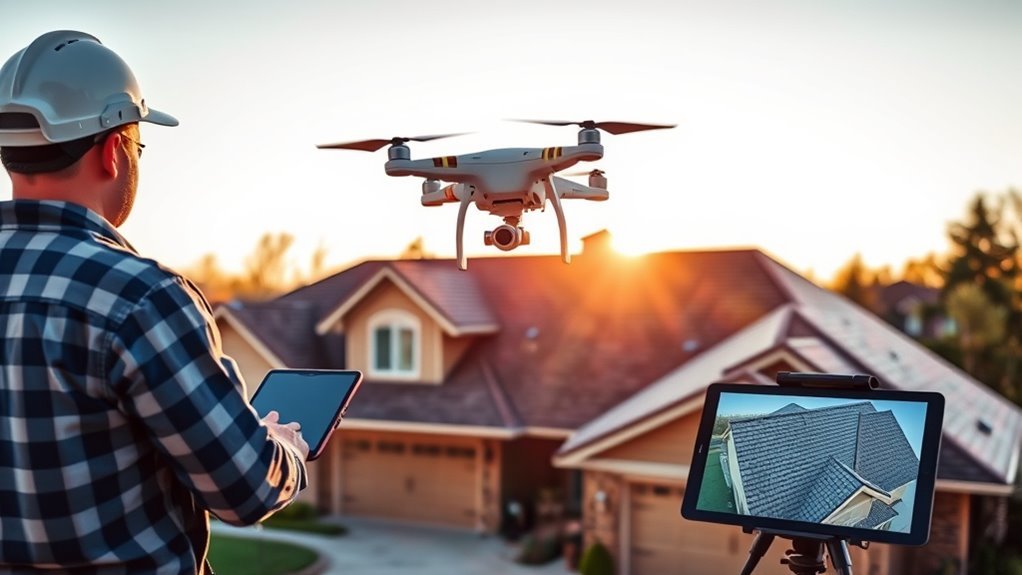
Measuring a roof with a drone depends on a controlled photogrammetry workflow. The process starts with flight planning, then image capture from multiple angles, followed by software processing that converts photos into measurable models and diagrams. Accuracy can be high when the inputs are disciplined and verified. Still, the method is only as reliable as the pilot’s setup, the camera data, and the checks applied afterward.
How Does Drone Roof Measurement Work?
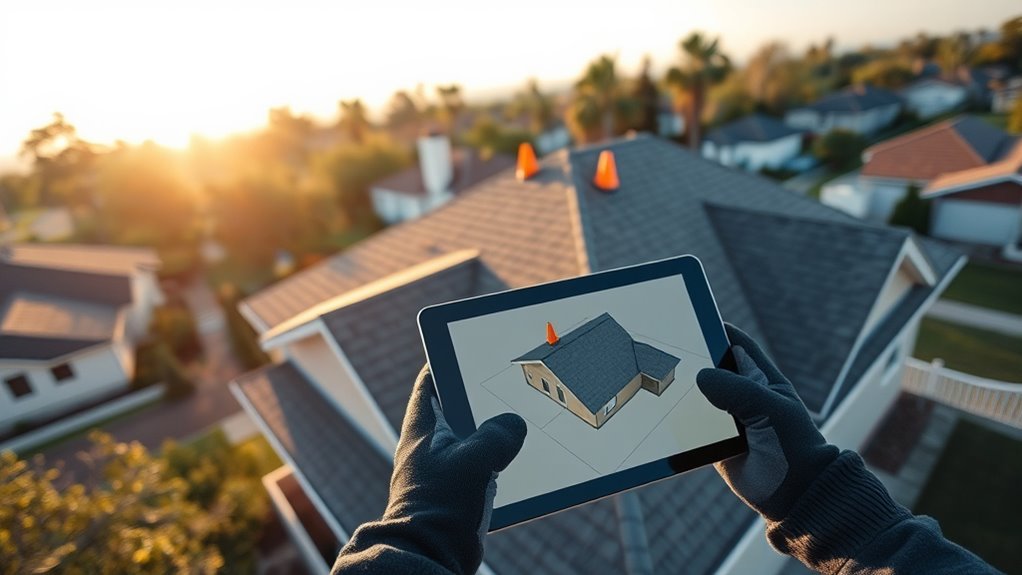
Drone roof measurement works through photogrammetry, in which a drone captures high-resolution images of a roof from multiple angles during an autonomous flight to generate accurate 2D and 3D models.
In drone roof measurements, aerial imagery is processed by software that aligns overlapping frames and extracts dimensions, slopes, and roof features. The workflow begins with flight planning, where the inspection area and capture parameters are defined to guarantee systematic coverage.
After flight, the images are uploaded for processing, producing accurate data suitable for assessment and documentation. Measurement accuracy can exceed 98% when advanced cameras and calibrated systems are used, supporting professional roofing evaluations and insurance claims.
Report generation follows automatically, reducing manual labor and limiting dependence on traditional methods that often require ladders, tape measures, and hours on site. This method shortens inspection time to roughly 30 to 60 minutes, allowing roofers greater operational freedom while maintaining technical precision and verifiable results.
Plan Your Drone Roof Flight
A thorough site and weather check is conducted before flight to identify obstacles and confirm clear, low-wind conditions.
A predefined flight path is then programmed to guarantee systematic roof coverage, with altitude, overlap, battery status, and camera settings selected for accurate image capture.
After launch, the collected imagery is reviewed to verify that all critical roof areas have been recorded before measurement processing begins.
Site And Weather Check
Before the flight begins, a full site assessment should identify hazards, obstacles, and access points around the roof so the inspection path can be planned safely and efficiently.
The operator then checks weather conditions to confirm calm, clear air; wind and precipitation reduce stability and image quality.
A disciplined drone flight planning review follows, using software to define the survey area and establish autonomous flight paths that support complete coverage.
- Confirm battery levels.
- Verify equipment functionality.
- Maintain FAA regulations, legal altitude, and visual line of sight.
- Record site constraints that may raise inspection costs.
This methodical gatekeeping reduces risk, protects workflow autonomy, and preserves usable data.
Flight Path Planning
Careful flight path planning establishes complete roof coverage by mapping the inspection area into a systematic grid that captures all surfaces, edges, and problem zones.
A disciplined flight path supports drone operations by defining flight boundaries in software such as DJI Pilot 2 or DroneDeploy, enabling automated flight with repeatable tracks.
Pre-flight assessments must verify weather, obstacles, and compliance with FAA regulations before launch. Altitude should generally remain between 150 and 400 feet to preserve image resolution while maintaining safe separation.
Systematic grid patterns reduce gaps, limit overlap errors, and improve measurement consistency.
During the mission, the operator should monitor battery status and signal strength continuously so data collection remains uninterrupted.
This method gives roofers clear, liberated access to accurate aerial documentation without unnecessary manual labor.
Battery And Camera Prep
Once the flight path is mapped, the next step is to prepare the drone’s battery and camera systems for consistent data capture. A fully charged battery should be installed, with at least one backup battery staged for extended drone inspections and delays.
The camera must be calibrated for high-resolution images, ideally 12 megapixels or more, to support accurate photogrammetry. The image capture angle should be set at 70-90 degrees to the roof surface to preserve systematic coverage along the flight path.
- Verify battery charge and backup capacity.
- Confirm memory card space during the pre-flight check.
- Set camera resolution and angle for image capture.
- Recheck settings before launch to avoid gaps.
Capture Clear Roof Photos
High-quality roof measurement begins with clear image capture, so the drone should be equipped with a high-resolution camera of at least 12 megapixels to preserve detail.
High-quality roof measurement starts with a high-resolution camera, ideally 12 megapixels or more, to preserve crucial detail.
For roof inspection, the camera must be set for sharp focus and proper exposure, because aerial data quality depends on clean, well-lit images.
A systematic flight path should be planned to provide full coverage of the roof surface with consistent overlap between frames, supporting reliable photogrammetry and reducing gaps in measurements.
Images should be taken from multiple angles and elevations to record ridges, valleys, dormers, and other complex forms that can otherwise limit precision.
When available, automated flight modes should be used to maintain uniform spacing, altitude, and timing across the mission.
This disciplined capture process gives roofers clearer aerial records and greater independence from guesswork, while preserving the visual data needed for accurate assessment.
Turn Drone Photos Into Roof Measurements
Drone photos are converted into measurements by first ensuring sufficient image overlap and consistent capture angles so photogrammetry software can reconstruct the roof accurately.
The software then stitches the imagery into a 2D or 3D model, preserving surface geometry for analysis.
From that model, it extracts measurable roof data such as dimensions, slopes, and area with high precision.
Capture Overlap And Angles
Accurate roof measurements depend on capturing images with sufficient overlap and consistent geometry, typically at least 70% front overlap and 60% side overlap, so photogrammetry software can build a reliable 3D model. Drones equipped with a high-resolution camera should fly automated flight paths to preserve systematic coverage and uniform angles.
- Maintain overlap across every pass.
- Hold oblique and nadir angles deliberately.
- Use at least 12-megapixel imagery for crisp detail.
- Cover all roof planes from multiple perspectives.
This disciplined capture method reduces distortion, supports photogrammetry, and enables precise 2D maps and 3D models after processing.
With controlled angles and overlap, roofers gain liberated access to measurements without physical climbing, while the data remains traceable, repeatable, and technically defensible.
Build Roof Models
With the image set collected from multiple roof angles, photogrammetry software stitches the overlapping photos into a detailed 3D model of the structure.
In a drone roof inspection, high-resolution photos are processed by advanced algorithms that identify shared points and reconstruct geometry with disciplined precision. The resulting model maps roof areas, slopes, ridges, and facets, producing roof measurements suitable for estimating and planning.
When capture quality is consistent, measurement accuracy can exceed 98%, giving roofers dependable data without climbing or manual probing. The 3D model also preserves visual documentation, allowing clients to review conditions and understand scope clearly.
Integrated reporting tools convert the model into organized deliverables that support transparent decisions and practical freedom from guesswork, delays, and exposure.
Extract Measureable Roof Data
Once the 3D roof model is built, photogrammetry software converts the stitched imagery into measurable data by calculating roof dimensions, slopes, and surface areas from overlapping high-resolution photos.
Accurate roof measurement depends on data analysis of at least 12-megapixel images collected during drone inspections. Automated flight paths improve consistency and reduce gaps, allowing each plane, ridge, and valley to be traced without constraint.
- Capture high-resolution images.
- Stitch photos into a 3D mesh.
- Extract dimensions with photogrammetry.
- Export measurable reports in DroneDeploy or Pix4D.
This workflow produces measurable reports with accuracy above 98%, giving roofers a faster, freer path from inspection to bid.
How to Read Roof Measurements and Diagrams
Roof diagrams from drone surveys present a structured view of total roof area, pitch, slope, ridges, hips, valleys, and penetrations, allowing each element to be evaluated against the corresponding measurements.
In photogrammetry workflows, roof measurements are read as measurements derived from drone data and mapped onto roof diagrams for accurate assessments. The reader must confirm scale and orientation before interpreting lengths, angles, and offsets, since even precise data loses value when the diagram is misread.
Standard symbols indicate ridges, hips, valleys, and openings, giving the report a consistent technical language. When these notations are understood, communication and clarity improve across crews, estimators, and clients.
Measurements obtained from drone data often reach over 98 percent accuracy, supporting reliable calculations for complex roofs. A methodical reading of the diagram enables skilled users to compare geometry, identify changes, and translate visual information into actionable field understanding without dependence on guesswork.
Verify Measurements Before Pricing the Job
Before pricing begins, drone photogrammetry should be used to capture high-resolution roof imagery and extract dimensional data for verification. In drone roof inspections, the operator must confirm that camera settings preserve edge detail, slope changes, and penetrations, because accurate measurements depend on image clarity.
Advanced software tools then convert the capture set into 2D and 3D models, allowing roof inspection jobs to be reviewed with geometric precision.
- Compare photogrammetry outputs with manual takeoffs or historical records.
- Identify variances in length, pitch, and feature count.
- Validate measurements against building codes and client specifications.
- Approve only measurements that remain within acceptable tolerance.
This method supports disciplined pricing the job by reducing estimate error and exposing hidden assumptions.
It also gives roofers a clearer basis for deciding scope without relying on uncertain field notes. When measurements are verified methodically, the process becomes more direct, more independent, and more aligned with practical job control.
Use Drone Measurements for Claims
Drone measurements provide a reliable basis for insurance claims because they can document roof dimensions with more than 98% accuracy while preserving a clear aerial record of storm damage.
In a photogrammetry workflow, drone inspections collect high-resolution aerial imagery that supports rapid post-storm assessment on commercial roofs. AI tools can then flag hail impact, lifted shingles, and related defects, helping adjusters focus on verified conditions instead of guesswork.
Drone inspections capture clear roof imagery fast, and AI flags hail damage, lifted shingles, and other verified defects.
The resulting measurement reports can be imported into Xactimate, aligning field data with estimate line items and reducing discrepancies during review. This process shortens claim cycles, limits repeated site visits, and gives property owners greater leverage through transparent evidence.
Because the roof dimensions are derived from controlled aerial capture, the documentation remains consistent, auditable, and fit for insurance claims. When damage is confirmed quickly, repairs can begin sooner, reducing secondary losses and restoring operational freedom after a storm.
Avoid Common Drone Roof Measurement Mistakes
Careful flight preparation reduces measurement error before data processing begins. In drone technology, a roof inspector should treat the measurement platform as a controlled system, not a replacement for manual methods. Before flight operations, calibration must be verified, and FAA Part compliance confirmed for commercial projects.
- Use high-resolution cameras, preferably 12 megapixels or greater, so photogrammetry can resolve edges, penetrations, and texture without ambiguity.
- Maintain consistent altitude and 70-80% image overlap to preserve stitching accuracy and uniform scale.
- Capture every slope, ridge, valley, and change; missing geometry weakens roof measurements and invites avoidable revisions.
- Review all imagery immediately after landing, because gaps, blur, or exposure errors are easiest to correct before processing.
Disciplined execution preserves a liberated workflow: fewer reshoots, cleaner data, and faster delivery.
Precise roof measurement depends on methodical collection, not assumptions.
Frequently Asked Questions
How to Measure a Roof With a Drone?
A roof is measured with a drone by using drone technology to capture overlapping aerial photography from planned passes, then applying software integration for photogrammetry and data analysis.
Flight planning should maximize coverage while honoring safety protocols and industry regulations.
The resulting model supports measurement accuracy for area, pitch, ridges, and valleys.
This method delivers precise reports, efficient estimating, and clear customer benefits, while reducing physical risk and increasing operational freedom.
How Much Does a Roof Drone Survey Cost?
A roof drone survey typically costs $100–$300 for residential jobs, while commercial work can exceed $500.
Like a calibrated compass, the price shifts with drone survey pricing, cost factors, equipment expenses, software fees, service rates, market comparisons, insurance costs, project size, and regional differences.
One insurer may treat a small bungalow as routine, while a warehouse demands greater precision.
Drone workflows often reduce labor time and increase operational freedom.
Do I Need a License to Fly a Drone for Roof Inspections?
Yes, commercial roof inspections typically require a license through the FAA Part 107 certification process.
Compliance with drone regulations, flight safety, and local laws is essential, alongside drone training, insurance requirements, and careful equipment maintenance.
A registered drone, proper aerial photography practices, and attention to privacy concerns support lawful operation.
After certification, renewal is needed every 24 months.
This framework preserves operational freedom while maintaining technical accountability and safe, independent aerial work.
What Is the Best Drone for Roof Measurements?
The DJI Phantom 4 RTK is the best drone for roof measurements, unsurprisingly the machine that makes precision look almost effortless.
Its drone specifications include centimeter-level positioning, strong flight stability, superior camera quality, and reliable battery life.
Payload capacity is sufficient for mapping workflows, while software compatibility remains broad.
Safety features, user reviews, and price comparison favor it over rivals; freedom from guesswork comes with automated accuracy and disciplined control.
Conclusion
In the final pass, the drone’s images settle into a crisp roof map, like a blueprint drawn from the sky. Photogrammetry turns scattered shingles, ridges, valleys, and hips into measured lines and verified dimensions. When the workflow is planned carefully and reviewed against standards, the result is a reliable estimate with minimal guesswork. For roofers, this method sharpens pricing, speeds inspections, and supports claims with data that is precise, repeatable, and defensible.
