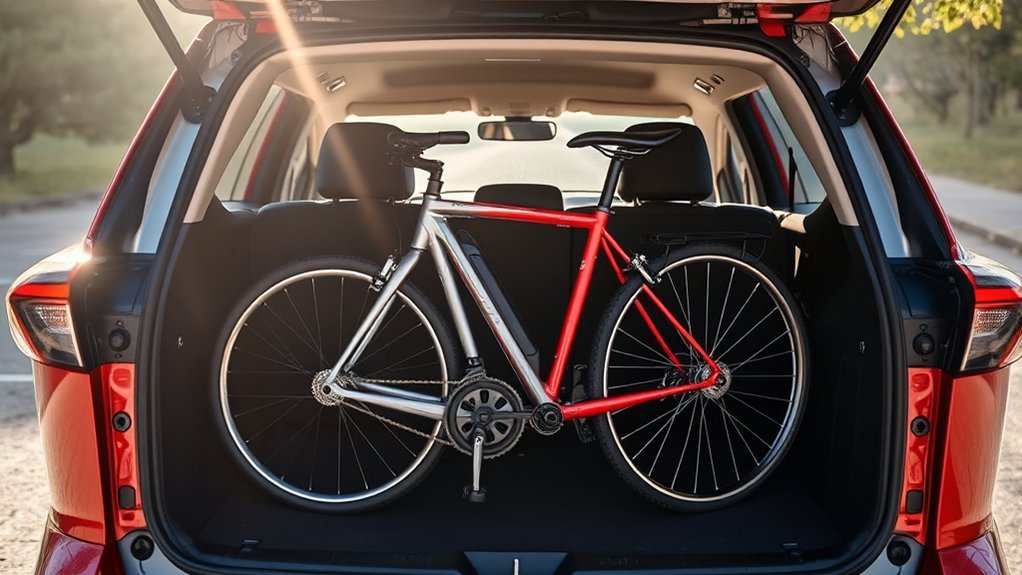
Two bikes can often fit inside a Toyota RAV4, but the result depends on the vehicle’s model year and each bike’s dimensions. Removing the front wheels and laying the bikes on their sides usually creates the most usable space. Measure first, protect delicate components, and secure every item before driving.
Quick Answer
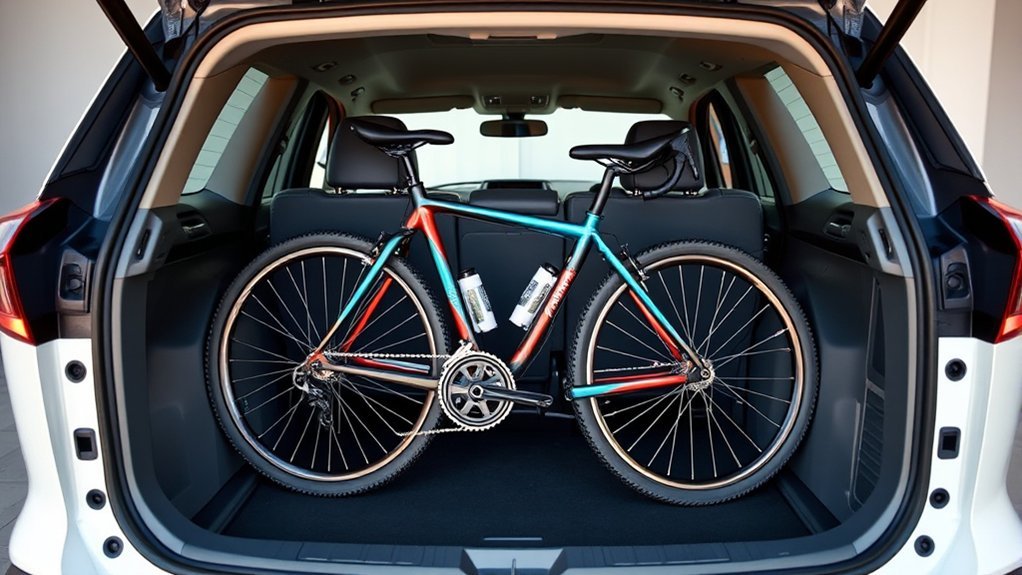
You can often fit two adult bikes inside a Toyota RAV4 with the rear seats folded and the front wheels removed. Fit is not guaranteed because bike and RAV4 dimensions vary. Lay the bikes in opposite directions, separate them with padding, protect disc brakes, and secure the frames to the vehicle’s cargo tie-down points.
Key Takeaways
- Measure the bikes, cargo opening, and usable floor length before assuming two bikes will fit.
- Removing the front wheels is usually enough, but large mountain bikes may need lower seatposts or more disassembly.
- Install brake-pad spacers on hydraulic disc brakes whenever a wheel is removed.
- Use padding between bikes and non-elastic straps attached to designated cargo points.
- Choose a compatible hitch or roof rack when you need rear seats, carry heavy e-bikes, or transport bikes frequently.
At a Glance
| Time Required | About 20–30 minutes for the first careful test fit |
| Difficulty | Easy to moderate, depending on bike weight and required disassembly |
| Tools Needed | Tape measure, blankets or bike pads, wheel bags, brake-pad spacers, and non-elastic cam straps |
| Cost | No added cost if you already own suitable padding and straps; otherwise, it depends on the supplies you choose |
How to Fit Two Bikes in Your RAV4
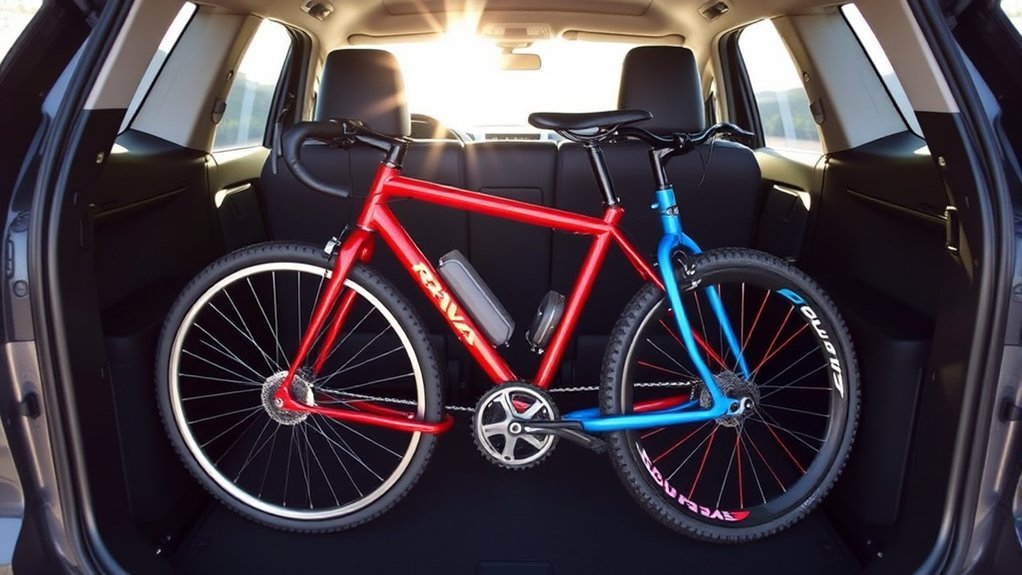
Toyota lists up to 37.8 cubic feet of cargo capacity for the 2026 RAV4. That volume shows the vehicle is practical, but it does not confirm that two specific bikes will fit. Bike wheelbase, handlebar width, tire width, frame size, and seat height matter more than cargo volume alone.
1. Measure Before Loading
Measure the cargo opening at its narrowest usable points, the floor length with the rear seats folded, and the available height near the hatch. Then measure each bike from axle to axle, across the handlebars, and from the floor to the highest point of the saddle or handlebar.
- Wheelbase: Shows how much floor length the bike needs.
- Handlebar width: Often determines whether two bikes can lie side by side.
- Saddle and frame height: Helps you decide whether to lower or remove a seatpost.
- Tire width: Affects stacking depth, especially with mountain bikes or fat bikes.
Check the Toyota manual for your exact model year before folding seats or using cargo tie-down points. Interior layouts and loading instructions can differ by generation and trim.
2. Prepare the Cargo Area
Remove the cargo cover and loose items. Fold the rear seatbacks according to the owner’s manual, then cover the cargo floor and seatbacks with a clean moving blanket, waterproof liner, or fitted cargo mat. Keep the front seats in a safe driving position rather than pushing them forward farther than necessary.
Warning: Never let a passenger sit beside or beneath unsecured bikes. Keep the driver’s rearward and side visibility clear, and do not place frames, wheels, or straps where they can interfere with seatbelts, airbags, pedals, or the hatch latch.
3. Prepare the Bikes
Brush off loose mud and remove water bottles, pumps, lights, bags, and other accessories that could fall off. Lower dropper posts or adjustable seatposts. Remove each front wheel using the bike manufacturer’s procedure, then reinstall the thru-axle in the fork or store the axle and quick-release skewer in a labeled bag.
For hydraulic disc brakes, Shimano recommends installing pad spacers and not pressing the brake lever while the wheel is removed. Keep brake rotors clean and protected from bending or contamination.
4. Load the First Bike
Place the heavier or larger bike first. Lay it on its non-drive side when possible so the chain, cassette, and rear derailleur face upward. Angle the handlebar toward an open corner and keep brake levers, rotors, and derailleur parts away from hard trim.
5. Load the Second Bike
Put a thick blanket or dedicated bike pad over the first bike. Load the second bike in the opposite direction so its handlebar and rear wheel fill different spaces. Make sure one bike’s pedal, axle, rotor, or handlebar cannot press against the other bike’s frame.
6. Secure the Bikes to Cargo Points
Use non-elastic cam straps or other suitable restraints attached to the vehicle’s designated cargo tie-down points. Loop straps around strong frame areas without pinching brake hoses, cables, spokes, rotors, or the rear derailleur. Secure removed wheels separately so they cannot slide into the bikes or hatch.
Close the hatch slowly the first time. Stop if the glass, interior trim, or hatch presses against a wheel or handlebar. Rearrange the load rather than forcing the hatch shut.
7. Perform a Final Safety Check
- Push and pull each bike to confirm it cannot slide, roll, or tip.
- Confirm that the hatch latches normally and nothing touches the rear glass.
- Check that straps cannot loosen or contact sharp bike parts.
- Verify that the driver can see mirrors and operate every control.
- Drive slowly for a short distance, stop safely, and recheck the load.
Pro Tip: Photograph a successful loading arrangement before unloading. The photo will help you repeat the same bike order, handlebar angles, padding positions, and strap routes on your next trip.
Best Techniques for Loading Two Bikes in a Toyota RAV4
Start with the least disassembly that creates a safe fit. Most owners should try removing both front wheels, lowering the saddles, and alternating the bikes’ directions. Remove additional parts only when measurement shows that you need more room.
A secure fit matters more than a tight fit. The bikes should remain separated, restrained, and clear of the hatch even during hard braking or a sudden turn.
| Fit Problem | Adjustment to Try | Important Check |
|---|---|---|
| Handlebars overlap | Turn the bikes in opposite directions or rotate a handlebar if the bike allows it | Retighten any loosened fastener to the bike manufacturer’s specification |
| Saddles touch the roof or hatch | Lower a dropper post or mark and remove a standard seatpost | Do not insert a seatpost below its minimum-insertion mark |
| Frames contact each other | Add thicker padding and offset the bikes | Protect carbon frames from concentrated pressure |
| Hatch will not close freely | Reposition the bikes or remove another wheel | Never force the hatch against the load |
Avoid compressing suspension forks with straps merely to save space. Restraints should prevent the bikes from moving, not place continuous force on sensitive components.
Why Bike Sizes Matter for Transport
Bike category alone does not determine fit. A small mountain bike may take less room than a large road bike, while wide handlebars or long wheelbases can make either type difficult to position. Compare actual measurements instead of relying on labels such as road, mountain, or hybrid.
- Frame and wheelbase: Larger frames and long-travel mountain bikes usually need more floor length.
- Handlebar shape: Wide flat bars create more overlap than many drop bars.
- Wheel and tire size: Large wheels and wide tires increase the space needed for removed wheels.
- Seatpost height: A tall fixed post can limit hatch clearance even after the front wheel comes off.
- Bike weight: Heavy e-bikes are harder to lift over the bumper and stack without damaging the vehicle or another bike.
Make a cardboard floor template or mark the cargo measurements on a tape measure before bringing the bikes to the vehicle. This simple check can save repeated lifting and reduce the chance of scratched trim.
How to Protect Your RAV4 While Transporting Bikes
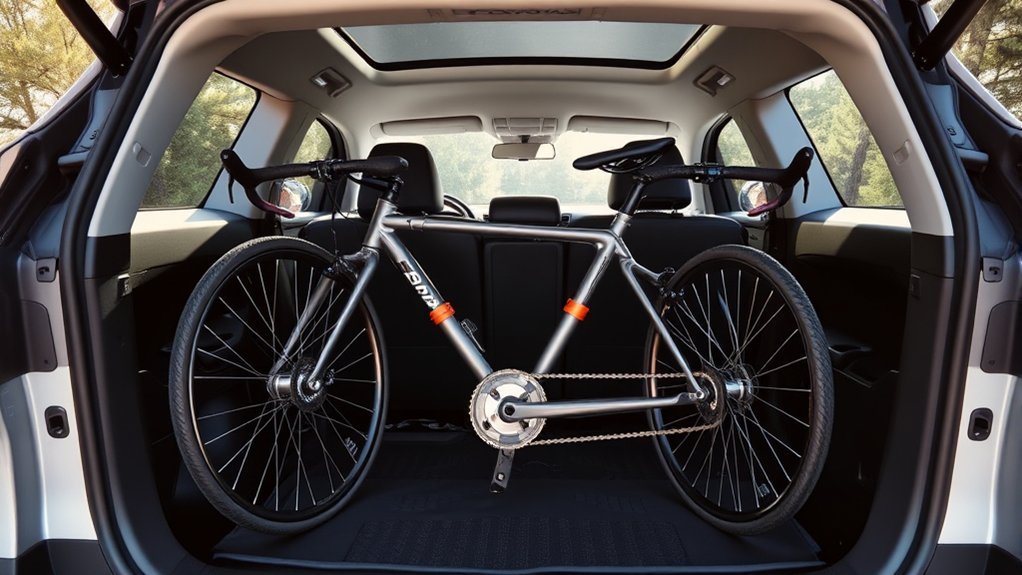
Good protection separates dirty or sharp bike parts from the cargo floor, seatbacks, side panels, and rear glass. It also keeps the bikes from rubbing against each other as the vehicle moves.
Use Protective Covers
- Cover the interior: Place a cargo liner or thick blanket over the floor and folded seatbacks.
- Separate the frames: Use a clean blanket, frame pads, or foam blocks between bikes.
- Bag the wheels: Wheel bags contain dirt and keep rotors or cassettes from touching upholstery.
- Cover the drivetrain: Use a chain or drivetrain cover to prevent grease marks.
- Protect hard contact points: Pad pedals, axles, handlebars, and other parts near trim or glass.
Secure Bikes Properly
Padding prevents scratches, but it does not restrain a load. Use suitable straps to stop forward, rearward, and sideways movement. Tighten them enough to remove slack without crushing frame tubes or pulling components out of alignment.
Do not rely on loose blankets or elastic bungee cords as the primary restraint. Bungees can stretch as the vehicle moves. They may serve as secondary keepers only when their hooks cannot detach and the main load is already secured with appropriate straps.
Note: E-bikes can be difficult to lift and may exceed the limits of some racks. Check the vehicle, rack, and bike manufacturer instructions. Remove a battery only when the bike manufacturer permits it, then transport the battery according to its instructions.
Should You Load Your Bikes Inside or Use a Rack?
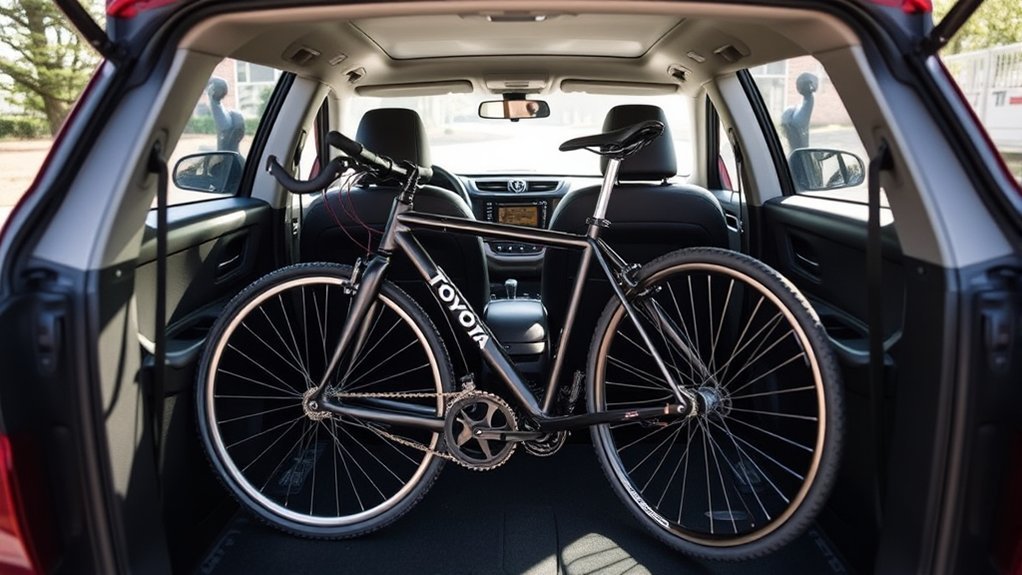
Loading bikes inside protects them from rain and keeps them less visible when the vehicle is locked. A rack preserves passenger and cargo space and usually makes frequent loading easier. The right choice depends on bike weight, trip frequency, passenger needs, and your willingness to remove wheels.
| Method | Best For | Main Tradeoffs |
|---|---|---|
| Inside the RAV4 | Occasional trips, one or two lighter bikes, and trips without rear passengers | Needs padding and disassembly; reduces cabin space; can bring in mud and grease |
| Hitch rack | Frequent trips, heavy bikes, and keeping the cabin open | Must match the receiver, vehicle, bike type, and weight limits; may affect hatch access |
| Roof rack | Keeping the hatch accessible and carrying lighter bikes | Requires overhead lifting and careful attention to garages, branches, and other height limits |
Rack capacity is product-specific. Manufacturers such as Thule list vehicle fit, bike compatibility, attachment style, and bike capacity for individual racks. Follow the rack instructions and use the supplied attachment system rather than improvising with separate cords.
Common Loading Configurations
Different bike combinations require different arrangements. Use the following configurations as starting points, then adjust them to your measured cargo space.
| Bike Type | Loading Technique | Additional Tips |
|---|---|---|
| Mountain Bikes | Remove front wheels, lower dropper posts, and alternate directions | Use brake-pad spacers and extra padding around wide bars |
| Road or Gravel Bikes | Remove front wheels and lay the bikes on padded non-drive sides | Protect derailleurs, carbon tubes, and disc rotors |
| Adult and Child Bikes | Load the adult bike first and place the smaller bike in the remaining space | Secure both bikes independently instead of tying them only to each other |
| E-Bikes | Use a second person for lifting or choose a compatible low-loading hitch rack | Check all vehicle, rack, and bike weight limits before travel |
When two large bikes remain unstable after reasonable adjustment, stop trying to force the arrangement. A compatible rack or separate trip is safer than a load that presses against glass, blocks the driver’s view, or cannot be restrained.
Alternatives for Family Biking Adventures
Families often need rear seats for passengers, helmets, food, and other gear. In that situation, carrying both bikes inside may not be practical.
- Use a compatible bike rack: Select a rack that fits the RAV4, the attachment point, the number of bikes, and each bike’s weight and frame style.
- Choose folding or compact bikes: Folding bikes can reduce the need to lower rear seats and are easier to separate with bags or covers.
- Use rack straps as designed: Secure every bike with the rack’s approved arms and straps. Treat any bungee cord as a secondary keeper only when the rack manufacturer allows it.
- Rent at the destination: Local rental can be simpler when you need every seat or cannot safely lift and secure your own bikes.
Before leaving, check that an exterior rack does not hide required lights or the license plate in your location, and confirm that the bikes cannot contact the vehicle during turns or over bumps.
Caring for Your RAV4 After Bike Transport
Clean the cargo area soon after unloading. Dirt, water, chain lubricant, and small stones are easier to remove before they spread through the cabin or mark interior surfaces.
| Task | Frequency |
|---|---|
| Shake out or vacuum dirt and debris | After each trip |
| Wipe cargo panels and seatbacks | After muddy or wet trips |
| Inspect trim, upholstery, and rear glass | After every transport |
| Wash and dry blankets or wheel bags | When dirty |
| Inspect straps and padding for wear | Before each transport |
Check the bikes before riding as well. Reinstall wheels correctly, remove brake-pad spacers, confirm the axles are secure, and test both brakes at walking speed before starting your ride.
Related Guides
Frequently Asked Questions
What type of bikes fit best in a Toyota RAV4?
No bike category automatically fits best. Bikes with shorter wheelbases, narrower handlebars, lower saddles, and removable front wheels are usually easier to load. Measure your actual bikes and cargo area instead of relying only on labels such as mountain or road bike.
Can I transport bikes with accessories attached?
Remove loose accessories such as bottles, pumps, lights, bags, and child seats. They can detach, snag straps, or add awkward bulk. Follow the bike manufacturer’s instructions for removable e-bike batteries and other electrical components.
How do I secure bikes during transport?
Attach suitable non-elastic straps to designated cargo tie-down points and strong sections of each frame. Secure removed wheels separately. Do not route straps across brake hoses, spokes, rotors, derailleurs, or other delicate parts.
Is it safe to drive with bikes inside the RAV4?
It can be safe when the bikes fit without pressing against the hatch or glass, remain fully restrained, and do not block the driver’s view or interfere with vehicle controls and safety equipment. Never carry a passenger in the same folded-seat space as unsecured bikes.
Can I fit an adult bike and a child’s bike together?
Often, yes. Load the larger adult bike first, then place the smaller bike in the remaining space with padding between them. Secure both bikes independently and keep loose wheels or accessories from moving.
Will two e-bikes fit inside a RAV4?
They may fit by dimension, but weight and lifting difficulty can make interior transport impractical. Check the vehicle’s loading guidance, protect the interior, and use a second person when needed. A compatible low-loading hitch rack is often easier for heavy e-bikes.
Do I always need to remove the front wheels?
Not always. Small bikes may fit with both wheels installed, but removing the front wheels usually reduces length and handlebar interference. Use the arrangement that closes the hatch freely and allows the bikes to be fully padded and secured.
Conclusion
Two bikes can often travel inside a Toyota RAV4, especially when you fold the rear seats, remove the front wheels, and alternate the bikes’ directions. The safest answer remains conditional: measure the vehicle and bikes, protect sensitive parts, and confirm that the hatch closes without touching the load.
Use proper padding and non-elastic restraints every time. When the bikes are too large, too heavy, or needed alongside rear passengers, choose a compatible rack rather than forcing an unstable interior arrangement.
Sources
- Toyota RAV4 overview and cargo specification — current RAV4 cargo-capacity information.
- Toyota Manuals and Warranties — model-year-specific seat-folding, loading, and cargo-restraint instructions.
- Shimano Hydraulic Disc Brake User’s Manual — brake-pad spacer and brake-lever precautions when a wheel is removed.
- Thule bike-rack guide and fit information — rack types, bike capacities, attachment methods, and compatibility considerations.

